How to Install and Run AWPortrait-FL Model Locally


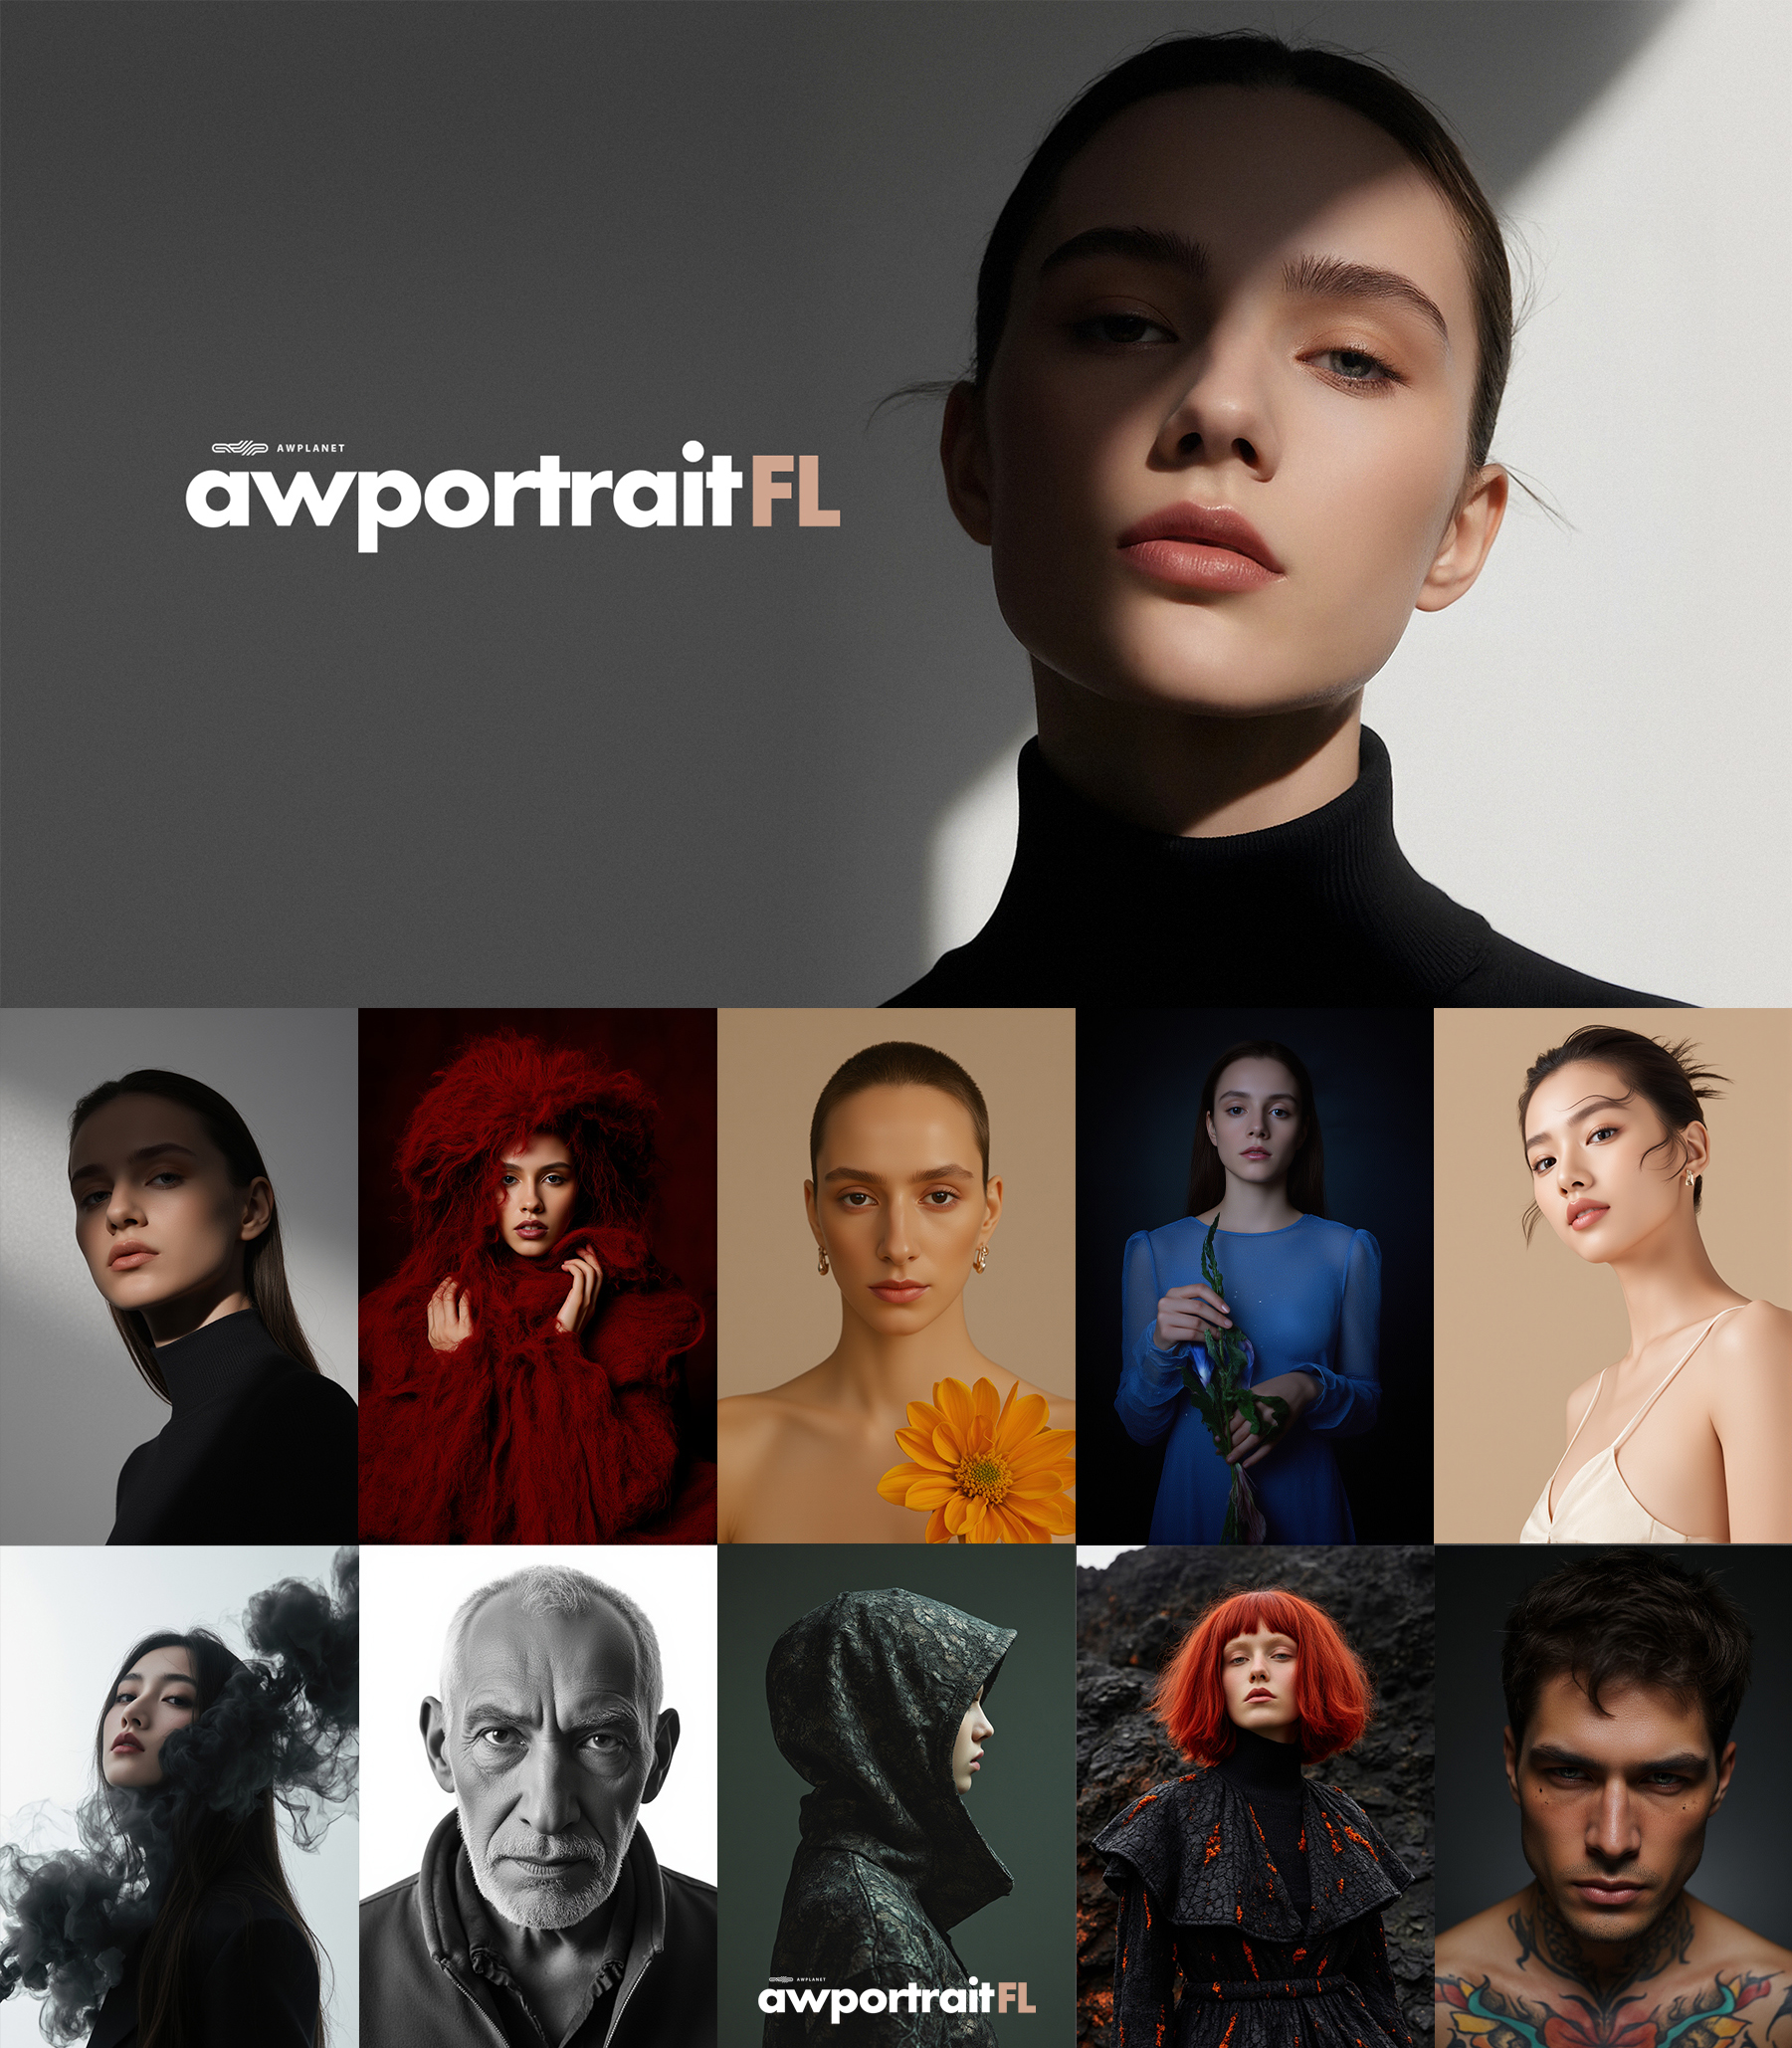
AWPortrait-FL is a special version of the FLUX model. It has been fine-tuned, meaning it has been trained with more images to beautiful, detailed portraits. It is trained on the FLUX.1-dev dataset and nearly 2,000 high-quality fashion photography photos. Compared to the original model, AWPortrait-FL has notable improvements in composition, detail, and realism, with more delicate and realistic skin and textures.
Model Inputs and Outputs
Inputs
- Text prompt describing the desired portrait image
Outputs
- A high-quality, photorealistic portrait image based on the input text prompt
Capabilities
AWPortrait-FL can generate highly detailed and aesthetically pleasing portrait images from text descriptions. The model has a strong grasp of composition, lighting, and rendering realistic skin and fabrics. It is particularly well-suited for fashion and portrait photography applications.
What Can I Use It For?
AWPortrait-FL can create custom, high-quality portrait images for various applications, such as fashion editorials, e-commerce product shots, and creative projects. The model's ability to render practical yet stylized portraits makes it a valuable tool for content creators, designers, and businesses looking to boost their visual assets.
Comparison
The following example compares with FLUX.1-dev under the same parameter setting.

Step-by-Step Process Install and Run CogVideoX-5b Video Generator Locally
For the purpose of this tutorial, we will use a GPU-powered Virtual Machine offered by NodeShift; however, you can replicate the same steps with any other cloud provider of your choice. NodeShift offers the most affordable Virtual Machines at a scale that meets GDPR, SOC2, and ISO27001 requirements.
Step 1: Sign Up and Set Up a NodeShift Cloud Account
Visit the NodeShift Platform and create an account. Once you've signed up, log into your account.
Follow the account setup process and provide the necessary details and information.

Step 2: Create a GPU Node (Virtual Machine)
GPU Nodes are NodeShift's GPU Virtual Machines, on-demand resources equipped with diverse GPUs ranging from H100s to A100s. These GPU-powered VMs provide enhanced environmental control, allowing configuration adjustments for GPUs, CPUs, RAM, and Storage based on specific requirements.
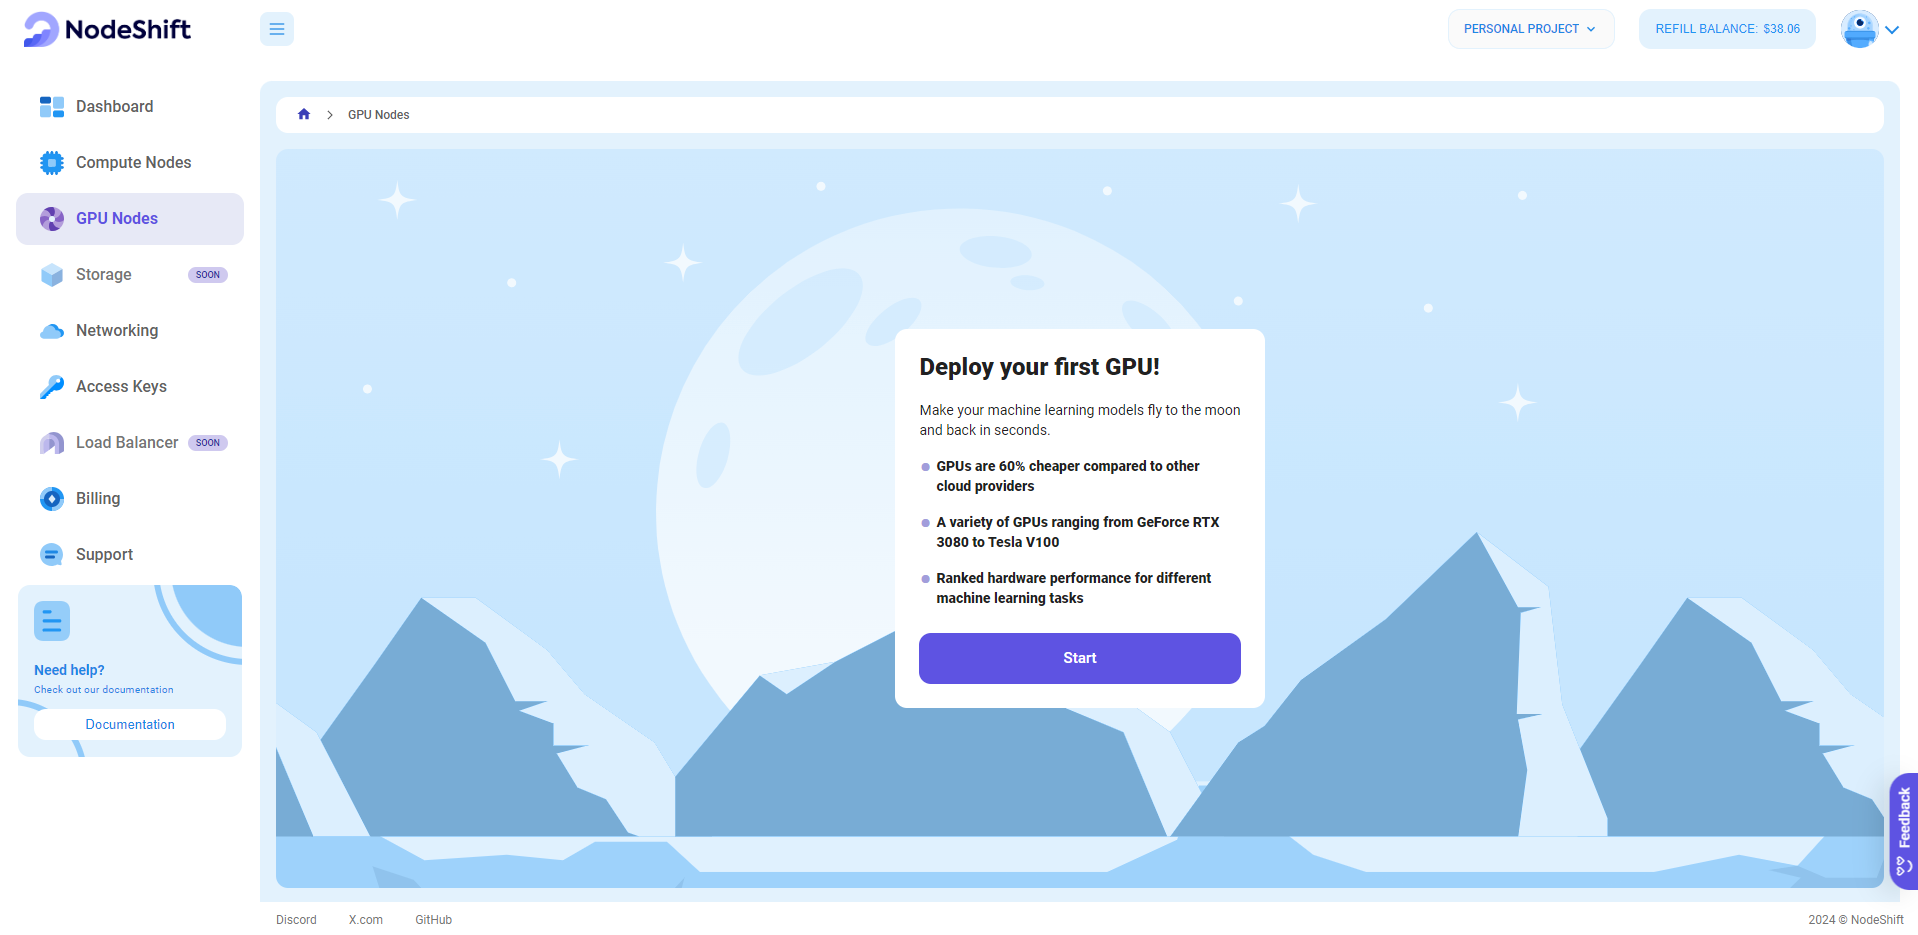
Navigate to the menu on the left side. Select the GPU Nodes option, create a GPU Node in the Dashboard, click the Create GPU Node button, and create your first Virtual Machine deployment.
Step 3: Select a Model, Region, and Storage
In the "GPU Nodes" tab, select a GPU Model and Storage according to your needs and the geographical region where you want to launch your model.
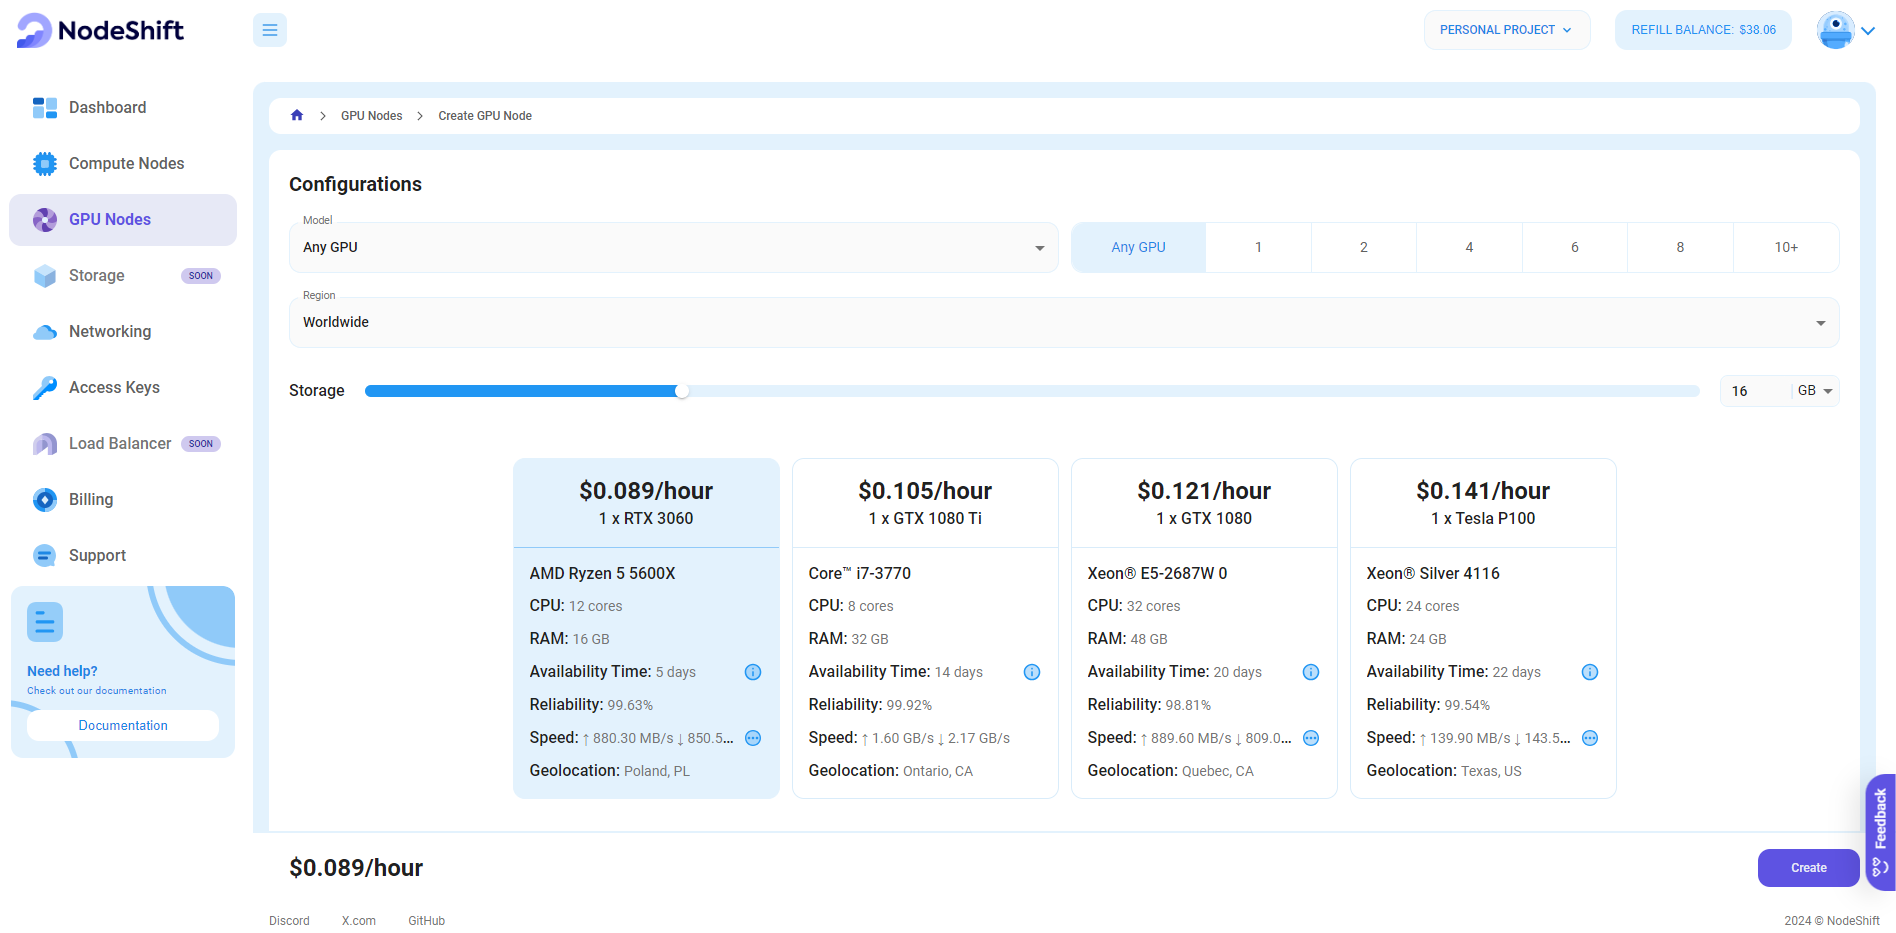
We will use 1x RTX A6000 GPU for this tutorial to achieve the fastest performance. However, you can choose a more affordable GPU with less VRAM if that better suits your requirements.
Step 4: Select Authentication Method
There are two authentication methods available: Password and SSH Key. SSH keys are a more secure option. To create them, please refer to our official documentation.

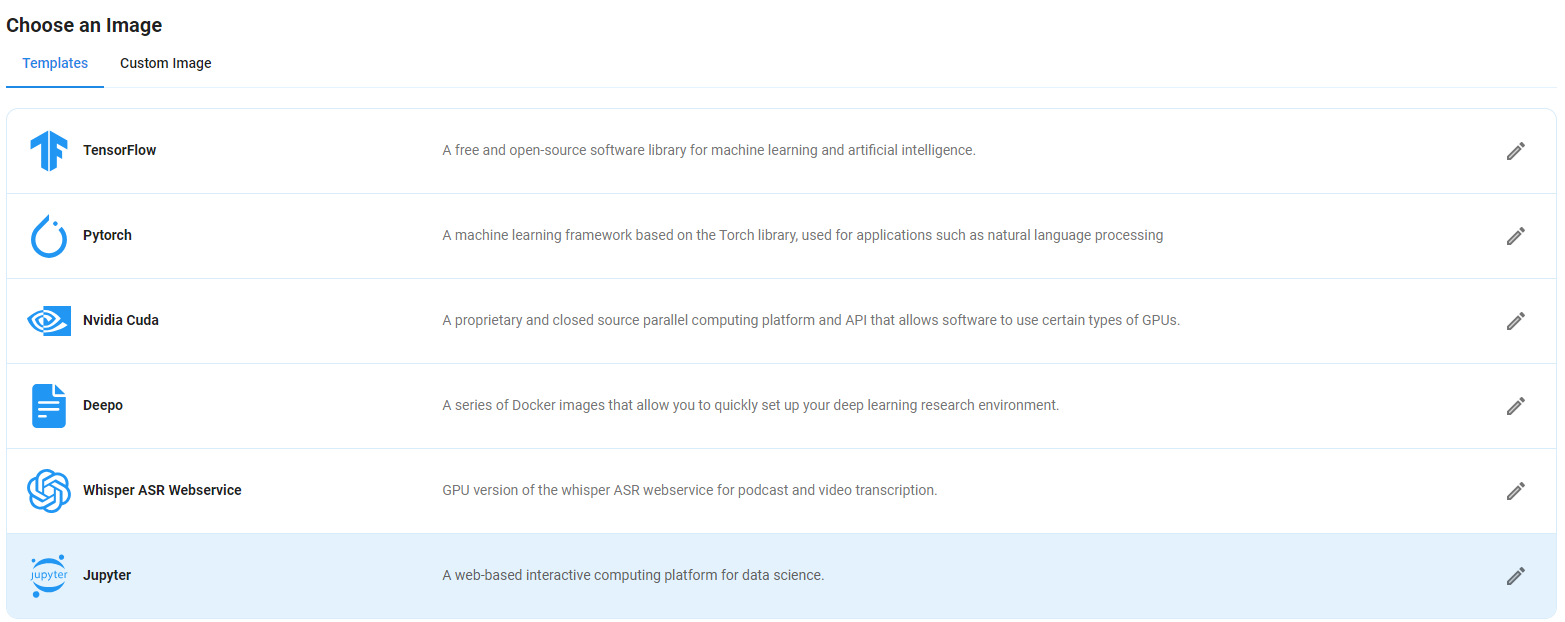
Step 5: Choose an Image
Next, you will need to choose an image for your Virtual Machine. We will deploy the AWPortrait-FL Model on a Jupyter Virtual Machine. This open-source platform will allow you to install and run the AWPortrait-FL Model on your GPU node. By running this model on a Jupyter Notebook, we avoid using the terminal, simplifying the process and reducing the setup time. This allows you to configure the model in just a few steps and minutes.
Note: NodeShift provides multiple image template options, such as TensorFlow, PyTorch, NVIDIA CUDA, Deepo, Whisper ASR Webservice, and Jupyter Notebook. With these options, you don’t need to install additional libraries or packages to run Jupyter Notebook. You can start Jupyter Notebook in just a few simple clicks.
After choosing the image, click the 'Create' button, and your Virtual Machine will be deployed.
Step 6: Virtual Machine Successfully Deployed
You will get visual confirmation that your node is up and running.
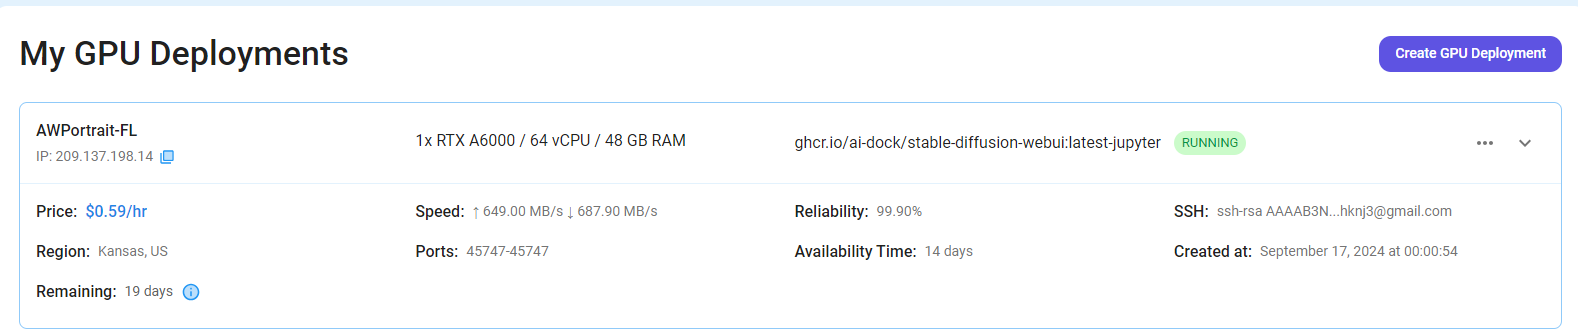
Step 7: Connect to Jupyter Notebook
Once your GPU VM deployment is successfully created and has reached the 'RUNNING' status, you can navigate to the page of your GPU Deployment Instance. Then, click the 'Connect' Button in the top right corner.
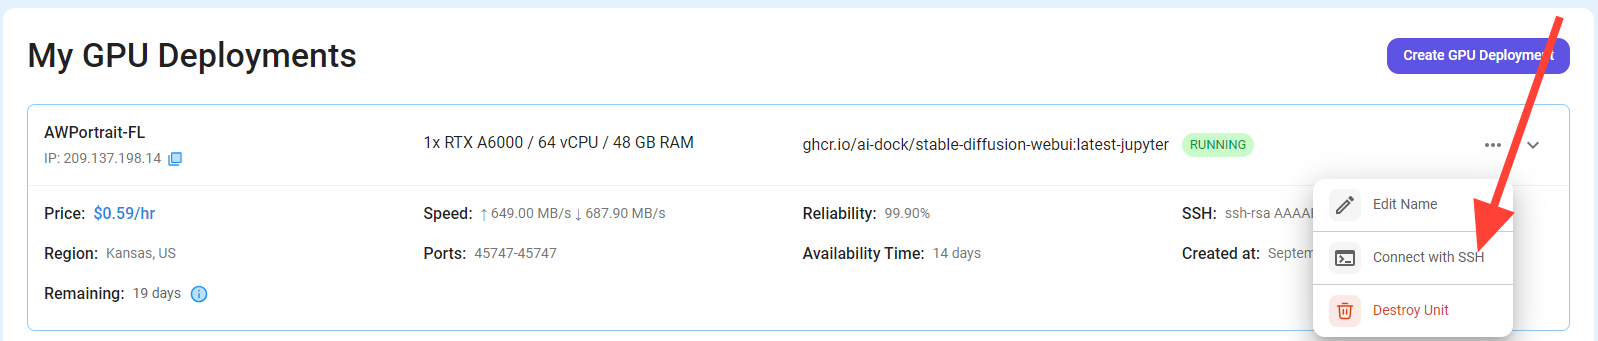
After clicking the 'Connect' button, you can view the Jupyter Notebook.
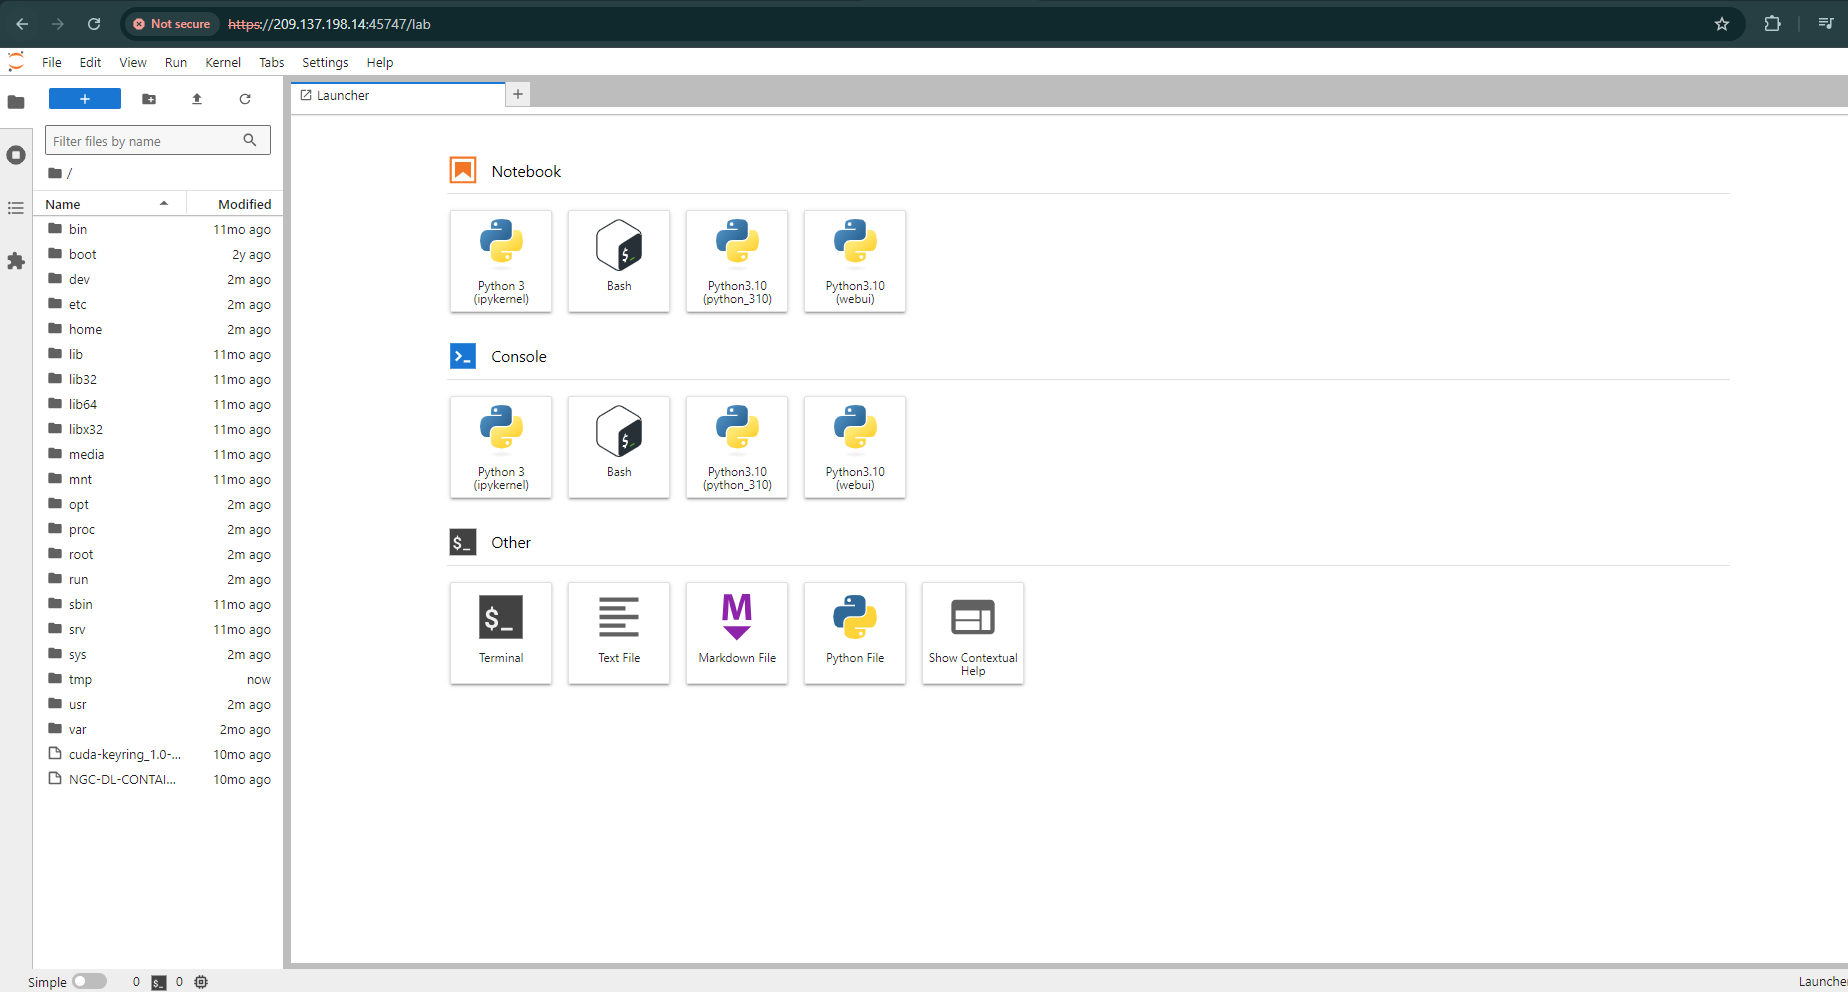
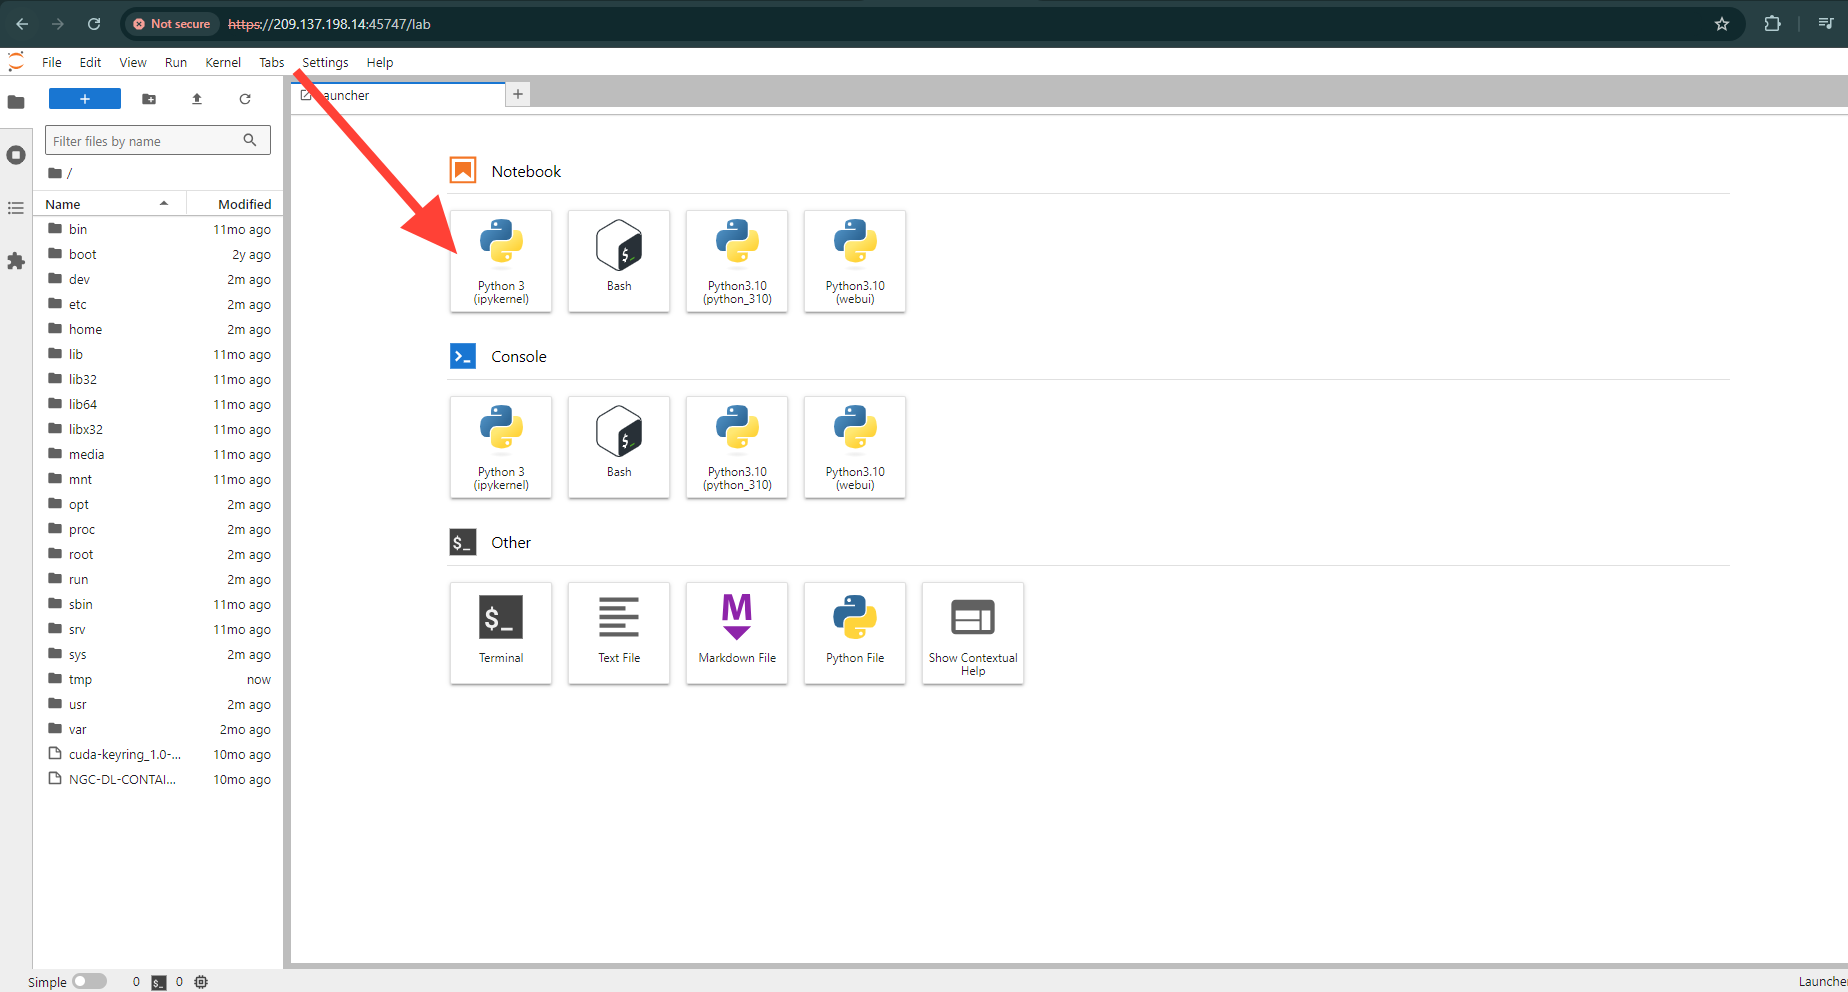
Now open Python 3(pykernel) Notebook.
Next, If you want to check the GPU details, run the command in the Jupyter Notebook cell:
!nvidia-smi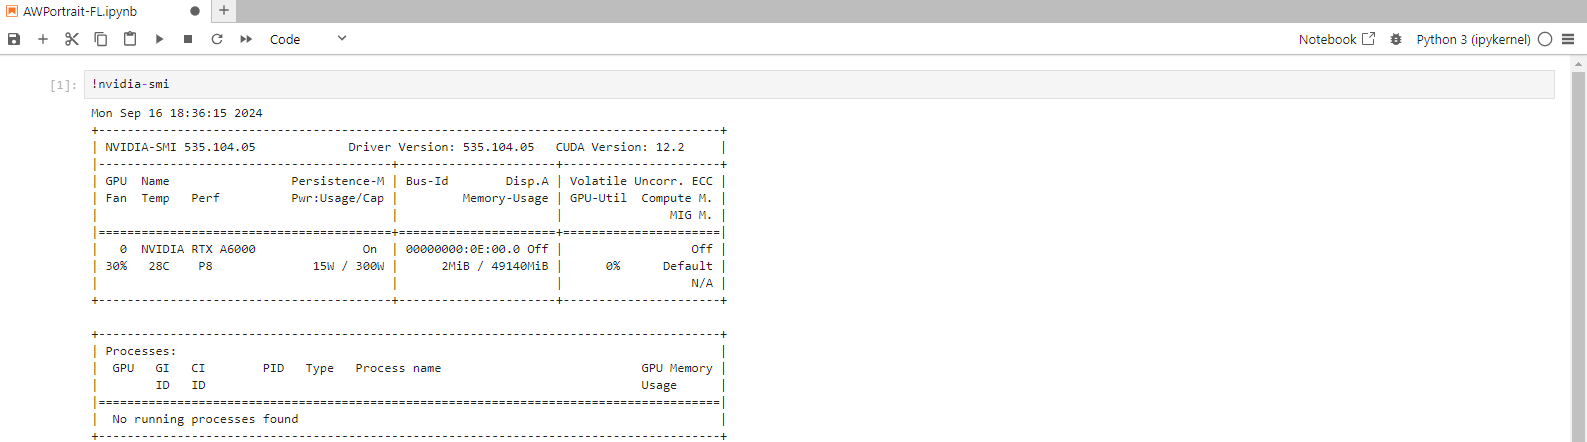
Step 8: Install the Torch and other Libraries
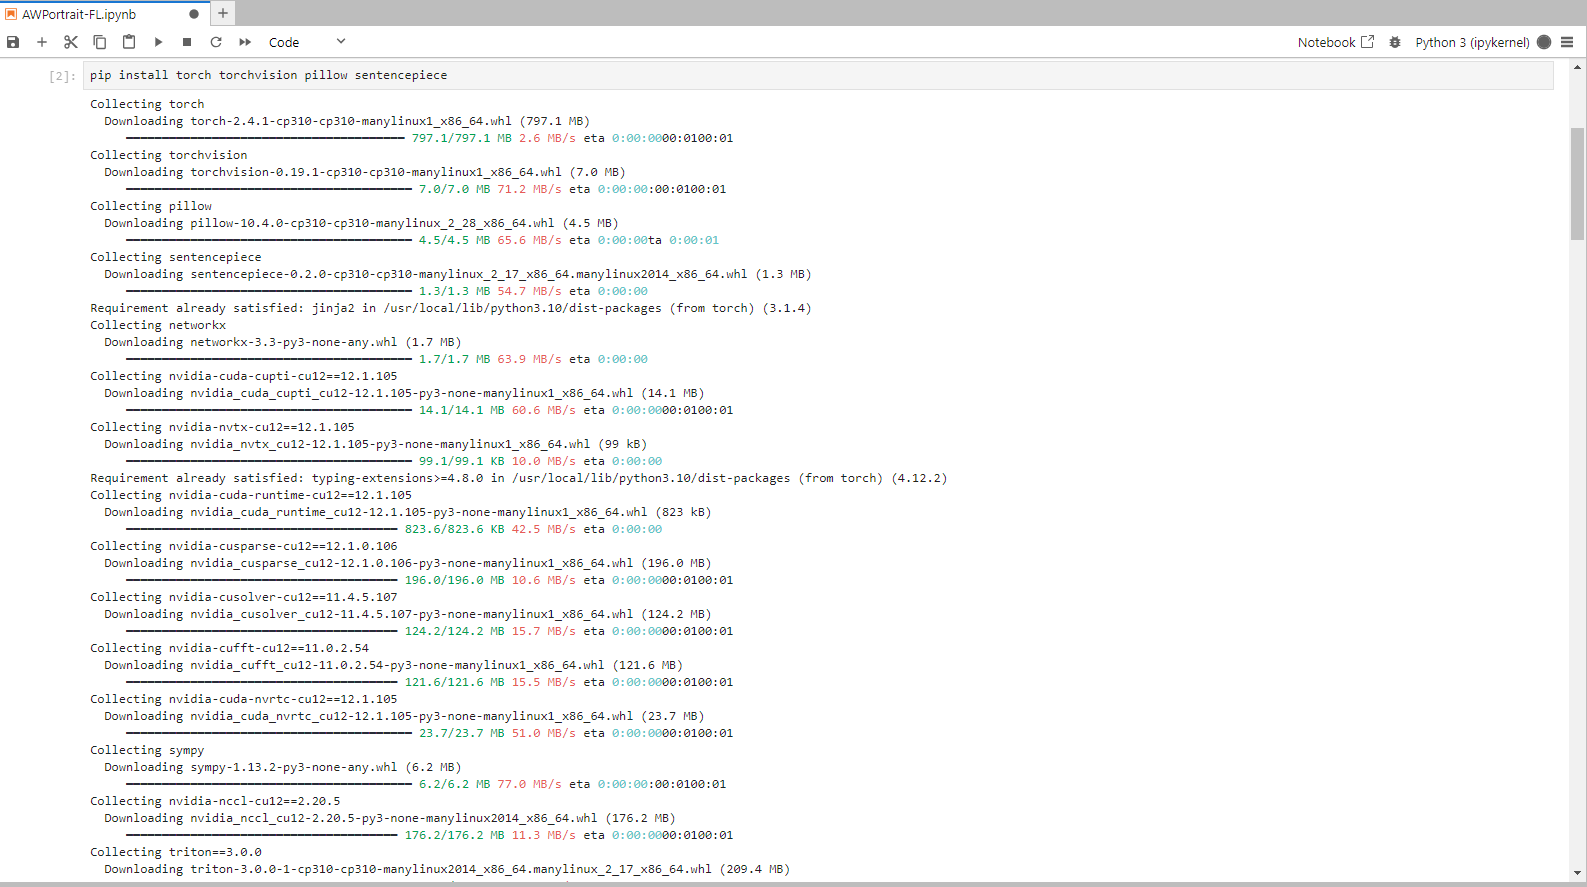
Run the following command in the Jupyter Notebook cell to install the Torch Library:
pip install torch torchvision pillow sentencepieceTorch
Torch is an open-source machine learning library, a scientific computing framework, and a scripting language based on Lua. It provides LuaJIT interfaces to deep learning algorithms implemented in C.
Torch was designed with performance in mind, leveraging highly optimized libraries like CUDA, BLAS, and LAPACK for numerical computations.
Torchvision
TorchVision is a library in PyTorch that helps with computer vision tasks by providing datasets, model architectures, and standard image transformations.
Pillow
Pillow module is built on top of PIL (Python Image Library). It is the essential modules for image processing in Python.
Sentencepiece
SentencePiece is a simple, efficient, and language-independent subword tokenizer and detokenizer designed for Neural Network-based text processing systems. It offers lossless tokenization, customizable character normalization, self-contained models, and on-the-fly processing capabilities.
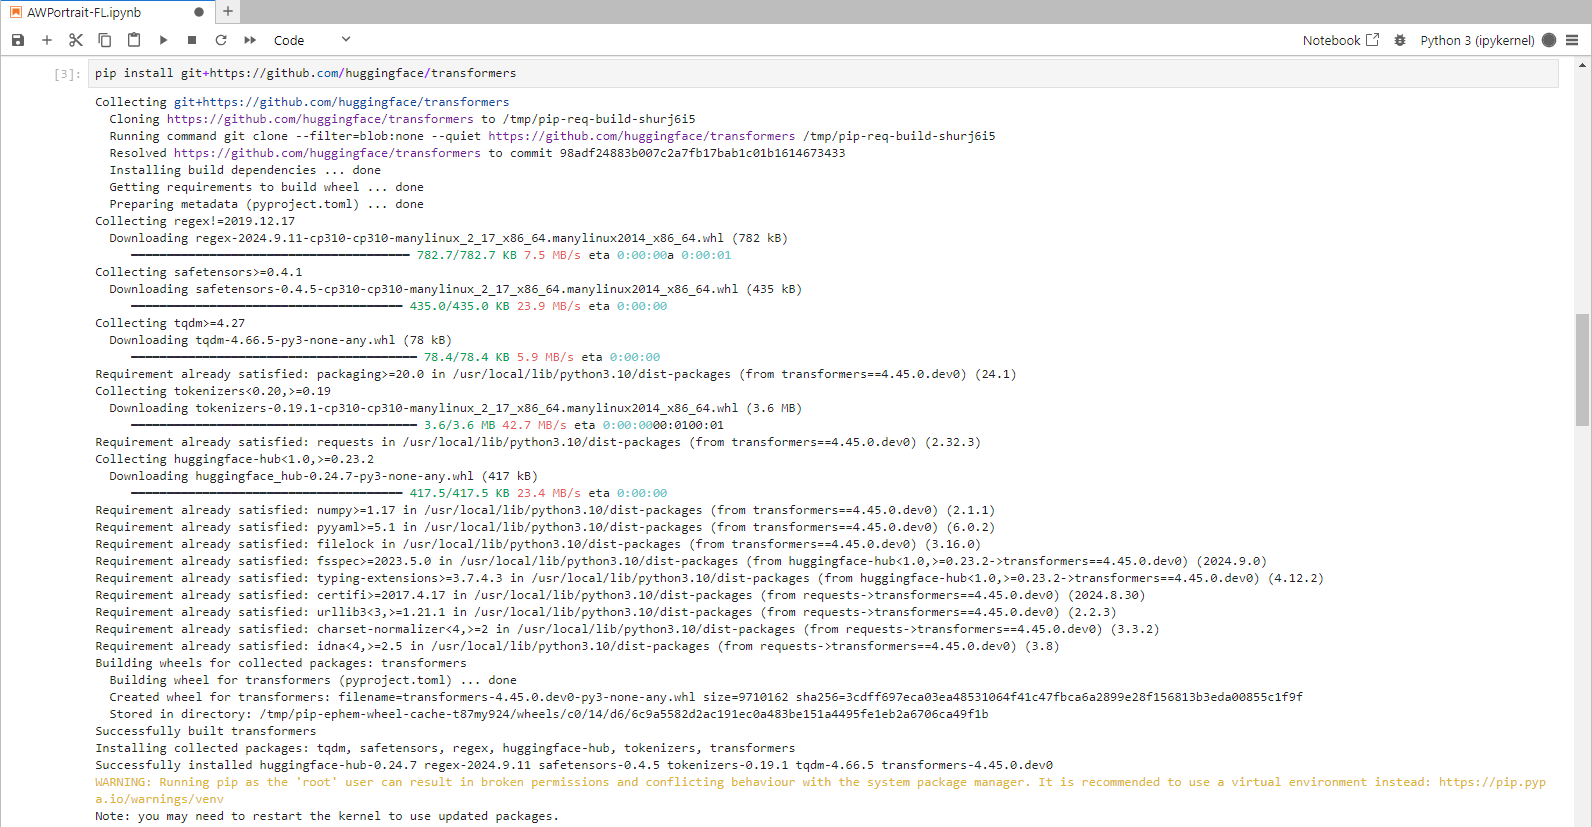
Step 9: Install Transformers from GitHub
Run the following command in the Jupyter Notebook cell to install the Transformers:
pip install git+https://github.com/huggingface/transformersTransformers provide APIs and tools to download and efficiently train pre-trained models. Pre-trained models can decrease computing costs and carbon footprint and save the time and resources required to train a model from scratch.
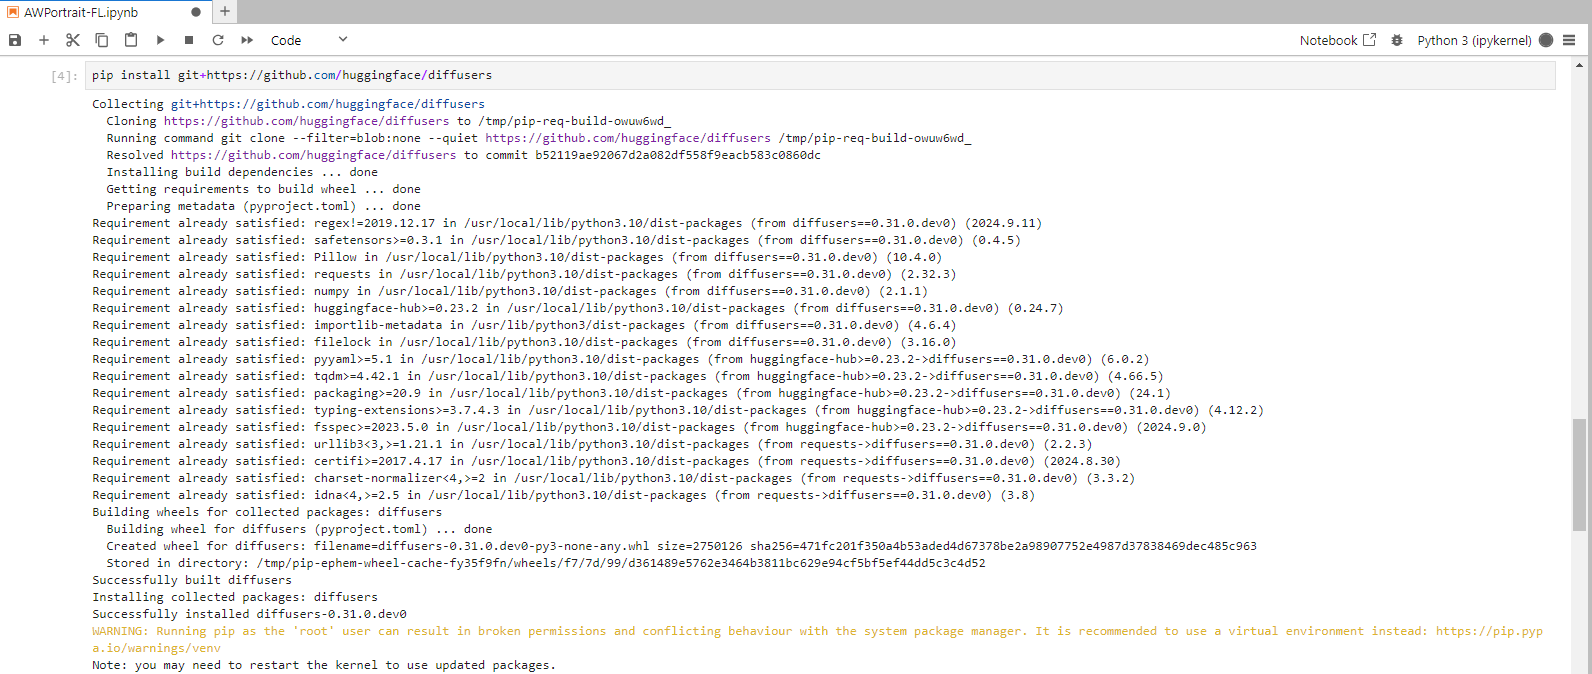
Step 10: Install Diffusers from GitHub
Run the following command in the Jupyter Notebook cell to install the Diffusers:
pip install git+https://github.com/huggingface/diffusersThis library, again from Hugging Face, is used for diffusion models, a generative model. It's useful for tasks like image generation and manipulation, enabling the use of pre-trained models that create images from text prompts or noise.
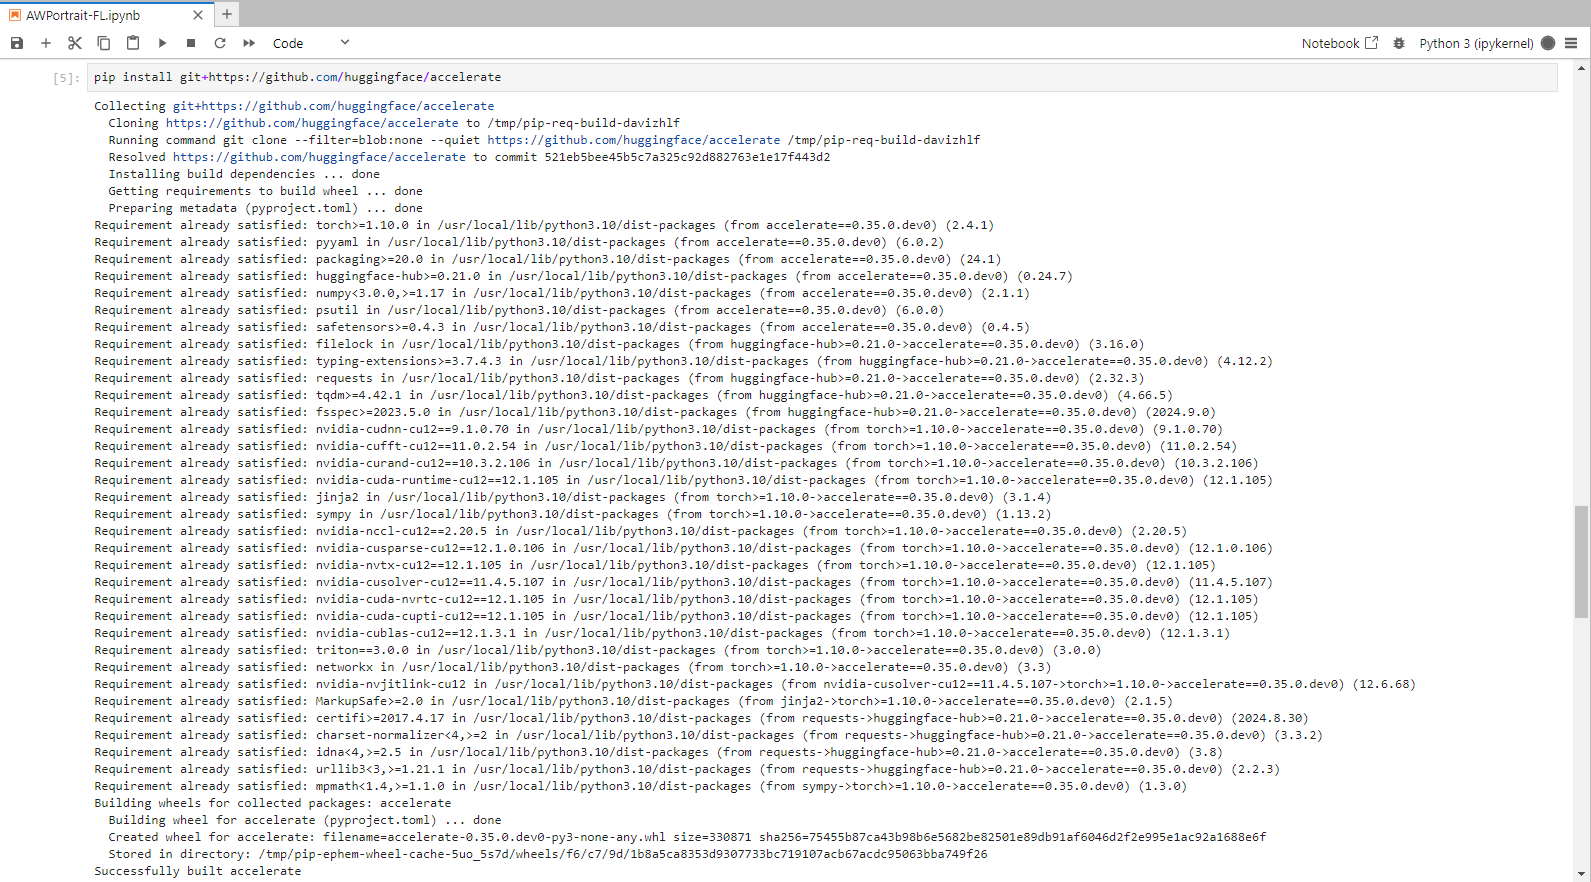
Step 11: Install Accelerate from GitHub
Run the following command in the Jupyter Notebook cell to install the Accelerate :
pip install git+https://github.com/huggingface/accelerateThis library, also by Hugging Face, is designed to simplify the running of machine learning models across different hardware (like CPUs and GPUs) and support mixed precision training.
Step 12: Install Huggingface Hub
Run the following command in the Jupyter Notebook cell to install the Huggingface hub:
pip install huggingface_hubThe Hugging Face Hub is a platform with over 900k models, 200k datasets, and 300k demo apps (Spaces), all open source and publicly available, in an online platform where people can easily collaborate and build ML.

Step 13: Install Protobuf
Run the following command in the Jupyter Notebook cell to install the Protobuf:
pip install protobufProtocol Buffers (Protobuf) is a free and open-source cross-platform data format used to serialize structured data.

Step 14: Run the AWPortrait-FL code
import torch
from diffusers import FluxPipeline

pipe = FluxPipeline.from_pretrained("Shakker-Labs/AWPortrait-FL", torch_dtype=torch.bfloat16)
pipe.to("cuda")
Step 15: Run the Prompt & Display the image directly in a Jupyter Notebook
from PIL import Image
from IPython.display import display
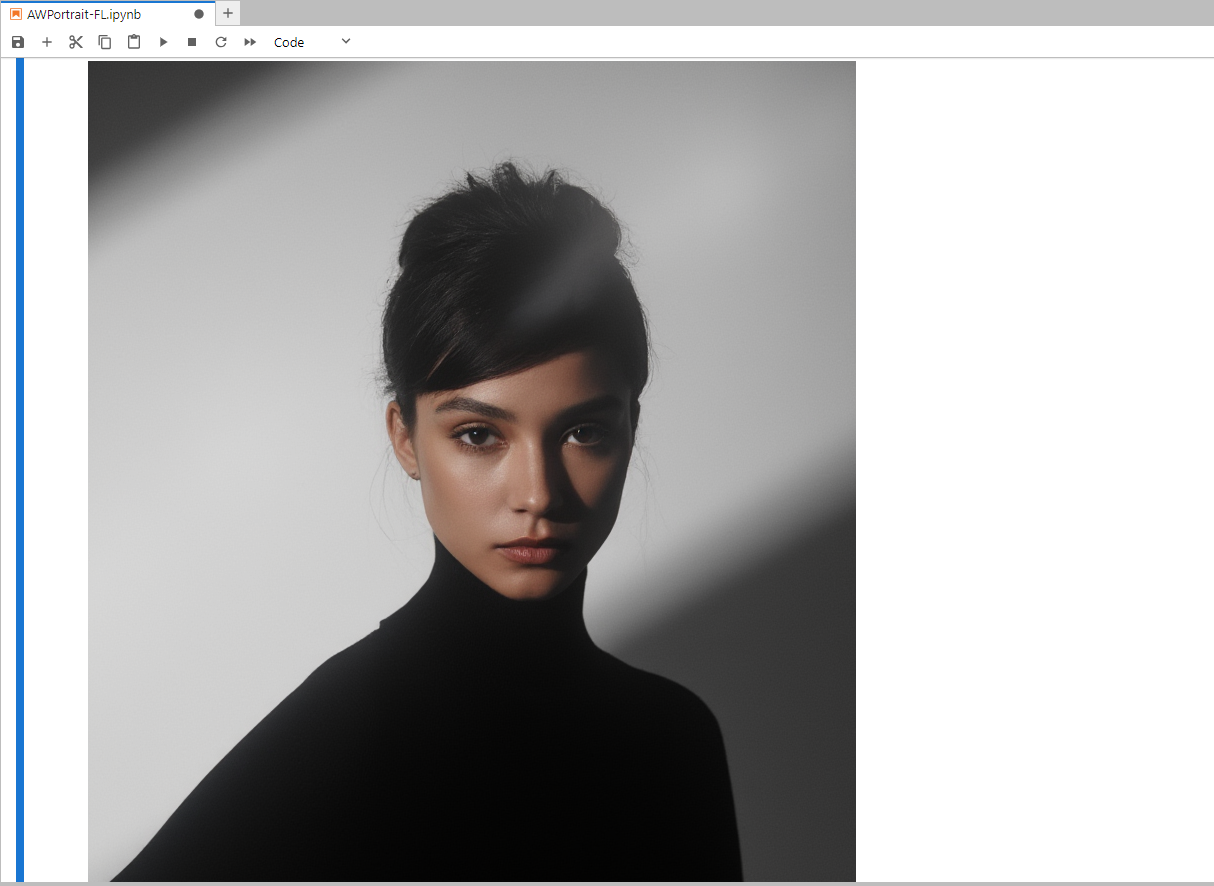
prompt = "close up portrait, Amidst the interplay of light and shadows in a photography studio,a soft spotlight traces the contours of a face,highlighting a figure clad in a sleek black turtleneck. The garment,hugging the skin with subtle luxury,complements the Caucasian model's understated makeup,embodying minimalist elegance. Behind,a pale gray backdrop extends,its fine texture shimmering subtly in the dim light,artfully balancing the composition and focusing attention on the subject. In a palette of black,gray,and skin tones,simplicity intertwines with profundity,as every detail whispers untold stories."
# Generate the image
image = pipe(prompt,
num_inference_steps=24,
guidance_scale=3.5,
width=768, height=1024,
).images[0]
#Display the generated image directly
display(image)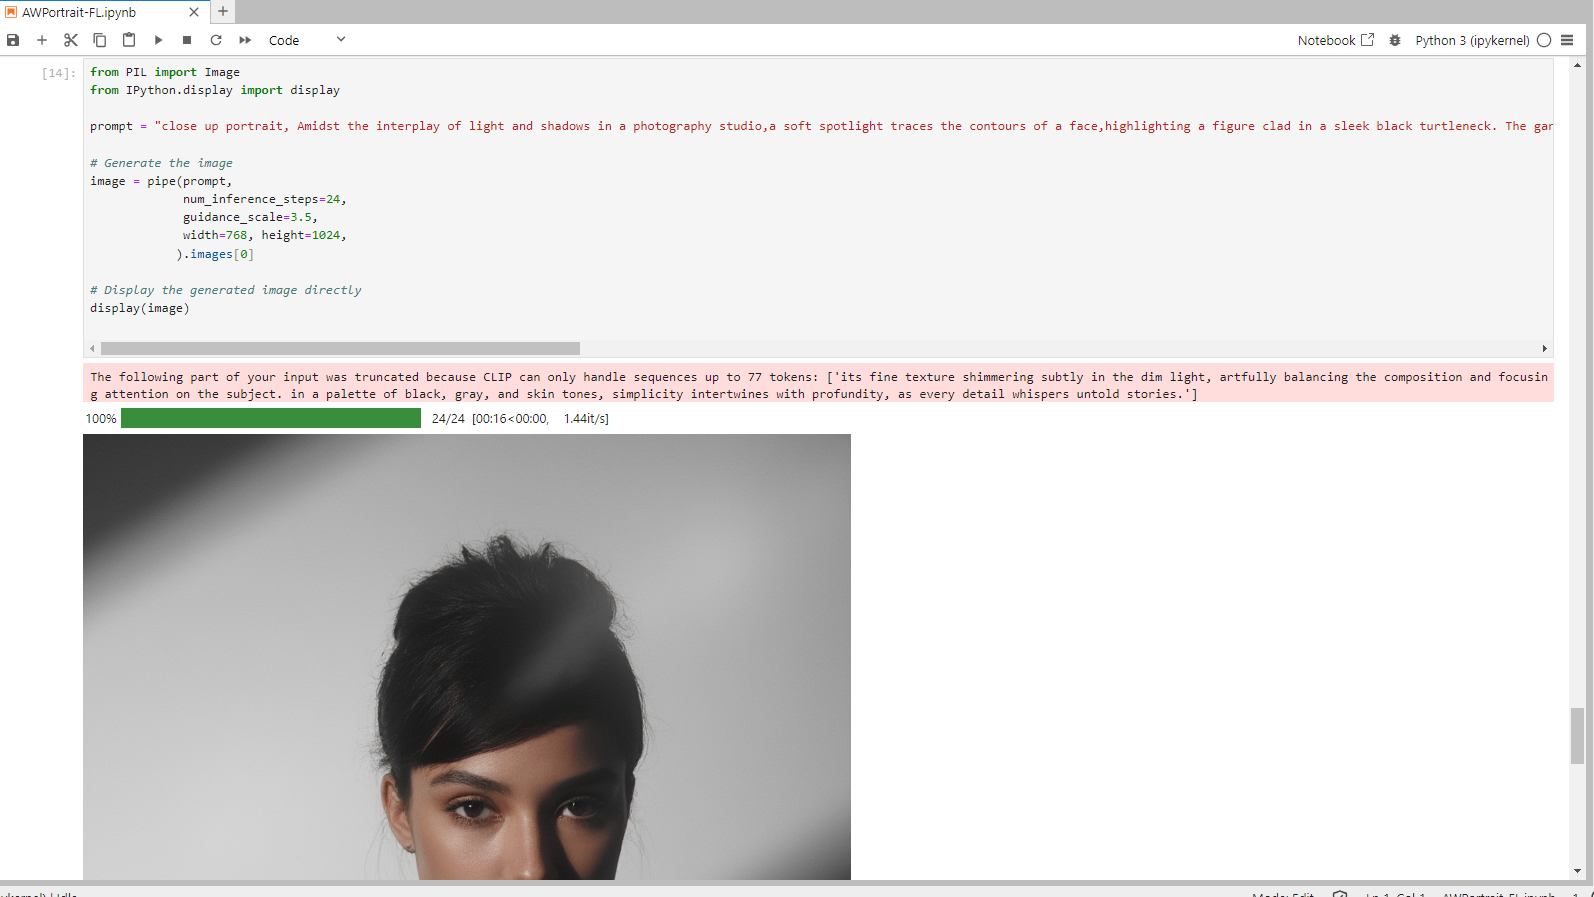
Conclusion
In this guide, we've walked through setting up and running the AWPortrait-FL model locally on a GPU-powered virtual machine. With AWPortrait-FL, you now have the tools to create stunning, high-quality portraits. By following these steps, you have the power of advanced AI image generation while enjoying the flexibility and efficiency that AWPortrait-FL offers.
For more information about NodeShift: