How to Run Gemma 7b in the Cloud?


Gemma is a family of lightweight, state-of-the-art open-source models created by Google DeepMind and other teams across Google. It is built using the same research and technology used to create the Gemini models. Notably, it is part of a new generation of open-source models from Google to “assist developers and researchers in building AI responsibly.
It comes in 2B and 7B parameters, each with base (pre-trained) and instruction-tuned versions. All the variants can be run on various types of consumer hardware, even without quantization, and have a context length of 8K tokens.
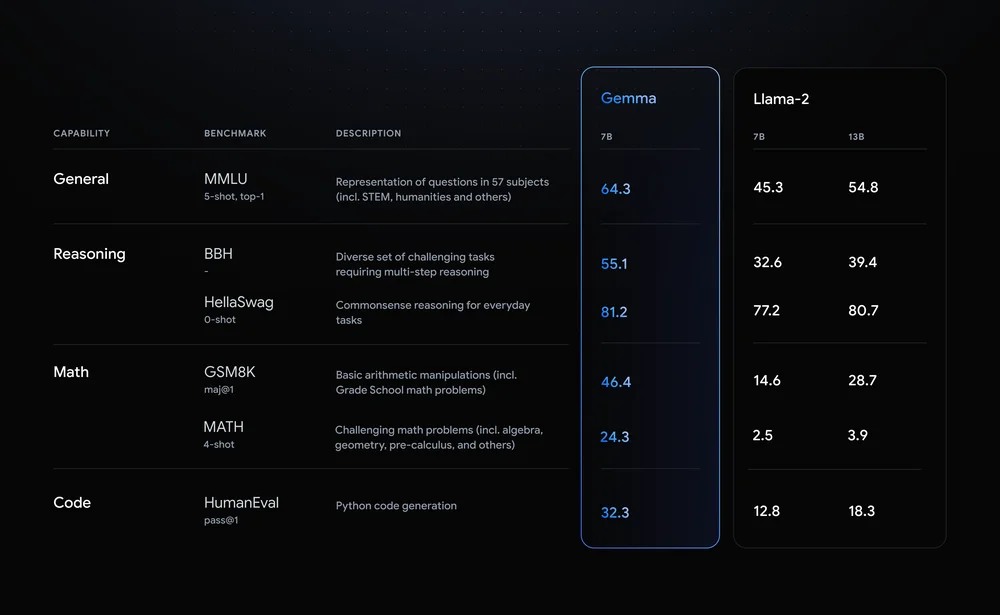
As we know, Gemma shares similar technical components with Gemini, achieving best-in-class performance for their sizes compared to other open models like Meta’s Llama-2 model. It has outperformed Llama-2 on all LLM benchmarks.
Gemma supports various tools and systems, including multi-framework tools like Keras 3.0, native PyTorch, JAX, and Hugging Face Transformers. It also runs on popular device types, including laptops, desktops, IoTs, mobiles, and the cloud.
In this blog, you'll learn:
- About Gemma 7B
- Setup GPU-powered Virtual Machine offered by NodeShift
- Run Gemma 7b in the NodeShift Cloud.
Step-by-Step Process to Run Gemma 7B in the Cloud
For the purpose of this tutorial, we will use a GPU-powered Virtual Machine offered by NodeShift; however, you can replicate the same steps with any other cloud provider of your choice. NodeShift provides the most affordable Virtual Machines at a scale that meets GDPR, SOC2, and ISO27001 requirements.
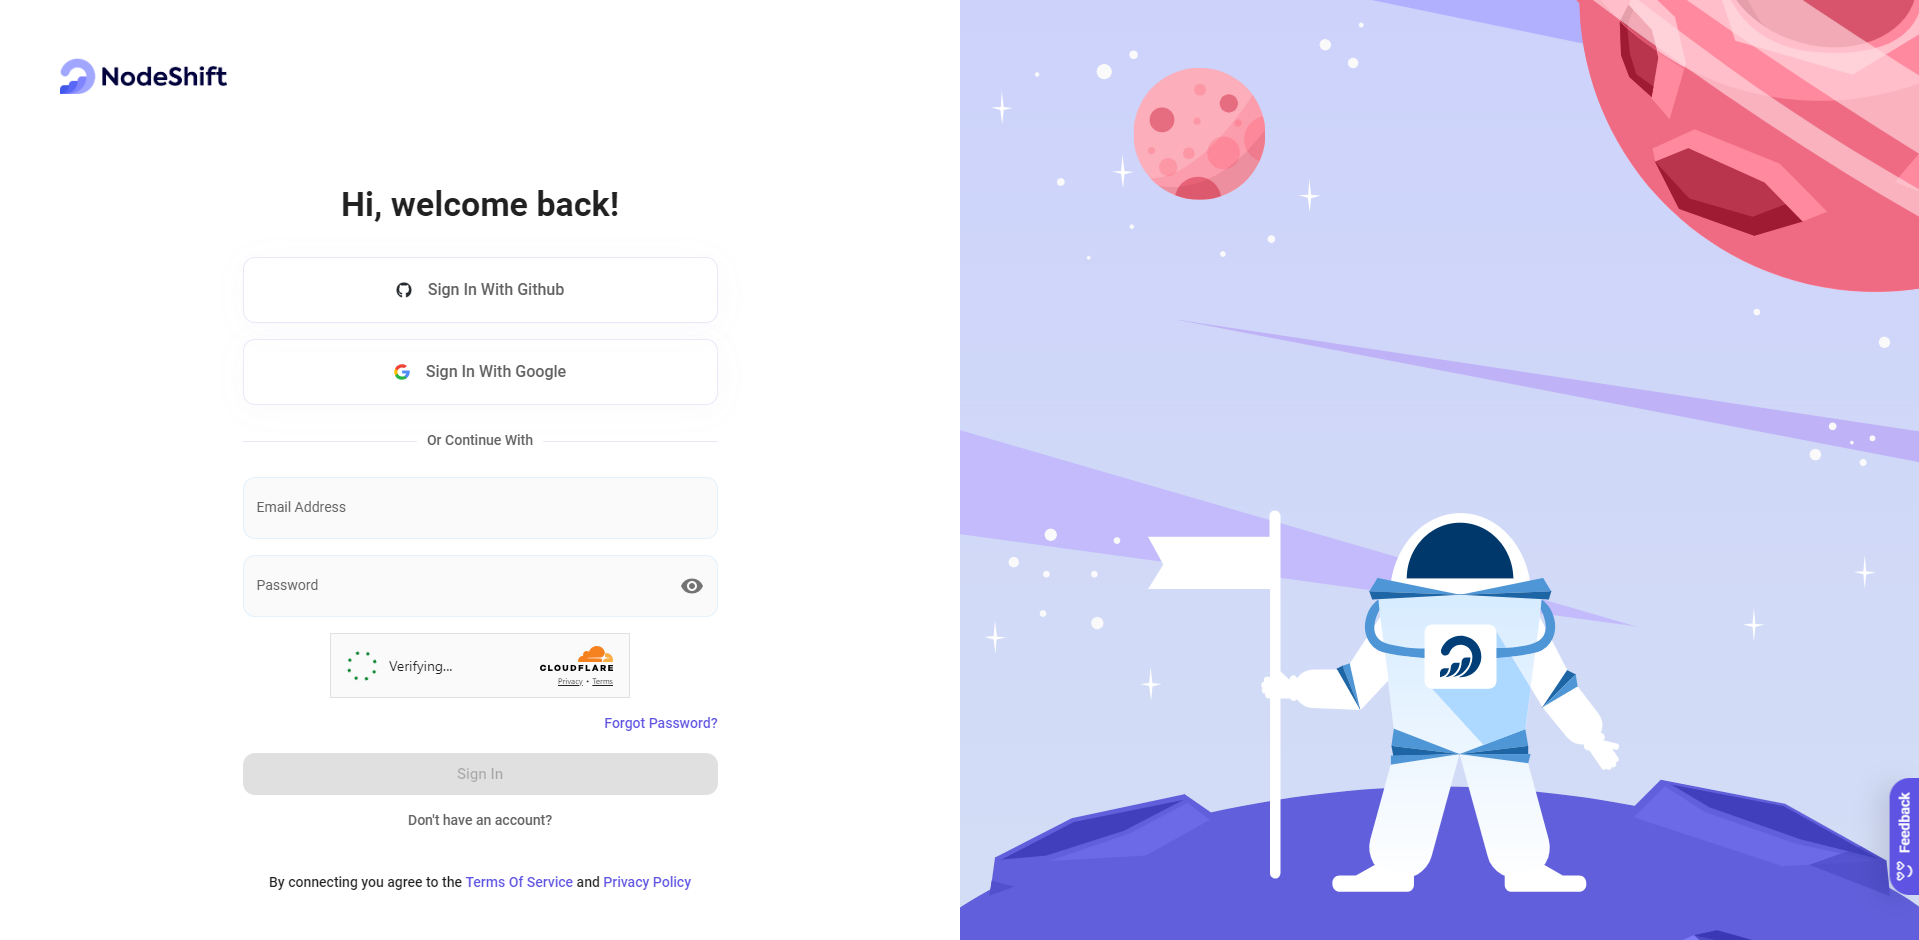
Step 1: Sign Up and Set Up a NodeShift Cloud Account
Visit the NodeShift Platform and create an account. Once you've signed up, log into your account.
Follow the account setup process and provide the necessary details and information.
Step 2: Create a GPU Virtual Machine
GPU Nodes are NodeShift's GPU Virtual Machines, on-demand resources equipped with diverse GPUs ranging from H100s to A100s. These GPU-powered VMs provide enhanced environmental control, allowing configuration adjustments for GPUs, CPUs, RAM, and Storage based on specific requirements.
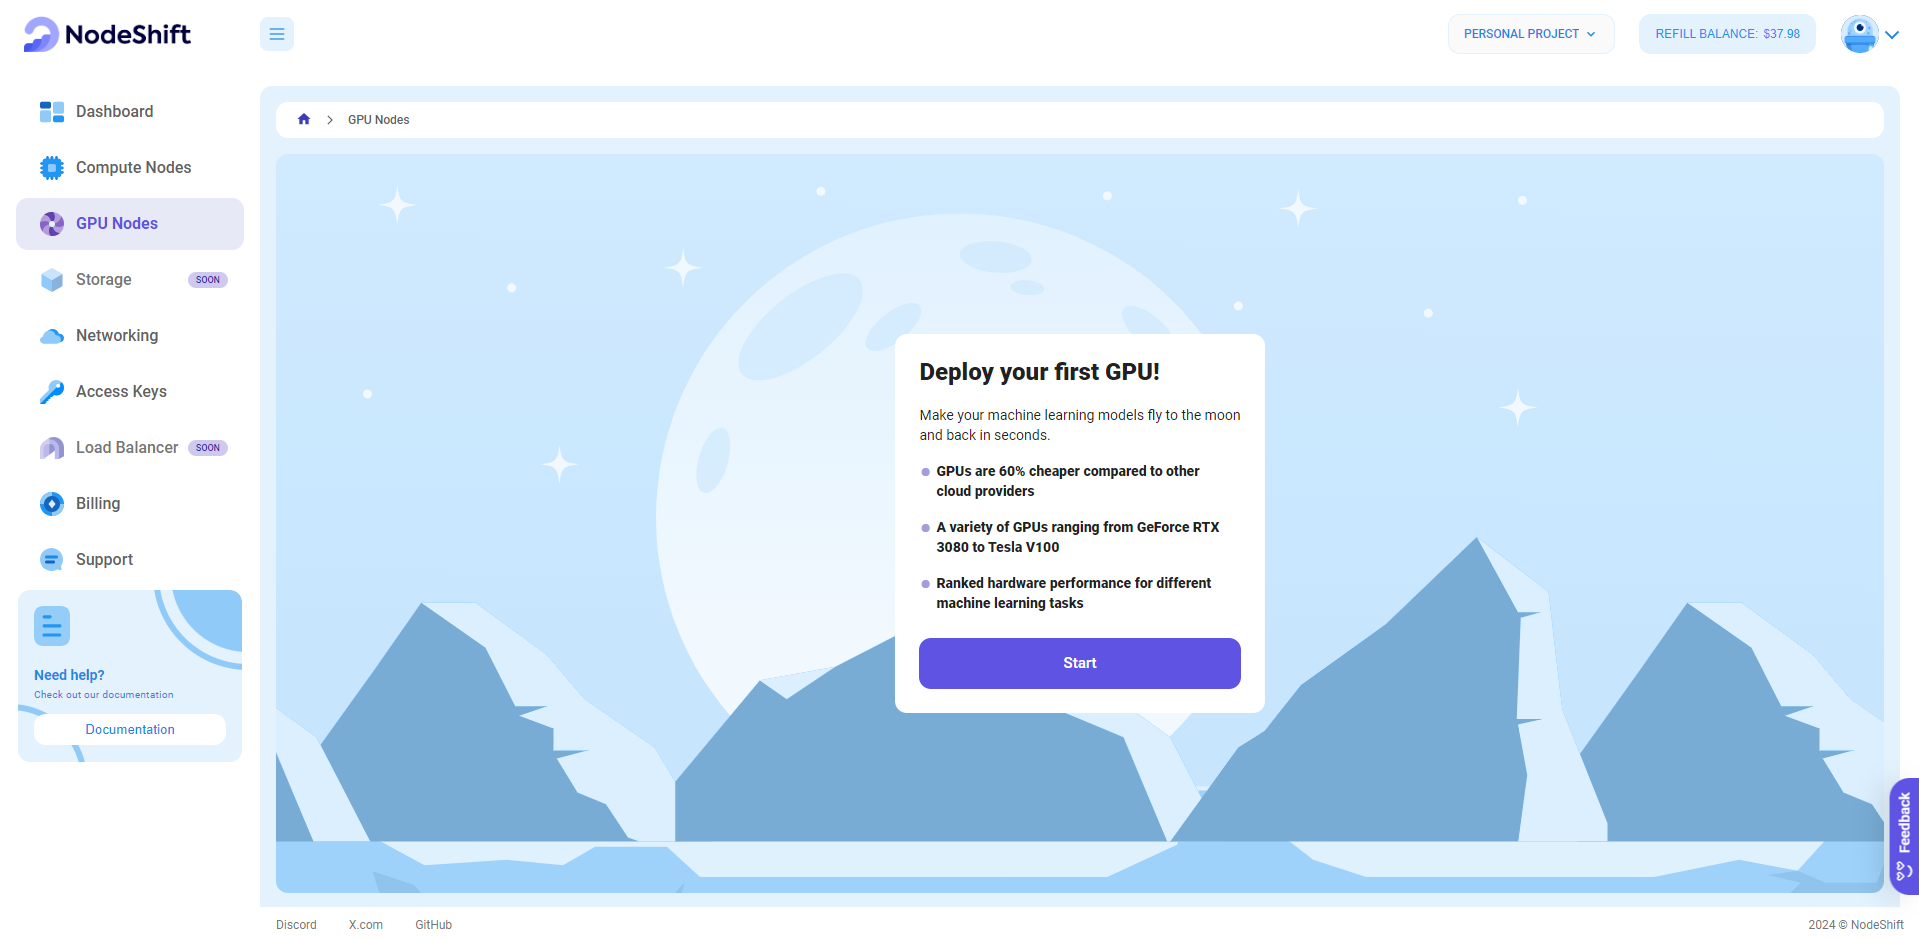
Navigate to the menu on the left side. Select the GPU Nodes option, create a GPU Node in the Dashboard, click the Create GPU Node button, and create your first Virtual Machine deployment.
Step 3: Select a Model, Region, and Storage
In the "GPU VMs" tab, select a GPU Model and Storage according to your needs and the geographical region where you want to launch your model.
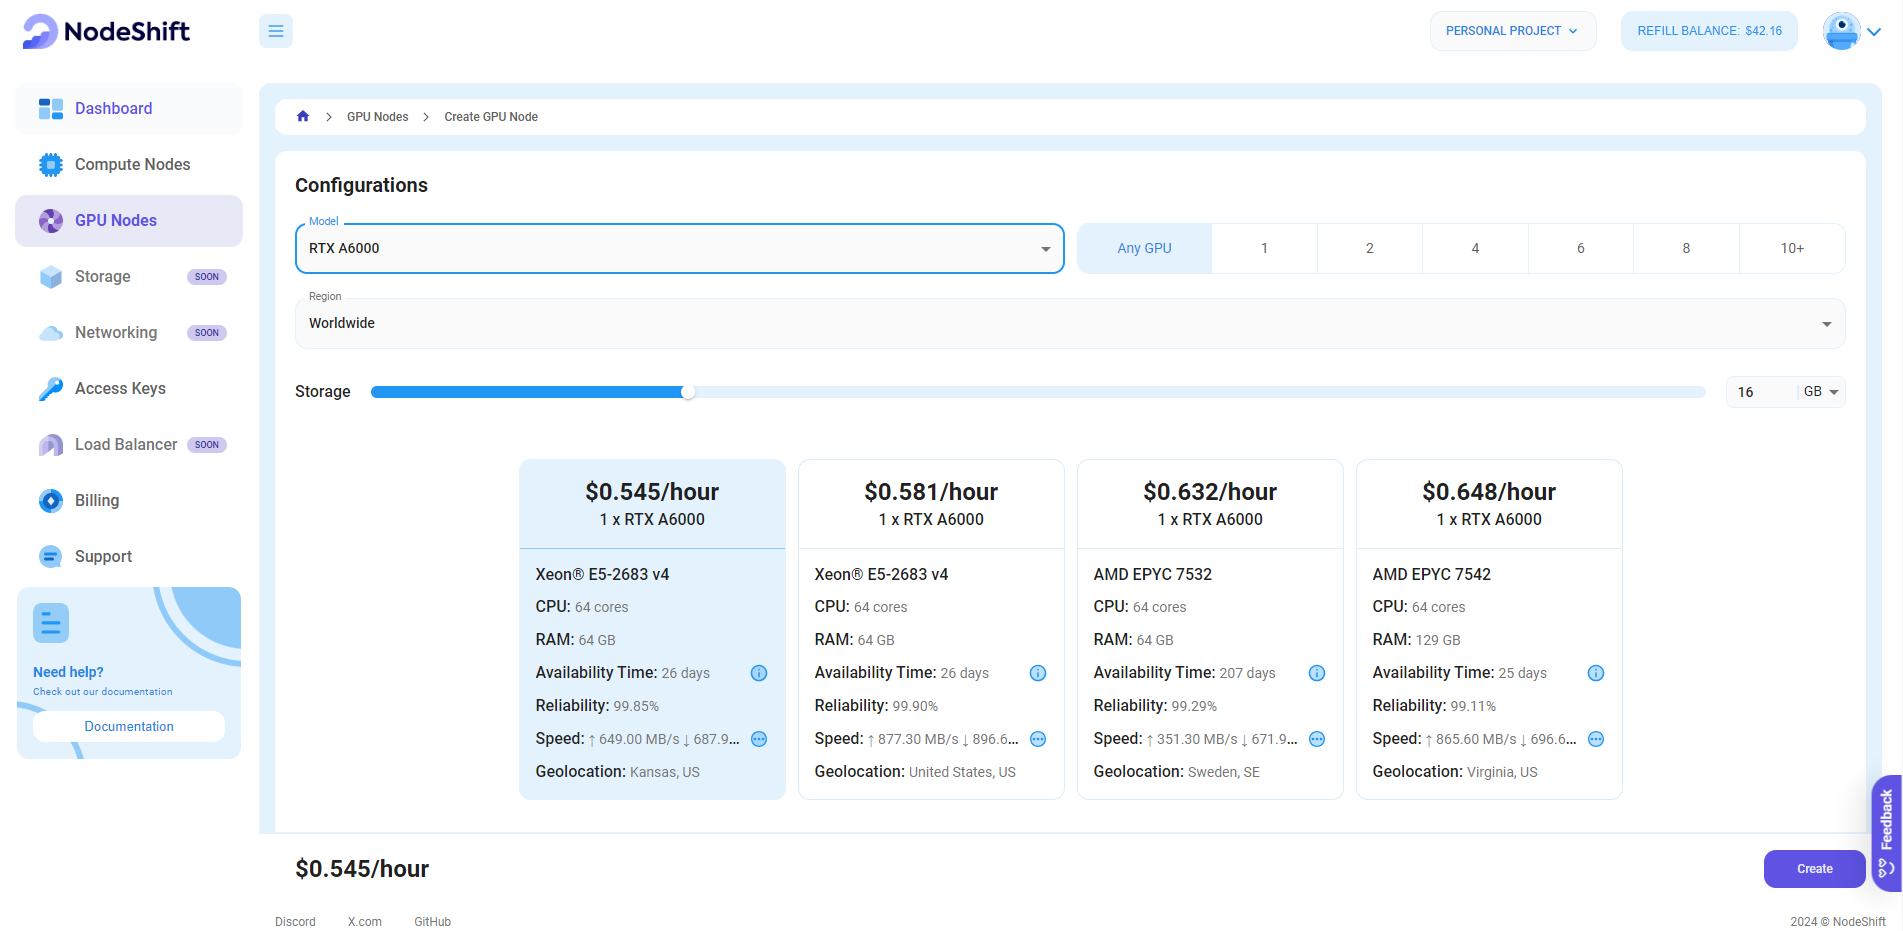
For this tutorial, we will use 1x RTX A6000 GPU to achieve the fastest performance. However, you can choose a more affordable GPU with less VRAM if that better suits your requirements.
Step 4: Select Authentication Method
There are two authentication methods available: Password and SSH Key. SSH keys are a more secure option. To create them, please refer to our official documentation.

Step 5: Choose an Image
Next, you will need to choose an image for your Virtual Machine. We will deploy Gemma 7B on an NVIDIA Cuda Virtual Machine. This proprietary, closed-source parallel computing platform will allow you to install Gemma 7B on your GPU Node.
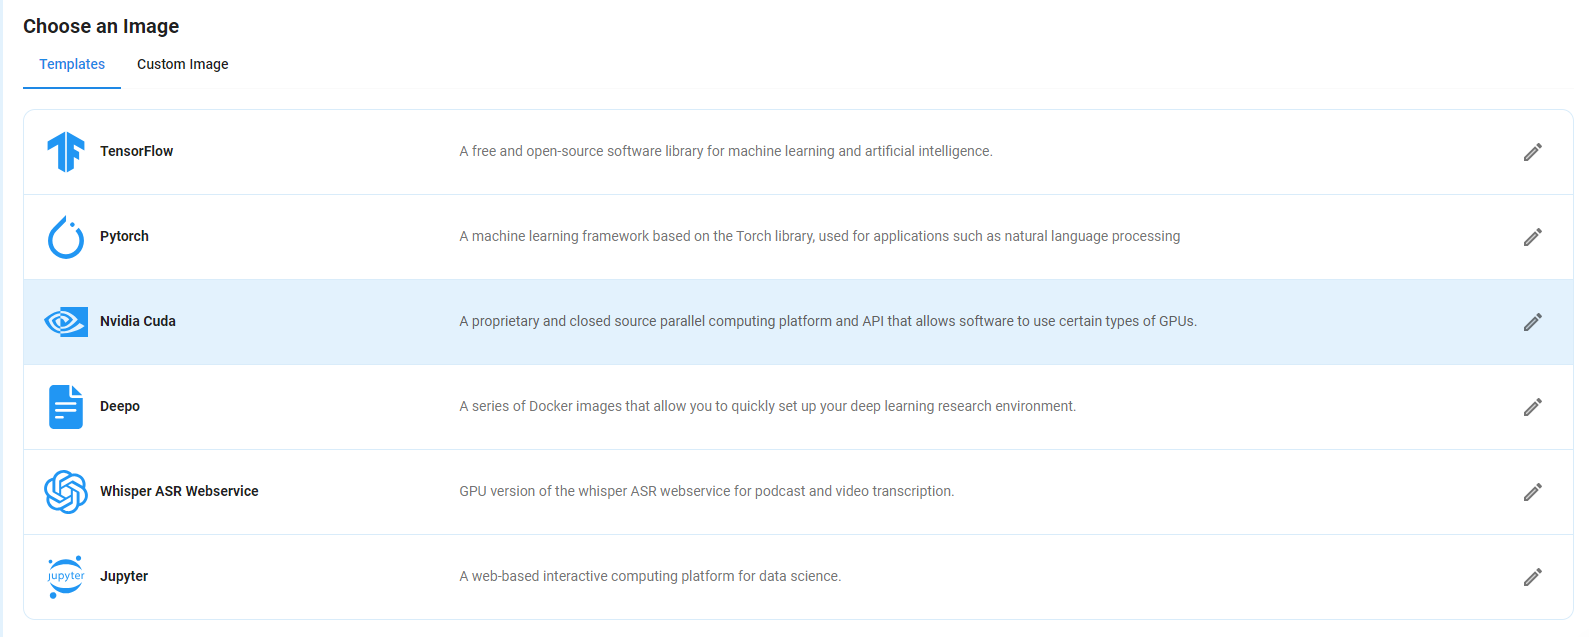
After choosing the image, click the ‘Create’ button, and your VM will be deployed.
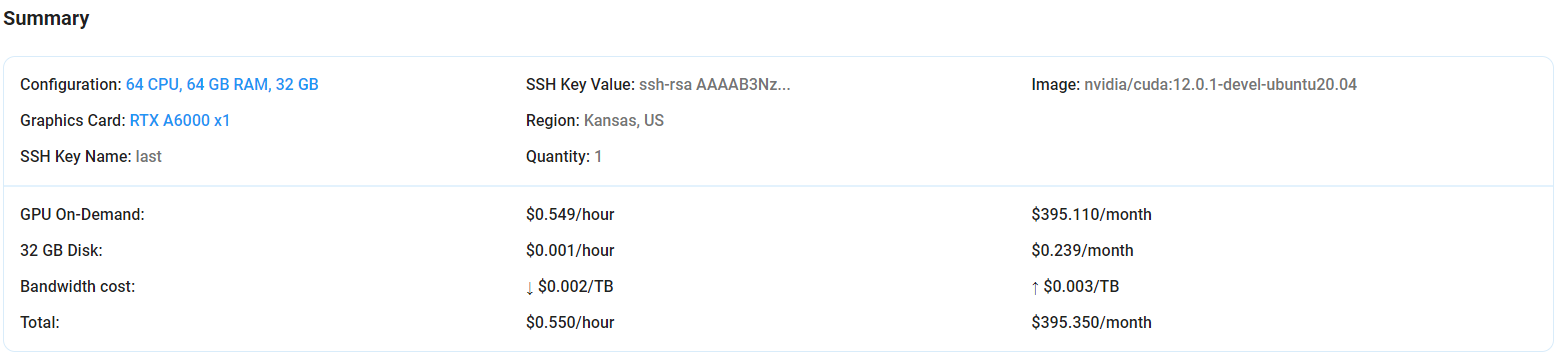
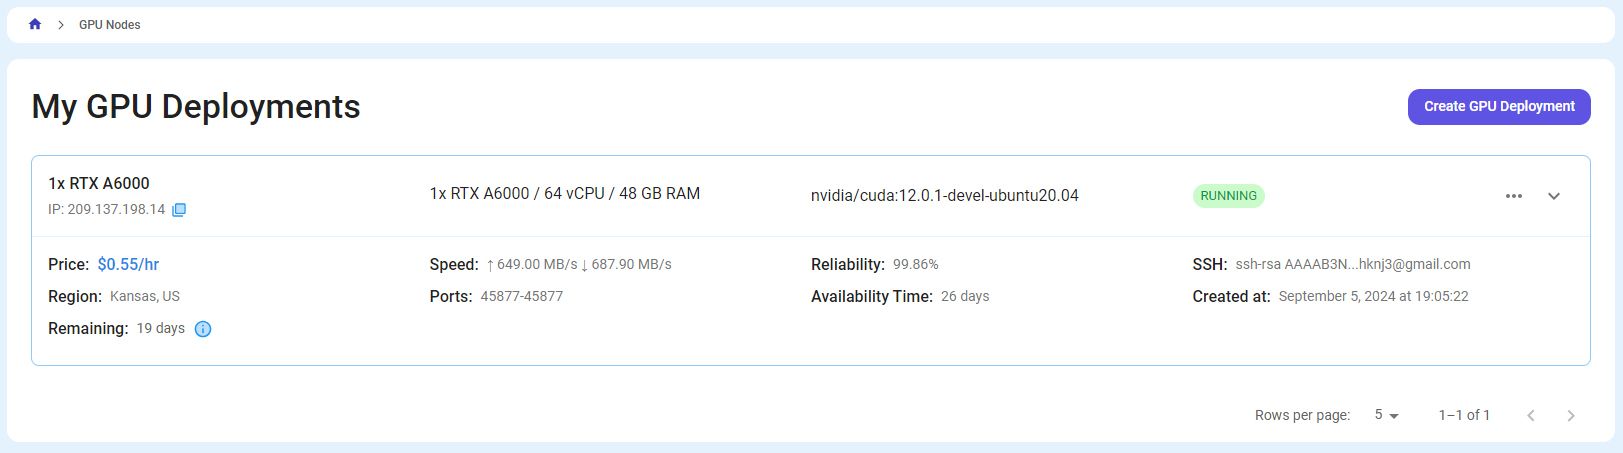
Step 6: Virtual Machine Successfully Deployed
You will get visual confirmation that your node is up and running.
Step 7: Connect to GPUs using SSH
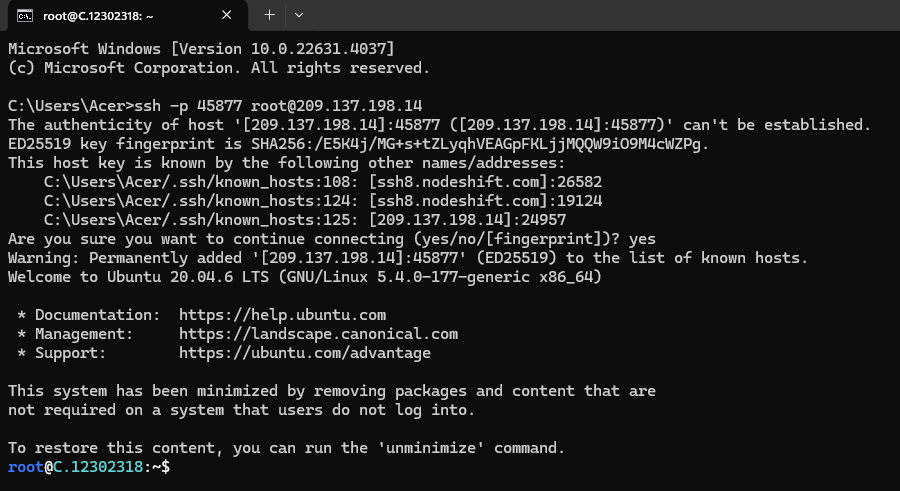
NodeShift GPUs can be connected to and controlled through a terminal using the SSH key provided during GPU creation.
Once your GPU VM deployment is successfully created and has reached the 'RUNNING' status, you can navigate to the page of your GPU Deployment Instance. Then, click the 'Connect' button in the top right corner.
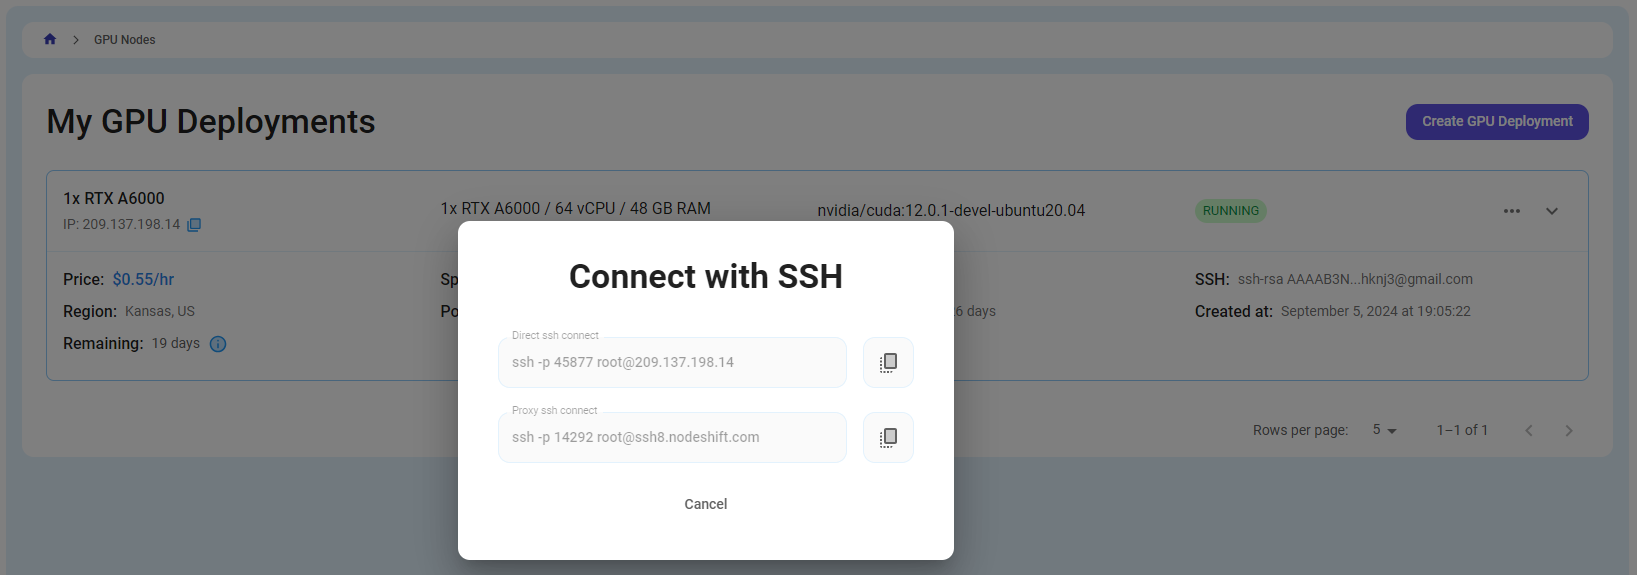
Now open your terminal and paste the proxy SSH IP or direct SSH IP.
Next, If you want to check the GPU details, run the command below:
nvidia-smi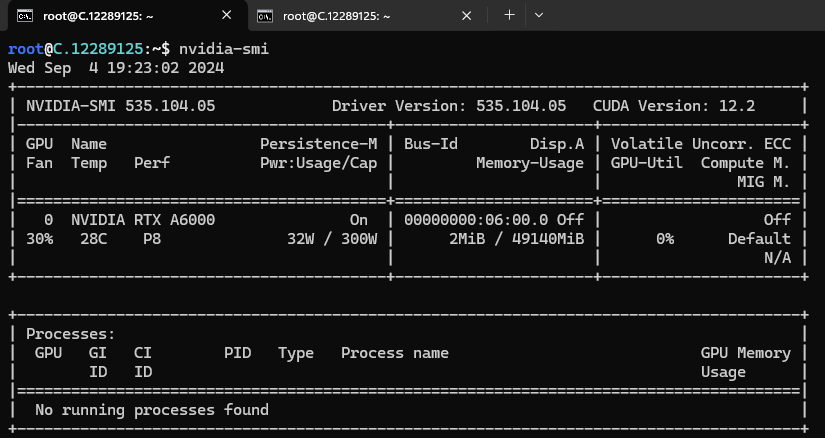
Step 8: Install Google-Gemma 7B
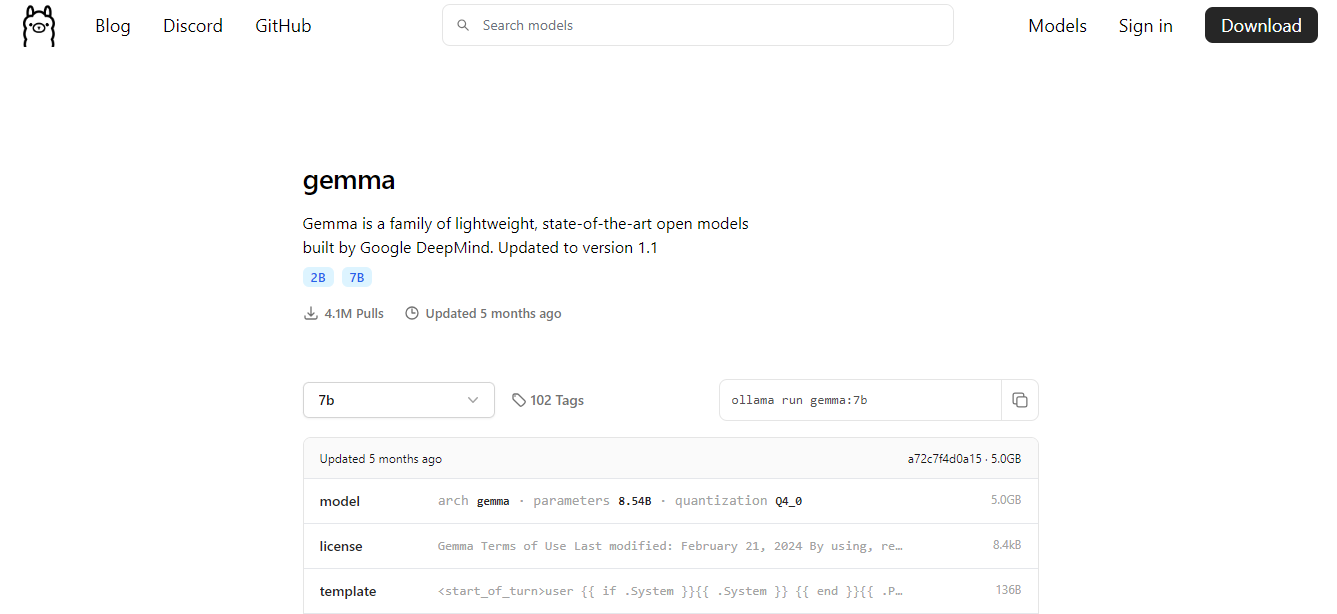
After completing the steps above, it's time to download Gemma from the Ollama website.
Website Link: https://ollama.com/library/gemma:7b
We will be running Google-Gemma 7B. Select the 7B model from the website.
Then run the following command in cmd to install the Ollama:
curl -fsSL https://ollama.com/install.sh | sh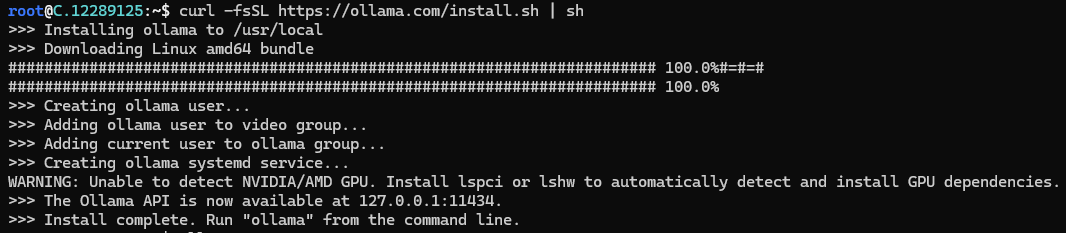
After the installation process is complete, run the following command to see a list of available commands:
ollama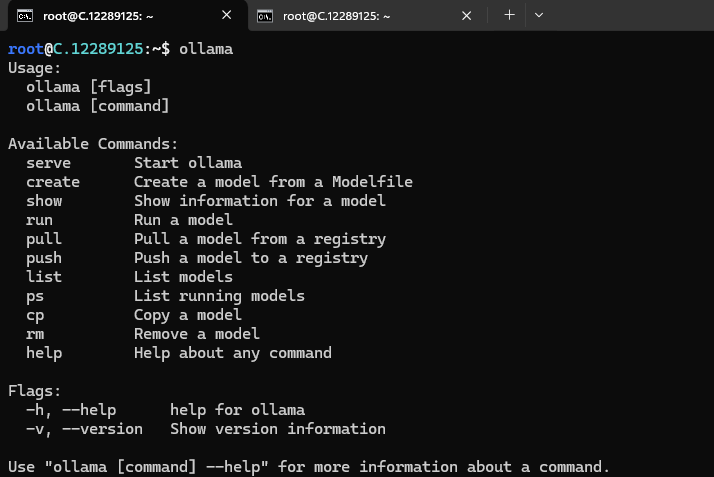
Run the following command to host the Gemma model so it could be accessed and utilized efficiently.
ollama serve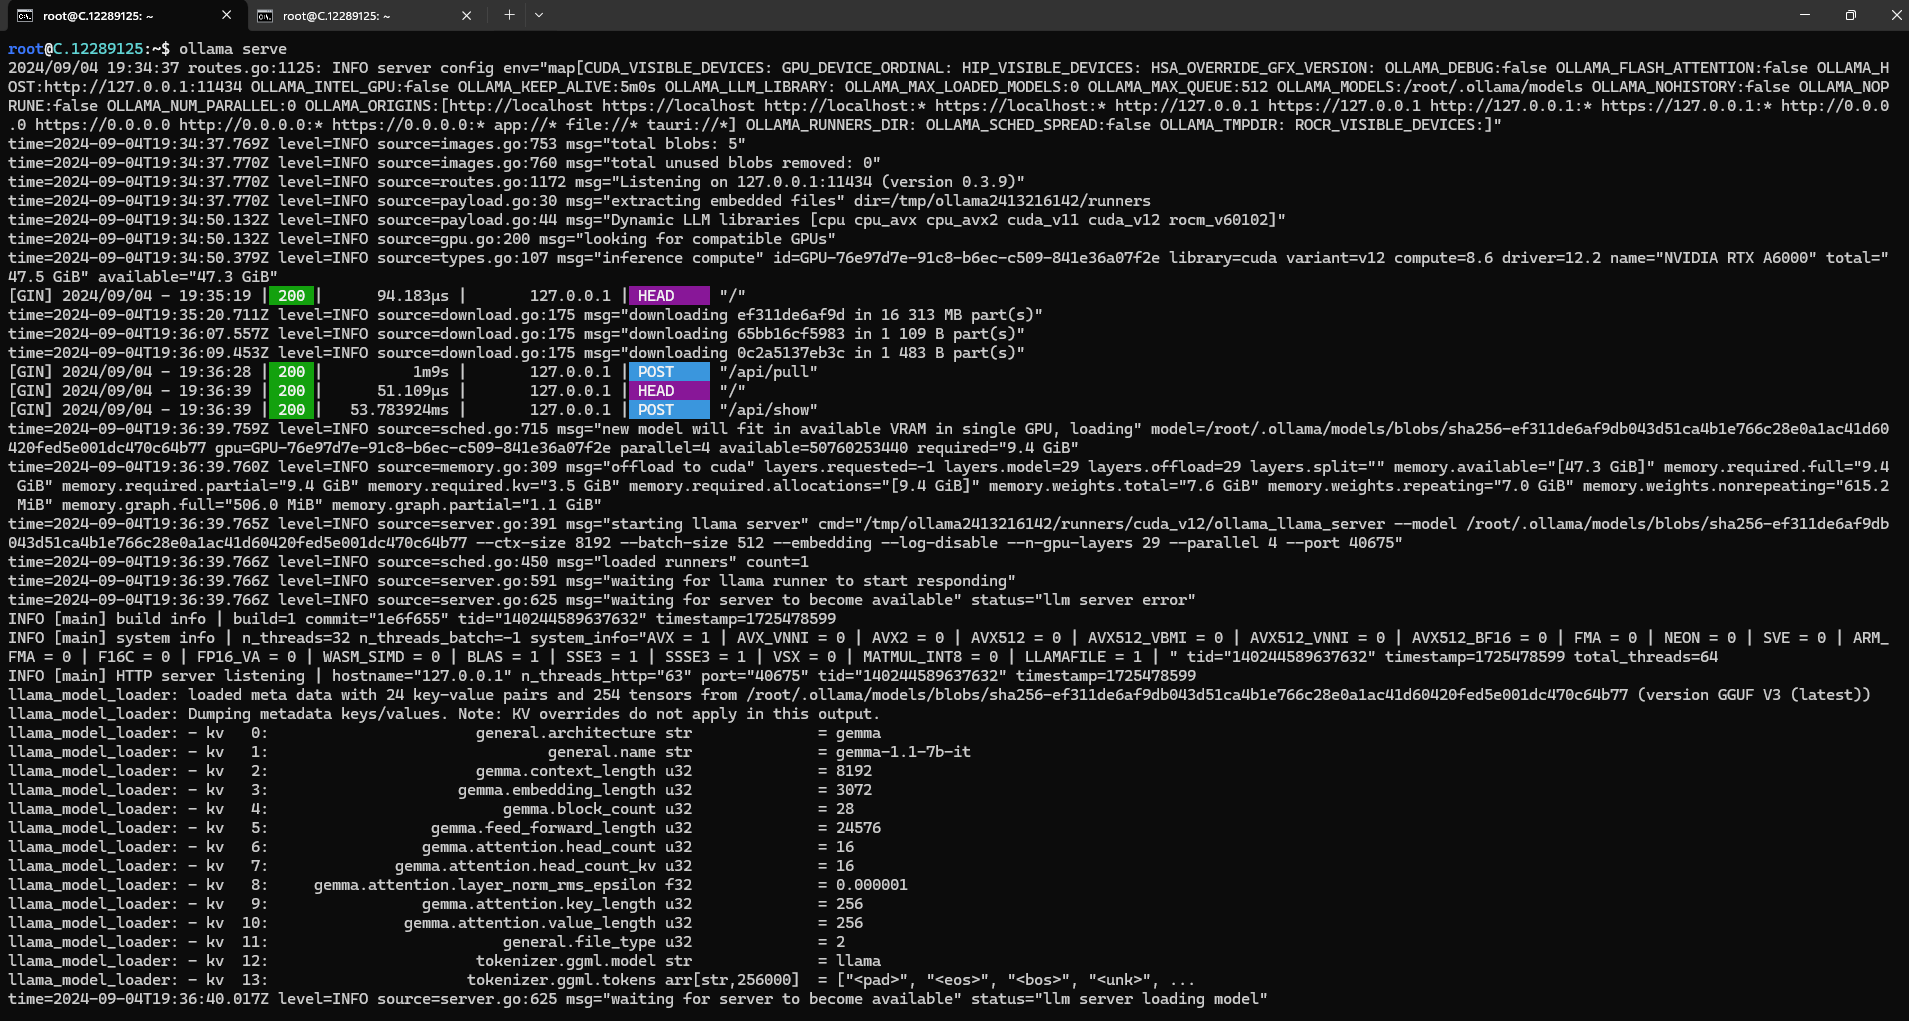
Step 9: Install Google-Gemma 7B Model
To install the Google-Gemma 7B Model, run the following command:
ollama pull gemma:7b
Step 10: Run Google-Gemma 7B Model
Now, you can run the model in the terminal using the following command and interact with your model:
ollama run gemma:7b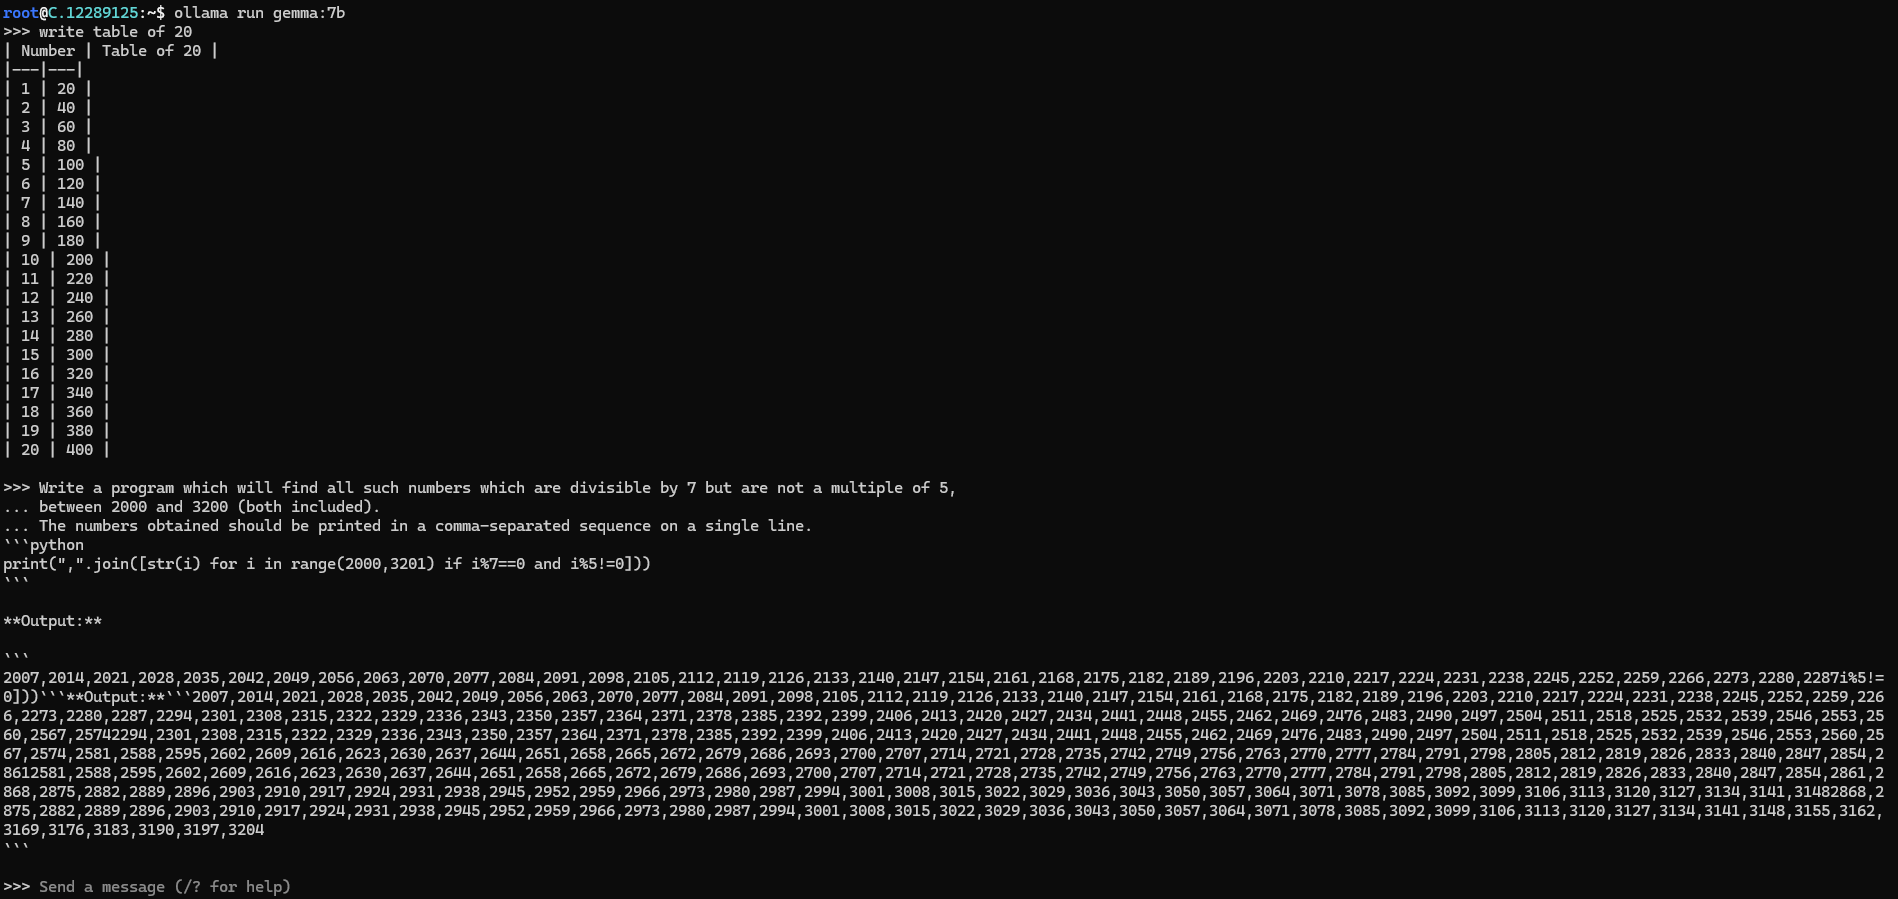
Conclusion
Gemma 7B is a groundbreaking open-source Google model that offers developers and researchers state-of-the-art AI capabilities. By following this step-by-step guide, you can easily deploy Gemma 7B on a GPU-powered Virtual Machine with NodeShift and harness its full potential. NodeShift provides an accessible, secure, and affordable platform to run your AI models efficiently.
For more information about NodeShift: