How to deploy Llama 3.1 in the Cloud: A Comprehensive Guide

Llama 3.1, the latest series of open-weight LLMs released by Meta AI under a community license, represents a complex AI language model designed to generate and understand human alike text. It’s part of the LLaMA (Large Language Model Meta AI) series which aims to provide powerful tools for natural language processing tasks.
The Llama 3.1 models, available in three sizes: 8B, 70B, and 405 B, demonstrate exceptional performance that surpasses other open-weight models of similar sizes. In this blog, we will focus on the 70 B model, with the 405B model to be covered in our next Llama series blog. The Llama 3.1 research report confirms that the 405B model matches the benchmark performance of GPT-4, further highlighting their superior performance.

Llama 3.1 405B: The Powerhouse
- 405 billion parameters
- Trained on over 15 trillion tokens
- Rivals top closed-source AI models in capabilities
- State-of-the-art performance in general knowledge, steerability, math, and tool use
- Multilingual translation support
Llama 3.1 8B and 70B: A World of Possibilities
- Multilingual support
- Extended context length of 128K tokens
- Improved tool use capabilities
- Enhanced reasoning abilities
Step-by-Step Process to Deploying Llama 3.1 in the Cloud
For the purpose of this tutorial, we will use a GPU-powered Virtual Machine offered by NodeShift; however, you can replicate the same steps with any other cloud provider of your choice.
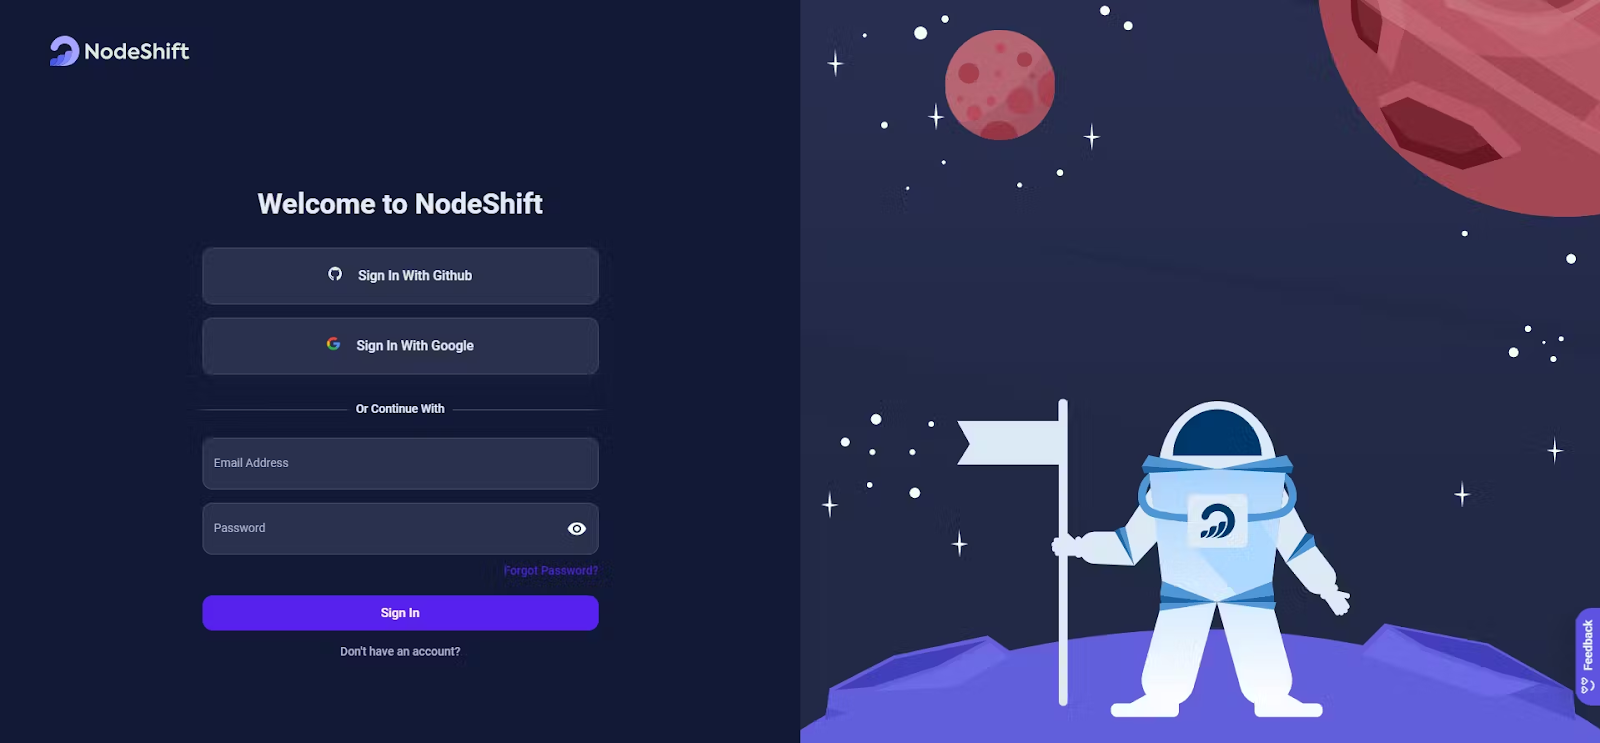
Step 1: Sign Up and Set Up a NodeShift Cloud Account
Visit the NodeShift Cloud website (https://app.nodeshift.com/) and create an account. Once you've signed up, log into your account.
Follow the account setup process and provide the necessary details and information.
Step 2: Create a GPU Virtual Machine
NodeShift GPUs offer flexible and scalable on-demand resources like NodeShift Virtual Machines (VMs) equipped with diverse GPUs ranging from H100s to A100s. These GPU-powered VMs provide enhanced environmental control, allowing configuration adjustments for GPUs, CPUs, RAM, and Storage based on specific requirements.
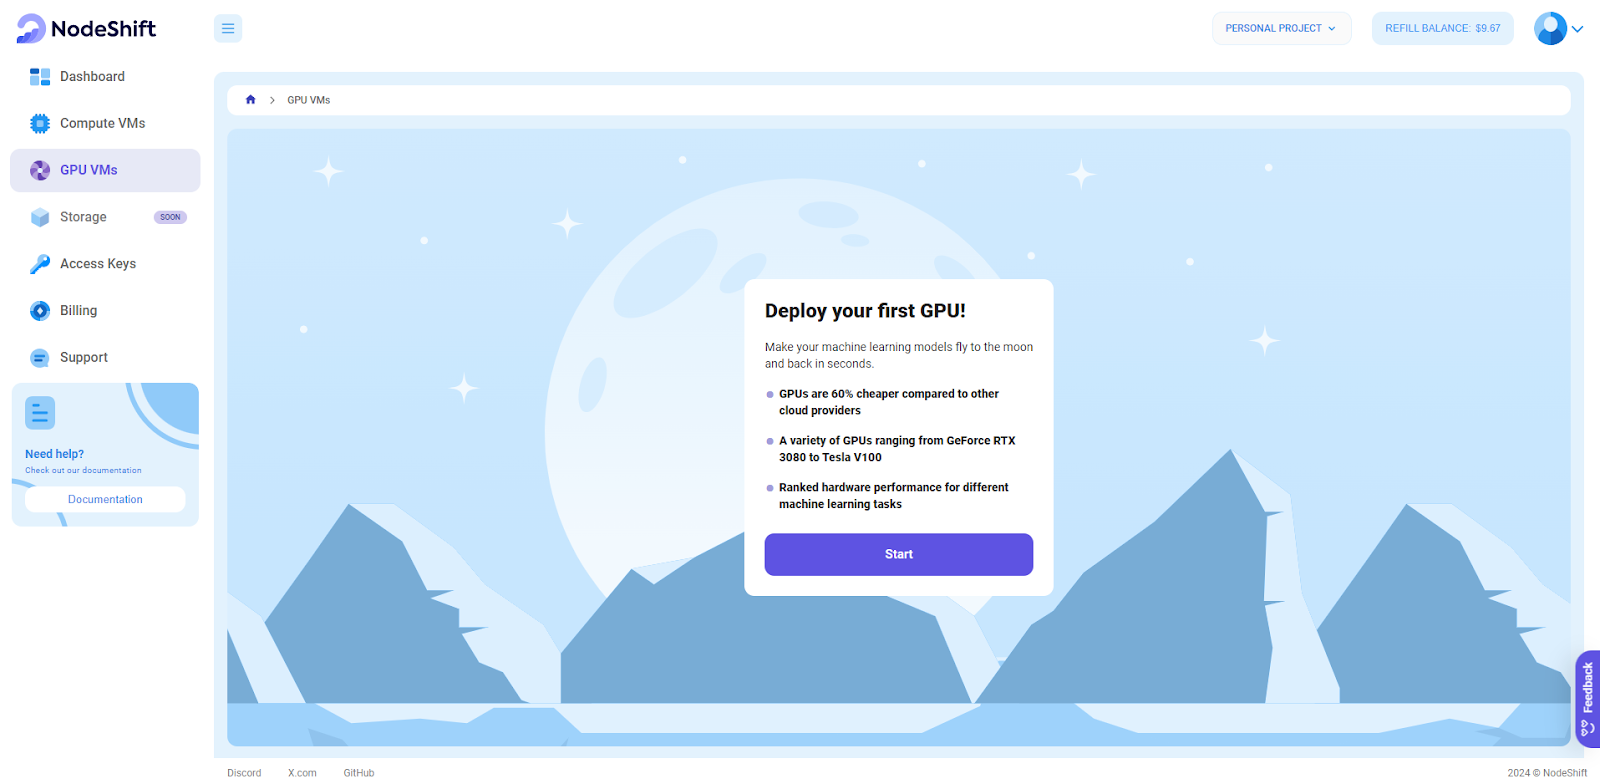
Navigate to the menu on the left side. Select the GPU VMs option, create a GPU VM in the Dashboard, click the Create GPU VM button, and create your first deployment.
Step 3: Select a Model, Region, and Storage
In the "GPU VMs" tab, select a GPU Model and Storage according to your needs and the geographical region where you want to launch your model.
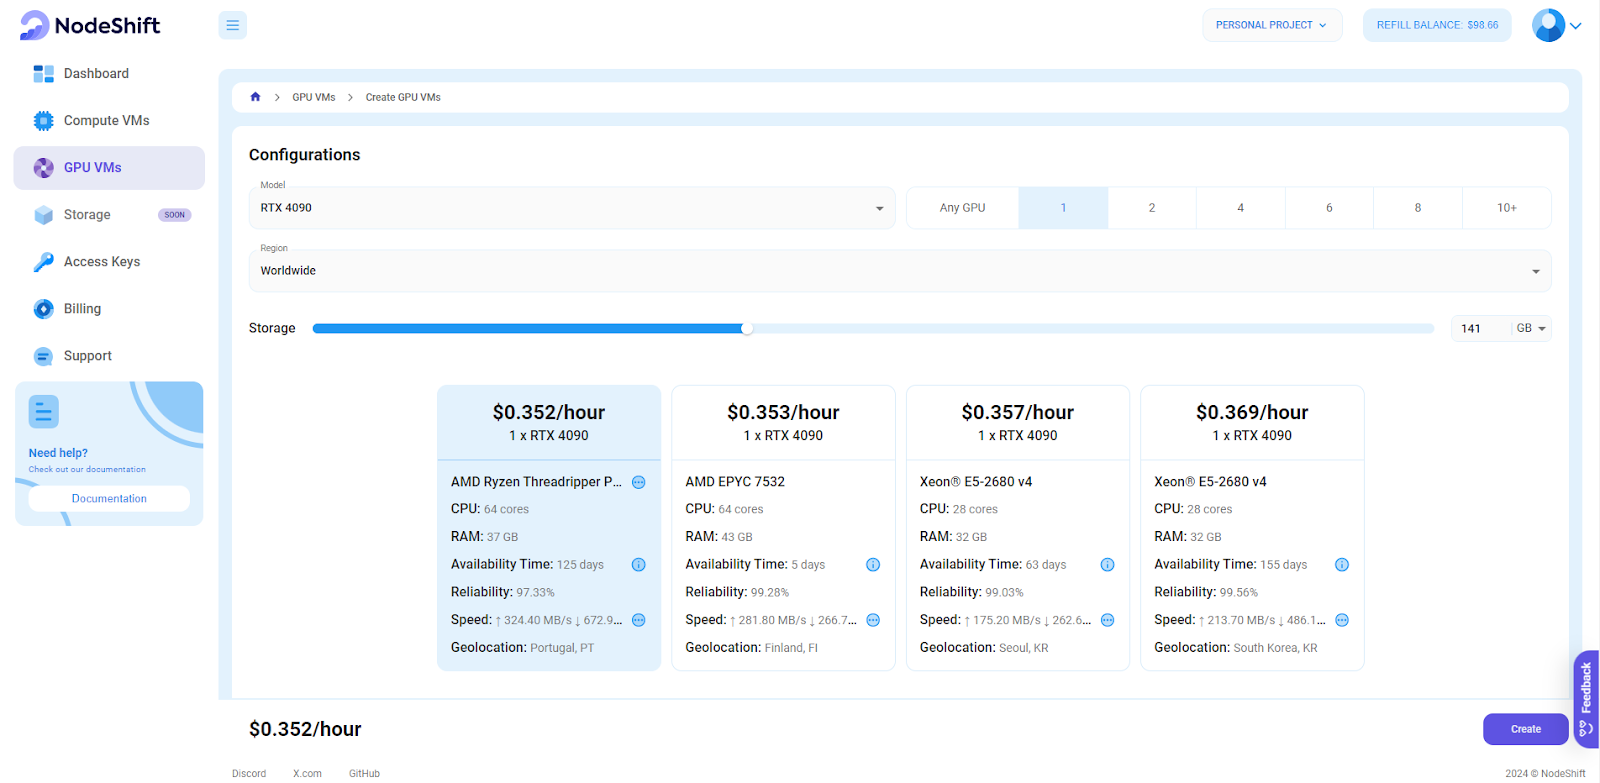
For the purpose of this tutorial, we are using the RTX 4090 Model to deploy Llama 3.1 70B. After this, select the amount of storage to run meta-llama/meta-lama-3.1-70 B. You will need at least 135 GB of storage.
Note:
- Meta-Llama-3.1-8B-Instruct is recommended on 1x NVIDIA A10G or L4 GPUs.
- Meta-Llama-3.1-70B-Instruct is recommended on 4x NVIDIA A100 or as AWQ/GPTQ quantized on 2x A100s.
- Meta-Llama-3.1-405B-Instruct-FP8 is recommended on 8x NVIDIA H100 in FP or as AWQ/GPTQ quantized on 8x A100s.
For demo purposes, we are using retail grade RTX 4090 GPUs; however, the performance will be slower compared A100.
Step 4: Select Authentication Method
There are two authentication methods available: Password and SSH Key. SSH keys are a more secure option, in order create them, head over to our official documentation: (https://docs.nodeshift.com/gpus/create-gpu-deployment)

Step 5: Choose an Image
Next, you will need to choose an image for your VM. We will be deploying Llama 3.1 70b on an NVIDIA Cuda Virtual Machine, it’s a proprietary and closed source parallel computing platform that will allow you to install Llama 3.1 on your GPU VM.
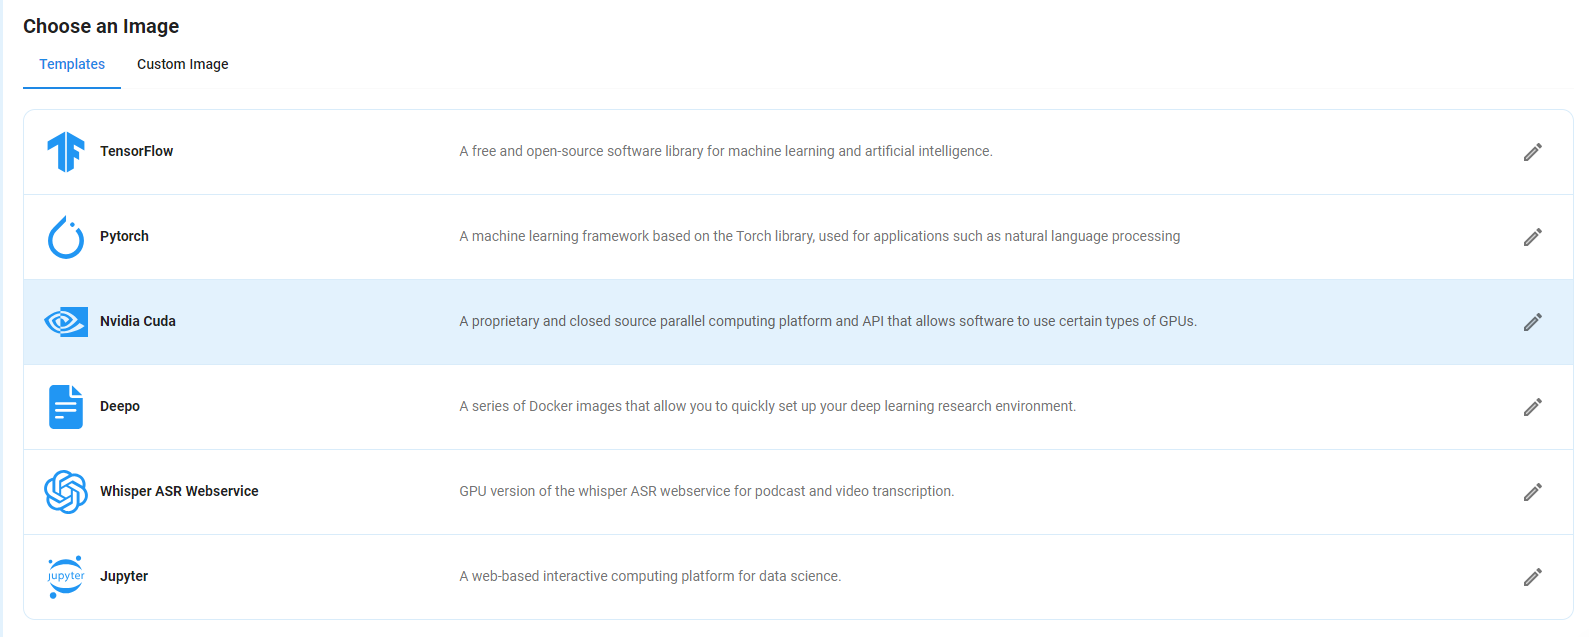
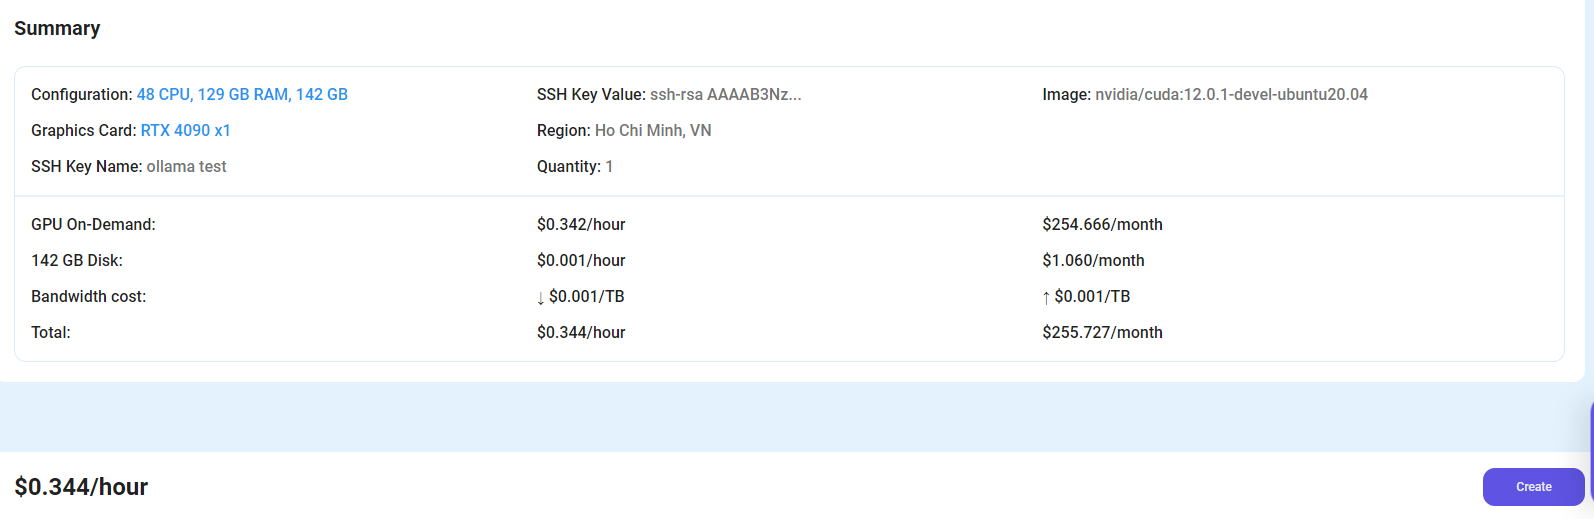
After choosing the image, click the ‘Create’ button, and your VM will be deployed.
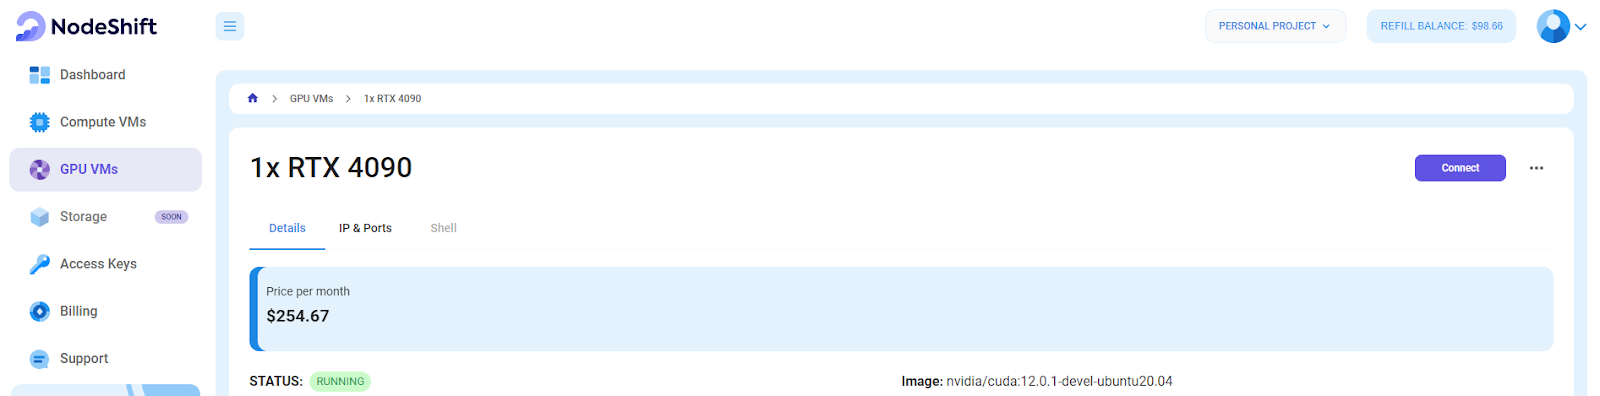
Step 6: Virtual Machine Successfully Deployed
You will get visual confirmation that your machine is up and running.

Step 7: Connect to GPUs using SSH
NodeShift GPUs can be connected to and controlled through a terminal using the SSH key provided during GPU creation.
Once your GPU VM deployment is successfully created and has reached the 'RUNNING' status, you can navigate to the page of your GPU Deployment Instance. Then, click the 'Connect' button in the top right corner.
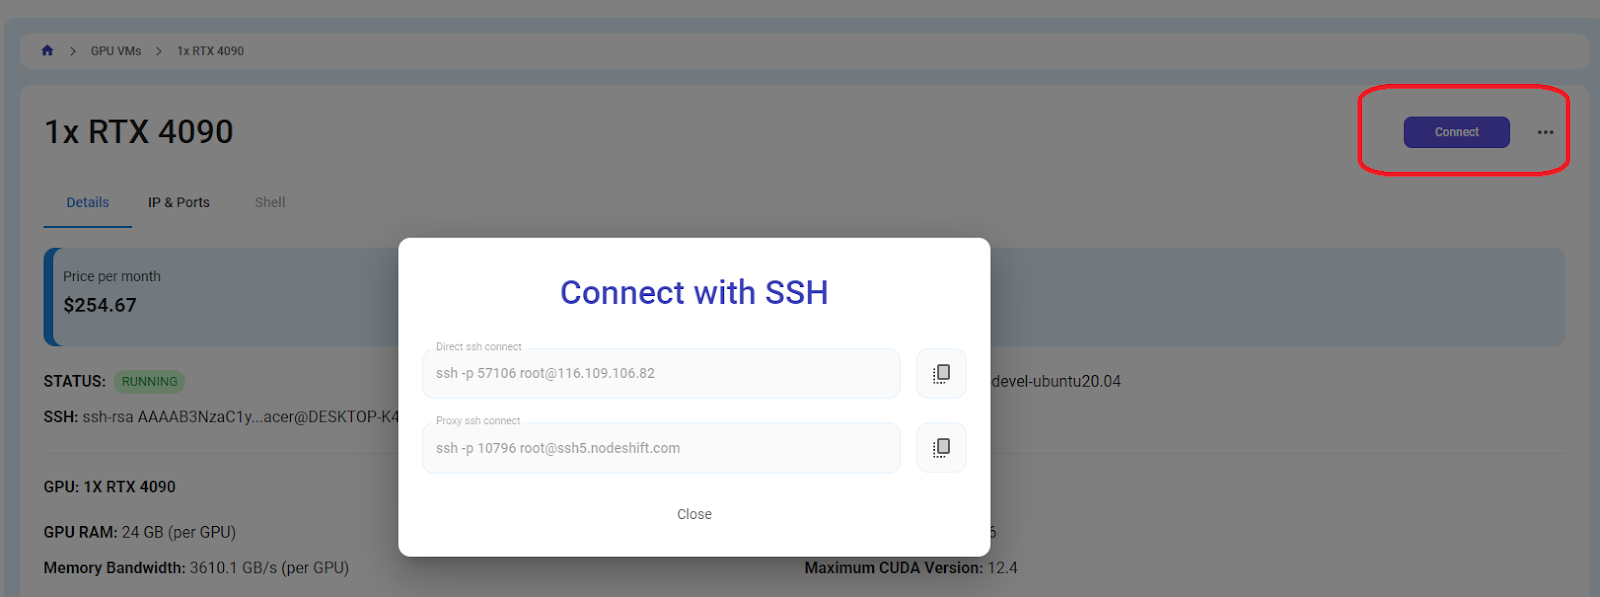
Now open your terminal and paste the proxy SSH IP.
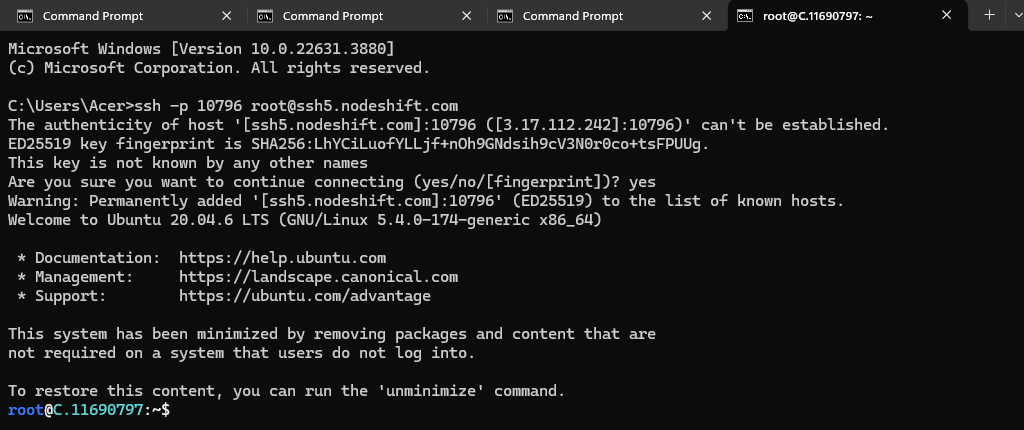
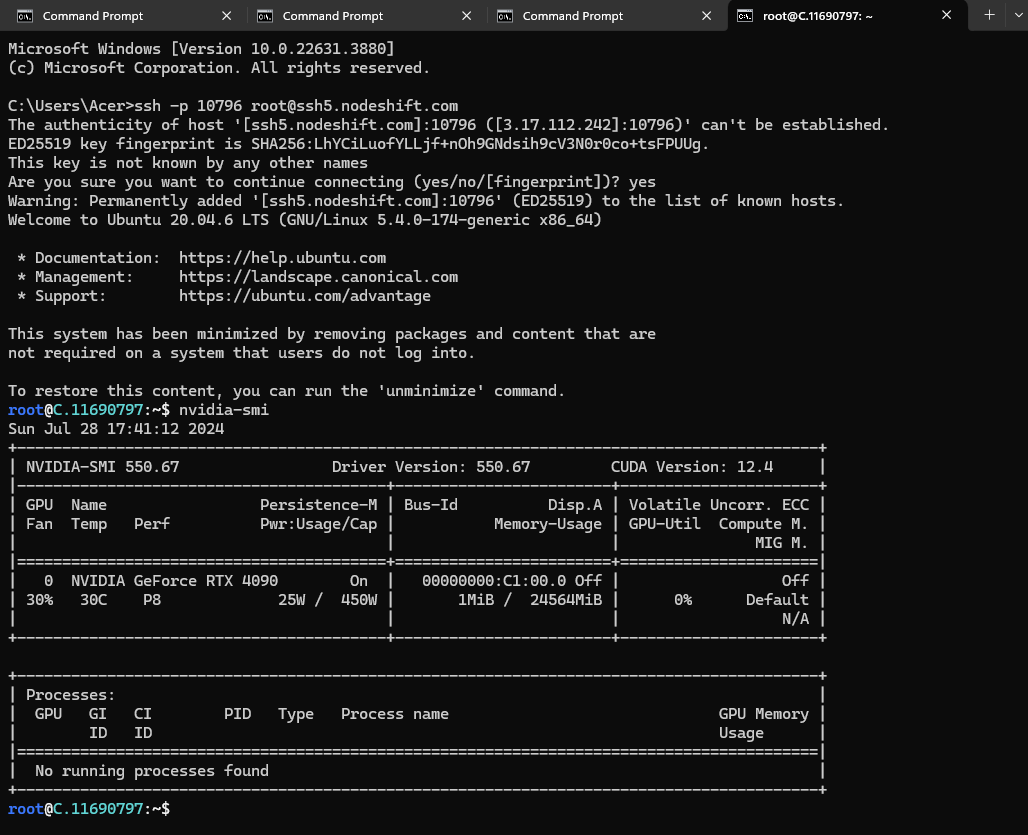
Next, If you want to check the GPU details, Run the below command:
Step 8: Install Llama 3.1 70B
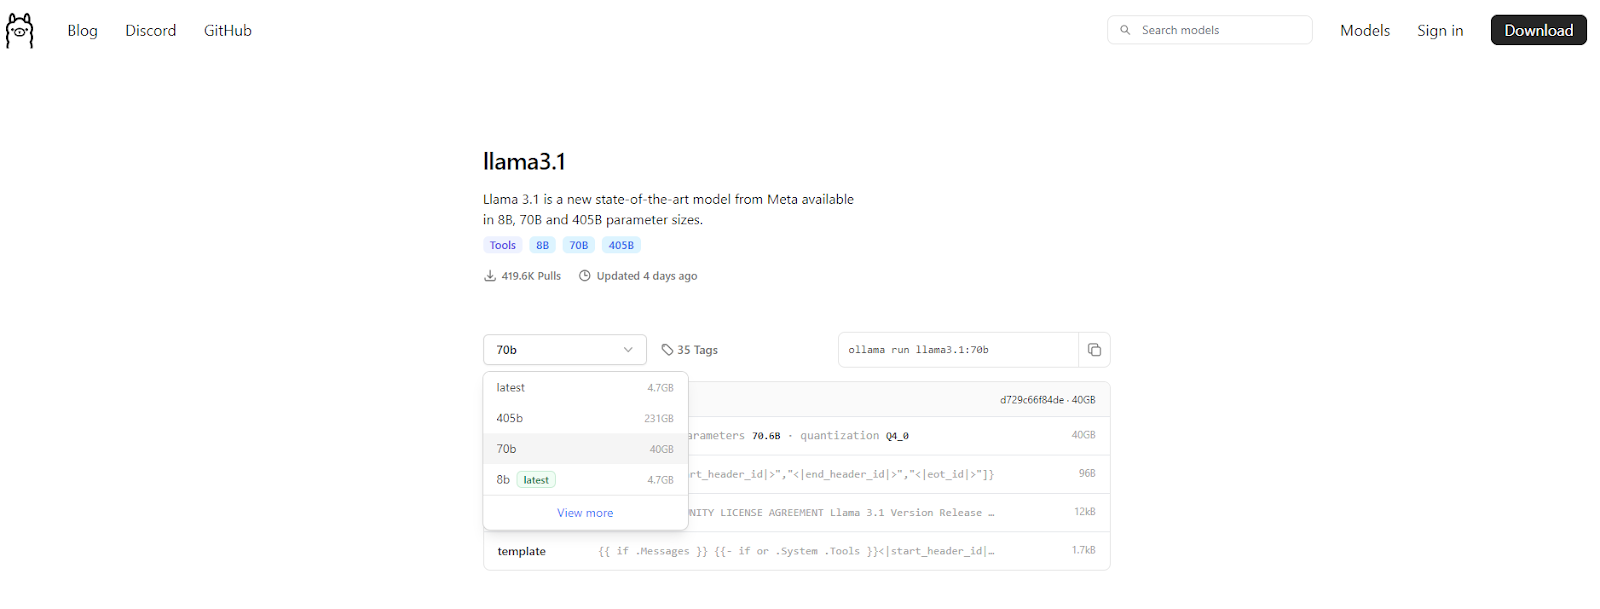
After completing all of the above steps, it's time to download the Llama 3.1 from the Ollama website.
Website Link: https://ollama.com/library/llama3.1
We will be running Meta-Llama-3.1-70B, so choose the 70 B model from the website.
After this, we will run the following command in cmd, and installation will start:
curl -fsSL https://ollama.com/install.sh | sh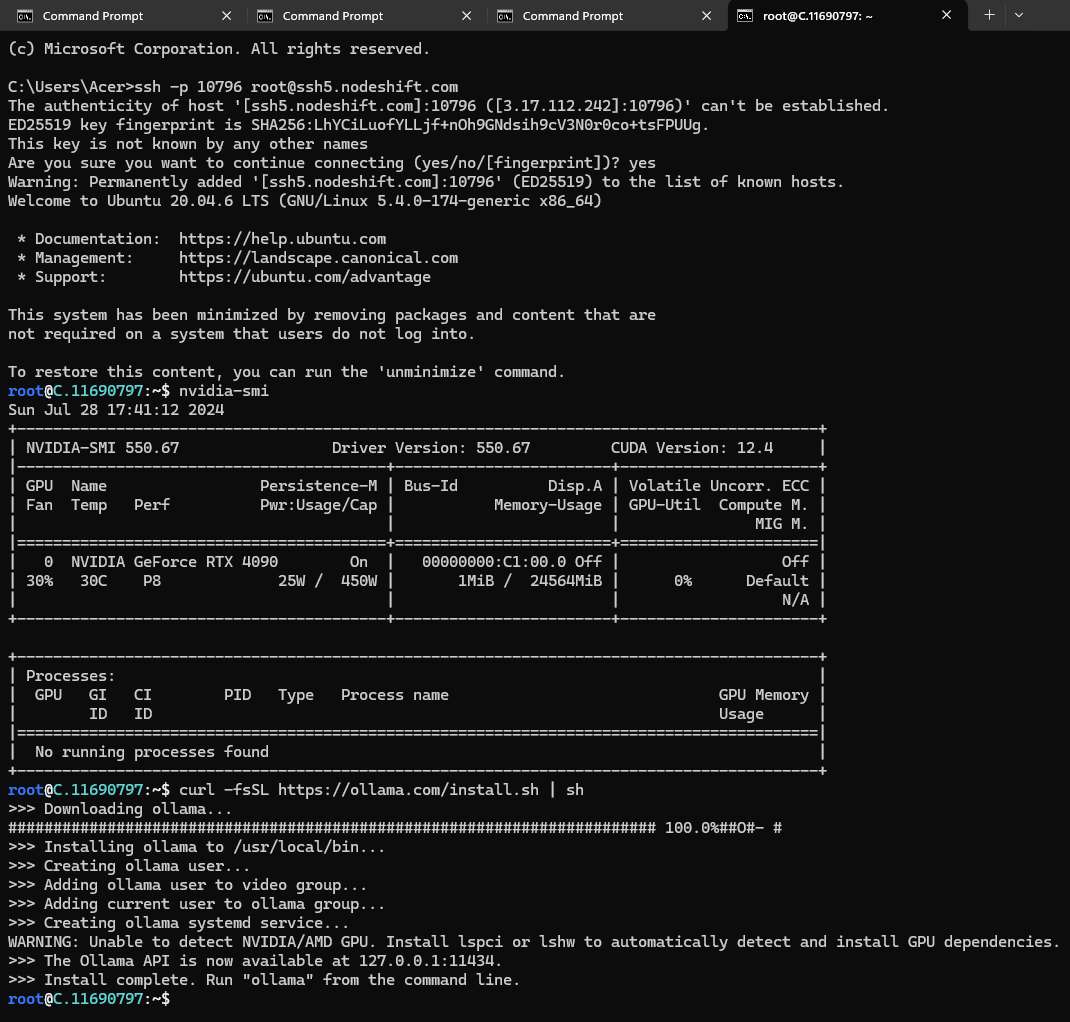
Now, we see that our installation process is complete.
Run the command below to see a list of available commands.
ollama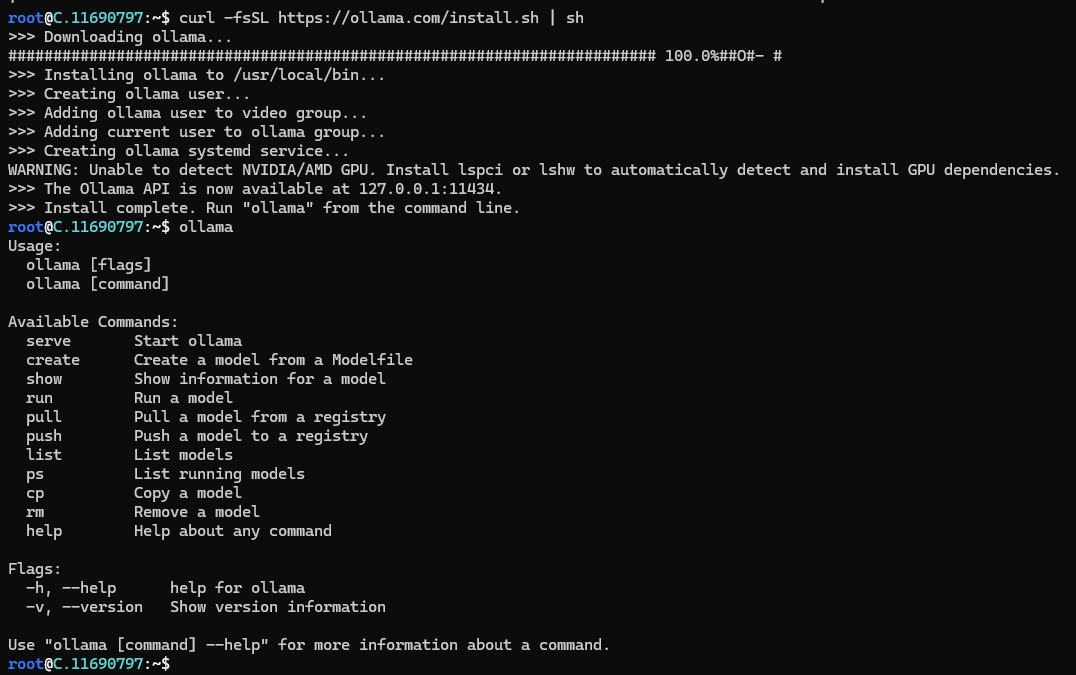
Step 9: Install Llama 3.1 70b Model
In order to install Llama 3.1 70b Model, complete the following:
ollama pull llama3.1:70b
Step 10: Run Llama 3.1 70b Model
Now, you can run the model in the terminal using the command below and can interact with your model:.
ollama run llama3.1:70b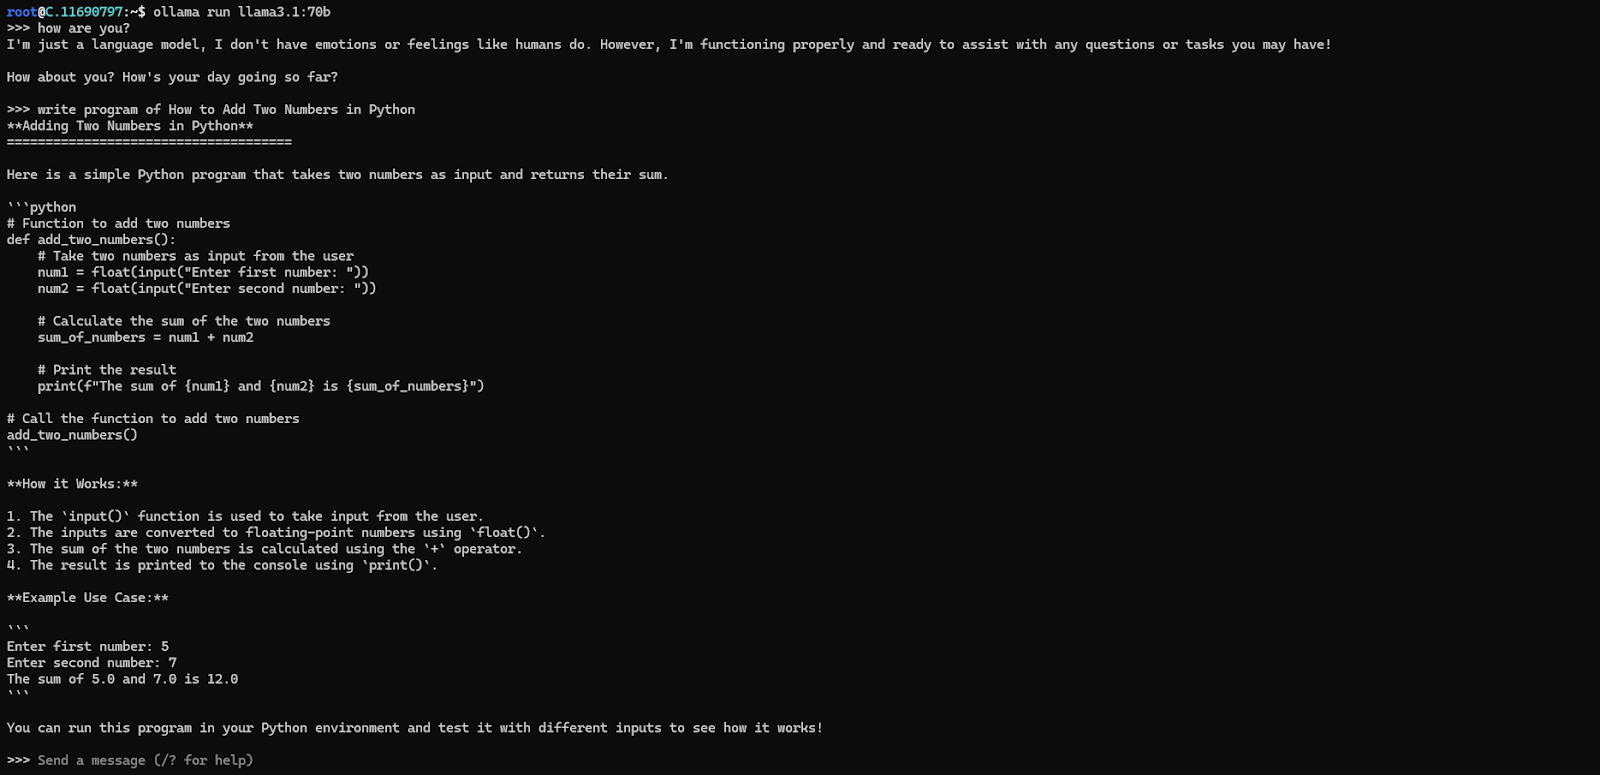
Conclusion
Deploying the Llama 3.1 model in the cloud is a straightforward process that unlocks the potential of Meta AI's latest open-weight LLMs. By following the steps outlined, from setting up a NodeShift Cloud account and creating a GPU VM to installing and running the Llama 3.1 model, developers can leverage the model's advanced capabilities for a wide range of applications. The guide ensures that users can efficiently deploy the powerful 70B model, with its extended context length and enhanced reasoning abilities, to build innovative AI solutions.
For more information about NodeShift: