How to deploy a Solana node in the cloud?

Solana is a blockchain built for mass adoption. It's a high-performance network for various use cases, including finance, NFTs, payments, and gaming. Solana operates as a single global state machine and is open, interoperable, and decentralized.
With the help of this guide, learn how to deploy a Solana node and gain a strong understanding of the core concepts that make Solana different from other blockchains.
- Accounts - Data and state storage mechanism for Solana
- Fees on Solana - Various costs associated with using the network.
- Transactions - Collection of instructions for the blockchain to execute
- Programs - The executable code used to perform actions on the blockchain
- Programs Derived Address - Deterministically generated addresses that allow Solana programs to programmatically "sign" transactions.
- Cross-Program Invocation—This is the core of Solana's "composability;" it is how programs can "call" each other.
Prerequisites
- Instance Type: Choose an instance type with a good CPU, memory, and storage balance. A Solana validator requires a minimum of 16 vCPUs and 64GB of RAM. You can start with a more minor instance for a simple RPC node.
- Operating System: Use a Linux-based OS like Ubuntu 22.04.
- Storage: At least 500GB of SSD storage is recommended, preferably more, depending on your use case.
Step-by-step process to deploy a Solana node on the cloud
For the purpose of this tutorial, we will use a GPU-powered Virtual Machine offered by NodeShift; however, you can replicate the same steps with any other cloud provider of your choice. NodeShift Virtual Machines are the most affordable option while offering GDPR compliance with SOC2 and ISO27001 certifications.
In order to deploy a NodeShift Virtual Machine, follow the guidelines here:
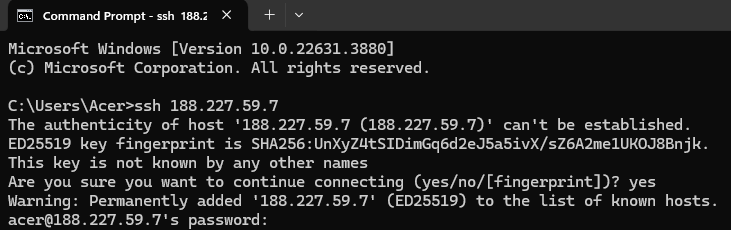
Step 1: Connect to the Virtual Machine using SSH or Username/Password
- NodeShift Compute VMs can be connected and controlled through a terminal and SSH.
- Open your terminal paste the IP with SSH and set up the password.
- And then you will get connected to the root user.
Step 2: Install Required Dependencies
SSH into your VM and run the following commands to update the package manager and install the required dependencies:
sudo apt update
After executing the update command, execute the following command to upgrade your systems’ installed packages.
sudo apt upgrade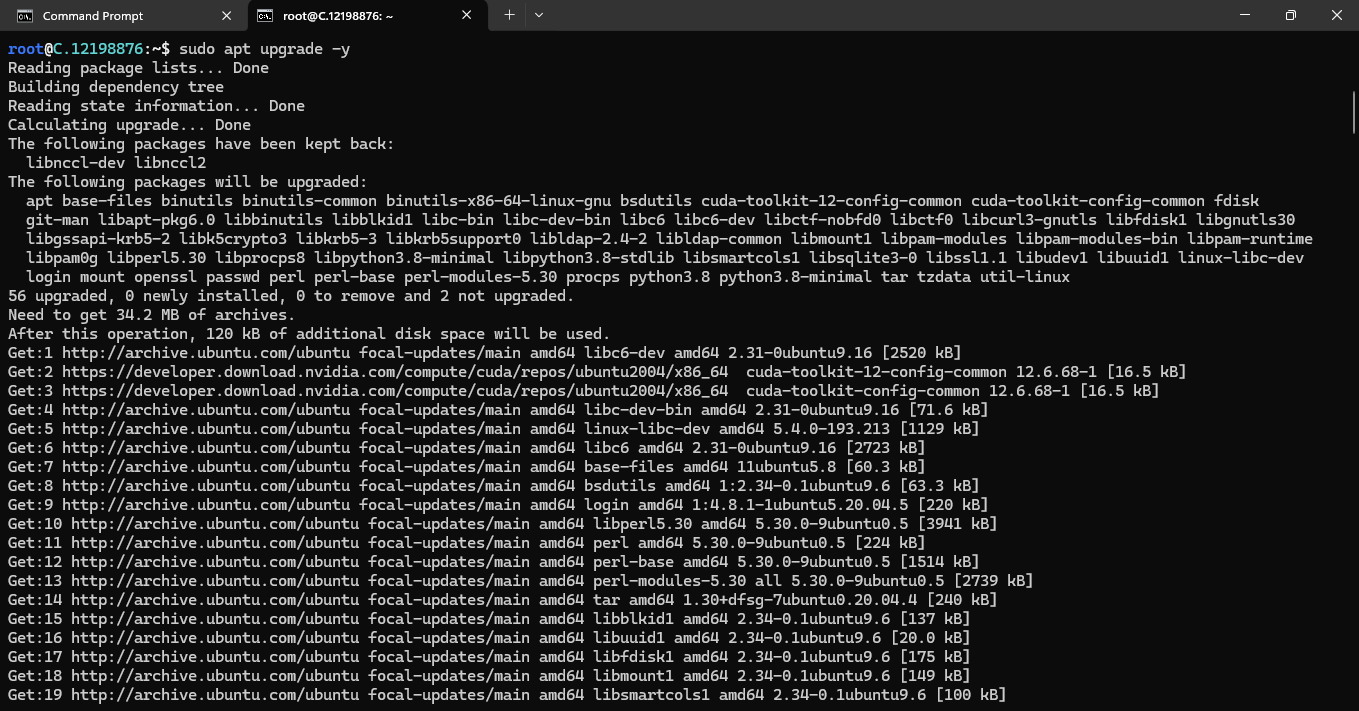
You can also combine both commands and run them simultaneously.
sudo apt update && sudo apt upgradeRun the following command to install several software packages on a Debian-based Linux distribution like Ubuntu.
sudo apt-get install -y git curl build-essential

Step 3: Install Rust and Solana CLI
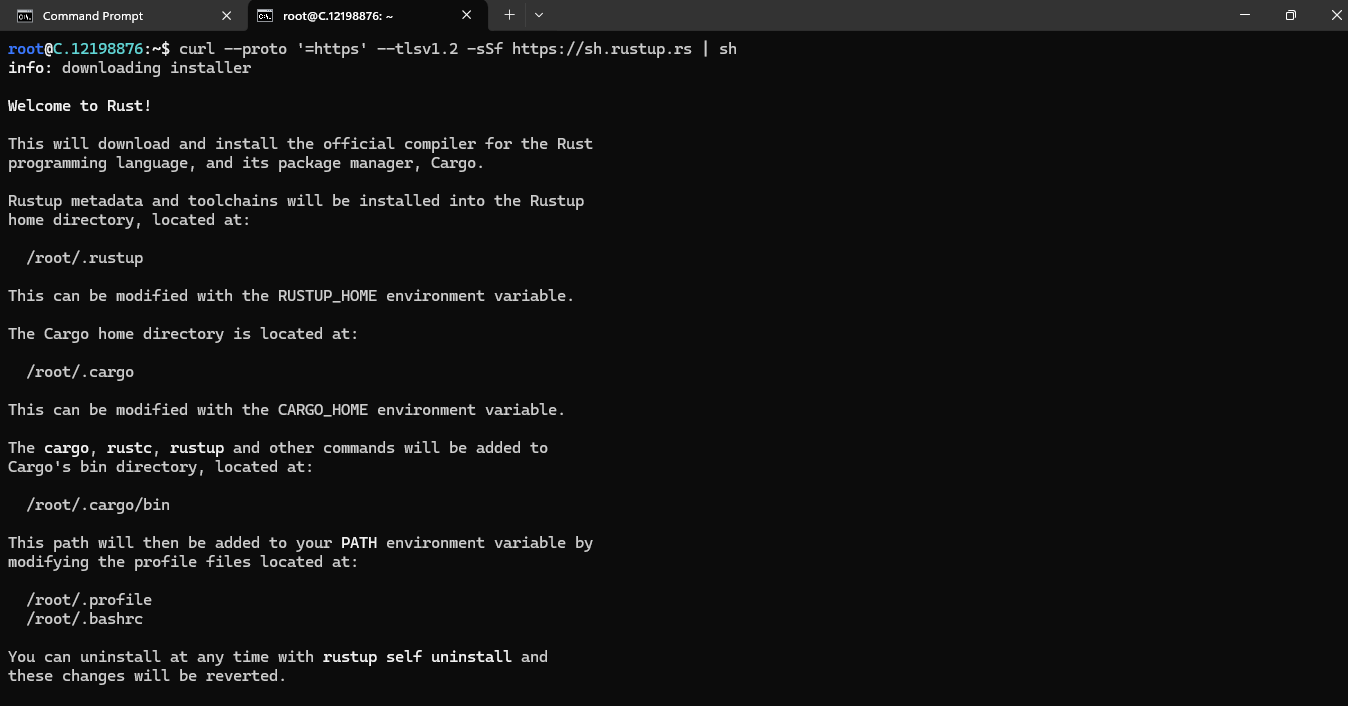
Solana is written in Rust, so you need to install it. Run the following command to Install Rust:
curl --proto '=https' --tlsv1.2 -sSf https://sh.rustup.rs | sh
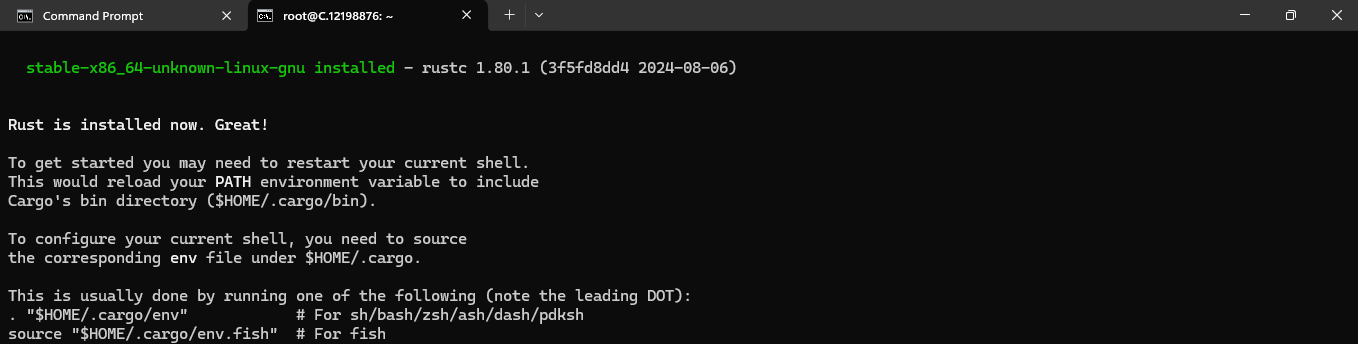
source $HOME/.cargo/env
After Installing Rust, you will see the following message:
Rust is installed now. Great! This means Rust is installed in your working directory or in the operating system.
Check the screenshot below for proof:
Step 4: Install Solana CLI
Download and install the latest version of the Solana CLI tool. Run the following command to install the Solana CLI:
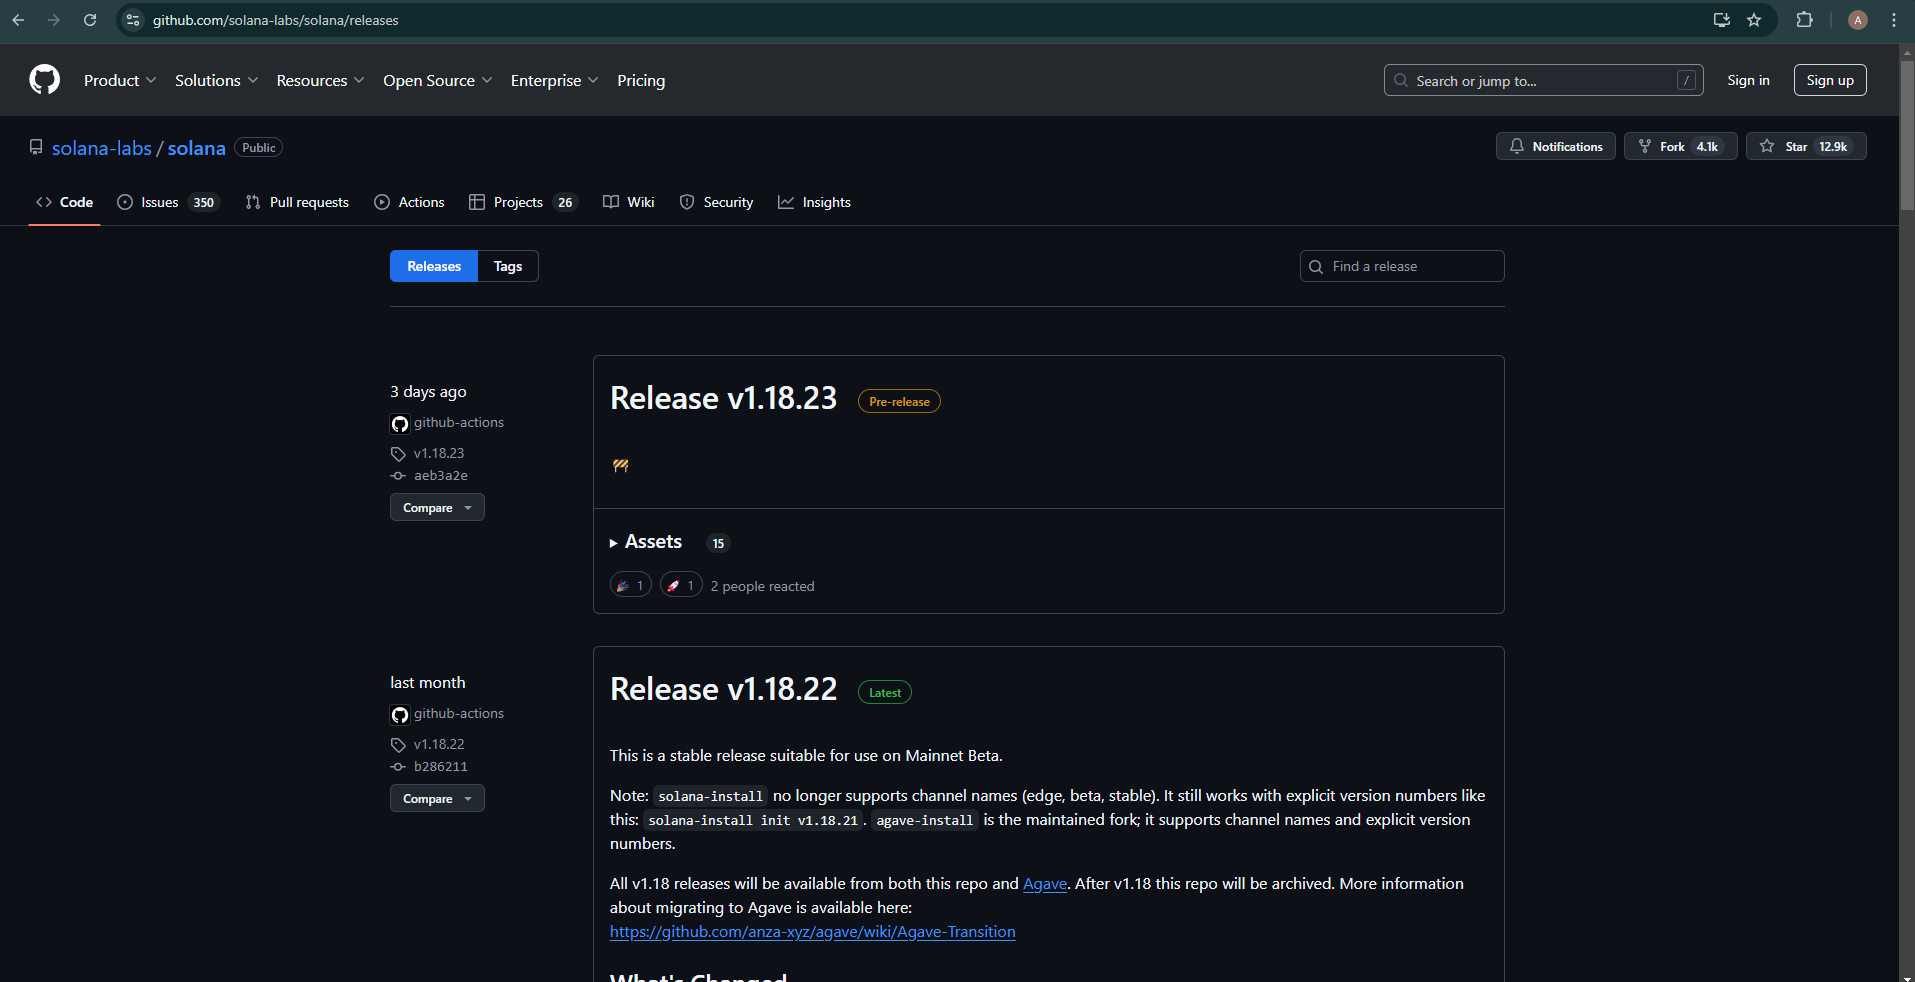
Check the Solana Repo for the latest version.
Link: https://github.com/solana-labs/solana/releases
sh -c "$(curl -sSfL https://release.solana.com/v1.18.23/install)"

Step 5: Add Solana CLI to Your PATH
To manually add the Solana binaries to your PATH, run the following command:
export PATH="$HOME/.local/share/solana/install/active_release/bin:$PATH"

This command will temporarily add Solana to your PATH for the current session. To make it permanent, add the above line to your shell's configuration file (~/.bashrc or ~/.zshrc).
After adding the Solana binaries to your PATH, check if the installation was successful by running:
solana --version

If the version number appears, the CLI is correctly installed.
Step 6: Configure the Node
Run the following command to create the necessary directories:
mkdir -p ~/solana/config
Step 7: Create keys
Next, you need to create the three keypairs that you will need to run your validator.
Run the following commands to create the keypairs:
solana-keygen new -o validator-keypair.json

solana-keygen new -o vote-account-keypair.json

solana-keygen new -o authorized-withdrawer-keypair.json
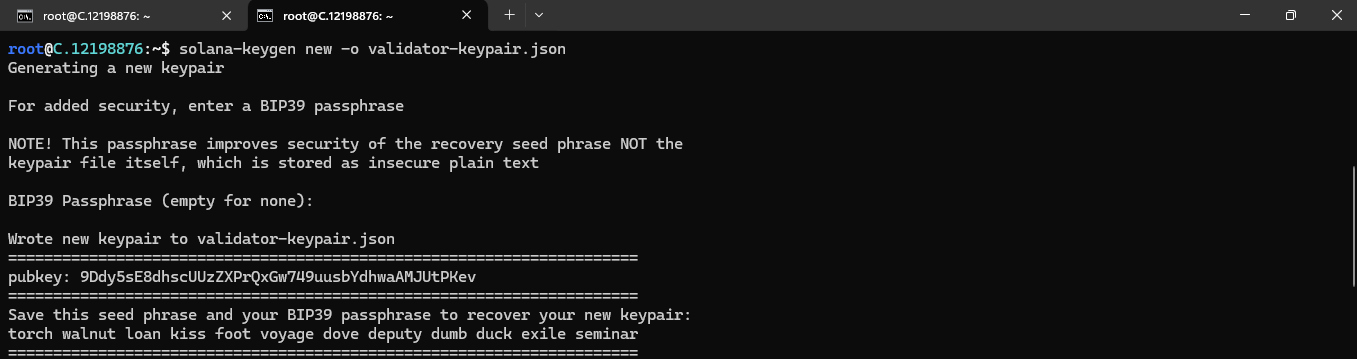
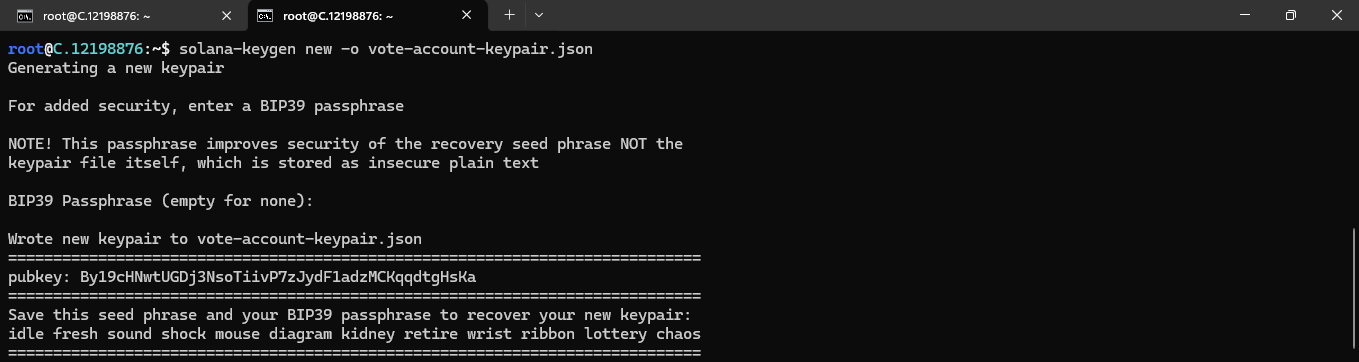
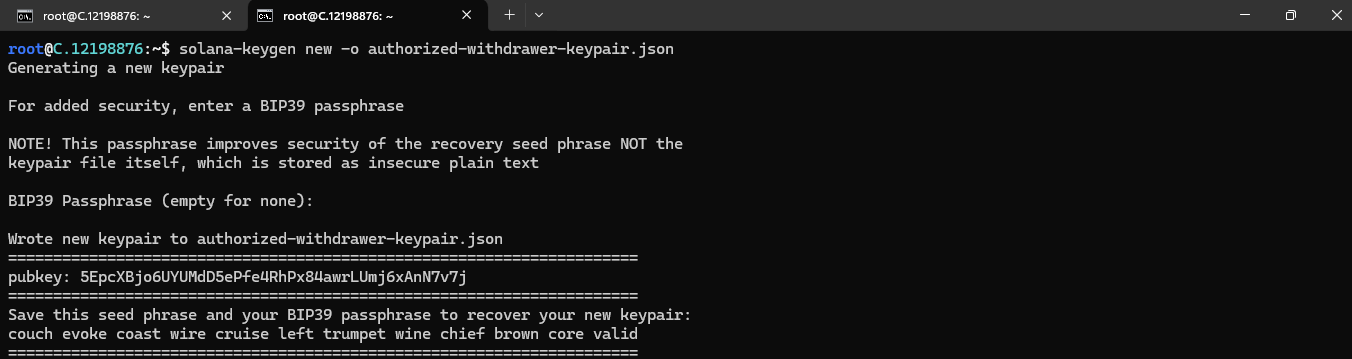
The commands above will generate three keypairs: one for a validator, one for a Vote account, and one for an authorized withdrawer
Step 8: Create a voting account and funding
Before creating your vote account, you must configure the Solana command line tool to use the validator keypair.
The command below sets the validator keypair you just created as the default one in the Solana configuration, allowing the Solana CLI or subsequent commands to use it for authentication and other purposes:

Run the following command to verify your account balance of 0:
solana balance
Next, you need to deposit some SOL into that keypair account to create a transaction (in this case, making your vote account):
Run the following command to deposit some SOL:
solana airdrop 1

Run the following command to create a new vote account with the parameters provided:
solana create-vote-account \
	./vote-account-keypair.json \
	./validator-keypair.json \
	./authorized-withdrawer-keypair.json

Step 9: Start the Solana Validator
Run the Solana validator using the following command:
solana-validator \
  --identity ~/solana/config/validator-keypair.json \
  --ledger ~/solana/config/ledger \
  --rpc-port 8899 \
  --entrypoint mainnet-beta.solana.com:8001 \
  --expected-genesis-hash (genesis hash here) \
  --dynamic-port-range 8000-8020 \
  --no-untrusted-rpc \
  --limit-ledger-size
Replace (genesis hash here) with the actual genesis hash for the network you are joining (e.g., mainnet-beta).
You can run the solana-validator --help command for more information on what each flag is doing in this script. You can also refer to the section on best practices for operating a validator in the official Solana documentation.
Step 10: Verifying your validator is working
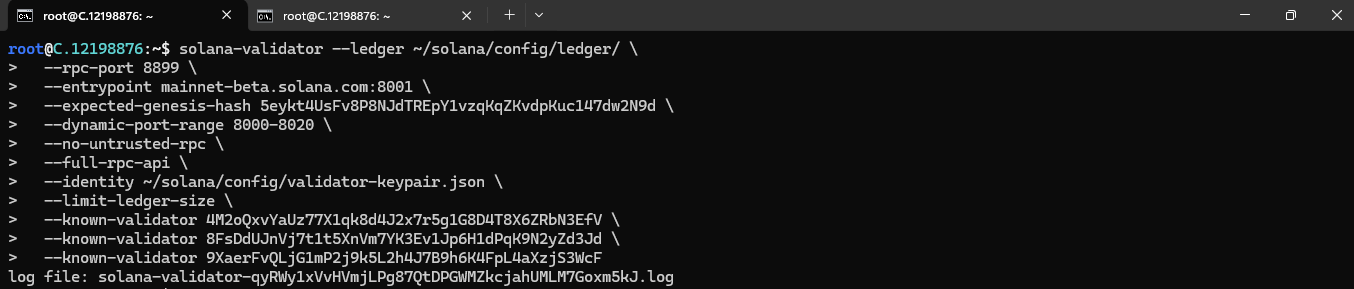
Now, to confirm that your validator is running properly, run the following command:
solana-validator --ledger ~/solana/config/ledger/ \
--rpc-port 8899 \
--entrypoint mainnet-beta.solana.com:8001 \
--expected-genesis-hash 5eykt4UsFv8P8NJdTREpY1vzqKqZKvdpKuc147dw2N9d \
--dynamic-port-range 8000-8020 \
--no-untrusted-rpc \
--full-rpc-api \
--identity ~/solana/config/validator-keypair.json \
--limit-ledger-size \
--force-update-to-open
What This Command Does:
--expected-genesis-hash: Ensures the validator is connecting to the correct network (mainnet-beta).- The other flags set up your node to communicate with the network, handle RPC requests, and manage ledger data appropriately.
In another terminal window, SSH into your remote server and verify that the Solana-validator process is running using the command:
ps aux | grep solana-validator
You should get an output that includes a line containing the solana-validator with all the flags that were added to the validator.sh script.

You can also monitor the contents of the solana-validator.log file in real-time. In a new terminal window, SSH into the remote server and run the following commands to switch to the “sol” user and monitor the content of the log file:
su - sol
tail -f solana-validator.log
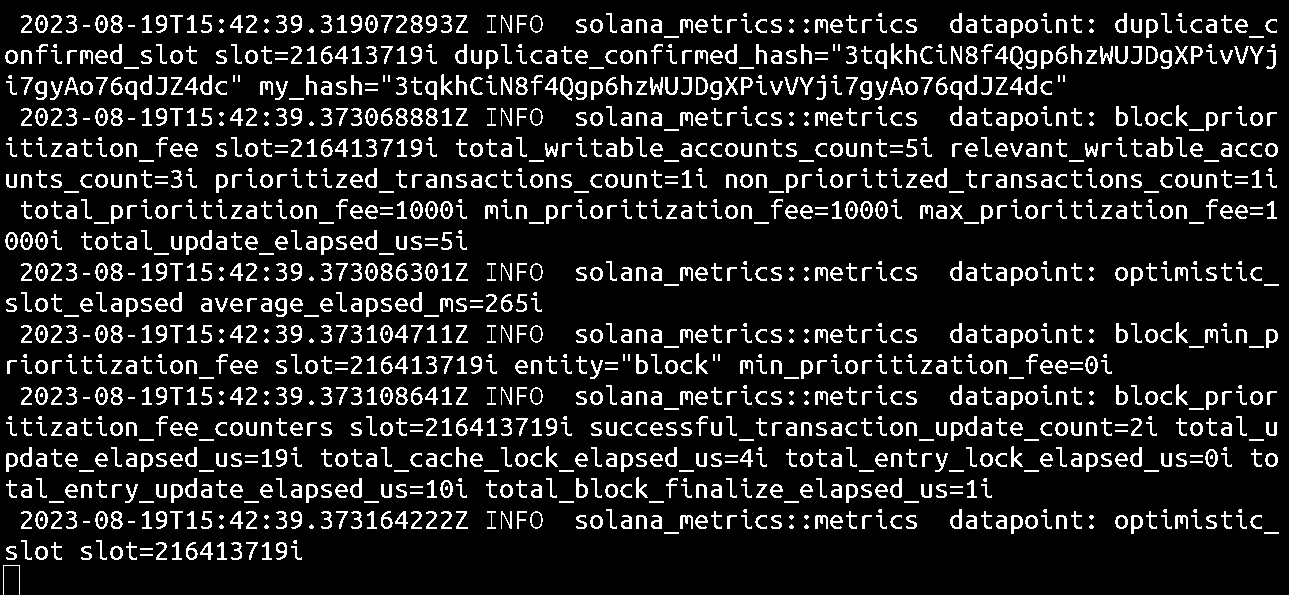
This will continuously monitor the file for new data as it's added and they will be displayed in the terminal. You need to look out for lines that include_ERROR_, if you don’t see any, you can exit the command.
Next, you can verify that your validator is running correctly by checking if it has registered with the Gossip network. In a new terminal, SSH to your remote server, log in as the “sol” user, and extract the public key which will be used to identify your validator node on the Solana network from the validator-keypair.json file by running the following command:
solana-keygen pubkey ~/validator-keypair.json
Then, you can run the command below to display information related to the public key from the solana gossip Output:
solana gossip | grep <pubkey>
Replace <pubkey with the public key of the validator node extracted earlier. If the validator has been registered on the Gossip network, you’d get an output similar to the one in the image below:

With the validator in the Gossip network, you can also confirm that the validator has joined the network using the following command:
solana validators | grep <pubkey>
You should get an output as in the image below if it has joined the network.
You can also see how quickly your validator is processing blocks using the solana catchup command:
solana catchup <pubkey>

Conclusion
In this guide, we defined the Solana node requirements and provided step-by-step instructions on running a Solana validator node. From installing Rust and Solana CLI to creating a validator startup script, we defined the essential parameters such as identity, vote account, known validators, log and ledger paths, RPC port, entry points, and expected genesis hash.
For more information about NodeShift: