CivTAK / ATAK - Deploying a TAK server on a Virtual Machine

The Android Team Awareness Kit (ATAK) for civilian use, or the Android Tactical Assault Kit (also ATAK) for military use, is a software suite designed to deliver geospatial information and enable user collaboration across geographic areas.
Originally developed by the Air Force Research Laboratory (AFRL), ATAK is now managed by the TAK Product Center (TPC).
TAK's Server purpose is to connect disparate users on different networks and it can also host data for sharing storage between users.
The official TAK Server from the federal government is available for download at www.TAK.gov. You can deploy this in your own environment as you see fit.
In this guide, we’ll walk through the two different approaches of deploying the TAK server on a Virtual Machine from installation to configuration, so you can get your server up and running efficiently.
TAK Server Requirements
- Minimum Hardware: 4 Cores, 8GB RAM, 40GB Storage
- Operating System: Ubuntu
- Software Dependencies:
- Java OpenJDK 17
- PostgreSQL 15
- PostGIS
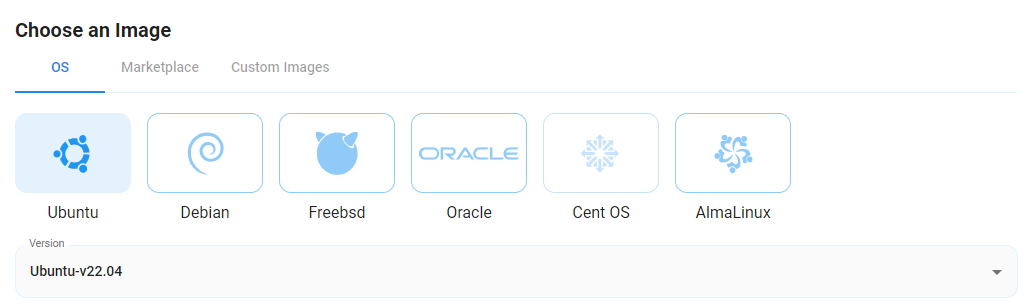
We will deploy it on a Virtual Machine using NodeShift but you can choose any Virtual Machine of your choice. There are numerous operating system options available, and the TAK Server can be installed on both RPM-based and DEB-based operating systems. The most commonly used OS options include:
- CentOS Linux 7 (not CentOS 8 Stream)
- Rocky Linux 8 (recommended for hassle-free installation as a replacement for CentOS 7)
- Red Hat Enterprise Linux (RHEL) 8
- Ubuntu
- Raspberry Pi OS (64-bit)
NodeShift Compute VMs offer a variety of operating systems, such as Ubuntu, Debian, CentOS, and more. Select the one that best suits your requirements.
Step-by-step process to deploy the TAK server on a Virtual machine
For the purpose of this tutorial, we will use a CPU-powered Virtual Machine offered by NodeShift; however, you can replicate the same steps with any other cloud provider of your choice.
In order to deploy a NodeShift Virtual Machine, follow the guidelines here:
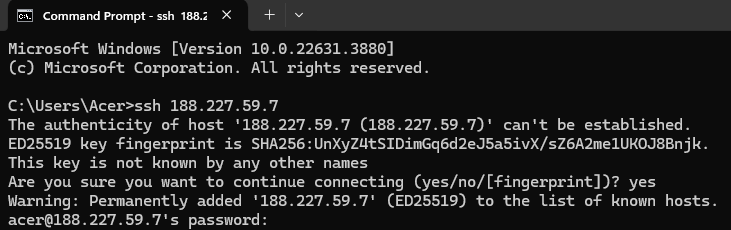
Step 1: Connect to the Virtual Machine using SSH or Username/Password
- NodeShift Compute VMs can be connected and controlled through a terminal and SSH.
- Open your terminal paste the IP with SSH and set up the password.
- And then you will get connected to the root user.
Step 2: Preparing the Ubuntu Environment
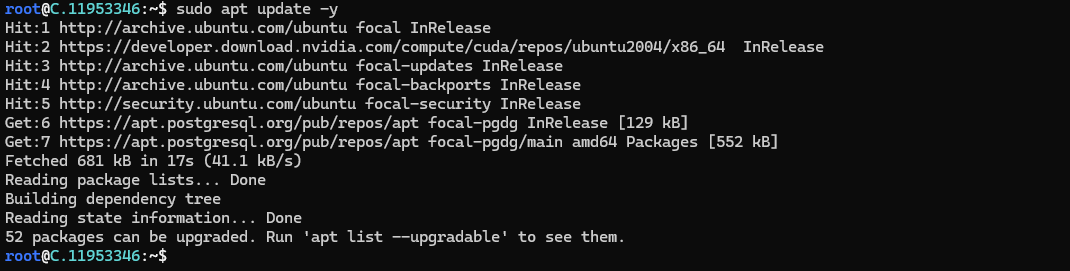
Before installing the TAK Server, ensure your Ubuntu system is updated:
sudo apt update && sudo apt upgradeStep 3: Server Setup
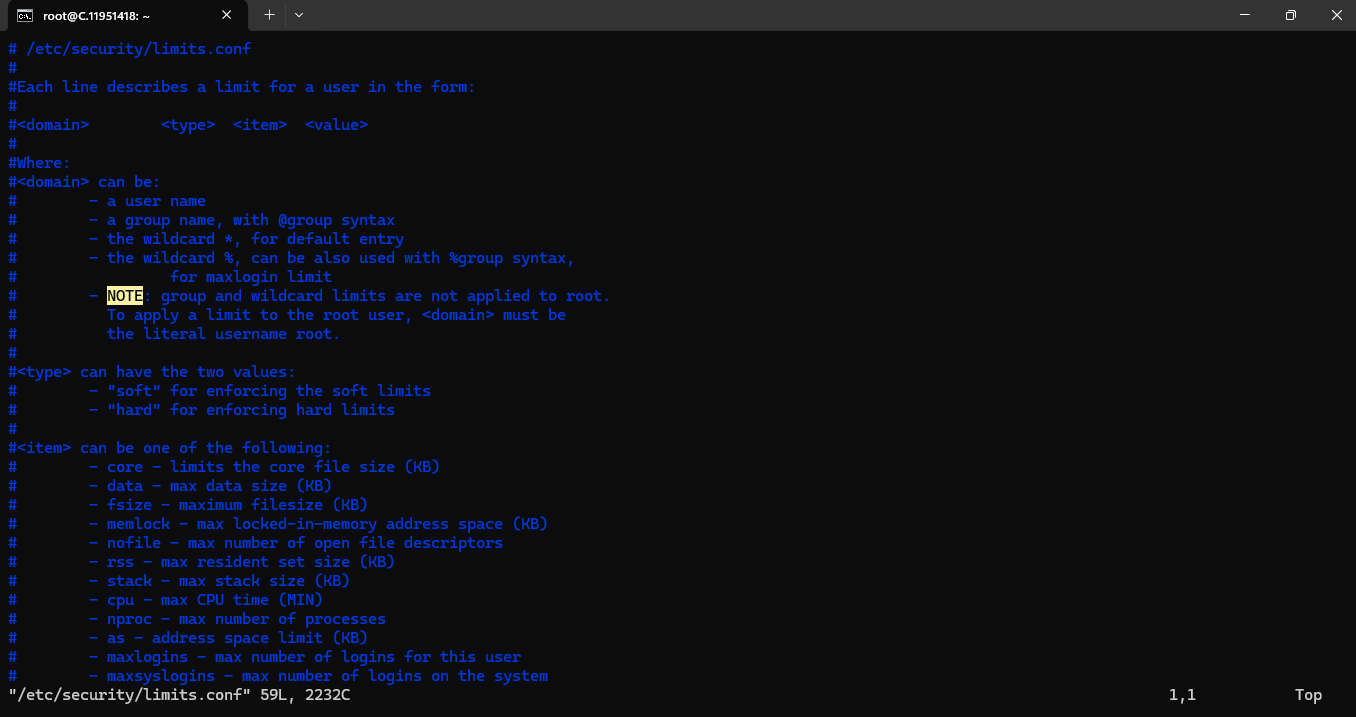
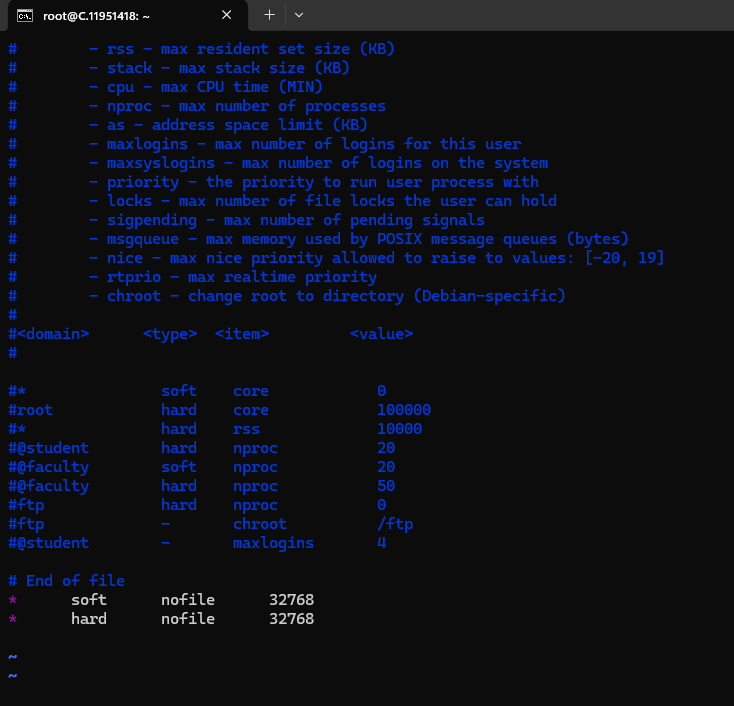
Starting with a fresh installation of a supported OS, we will need to modify the Linux pluggable authentication module limits set within the /etc/security/limits.conf. Within this file, we need to increase the number of file handles allowed within the per-user limit for open files to support Java threads. We will configure the soft (user override) and hard (root override) limits within this file. We can edit the file using a command line text editor (vi/vim, or nano) or a one-line command string.
When your VM is up and running, open the terminal and paste the following command: This command will show the file's soft and hard limits. Check the screenshots below for proof.
echo -e "* soft nofile 32768\n* hard nofile 32768\n" | sudo tee --append /etc/security/limits.conf
The primary configuration file within this folder is typically named limits.conf. Open it using the Vim or Nano text editor. We are using Vim for editing. You can edit the file using the following command.
sudo vim /etc/security/limits.confSo, what is Vi?
Vi is a text editor. The last line of the text editor is used to give commands to vi and provide you with information.
Note: If an error occurs that states Vi is not a recognised internal or external command, then install vim using the steps below.
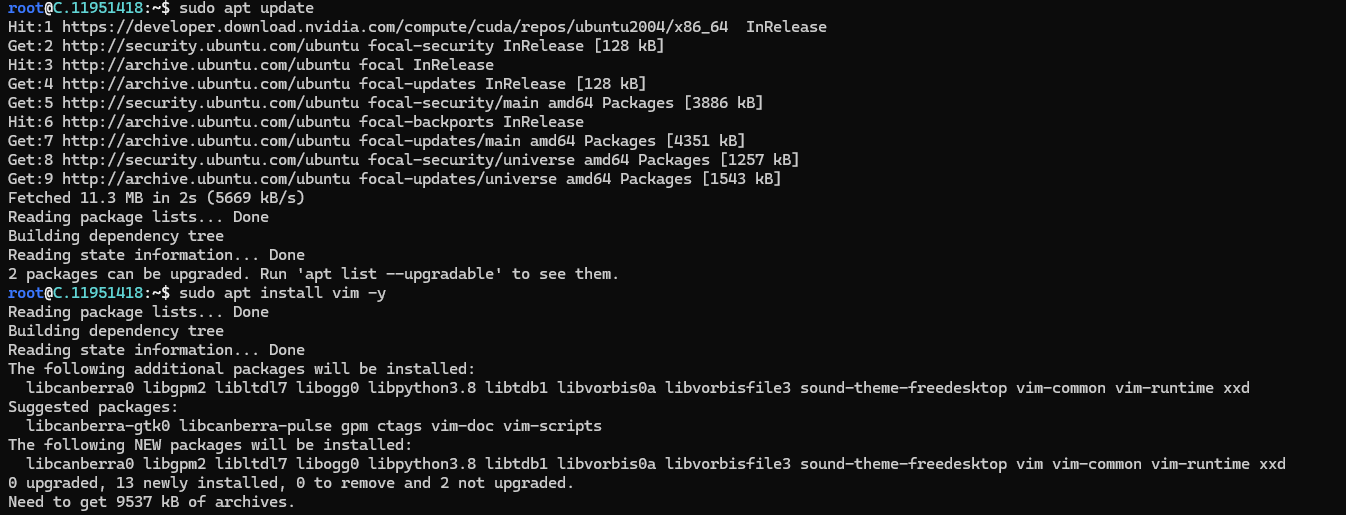
Step 1: Update the package list
Before installing any software, we will update the package list using the following command in your terminal:
sudo apt update
You might be prompted to enter your password for authentication.
Step 2: Install Vim
To install Vim, enter the following command:
sudo apt install vim -y
This command will retrieve and install Vim and its necessary components.
Now you have to run the below command to edit the files:
sudo vim /etc/security/limits.conf
Entering the editing mode in Vi:
Follow the below steps to enter the editing mode in Vi:
Step 1: Open a File in Vi
Step 2: Navigate to Command Mode
When you open a file in Vi, you start in the command mode. You can issue commands to navigate, save, and manipulate text in this mode. To ensure you are in command mode, press the Esc key. This step is crucial because you cannot edit the text in other modes.
Once complete, exit the editor with :wq! to ensure you save your changes.
Step 4: Installing GnuPG , PostgreSQL and PostGIS
After completing all the above steps, we need to add the PostgreSQL and PostGIS repositories.
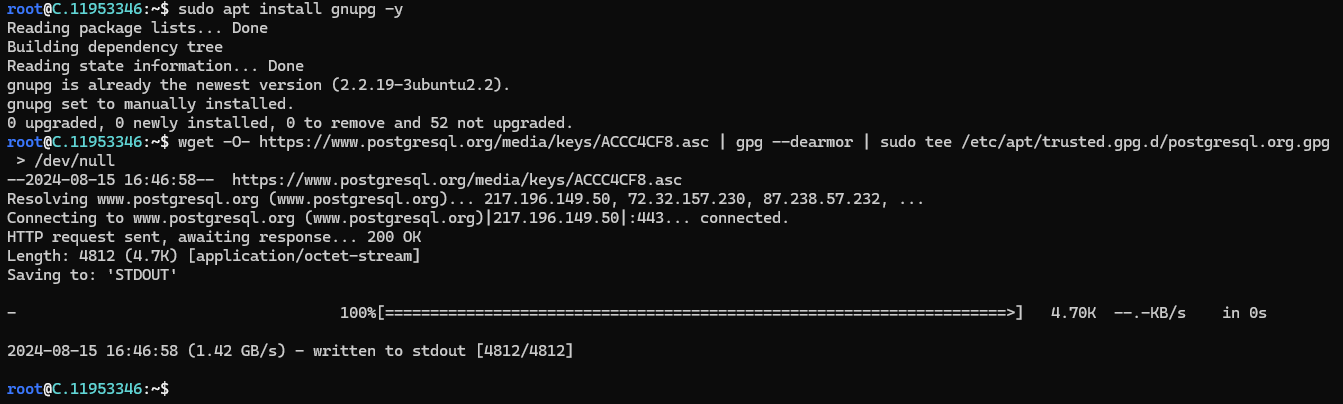
If you run the following commands to install and add PostgreSQL and PostGIS, you will encounter a GnuPG error. Therefore, we need to install GnuPG first. You can check the screenshot below for the error.
GnuPG allows you to encrypt and sign your data and communications. It features a versatile key management system and access modules for all kinds of public key directories. GnuPG, also known as GPG, is a command-line tool with features for easy integration with other applications.

Run the following command to install the GNuPG:
sudo apt install gnupg -y
PostgreSQL is an object-relational database management system (ORDMBS) relational capabilities and an object-oriented design. Using object-oriented features of PostgreSQL, programmers can Communicate with the database servers using objects in their code. Define complex custom data types.
You can run the following command to install and add PostgreSQL.
wget -O- https://www.postgresql.org/media/keys/ACCC4CF8.asc | gpg --dearmor | sudo tee /etc/apt/trusted.gpg.d/postgresql.org.gpg > /dev/null
After adding PostgreSQL, you should add the PostgreSQL repository's public GPG key to your system's list of trusted keys from the following command:
Check the below screenshots for the proof.
wget --quiet -O - https://www.postgresql.org/media/keys/ACCC4CF8.asc | sudo apt-key add -
Again, run the following command to update the list of available packages and their versions on your system.
sudo apt update -y
Step 5: Installing Java OpenJDK
Finally, install the appropriate Java OpenJDK version for the appropriate version outlined in the requirements.
In some distributions, Java comes preinstalled. You can check if your distribution applies by executing the java --version command. If you get command not found this means you will need to install OpenJDK-17-jre.
Install Java JRE with the following command:
sudo apt-get update
sudo apt install default-jre
What is JRE in Java?
Java Run-time Environment (JRE) is part of the Java Development Kit (JDK). It is the most common environment for running Java programs on devices. The source Java code is compiled and converted to Java bytecode. If you wish to run this bytecode on any platform, you require JRE.
You can also install the OpenJDK version 17 of Java, specifically the headless JRE. This minimal version of Java removes the support for GUI applications. This makes it ideal for running Java applications on a server:
sudo apt install openjdk-17-jre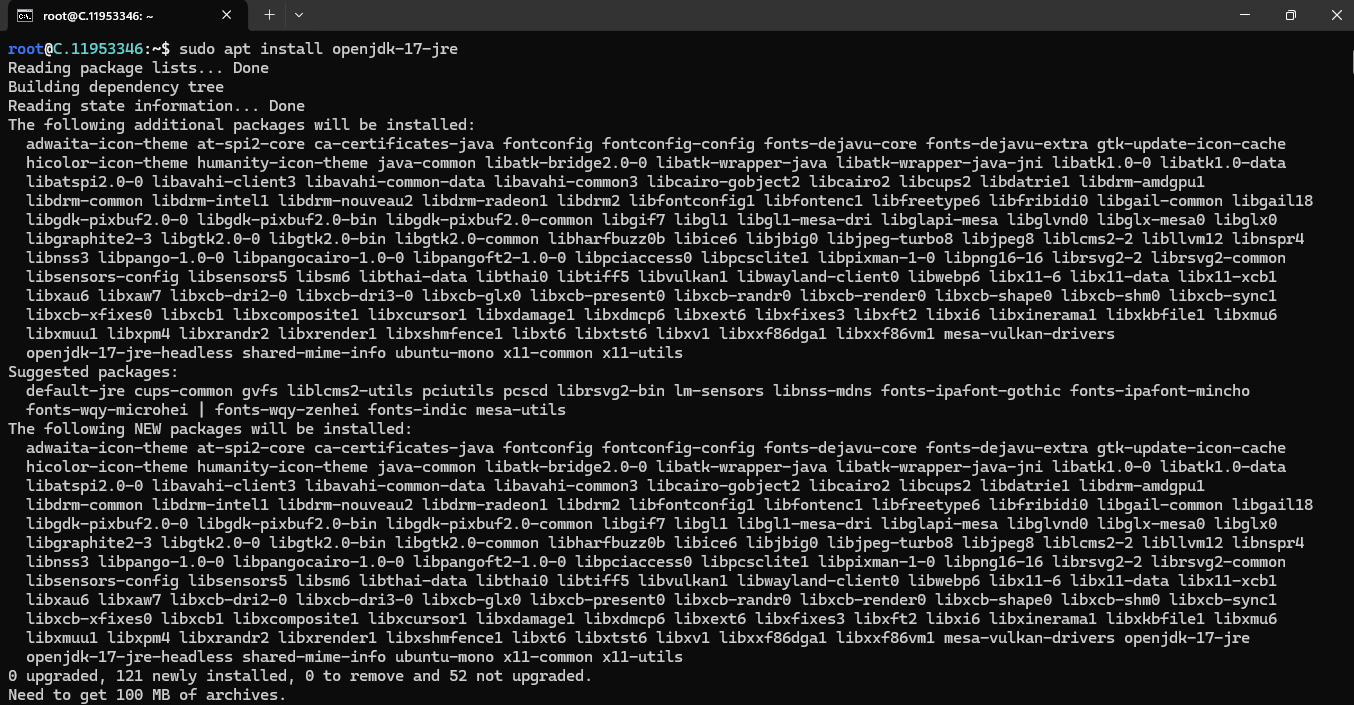

Check if Java JRE has been installed with the following command:
java -versionStep 6: Installing the TAK Server
This section will cover installing the TAK Server using the installation files .deb provided by the TAK.gov website. Due to the continuous deployment of the TAK Server and its releases, this guide assumes you will install the latest release.
For this task, we will use secure copy (SCP), which is built into the secure shell ecosystem of most modern OS. To use this command, open a terminal, command prompt, or PowerShell window. Navigate to the directory where the TAK Server installation binaries are located.
The basic syntax for scp is scp options <sourceFile> <username>@<dstServer>.
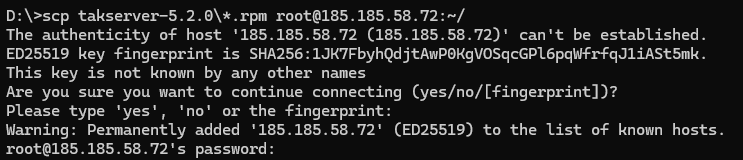
scp takserver-5.*.rpm <username>@<takserver>:~/Check the above screenshot for proof.
Step 7: Install TAK Server 5.2 on Ubuntu
After completing all the above steps, now its time to install the TAK server 5.2.0 on Ubuntu.
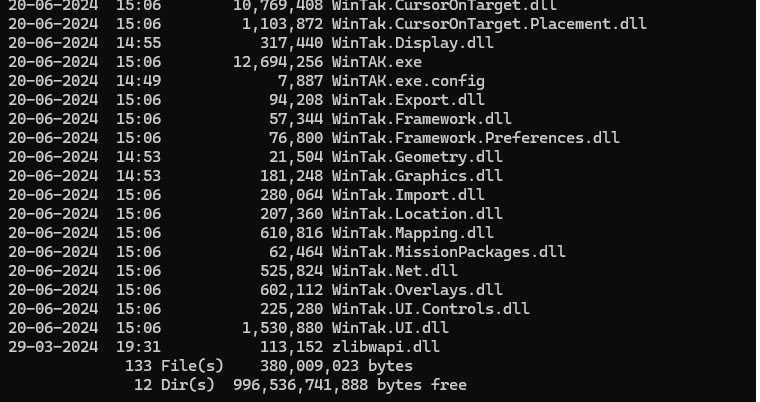
Check the website for the latest version of the TAK Server.
Website Link: https://tak.gov/products/wintak-civ
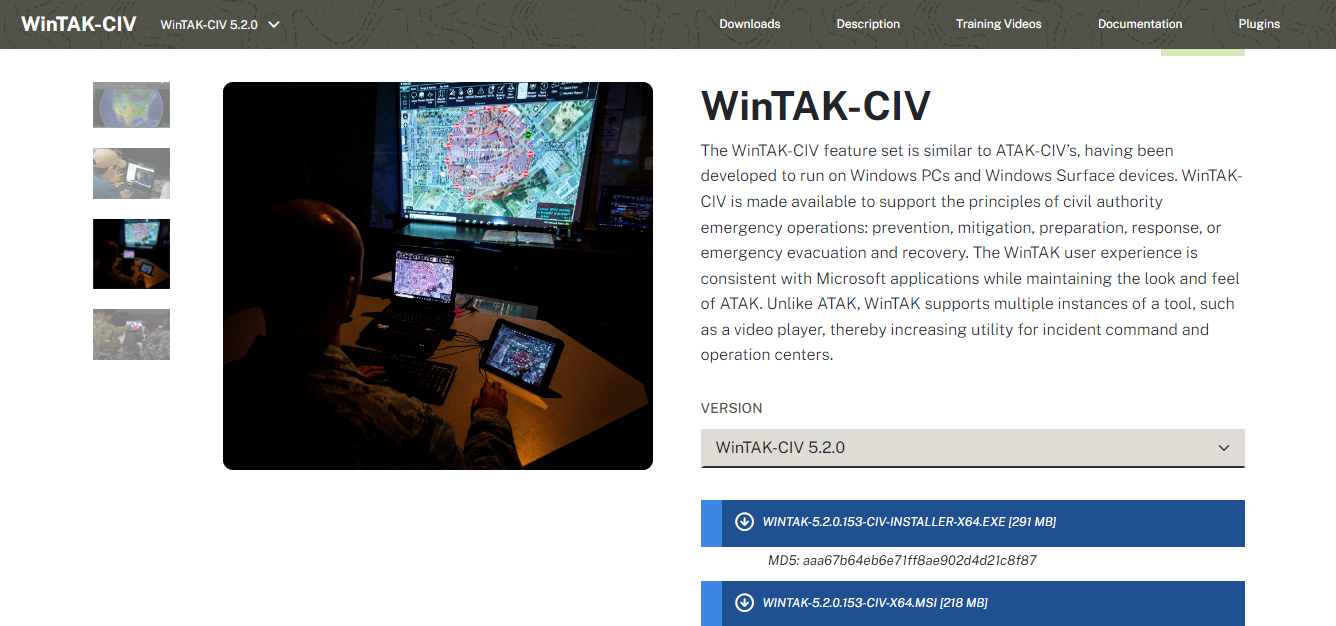
Run the following command to download the latest version of the TAK Server.
sudo apt install ./takserver-database_5.2.0-RELEASE29_all.deb -y
Step 8: Configuring the Firewall
We need to modify the firewall to accept connections to our TAK Server. In most Ubuntu OS, the firewall is not enabled or installed. We can run the ufw status command to check. If the command is not found, we must install the firewall.
# Check the status of the Uncomplicated Firewall (UFW)
sudo ufw status

# Install UFW if not present
sudo apt install ufw -y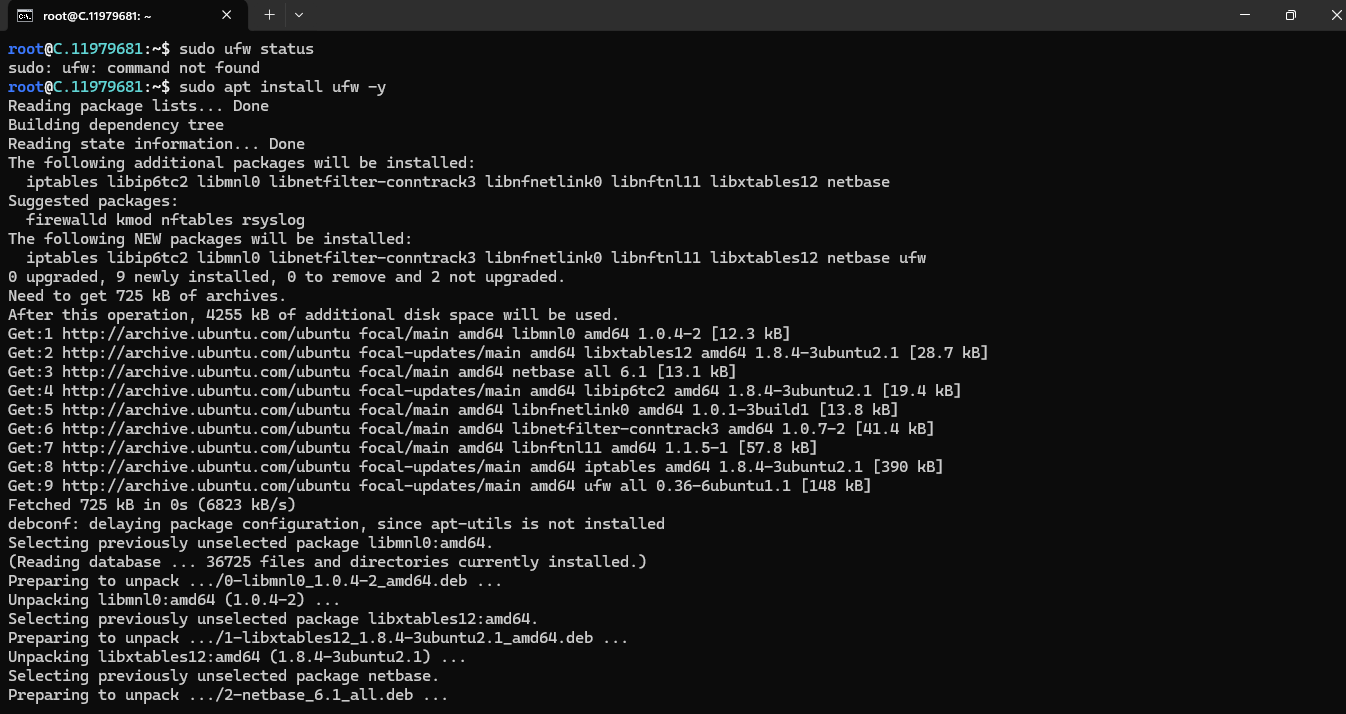
# Check the status of the Uncomplicated Firewall (UFW)
sudo ufw status

# Deny all incoming connections, allow all outgoing connections
sudo ufw default deny incoming
sudo ufw default allow outgoing

# Allow ssh connections
sudo ufw allow ssh

# Optionally, restrict to a known good host
sudo ufw allow from 148.77.2.74/32 proto TCP to any port 5432

# Enable UFW
sudo ufw enable
Step 9: Configuring the TAK Server
After installing the TAK Server, you must configure it for your environment.
Edit Core Configuration:
Modify the CoreConfig.example.xml to reflect your setup, including database connections and IP addresses.
sudo vi /opt/tak/CoreConfig.example.xml

Step 10: Starting the TAK Server
Enable and start the TAK Server service:
sudo systemctl enable takserver.service
sudo systemctl start takserver.service

You can also view the TAK server in your browser. Simply paste the IP address and hit enter, and you can access the TAK server.

Verify the service is running by checking the logs:
sudo tail -f /opt/tak/logs/takserver-messaging.log
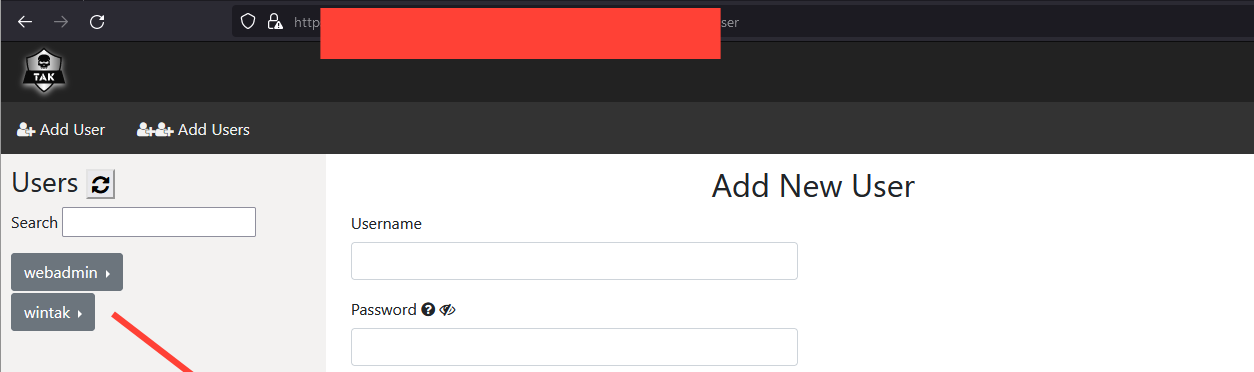
Step 11: Managing User Certificates
To manage user access, you’ll need to generate client certificates:
# Switch to tak user
sudo su take

# Generate a client certificate
./makeCert.sh client <commonName>


Move the generated certificates to your home directory for distribution:
sudo cp /opt/tak/certs/files/<commonName>.p12 ~/
sudo chown -R $USER:$USER ~/<commonName>.p12
Step 12: Connecting Clients
Clients such as WinTAK or ATAK need the TAK Server's public certificate to establish a secure connection.
scp <username>@<takserver>:~/<commonName>.p12 .
After importing the certificate into the client's trust store, they should connect seamlessly to your TAK Server.
Go to any browser, paste the IP with https, and hit enter. Advanced select Accept the risk and Continue.
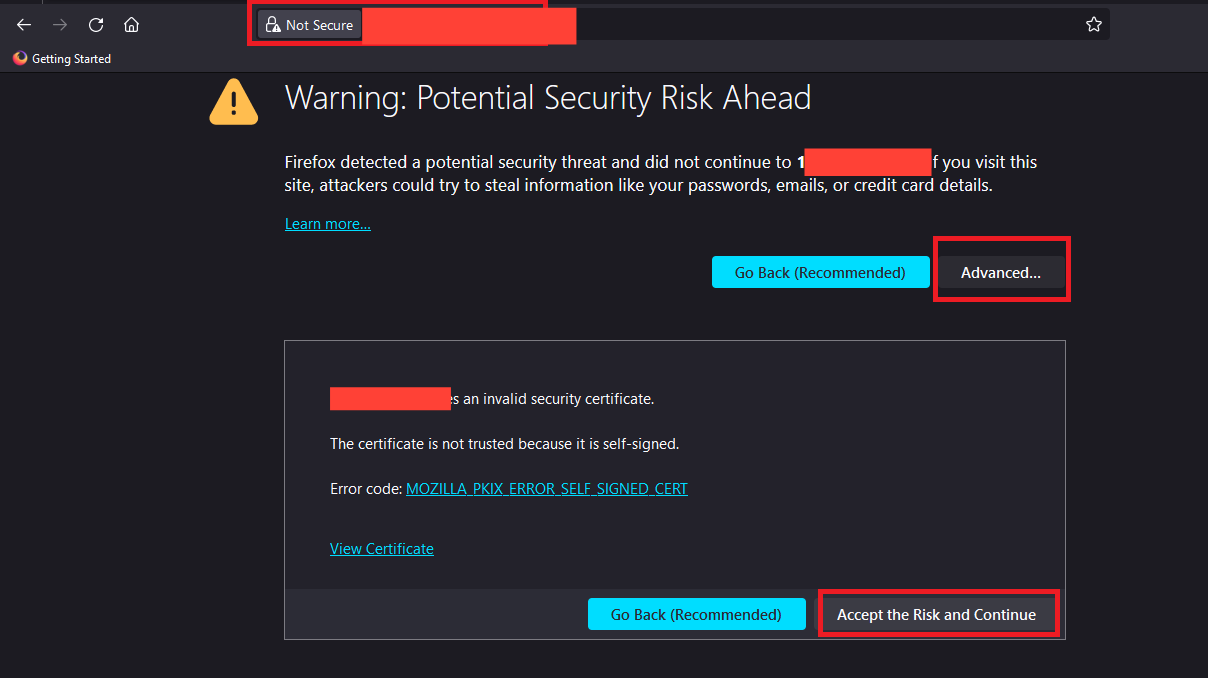
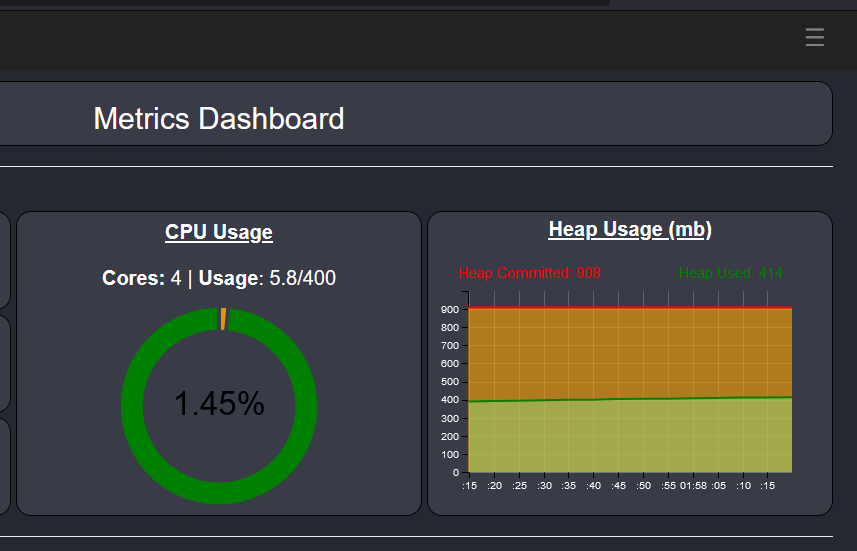
Upon successful login, we are brought to theMetrics Dashboard, by default.
Step 13: Windows TAK (WinTAK)
Launch the WinTAK application and progress through the first run procedures.
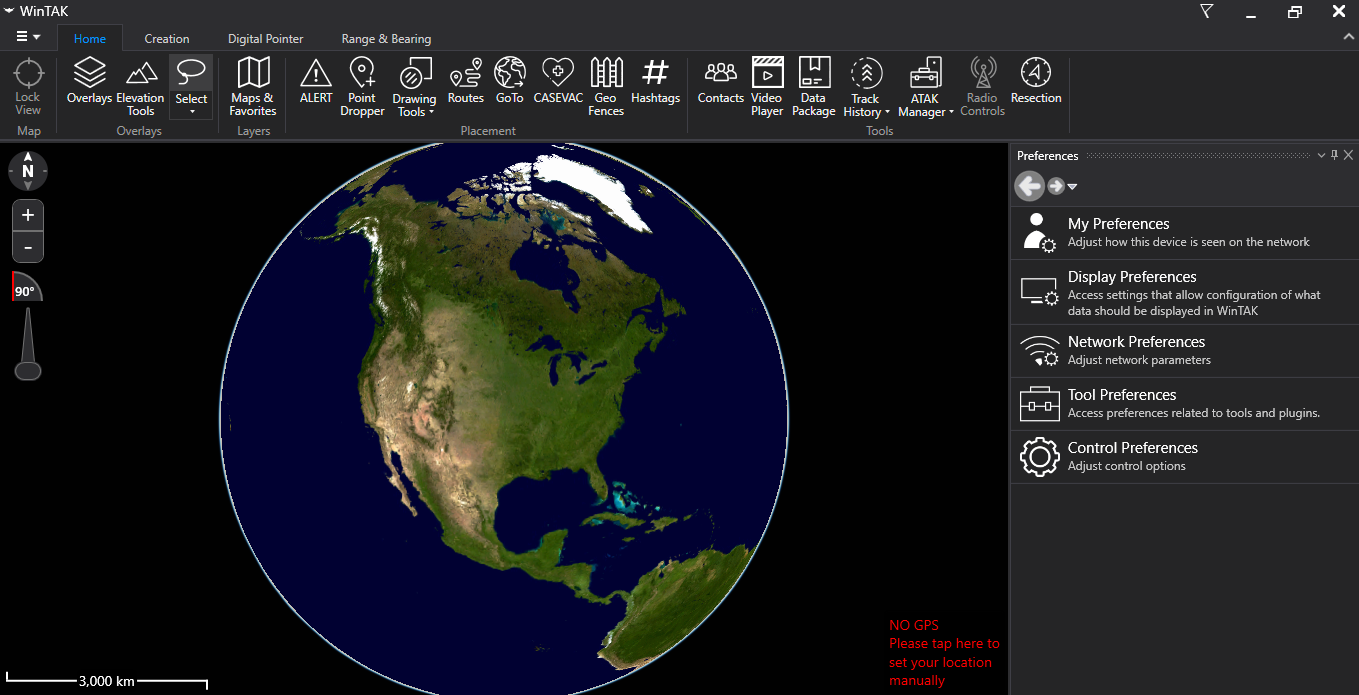
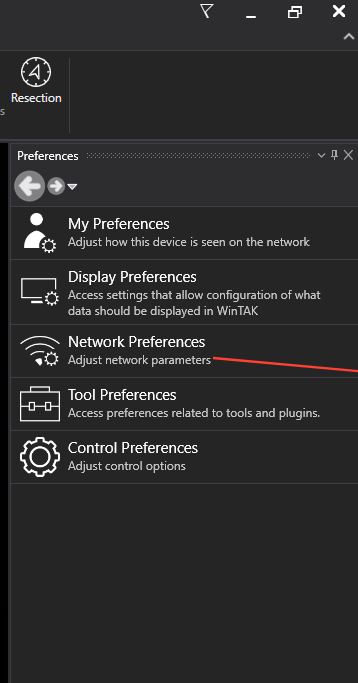
Open the Network Preference Option.
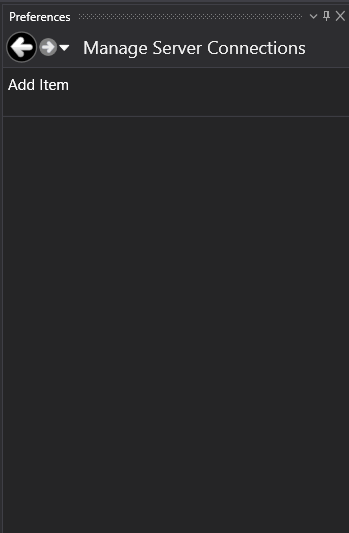
Then click on the Manage Server Connection Option.

After this, click on the Add Item Option.
Then in the Manage Server connection, add the IP address in the Host address option.
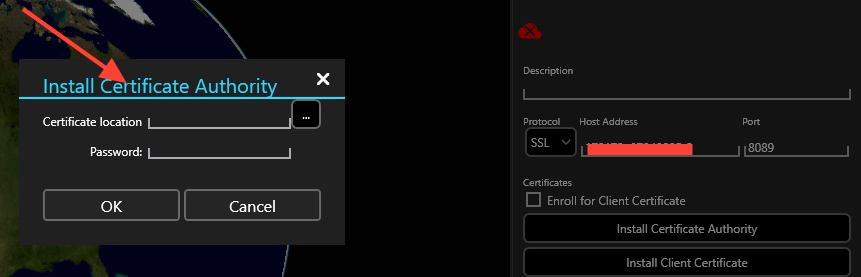
After this, Install the Certificate Authority and Client Certificate, browse to the location, enter the password, and click on OK.
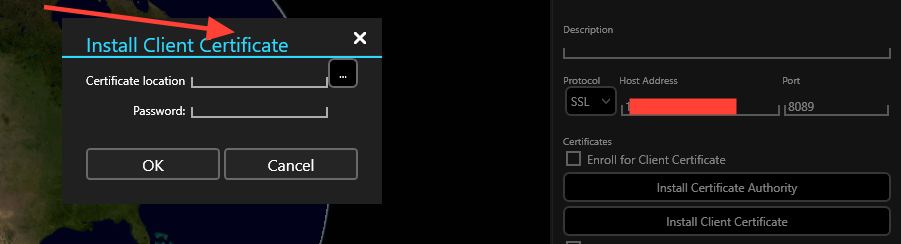
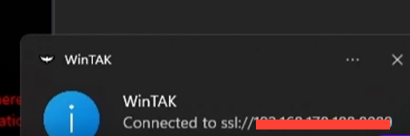
Now, you are connected to WinTAK.
Conclusion
By following this guide, you can successfully deploy and manage your TAK server, ensuring seamless collaboration and geospatial data sharing across your network. Whether using NodeShift or any other VM provider, these instructions will help you get your server up and running efficiently.
For more information about NodeShift: