How to host a Rust Game server on a Virtual Machine


We love Rust, what a game - only in Rust can you start as a naked noob, snowball into destroying zergs, only to end up a naked noob again!
After playing Rust for some time, moving to your own dedicated Rust server is a natural evolution. Though there are plenty of vibrant communities out there, a server customized to your needs with a wipe cycle that suits you is always preferable. This guide will cover setting up a dedicated Rust server on a Virtual Machine.
Rust Server Prerequisites
The amount of RAM, CPU cores/speed, and crucially, internet bandwidth, will vary greatly depending on the number of players.
- An account on the NodeShift cloud platform or any cloud provider of your choice.
- Users need 4GB of RAM at minimum, though 8GB+ is highly recommended. Even at 50 players, 16GB can be advantageous. CPU requirements are harder to determine. You will need a dual-core at 3.4GHz or higher, with 32GB+ SSD storage.
- Network is another very important consideration. No official connection recommendations exist, but 100 Mbps is essential for seamless gameplay and handling multiple-player connections.
- Finally, you’ll need an OS that can run Rust. Many options are available, including support for Windows 7, 8, 10, and 11, as well as various Linux distributions such as Ubuntu, Debian, Fedora, or CentOS.
Step-by-step process to host a Rust Game server on a Virtual Machine
For the purpose of this tutorial, we will use a CPU-powered Virtual Machine offered by NodeShift; however, you can replicate the same steps with any other cloud provider of your choice.
In order to deploy a NodeShift Virtual Machine, follow the guidelines here:
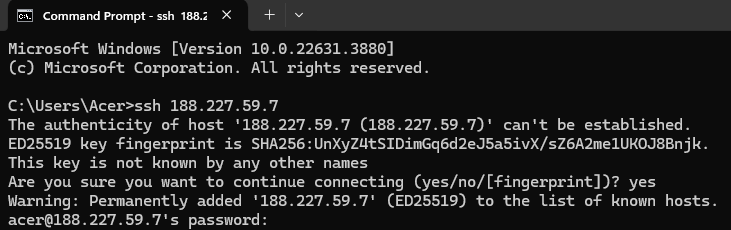
Step 1: Connect to the Virtual Machine using SSH or Username/Password
- NodeShift Compute VMs can be connected and controlled through a terminal and SSH.
- Open your terminal paste the IP with SSH and set up the password.
- And then you will get connected to the root user.
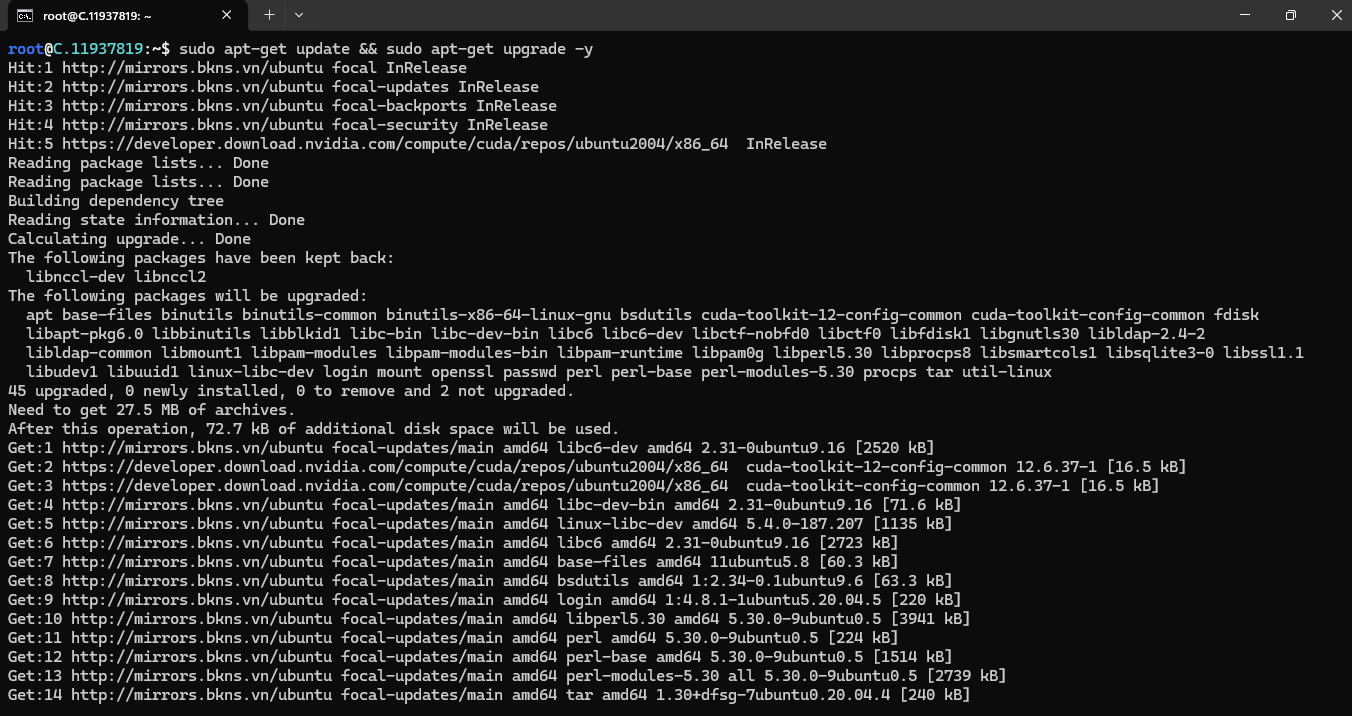
Step 2: Update the System
First, ensure your system is up to date. Open a terminal and run the below command. This secures your server and improves its performance.
sudo apt update && sudo apt upgrade
Step 3: Install the Required Dependencies & Rust Server
Install Libraries:
Run the below command to install libraries.
sudo apt-get install -y lib32gcc1 lib32stdc++6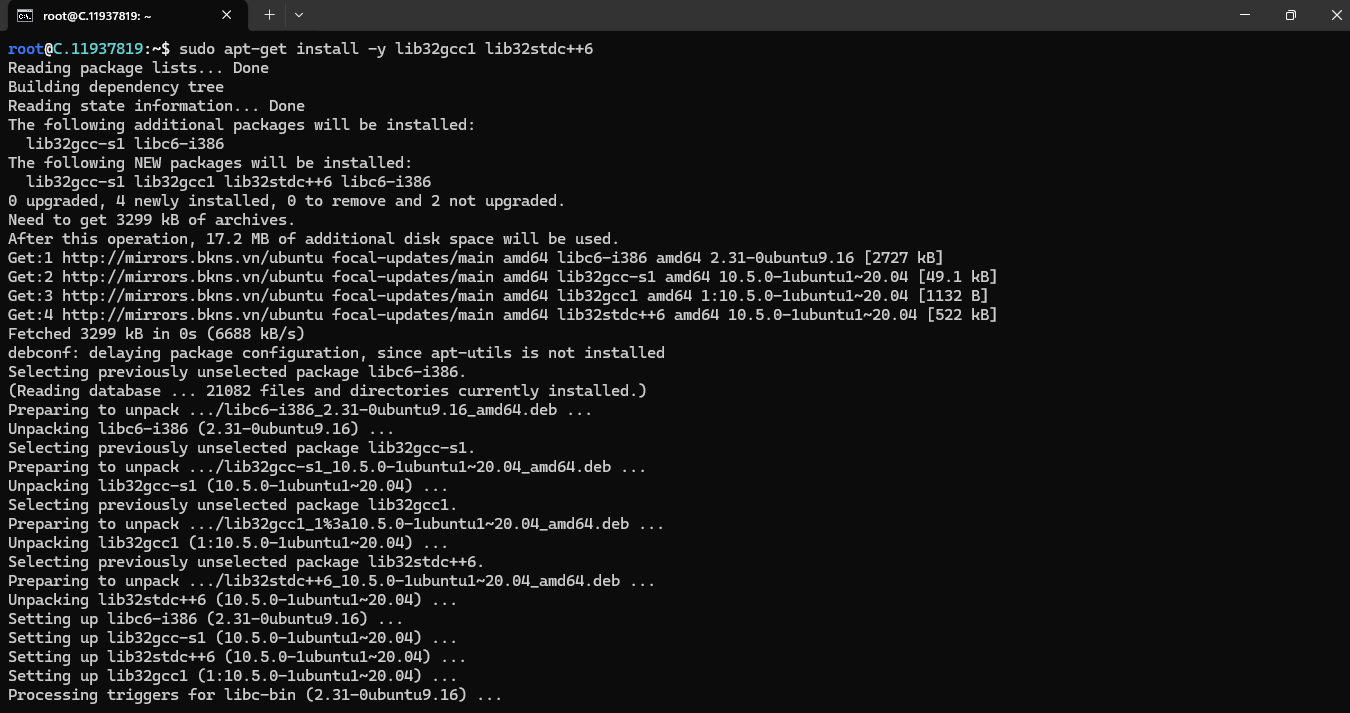
The command sudo apt-get install -y lib32gcc1 lib32stdc++6 is used to install two essential 32-bit libraries on a 64-bit Linux system.
When you are setting up a server for Rust, you might encounter the need for these 32-bit libraries because some of the components (or dependencies) might be compiled for 32-bit architecture, even if you are running on a 64-bit system.
Install SteamCMD:
sudo apt-get install -y steamcmd
The Steam Console Client or SteamCMD is a command-line version of the Steam Client. Its primary use is to install and update various dedicated servers available on Steam using a command-line interface.
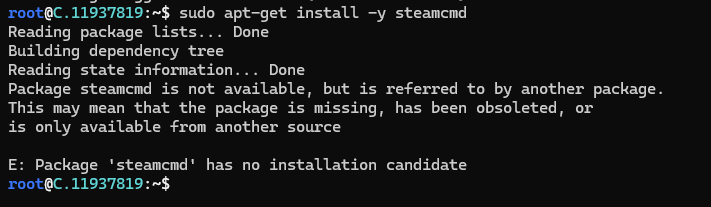
The error message suggests that the steamcmd package is not available in the default repositories of the Linux distribution. This can happen for various reasons, such as outdated repositories or package changes.
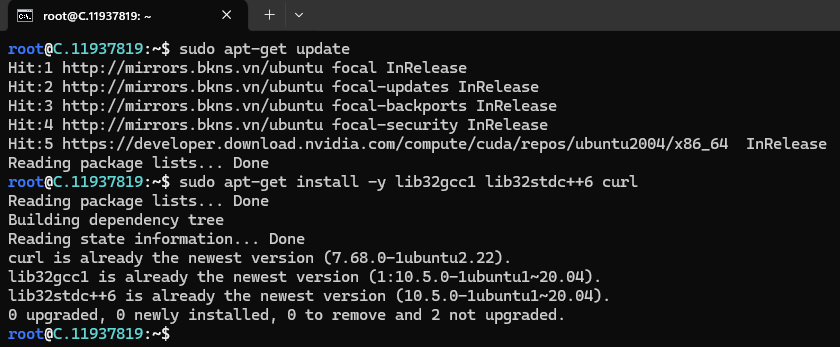
If this command does not work, we have an alternative for this. Let`s do the alternative:
An alternative way to install SteamCMD on your VM:
Manually Install SteamCMD
Install Dependencies: Ensure you have the required dependencies installed:
sudo apt-get update
sudo apt-get install -y lib32gcc1 lib32stdc++6 curl
Download steamcmd: You can download steamcmd directly from Valve's official website.
mkdir ~/steamcmd
cd ~/steamcmd
curl -sqL "https://steamcdn-a.akamaihd.net/client/installer/steamcmd_linux.tar.gz" | tar zxvf -

Run SteamCMD: Now you can run SteamCMD.
./steamcmd.sh
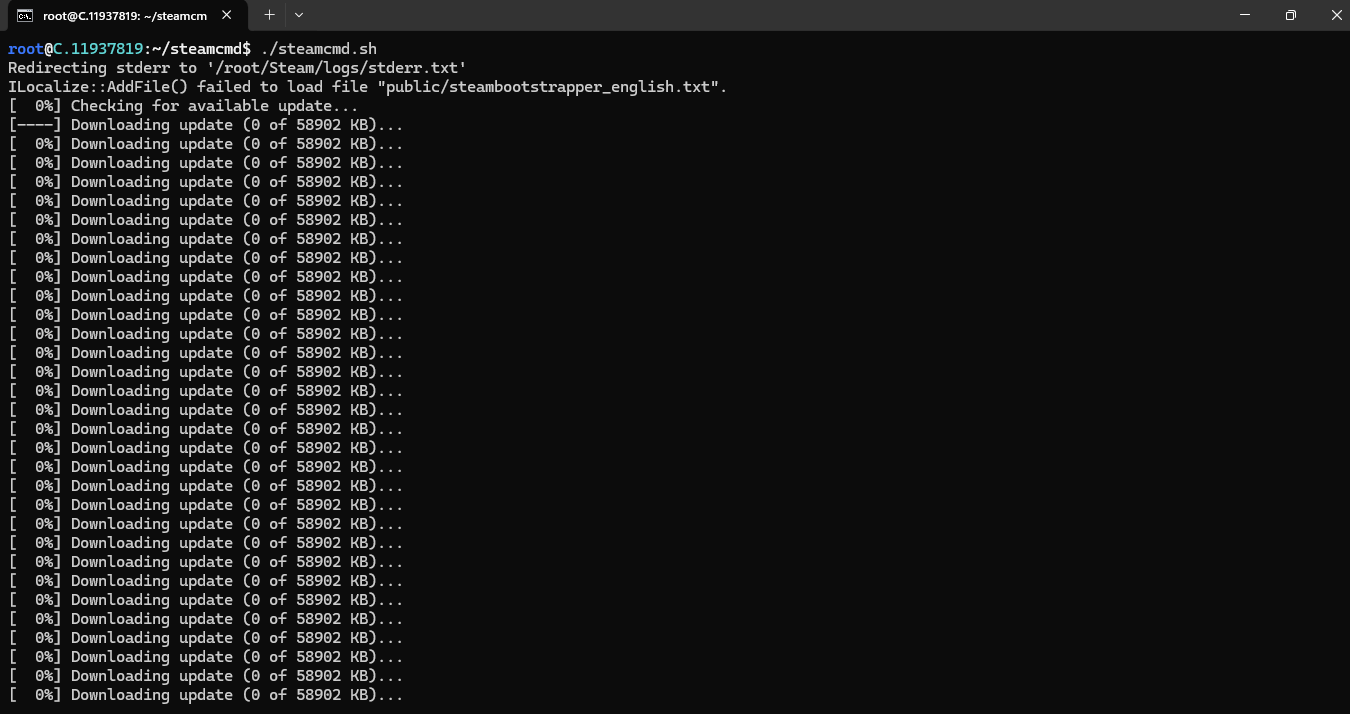
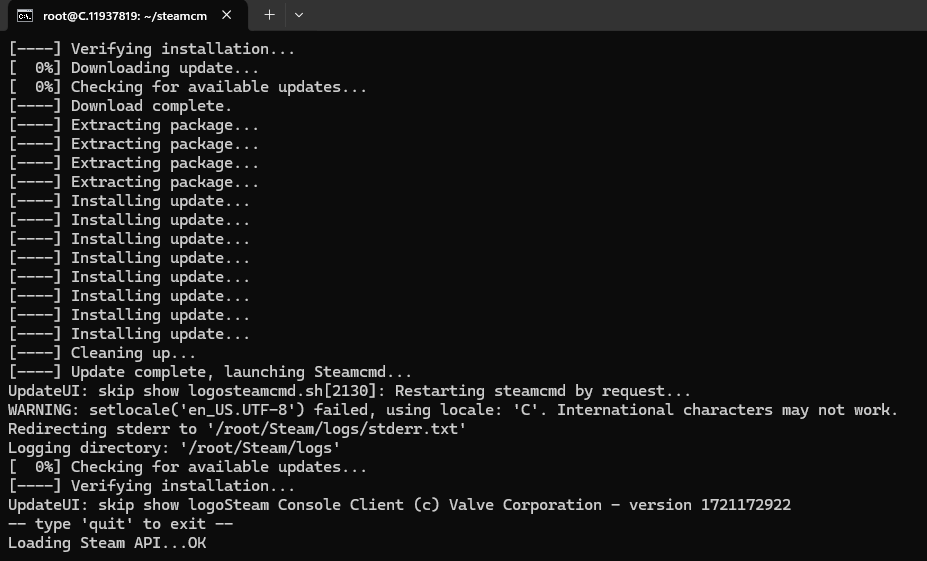
After successfully installing SteamCMD, you can proceed with the rest of the steps.
Step 4: Download & Install Rust Dedicated Server
In the SteamCMD prompt, set the installation folder for where your Rust Dedicated Server will install and run from by entering the following command:
force_install_dir \rustserver\
The above command will set the destination from which your Rust Dedicated Server files will be installed and run.
Step 5: Login as an anonymous user
Run the following command to log in as an anonymous user.
login anonymousNext, Download and install the RUST Dedicated Server by firing the following command:
app_update 258550 validate +quit
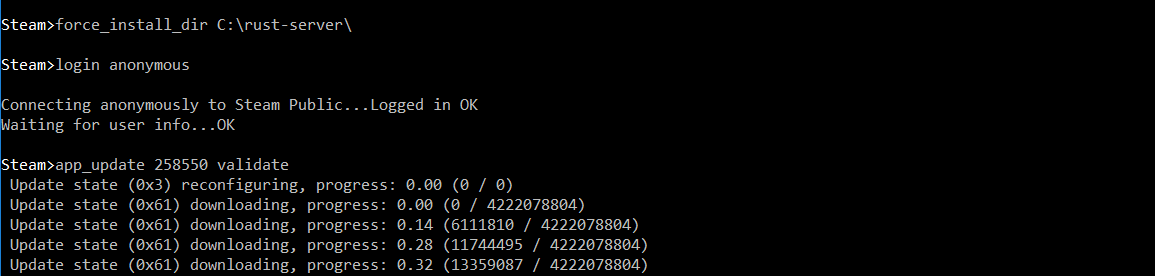
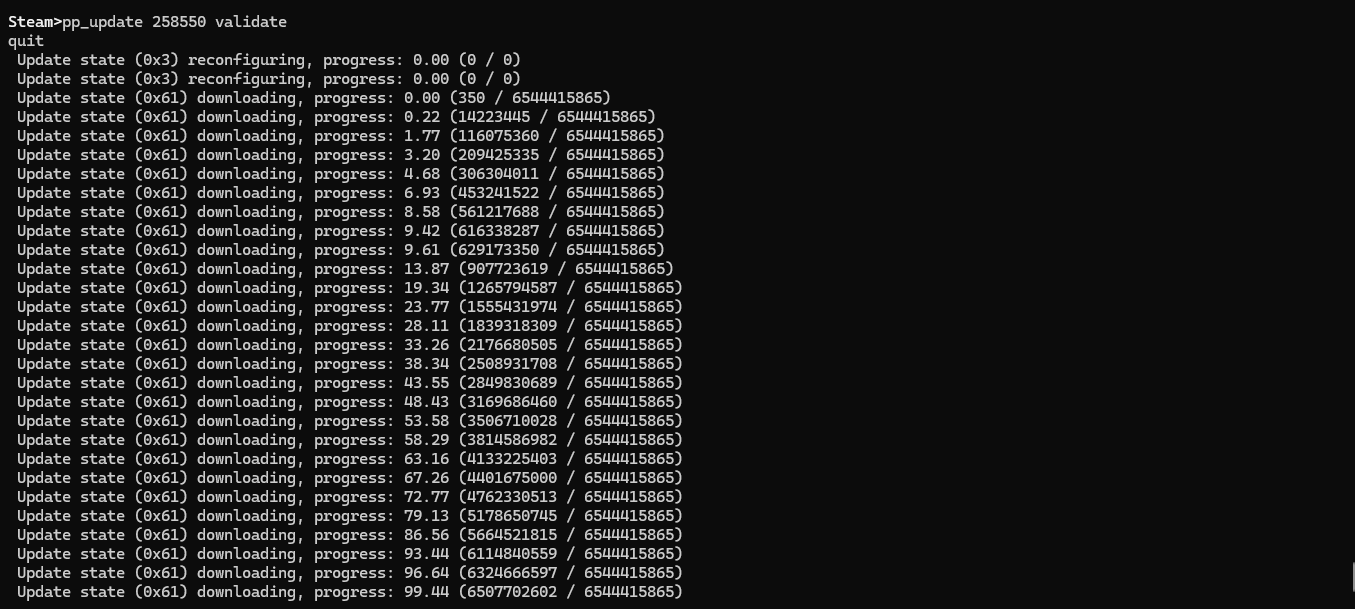
After the installation is complete, log out of the Steam server by typing ‘quit’.
Step 6: Modify Server Settings
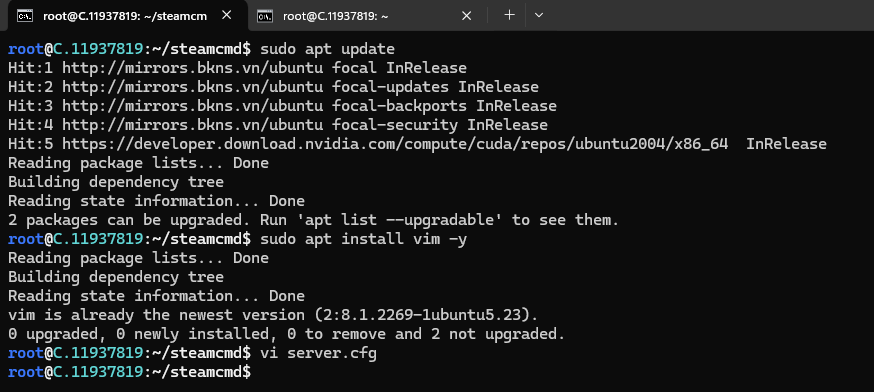
After successfully installing the Rust server, you can configure the game server to match your preferences and requirements. To start, navigate to your Steamcmd installation directory using the command:
cd steamcmdThe primary configuration file within this folder is typically named server.cfg. Open it using the vim text editor:
vim server.cfg
So, what is Vi?
Vi is a text editor. The last line of the text editor is used to give commands to vi and provide you with information.
Note: If an error occurs which states that Vi is not a recognised internal or external command then install vim using the steps below.
Step 1: Update the package list
Before installing any software, we will update the package list using the following command in your terminal:
sudo apt update
You might be prompted to enter your password for authentication.
Step 2: Install Vim
To install Vim, enter the following command:
sudo apt install vim -y
This command will retrieve and install Vim and its necessary components.
Now you have to run the below command to check the server properties:
vim server.cfg
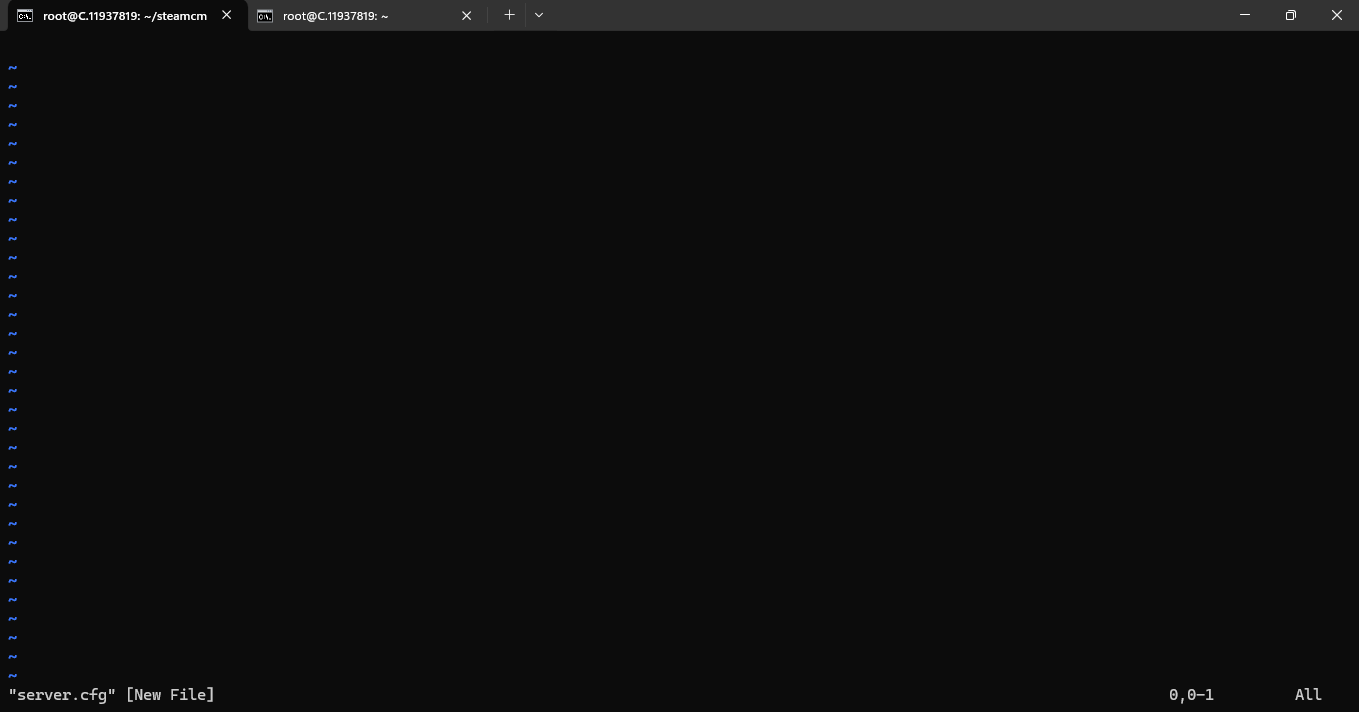
Entering the editing mode in Vi:
Follow the below steps to enter the editing mode in Vi
Step 1: Open a File in Vi
Step 2: Navigate to Command Mode
When you open a file in Vi, you start in the command mode. You can issue commands to navigate, save, and manipulate text in this mode. To ensure you are in command mode, press the Esc key. This step is crucial because you cannot edit the text in other modes.
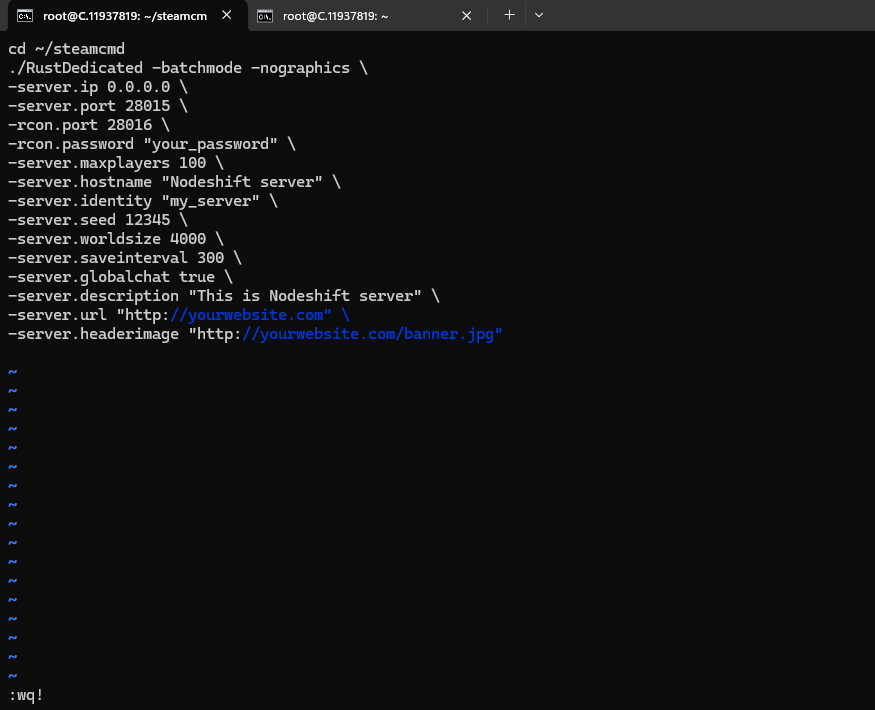
This file contains various settings you can modify, such as:
Server Name and Description
Assign a unique name to your server using the line:
server.hostname "Your Server Name"
To add a server description that outlines your server’s theme or rules, include the following:
server.description "Your Server Description"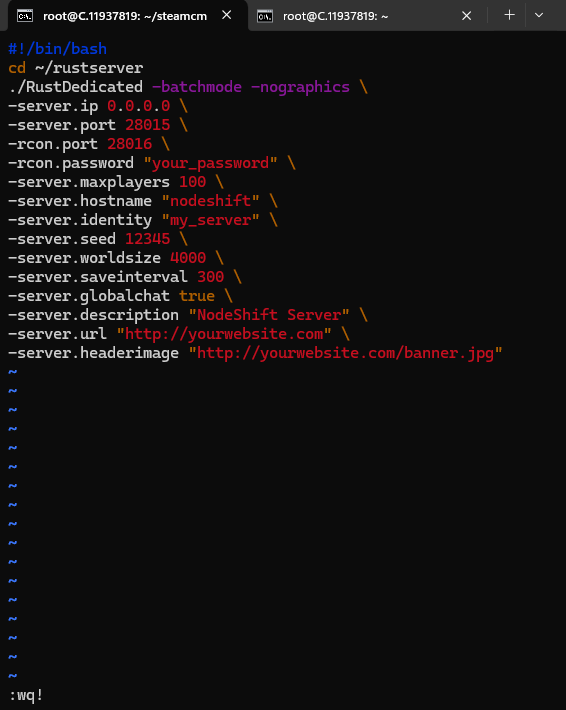
Step 7: Launch the Rust Server
Now that your own Rust server is configured, it’s time to launch it and explore the game you’ve crafted. Ensure you are in your server directory, then start the Rust server with the following command:
./RustDedicated.exe -batchmode

If you want to customize the game settings when starting, use this command instead:
./RustDedicated.exe -batchmode +server.port 28015 +server.level "Procedural Map" +server.maxplayers 100 +server.hostname "Your Server Name" +server.identity "your_server_identity"
Locate the RustDedicated.exe -batchmode file under the Steamcmd directory and execute it. This should start loading your Rust dedicated server (it takes a few minutes).
Once the game is loaded, press F1 to bring up the Rust Console and type the following command:
client.connect 170.XX.XX.XX:28015
You can also test the connectivity to your server using a Rust client from your PC. Enter your Virtual Machine's IP address and port in the format:
client.connect 170.XX.XX.XX:28015
Conclusion
Setting up a dedicated Rust server on a Virtual Machine like those offered by NodeShift, allows you to customize your gaming environment to fit your specific needs, offering better performance and control. Following the step-by-step process outlined in this guide, you can create a stable and personalized Rust gaming experience, ensuring seamless gameplay for you and your community. Happy gaming!
For more information about NodeShift: