How to Install and Run Flux Image Generator with ComfyUI


What is Flux?
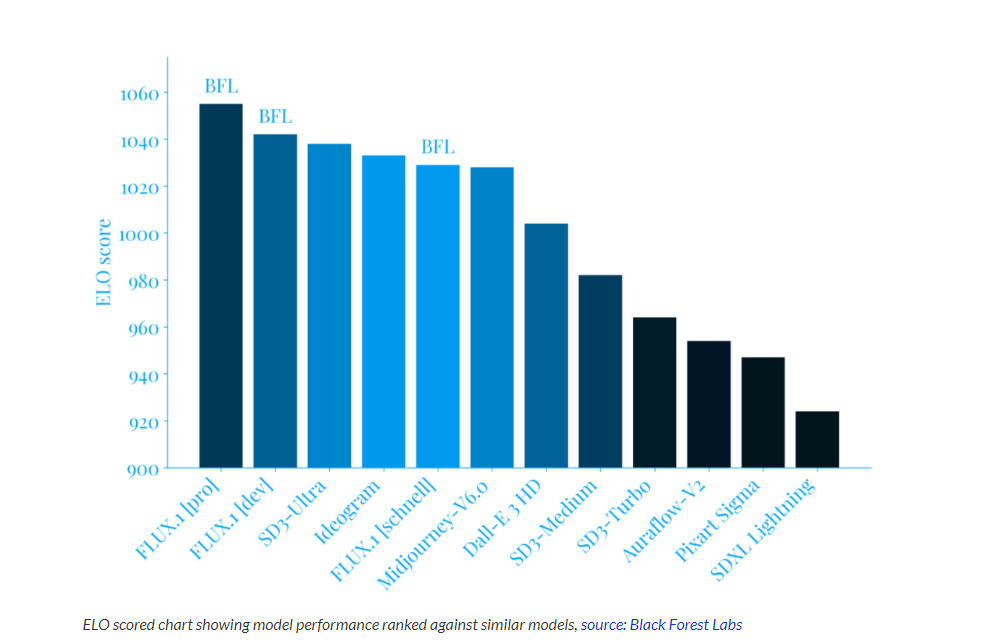
Flux is an open-source image generation model developed by Black Forest Labs. It specializes in generating high-quality images from text prompts. At its core, the Flux image generator is built on a novel architecture that combines the best of several cutting-edge AI technologies. Unlike its predecessors, which primarily rely on diffusion models, FLUX incorporates a hybrid approach that leverages multimodal and parallel diffusion transformer blocks. This unique blend allows for unprecedented detail, accuracy, and creative interpretation of prompts.
Key features that distinguish the FLUX image generator include:
- Unparalleled Image Quality
- Superior Prompt Understanding
- Versatility in Style and Content
- Efficient Processing
- Innovative “Flow Matching” Technique
The Flux 1 family includes three versions of their image generator models, each with its unique features:
Black Forest Labs has introduced Flux in three distinct variants, each catering to different user needs and use cases:
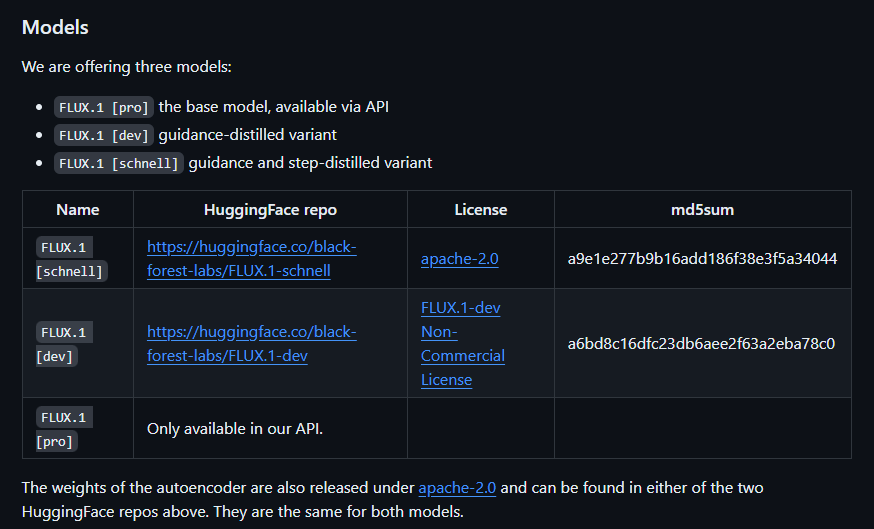
FLUX.1 [Pro]: The powerhouse of the Flux family, crafted for commercial and enterprise use. This model delivers top-tier performance, exceptional image quality, and a nuanced understanding of prompts, making it the go-to choice for those needing the absolute best.
FLUX.1 [Dev]: The open-source variant that serves as the backbone of the Flux AI community, allowing developers, researchers, and enthusiasts to explore, modify, and contribute to the model’s codebase.
FLUX.1 [Schnell]: This optimized model prioritizes speed and efficiency without compromising image quality. It is open-source and available on platforms like Hugging Face, making it ideal for real-time or near-real-time generation applications. It strikes a delicate balance between quick processing and high-quality output, perfect for personal projects or integrations with tools like Diffusers and Comfy UI.

What is ComfyUI?
ComfyUI is a powerful node-based user interface built on top of litegraph and explicitly designed for interfacing with Stable Diffusion models.
Originally created by Comfyanonymous in early 2023, ComfyUI has since become a go-to tool for professionals and enthusiasts alike who seek to harness the capabilities of Stable Diffusion.
The community contributions of custom nodes have further extended ComfyUI’s capabilities into upscaling, video generation, and more, making it an incredibly versatile tool that can be adapted to a wide range of use cases.
This is the second blog in our FluxAI series. This blog will cover installing and running the Flux Image Generator with ComfyUI. In our first blog of this series, we covered how to run the Flux 1 Schnell and Pro Image Generators in the cloud. If you missed our first blog, please check it out via the link below.
Blog Link: How to Run Flux 1 Schnell and Pro Image Generator in the Cloud
Step-by-Step Process to Run Flux 1 Schnell and Pro Image Generator
For the purpose of this tutorial, we will use a GPU-powered Virtual Machine offered by NodeShift; however, you can replicate the same steps with any other cloud provider of your choice. NodeShift offers the most affordable Virtual Machines at scale that meet GDPR, SOC2 and ISO27001 requirements.
Step 1: Sign Up and Set Up a NodeShift Cloud Account
Visit the NodeShift Cloud website (https://app.nodeshift.com/) and create an account. Once you've signed up, log into your account.
Follow the account setup process and provide the necessary details and information.

Step 2: Create a GPU Virtual Machine
NodeShift GPUs offer flexible and scalable on-demand resources like NodeShift Virtual Machines (VMs) equipped with diverse GPUs ranging from H100s to A100s. These GPU-powered VMs provide enhanced environmental control, allowing configuration adjustments for GPUs, CPUs, RAM, and Storage based on specific requirements.
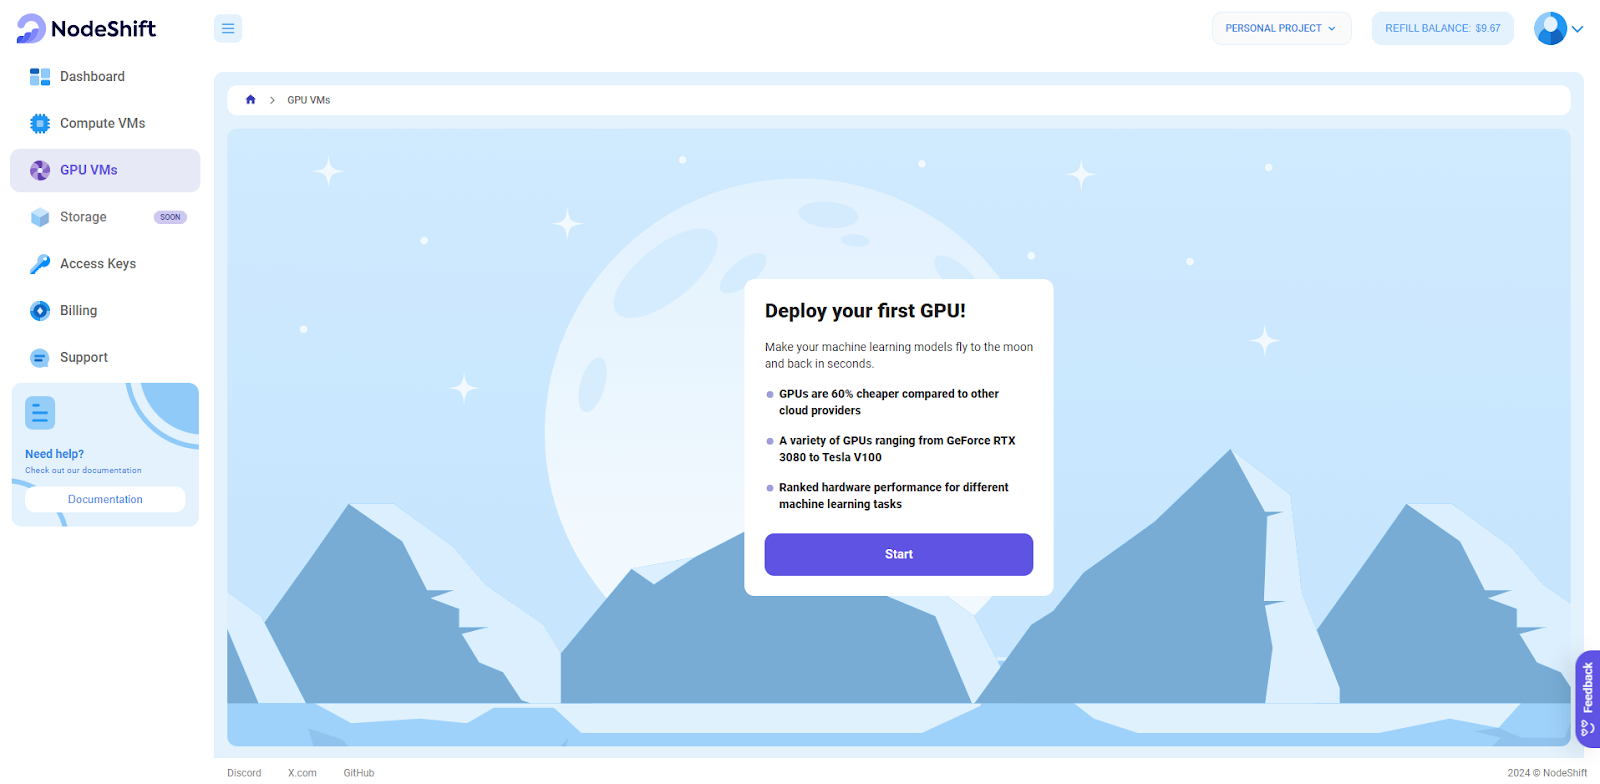
Navigate to the menu on the left side. Select the GPU VMs option, create a GPU VM in the Dashboard, click the Create GPU VM button, and create your first deployment.
Step 3: Select a Model, Region, and Storage
In the "GPU VMs" tab, select a GPU Model and Storage according to your needs and the geographical region where you want to launch your model.
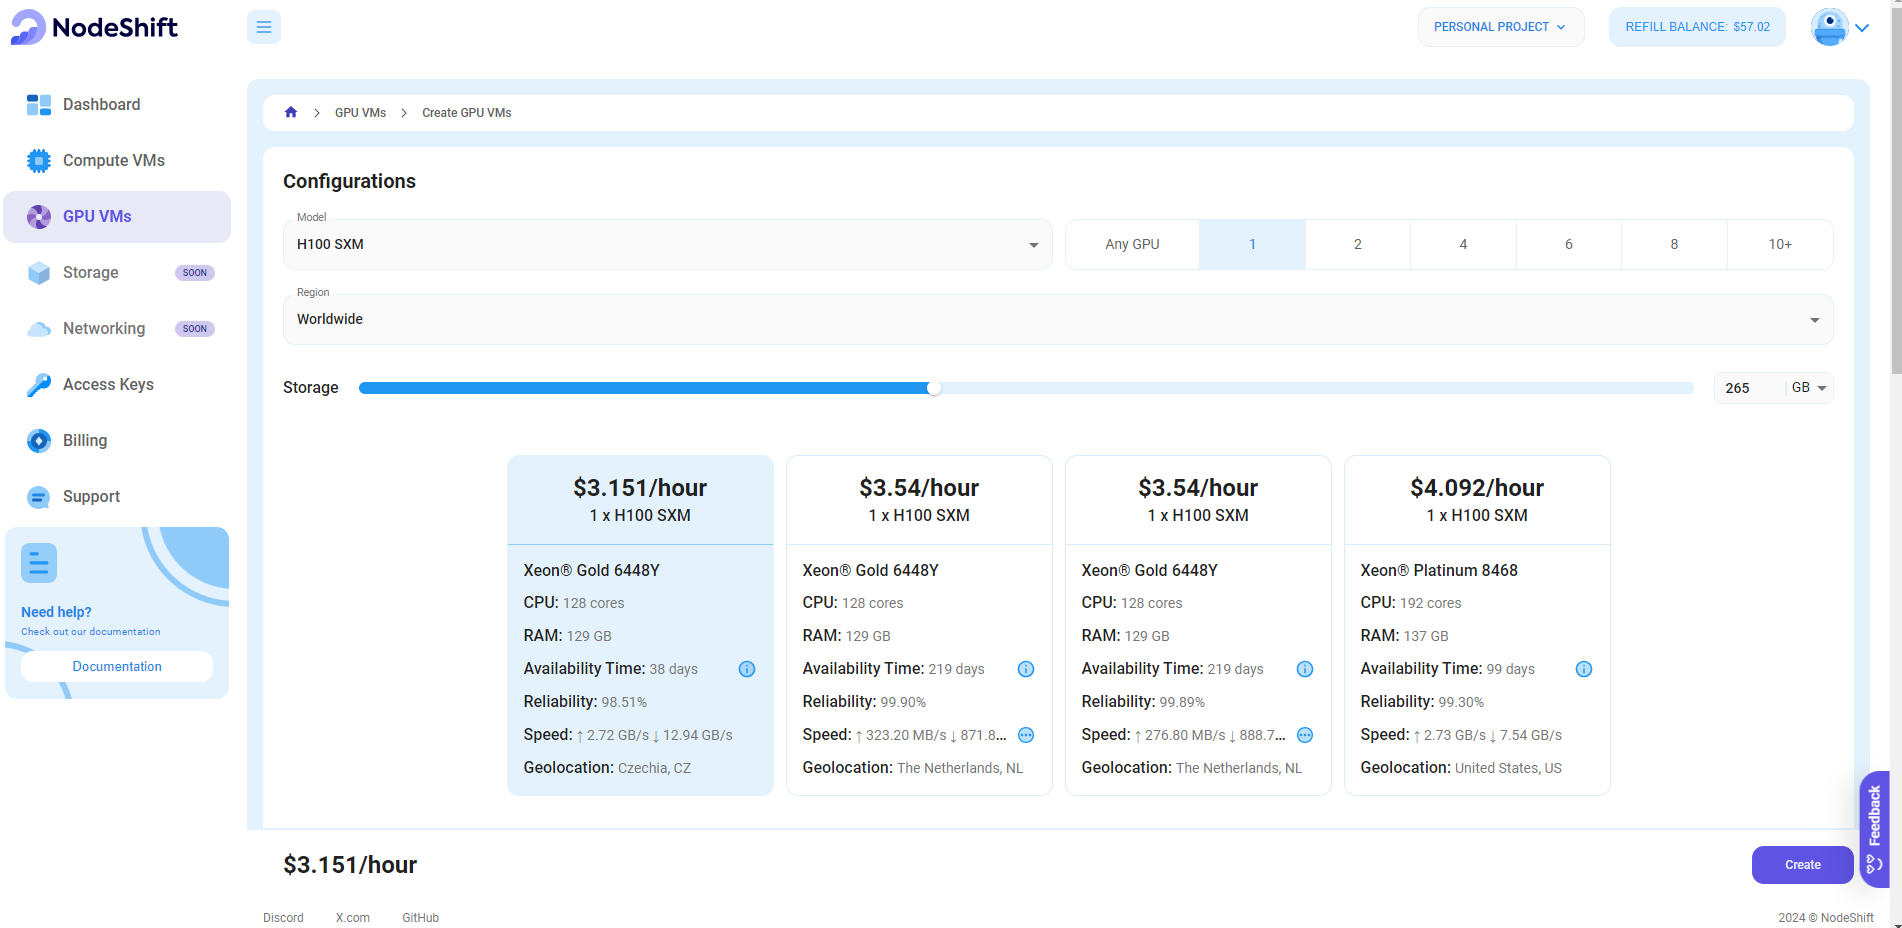

- Flux1-dev requires more than 12GB VRAM.
- Flux1-schnell can run on 12GB VRAM
- If you have less than 32GB of System RAM, use the t5xxl_fp8_e4m3fn text encoder instead of the t5xxl_fp16 version.
We will use 1x H100 SXM GPU for this tutorial to achieve the fastest performance. However, you can opt for a more affordable GPU with lesser VRAM if that suits your requirements.
Step 4: Select Authentication Method
There are two authentication methods available: Password and SSH Key. SSH keys are a more secure option; in order to create them, head over to our official documentation: (https://docs.nodeshift.com/gpus/create-gpu-deployment)

Step 5: Choose an Image
Next, you will need to choose an image for your VM. We will deploy Flux 1 Schnell and Pro Image Generator on an NVIDIA Cuda Virtual Machine. This proprietary, closed-source parallel computing platform will allow you to install Flux 1 Schnell and Pro Image Generator on your GPU VM.
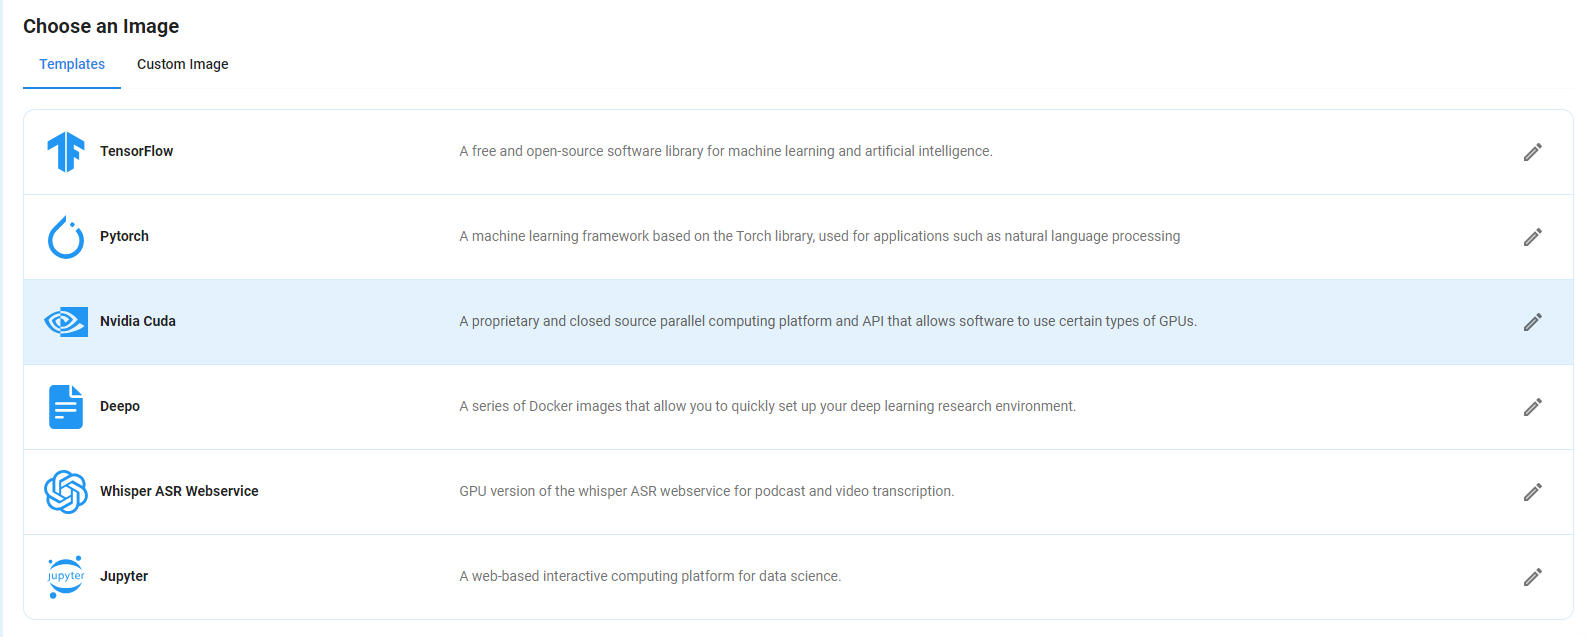
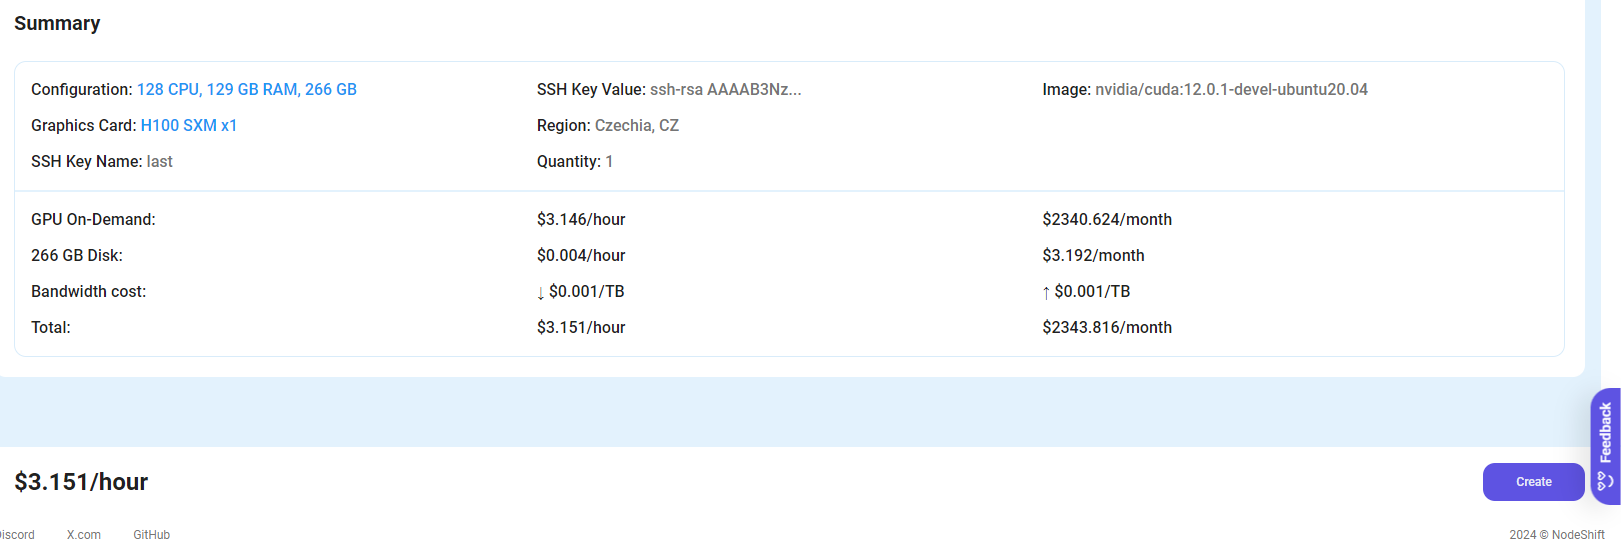
After choosing the image, click the ‘Create’ button, and your VM will be deployed.
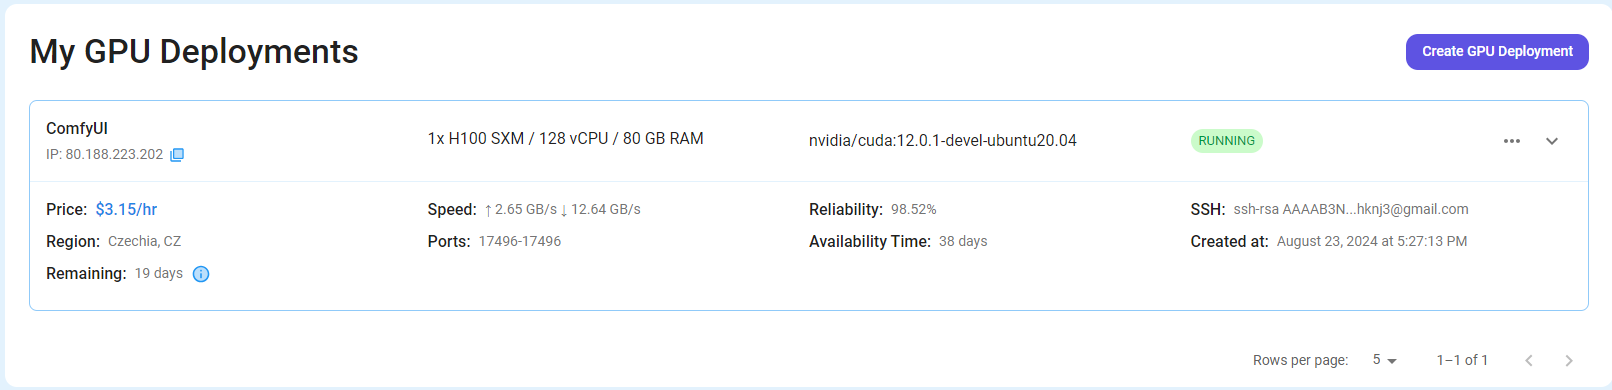
Step 6: Virtual Machine Successfully Deployed
You will get visual confirmation that your machine is up and running.
Step 7: Connect to GPUs using SSH
NodeShift GPUs can be connected to and controlled through a terminal using the SSH key provided during GPU creation.
Once your GPU VM deployment is successfully created and has reached the 'RUNNING' status, you can navigate to the page of your GPU Deployment Instance. Then, click the 'Connect' button in the top right corner.
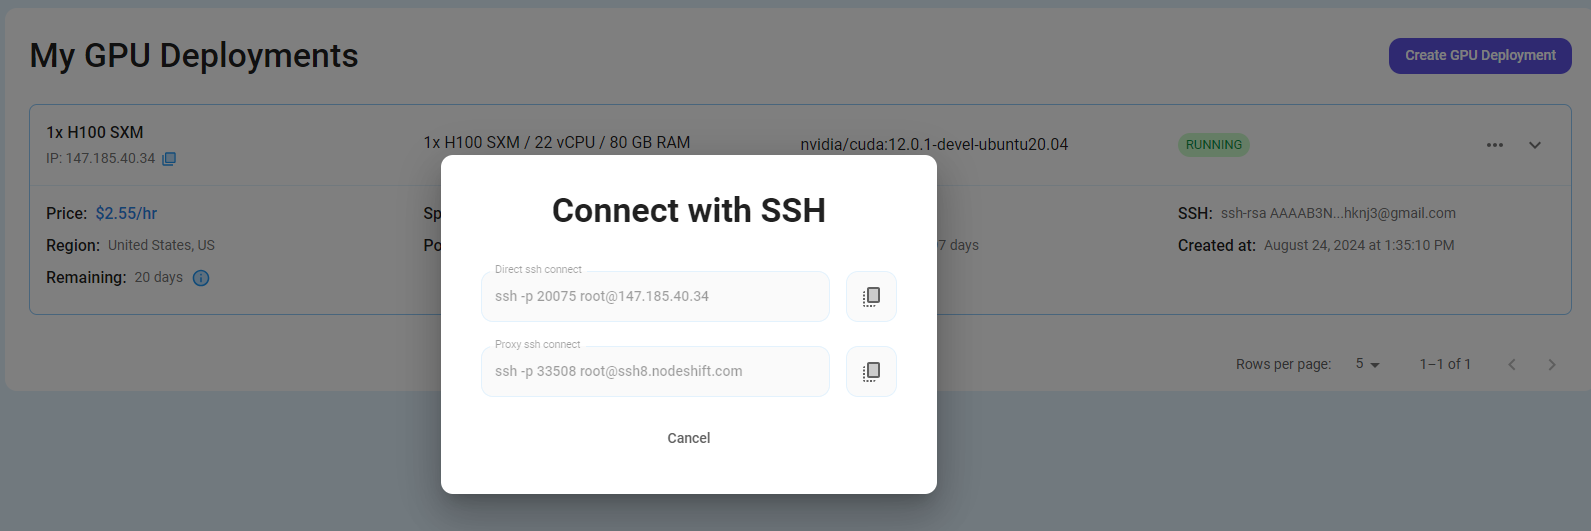
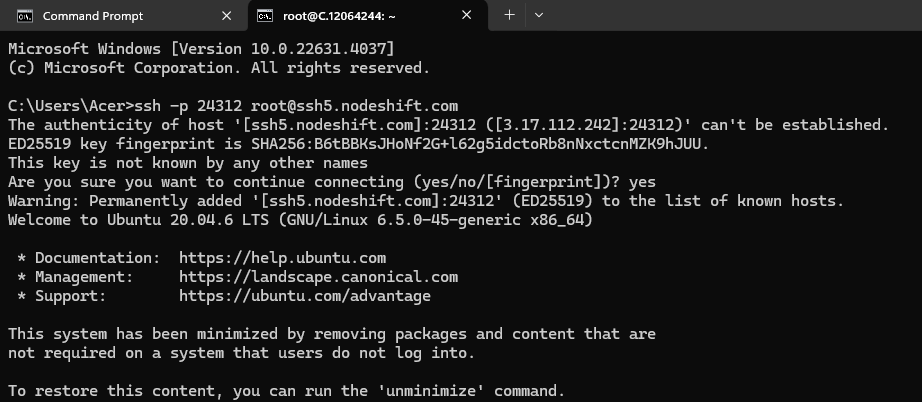
Now open your terminal and paste the proxy SSH IP.
Next, If you want to check the GPU details, run the command below:
nvidia-smi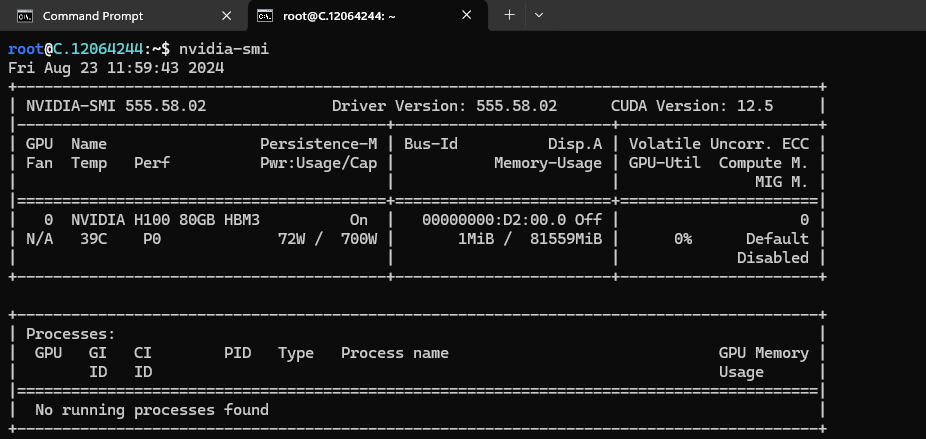
Step 8: Install Miniconda & Packages
After completing the steps above, install Miniconda.
Miniconda is a free minimal installer for conda. It allows the management and installation of Python packages.
Anaconda has over 1,500 pre-installed packages, making it a comprehensive solution for data science projects. On the other hand, Miniconda allows you to install only the packages you need, reducing unnecessary clutter in your environment.
We highly recommend installing Python using Miniconda. Miniconda comes with Python and a small number of essential packages. Additional packages can be installed using the package management systems Mamba or Conda.
For Linux/macOS:
Download the Miniconda installer script:
wget https://repo.anaconda.com/miniconda/Miniconda3-latest-Linux-x86_64.sh
For Windows:
- Download the Windows Miniconda installer from the official website.
- Run the installer and follow the installation prompts.

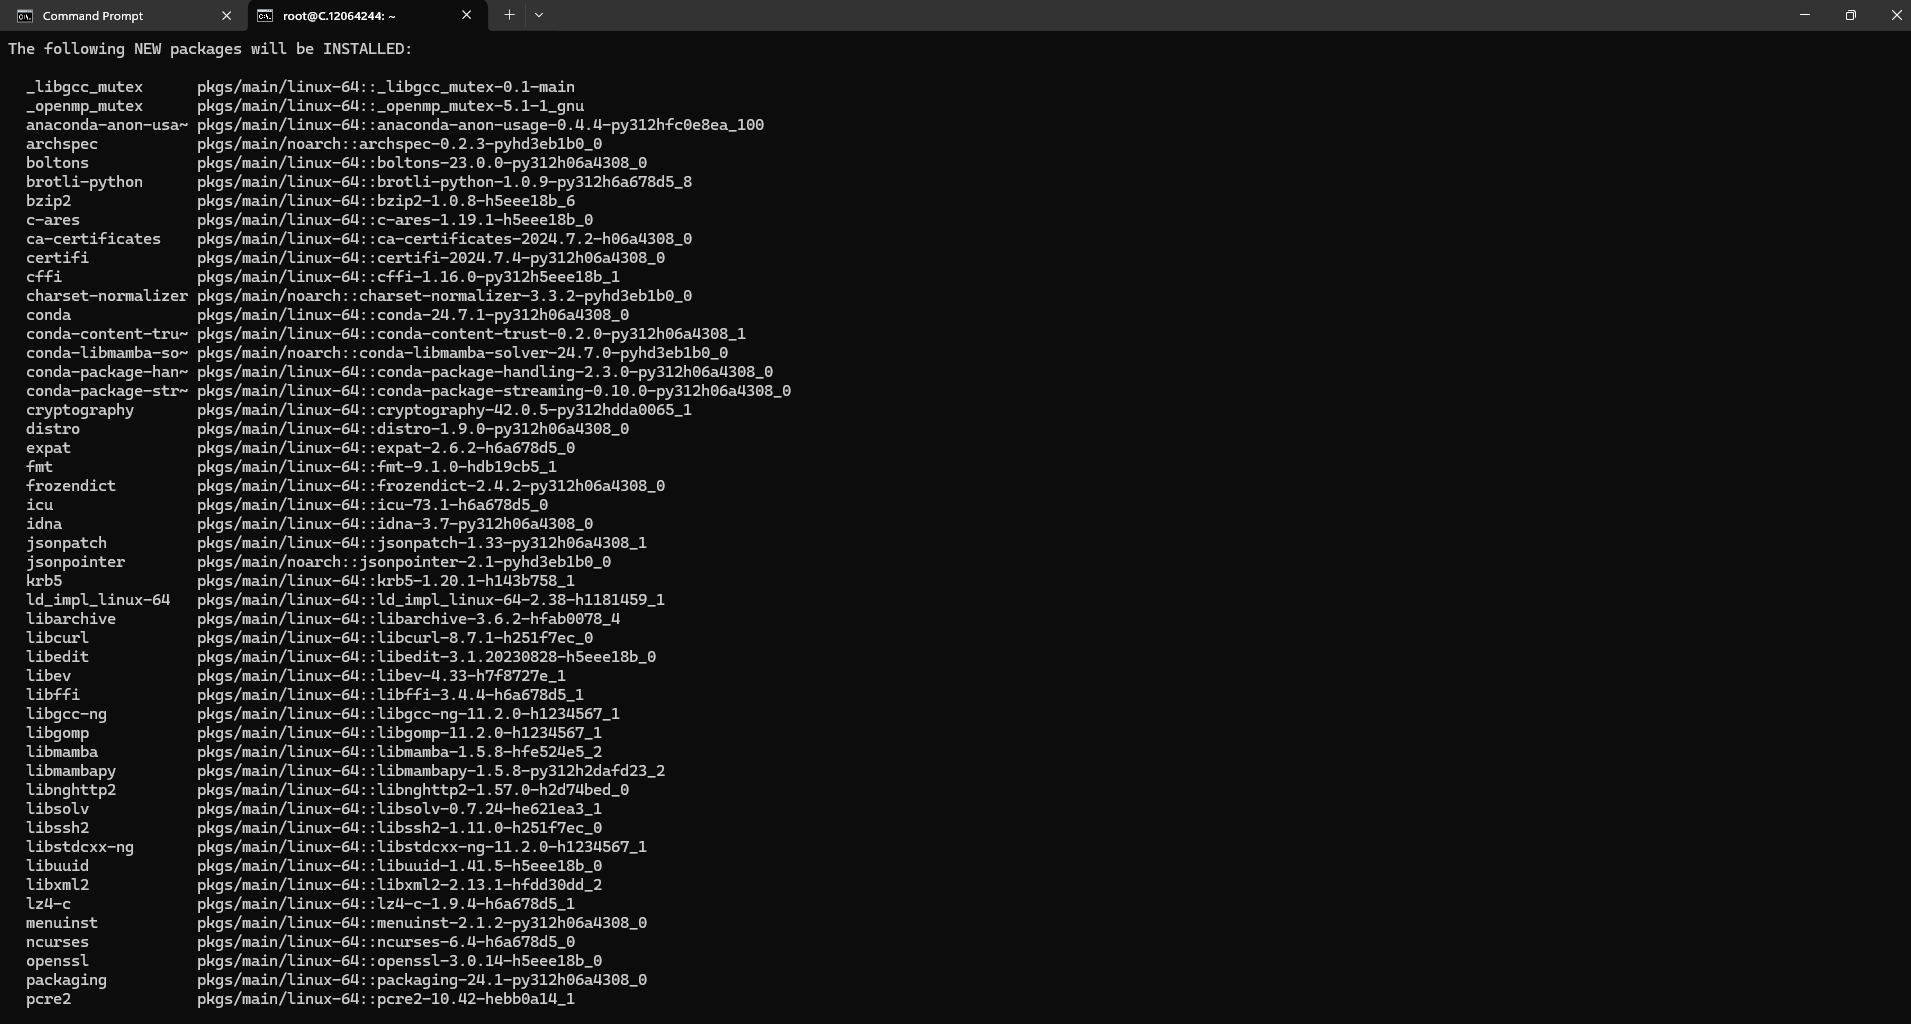
Run the installer script:
bash Miniconda3-latest-Linux-x86_64.sh
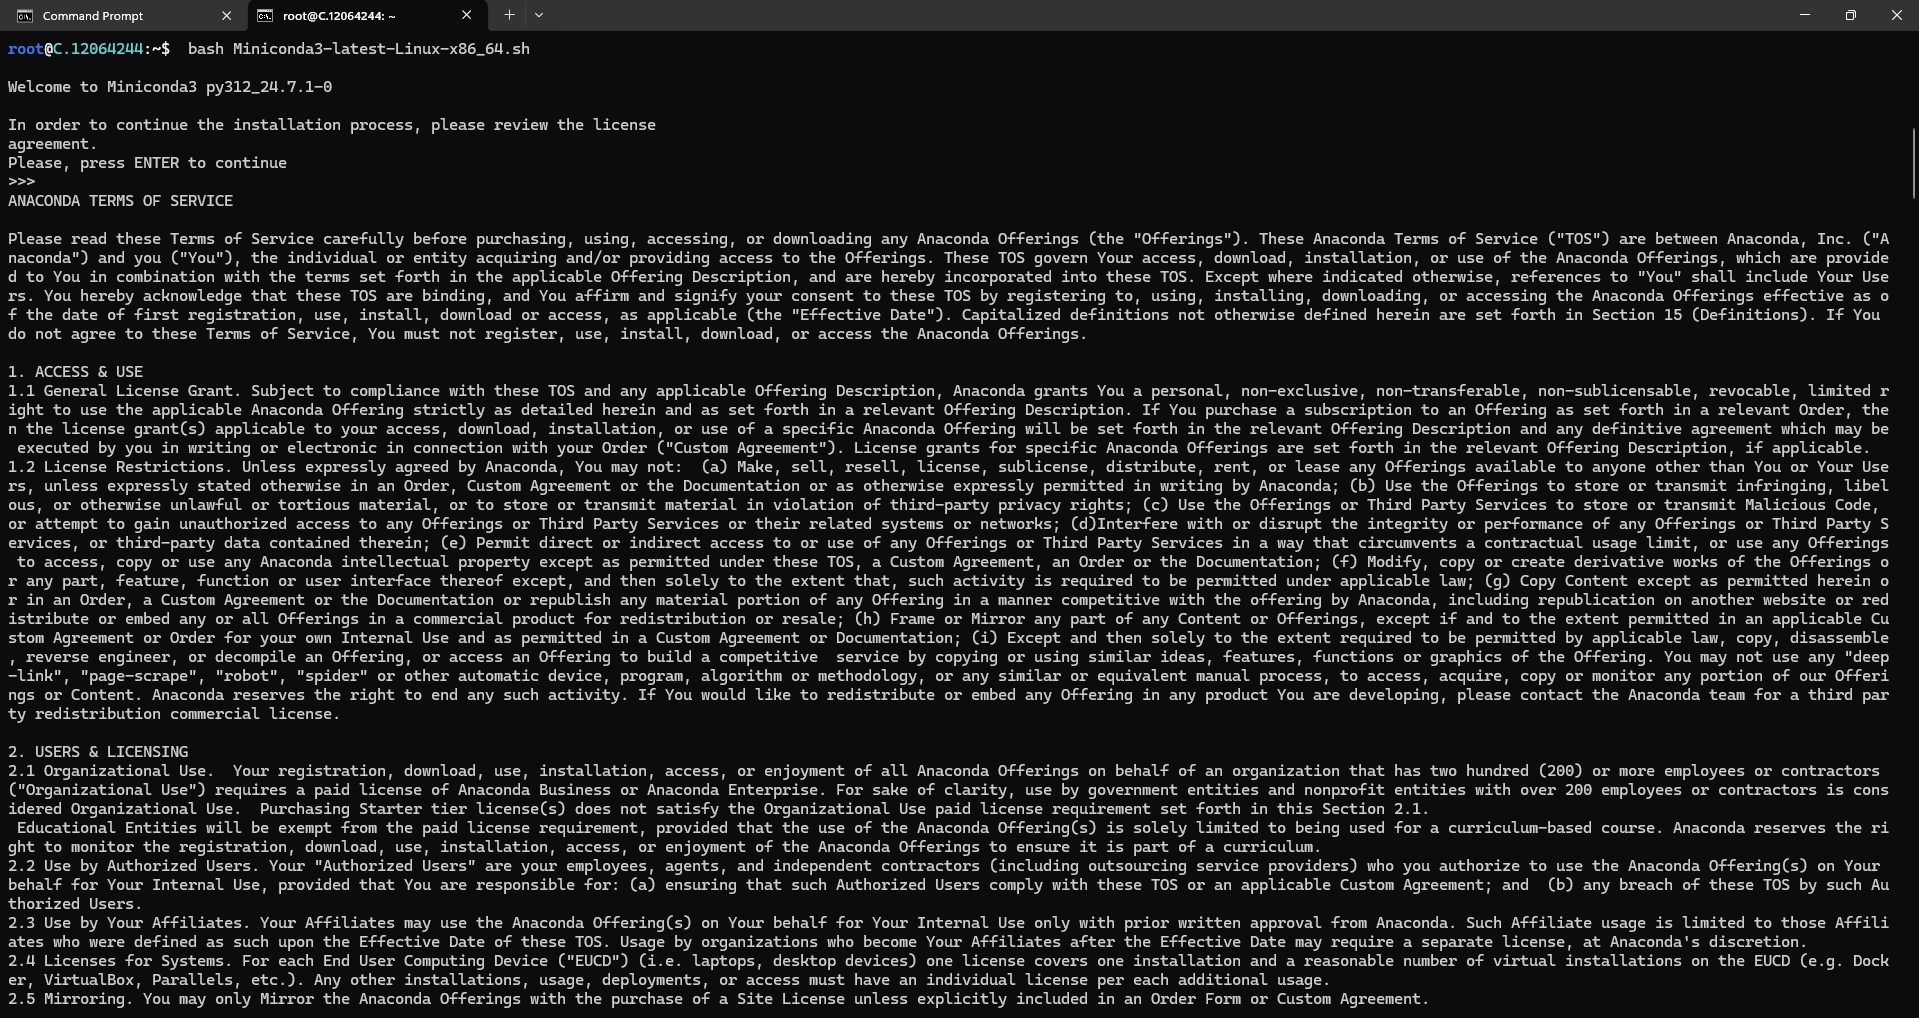
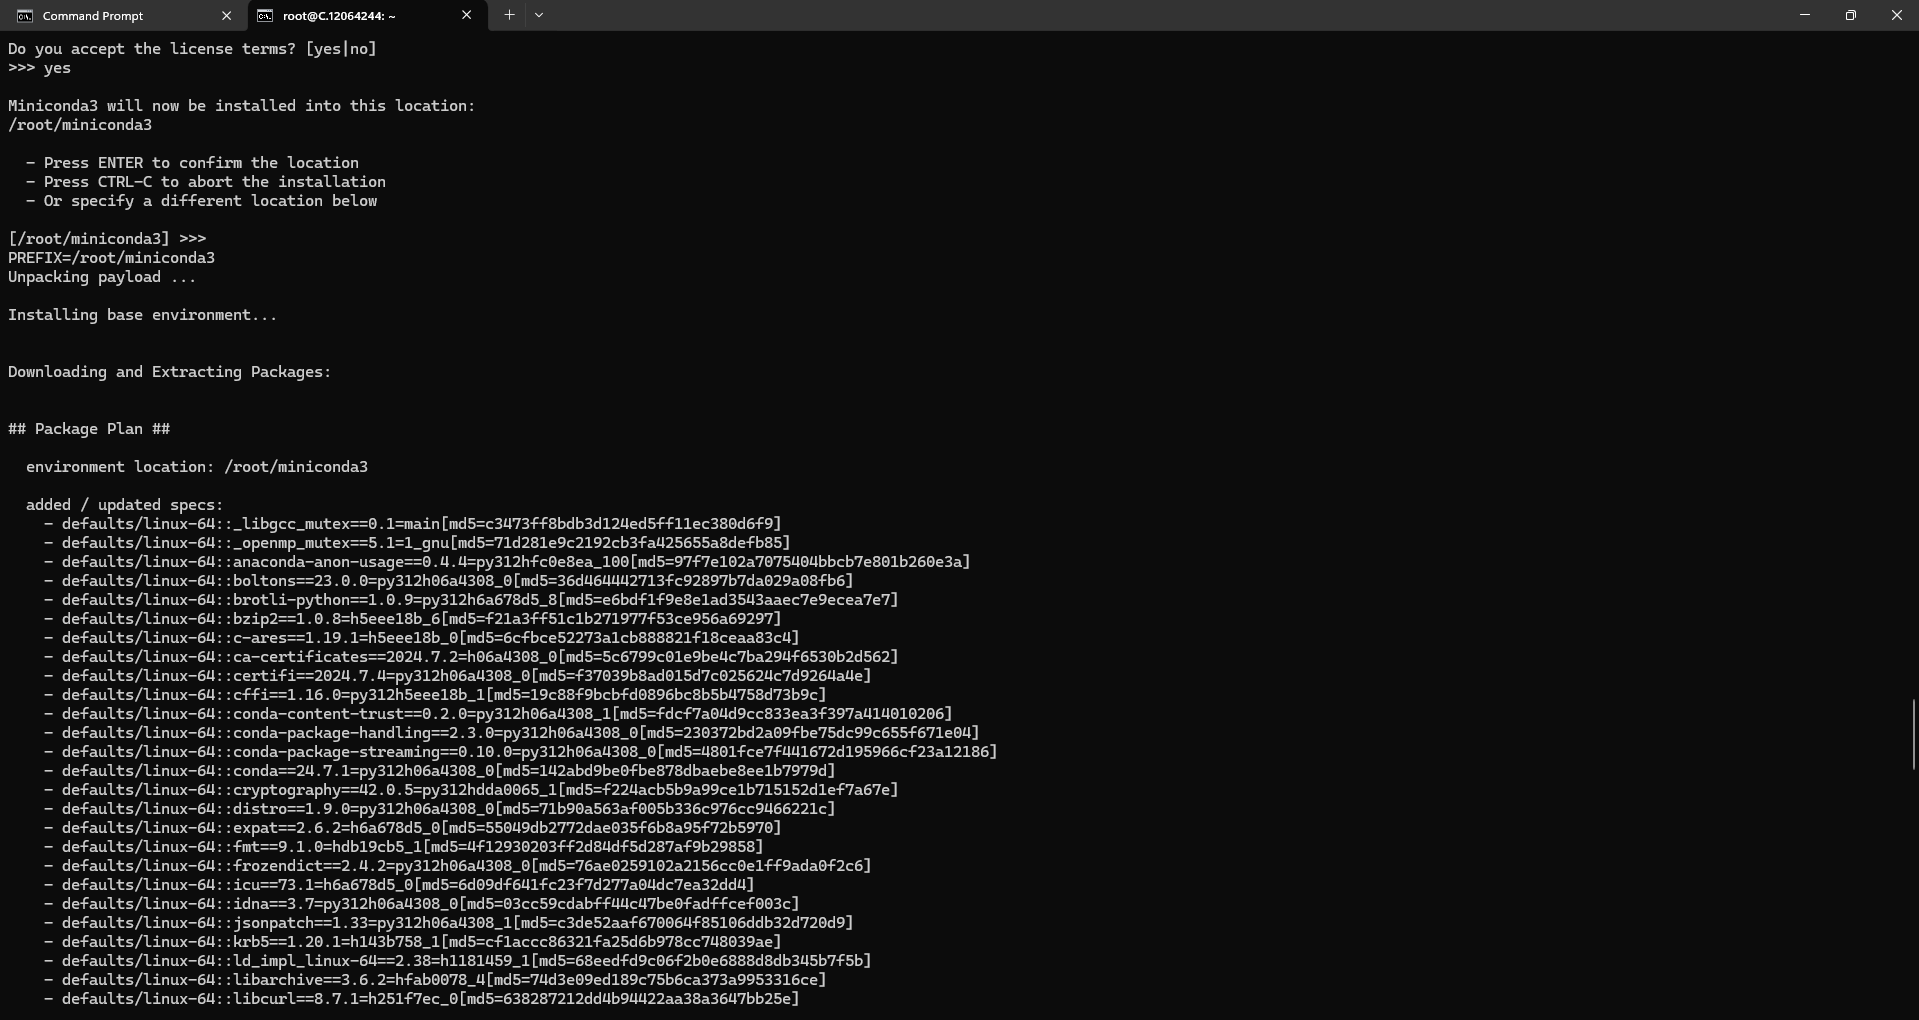
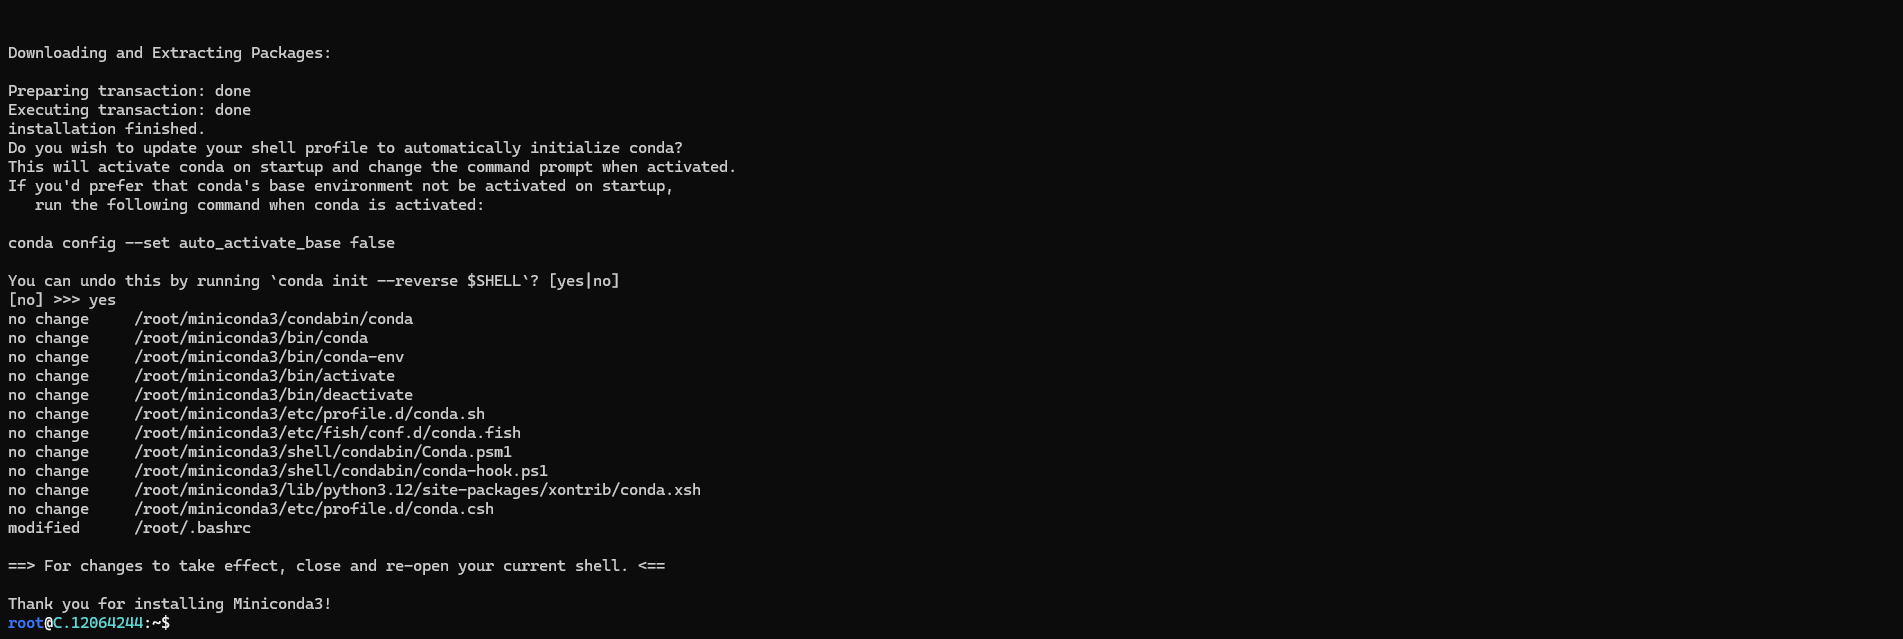
After Installing Miniconda, you will see the following message:
Thank you for installing Miniconda 3! This means Miniconda is installed in your working directory or on your operating system.
Check the screenshot below for proof:
Step 9: Activate Conda and perform a version check
After the installation process, activate Conda using the following command:
conda init
source ~/.bashrc
Also, check the version of Conda using the following command:
conda --version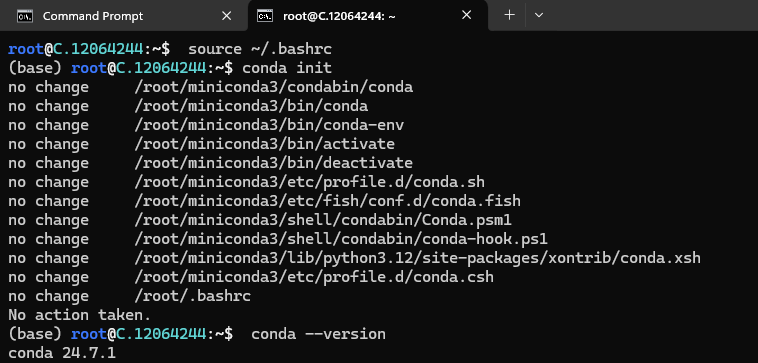
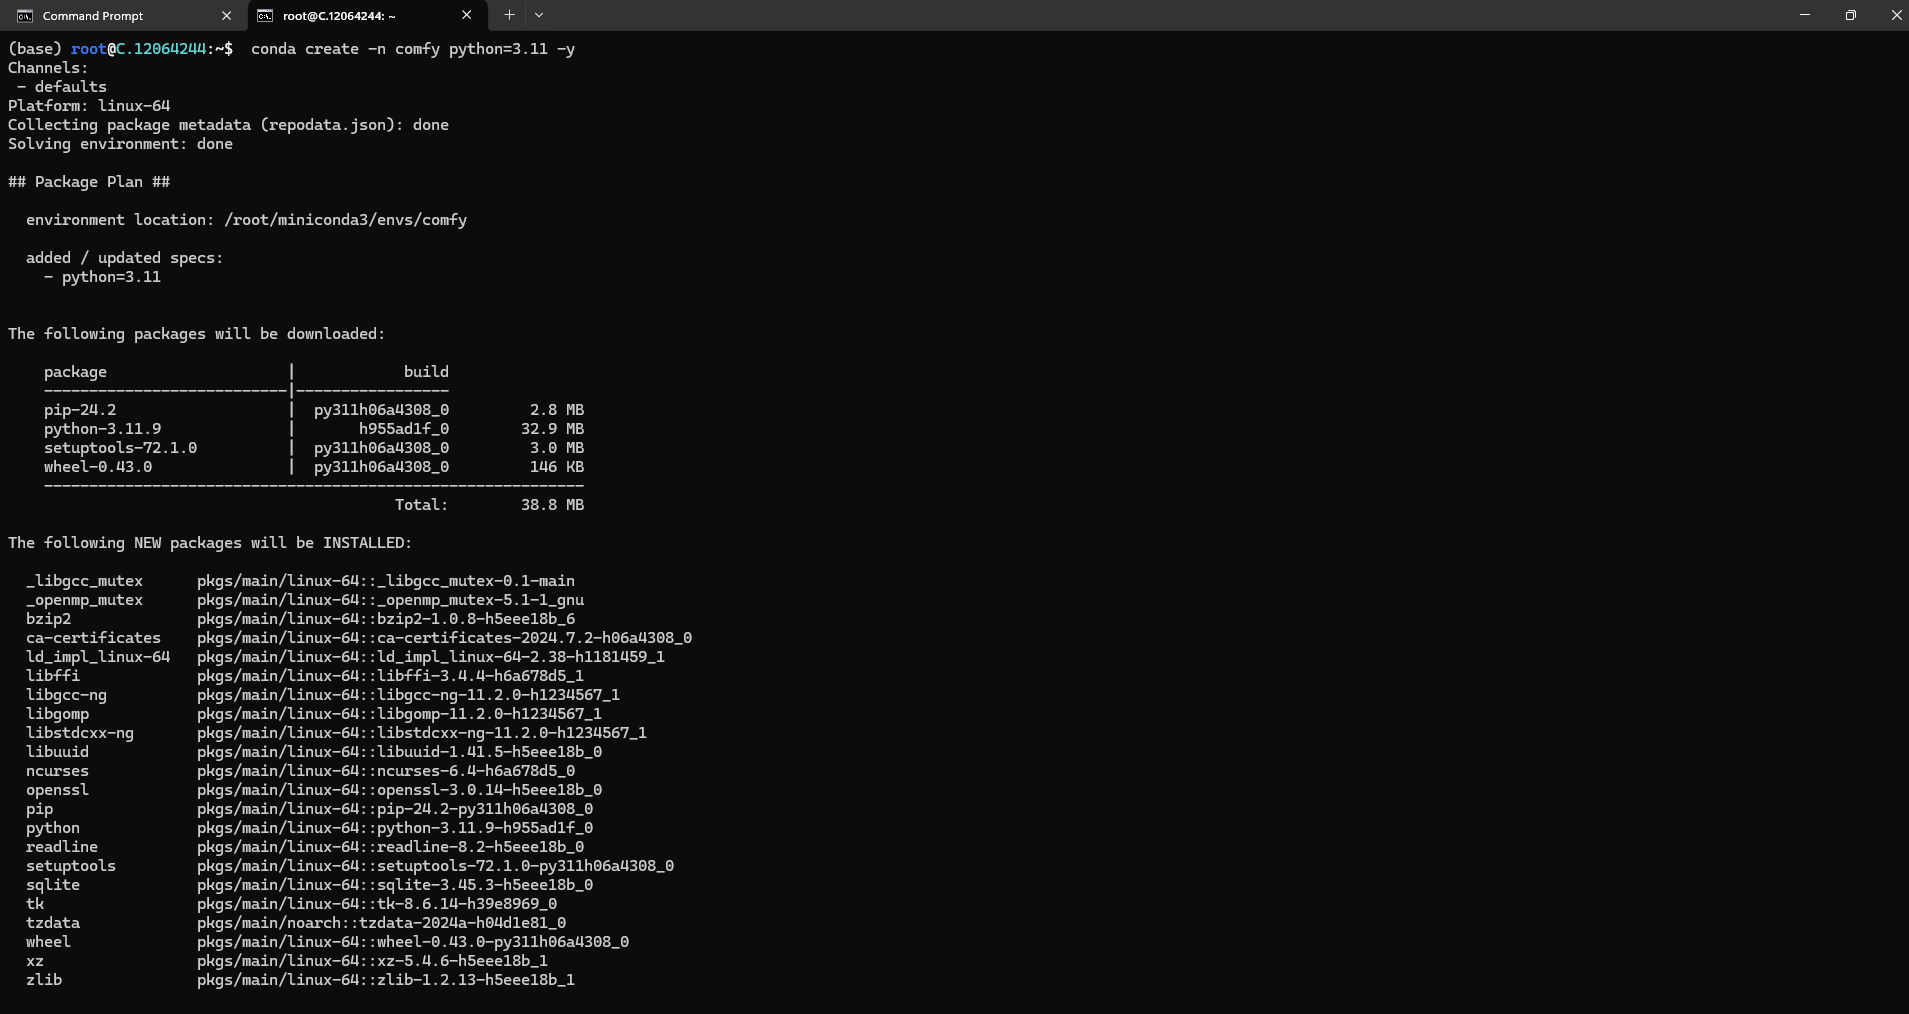
Step 10: Create and activate your environment
Create a Conda Environment using the following command:
conda create -n comfy python=3.11 -yconda create: This is the command to create a new environment.-n comfy: The-nflag specifies the name of the environment you want to create. Herecomfyis the name of the environment you're creating. You can name it anything you like.python=3.11: This specifies the version of Python that you want to install in the new environment. In this case, it's Python 3.11.-y: This flag automatically answers "yes" to all prompts during the creation process, so the environment is created without asking for further confirmation.
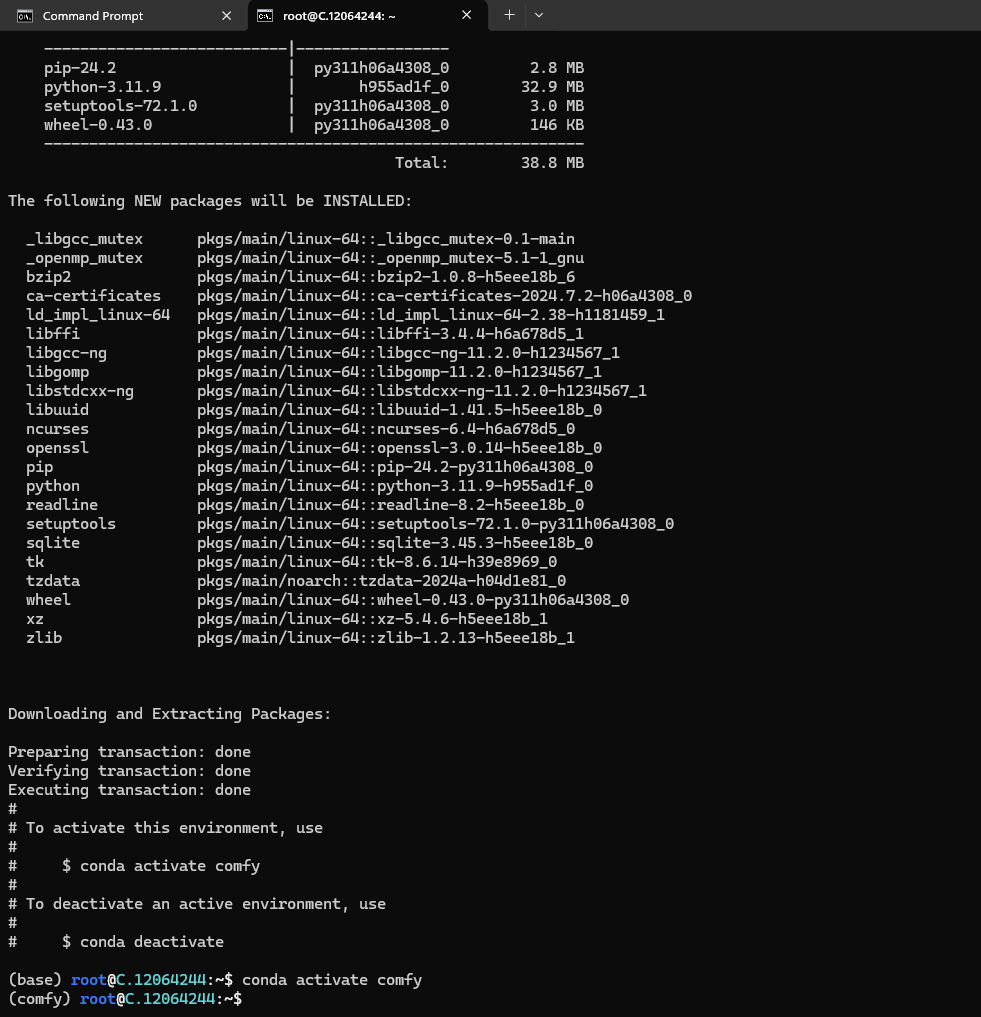
Activating the Conda Environment
Run the following command to activate the Conda Environment:
conda activate comfyconda activate comfy: The command conda activate comfy is used to activate the Conda environment named comfy that you created earlier with the conda create command.
Here's what it does:
conda activate: This command activates a specified Conda environment.comfy: This is the name of the environment you want to activate.
When you activate the comfy environment, your shell or command prompt will switch to using the Python interpreter and packages installed in that environment. This allows you to work in an isolated environment where the dependencies and settings won't interfere with other environments or the global Python installation on your system.
Step 11: Download the ComfyUI model and Install Requirements
Next, download the ComfyUI model from GitHub by running the following command:
git clone https://github.com/comfyanonymous/ComfyUI.git && cd ComfyUIFlux GitHub Repo Link: https://github.com/comfyanonymous/ComfyUI.git
Check ComfyUI Repo for more info.

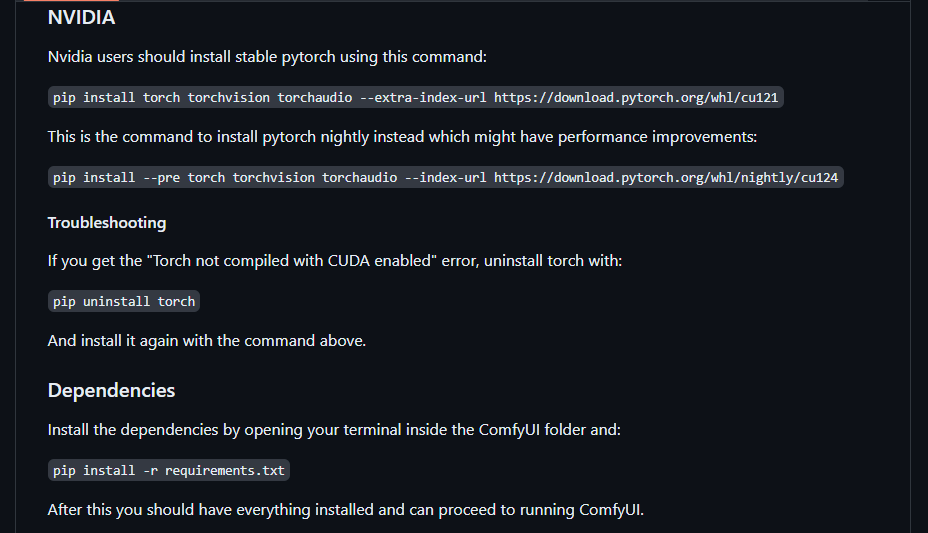
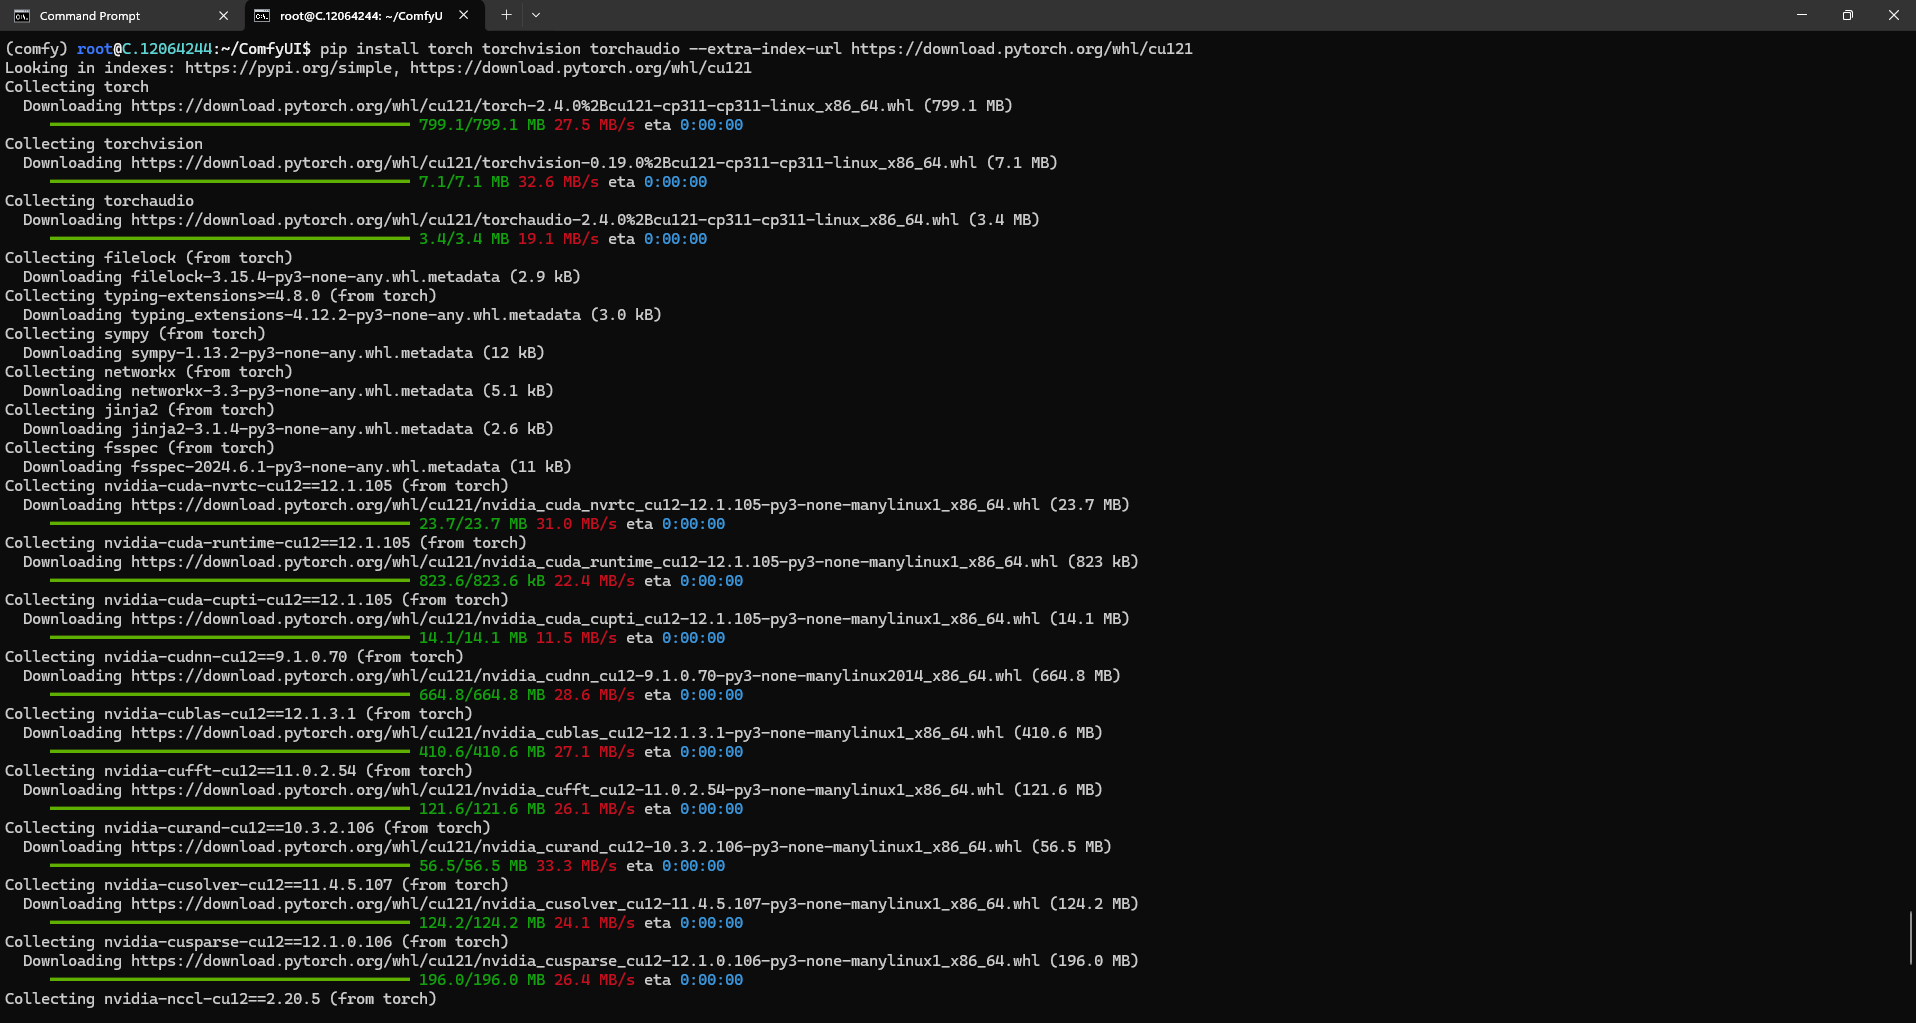
Run the following commands to install the required packages and dependencies:
pip install torch torchvision torchaudio --extra-index-url https://download.pytorch.org/whl/cu121
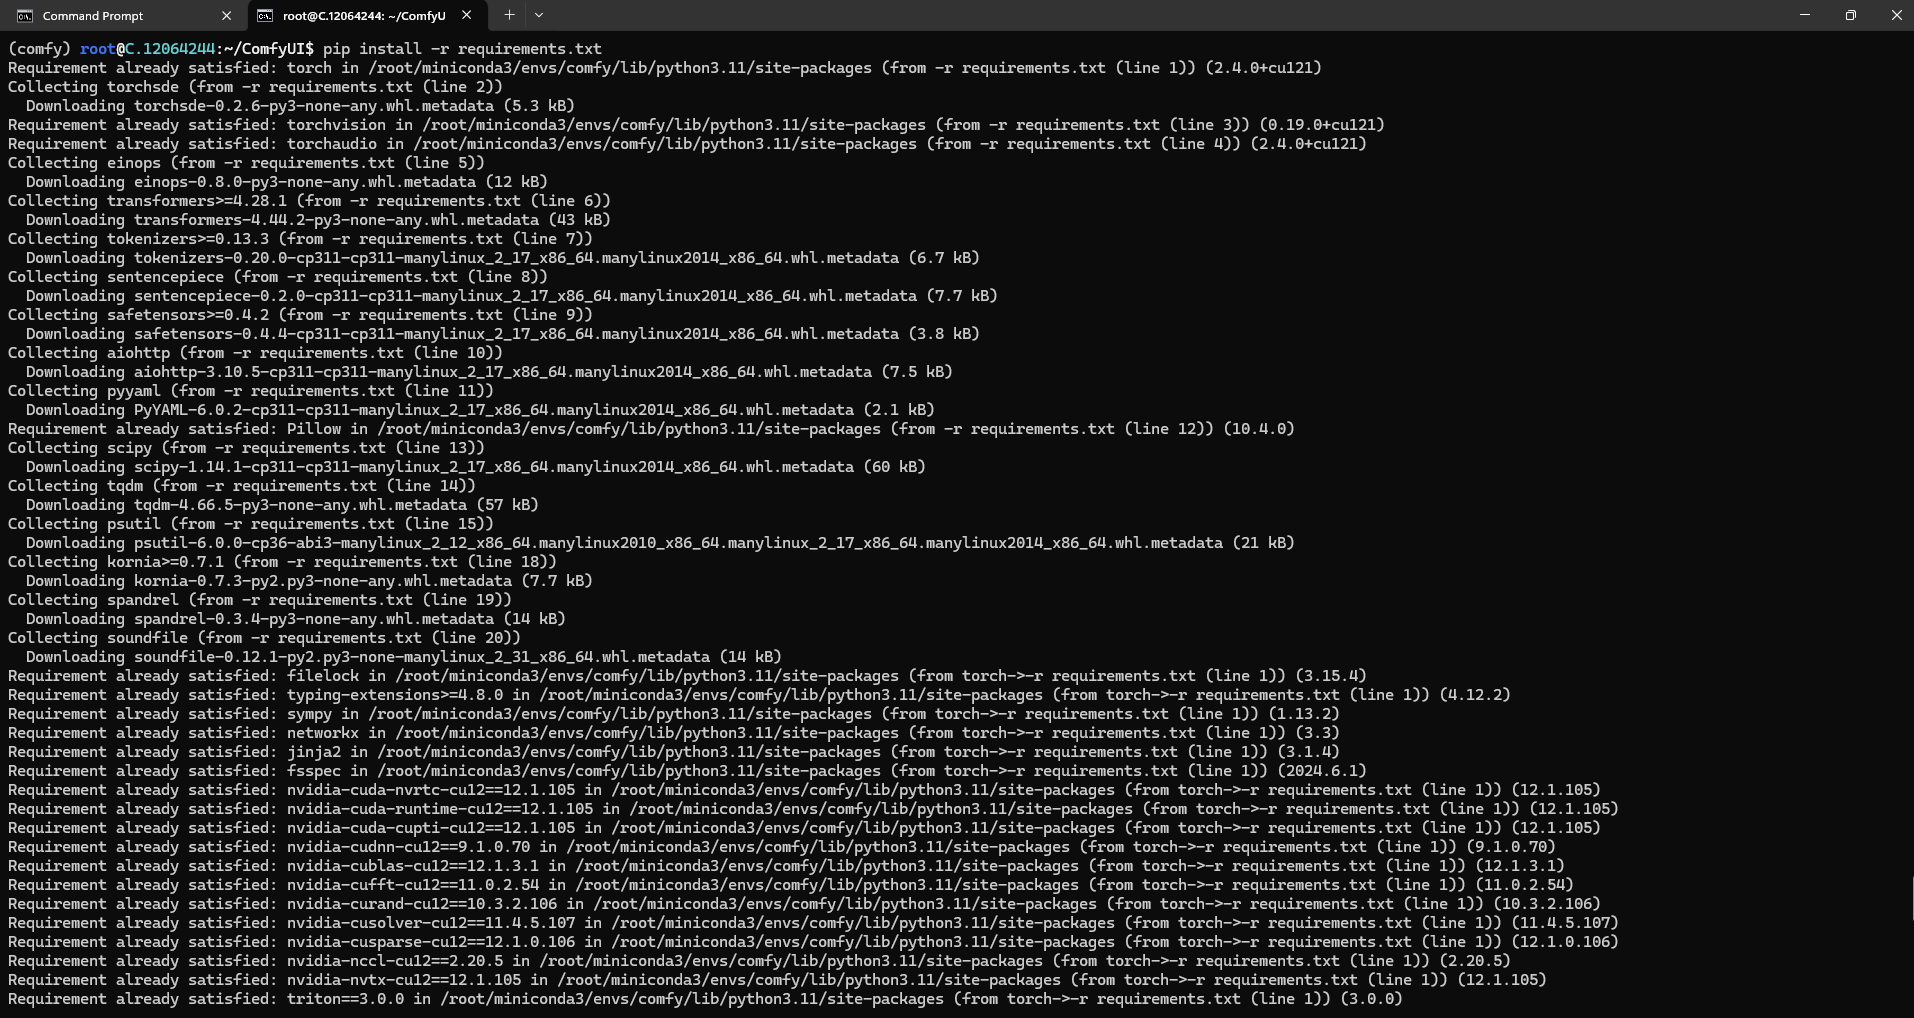
pip install -r requirements.txt

Step 12: Download the Flux Text encoders and tensors file from Hugging Face
After completing all the steps above, you need to download the Flux text encoders and tensors from the Hugging Face website.
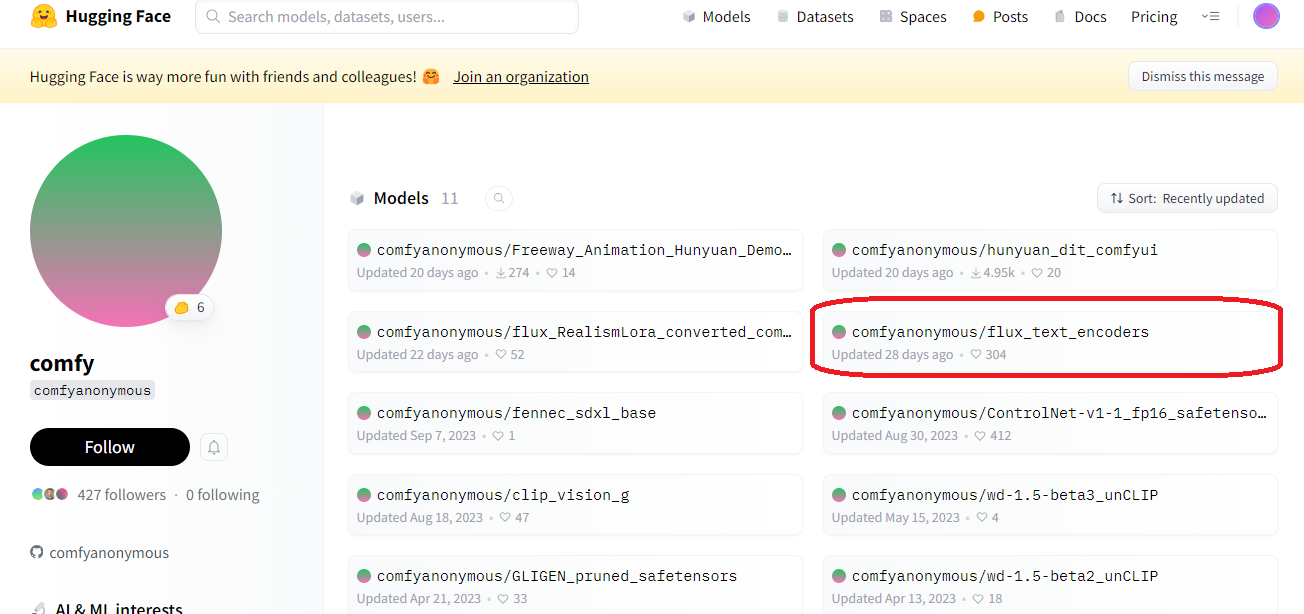
Link: https://huggingface.co/comfyanonymous/flux_text_encoders/
Download these two files clip_l.safetensors & t5xxl_fp16.safetensors.
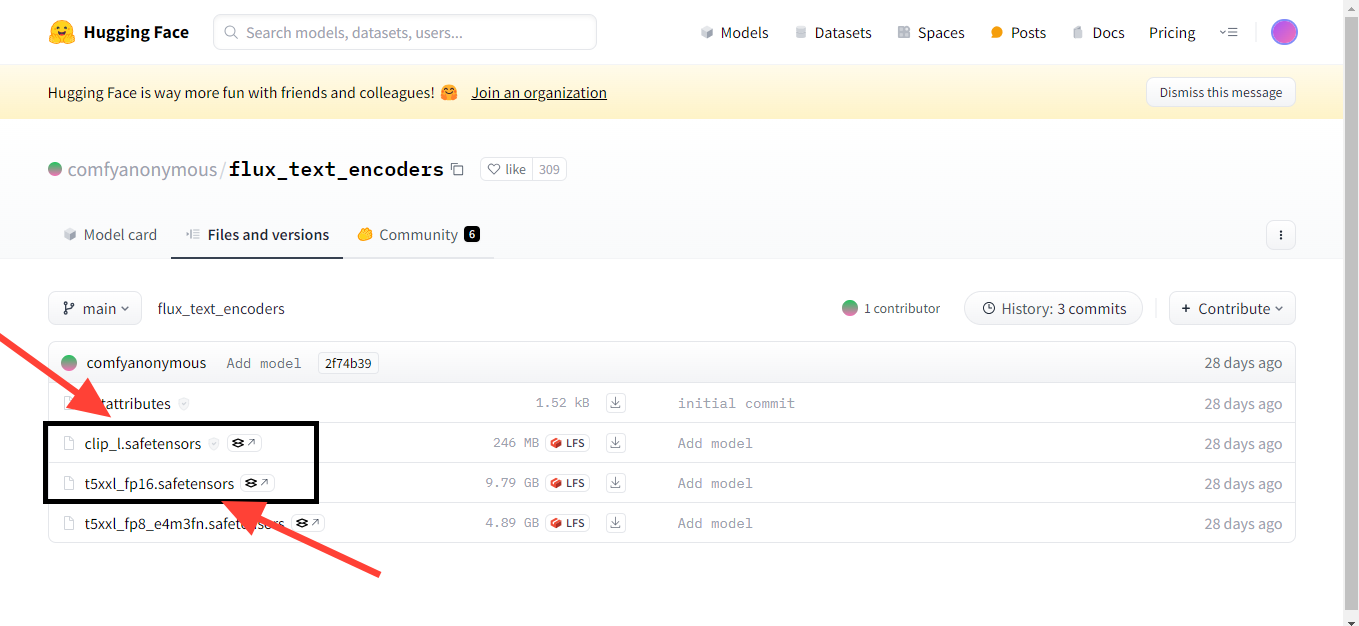
1. clip_l.safetensors
- "clip" refers to the CLIP model, which stands for Contrastive Language–Image Pretraining. CLIP is a model developed by OpenAI that can understand and generate images and text. The "l" usually indicates the "large" variant of the model, meaning it has more parameters and is more powerful than smaller versions.
- ".safetensors": This is a file format used to store model weights, similar to the more commonly known ".bin" or ".pt" files in PyTorch. The safetensors format is designed to be safe from memory corruption or unintended code execution, which can occur with other formats.
2. t5xxl_fp16.safetensors
- "t5xxl": Flan-T5 is a commercially available open-source LLM by Google researchers. It is a variant of the T5 (Text-To-Text Transfer Transformer) model. T5 is a state-of-the-art language model trained in a “text-to-text” framework. It is trained to perform various NLP tasks by converting the functions into a text-based format. FLAN is an abbreviation for Finetuned Language Net.
The T5-XXL model represents a significant evolution in sentence embeddings, building on the robust foundation of the Text-To-Text Transfer Transformer (T5) architecture. Designed for performance in various language processing tasks, Sentence-T5-XXL leverages the strengths of T5’s encoder-decoder structure to generate high-dimensional vectors that encapsulate rich semantic information. This model has been meticulously tuned for tasks such as text classification, semantic similarity, and clustering, making it a useful tool in the RAG (Retrieval-Augmented Generation) framework. It excels in sentence similarity tasks, but its performance in semantic search tasks is less optimal.
- "fp16": FP16 or half precision 16-bit floating point precision utilizing only 16-bit binary. This format is on the upward trend in Deep Learning workloads instead of the traditional FP32. Because lower precision weights in neural networks don’t seem critical nor throw off the performance of a model, the additional precision of FP32 can be traded for speed. FP16 reduces memory usage and can speed up computations, especially on GPUs, without significant loss of model performance.
- ".safetensors": This file format stores the model weights safely, as with the CLIP model.
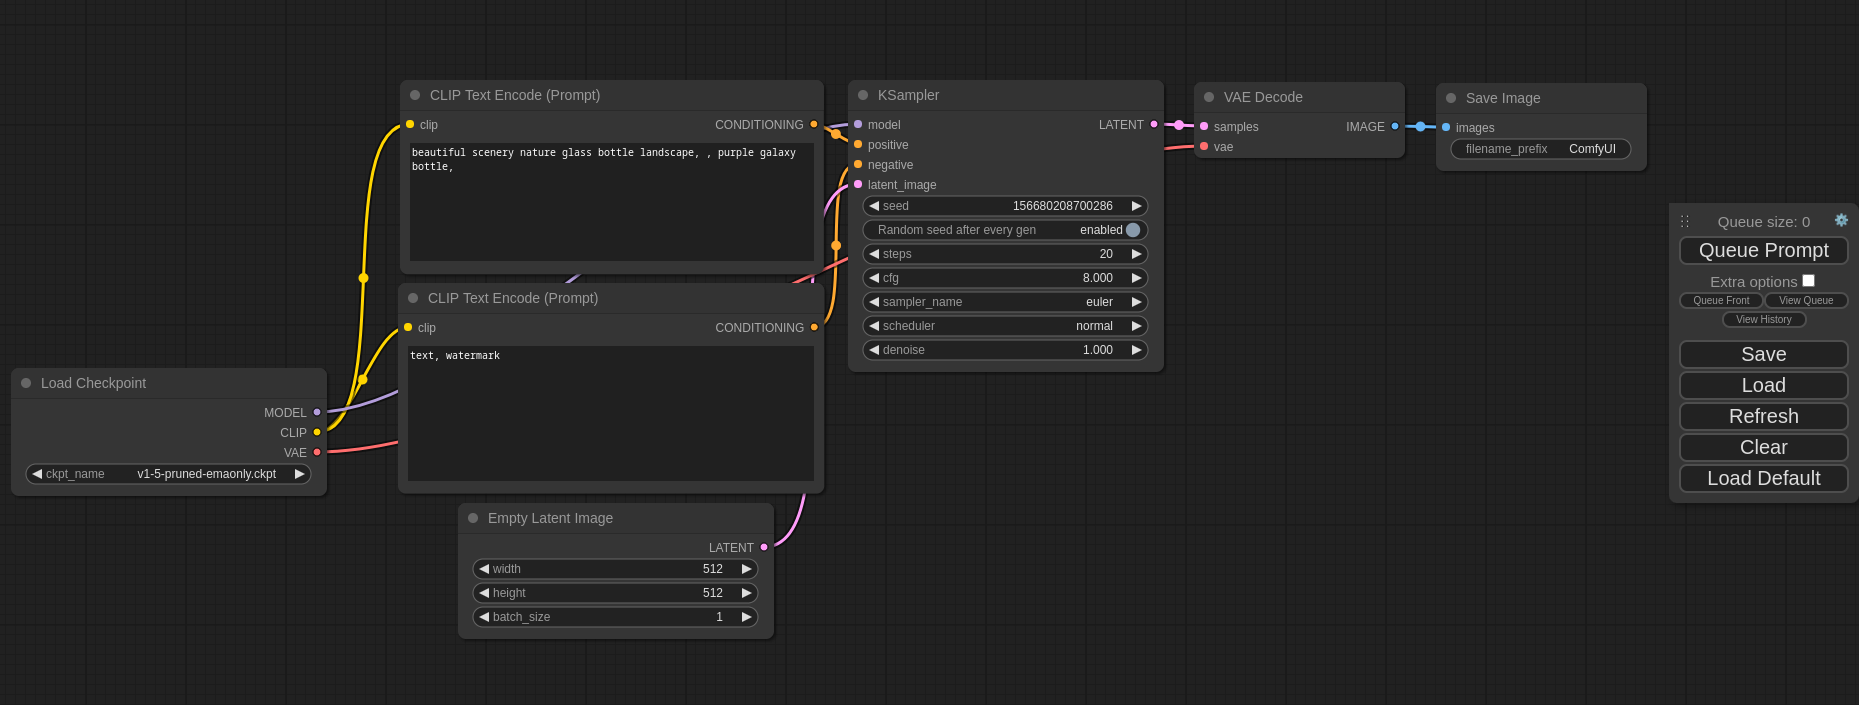
Import workflow into ComfyUI: Navigate back to your ComfyUI webpage, click on Load from the list of buttons on the bottom right, and select the file we downloaded in step 1.
Step 13: Run the Flux Model
Run the following command to start the model:
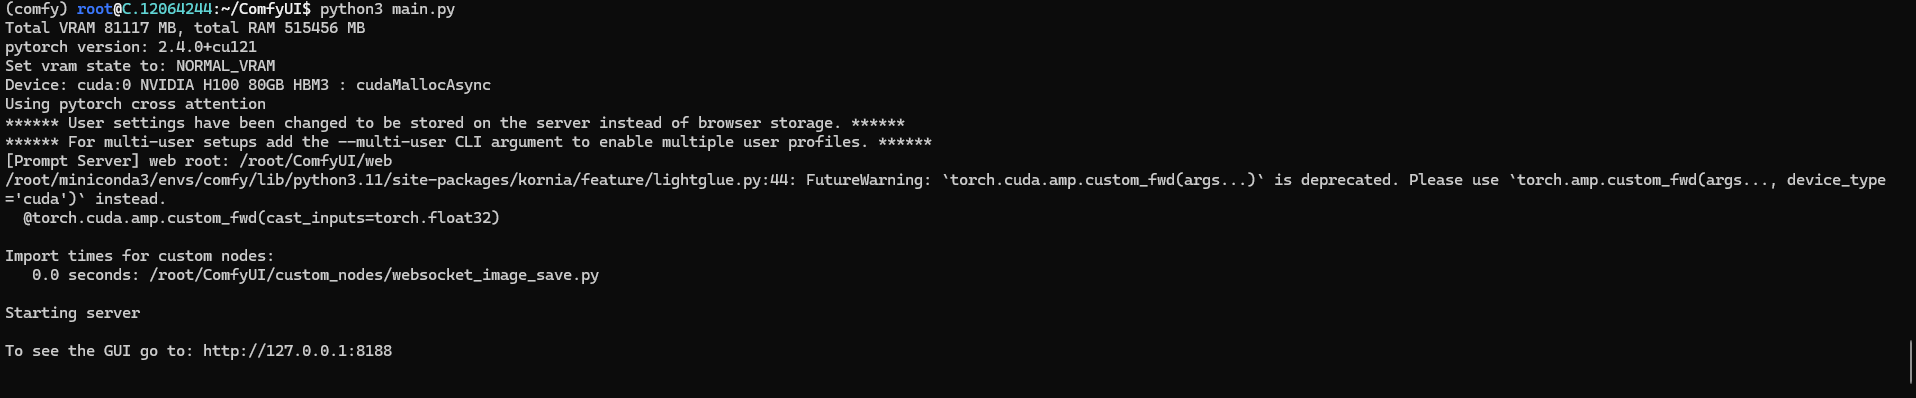
python main.py
Now, check the screenshot below for proof. When you run the command, you will see the following output. To view the GUI, go to http://127.0.0.1:8188.
This means your model is running successfully. You can now generate images from the model in your browser.
Now, open your preferred browser, copy the address, and paste it into the browser.
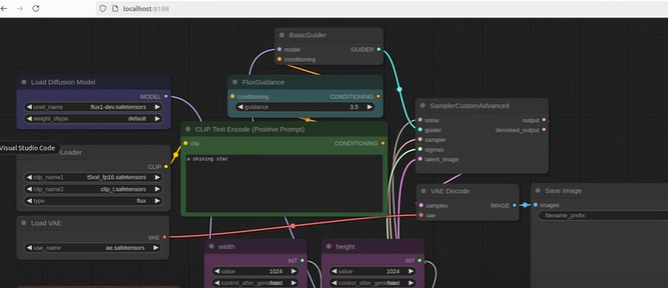
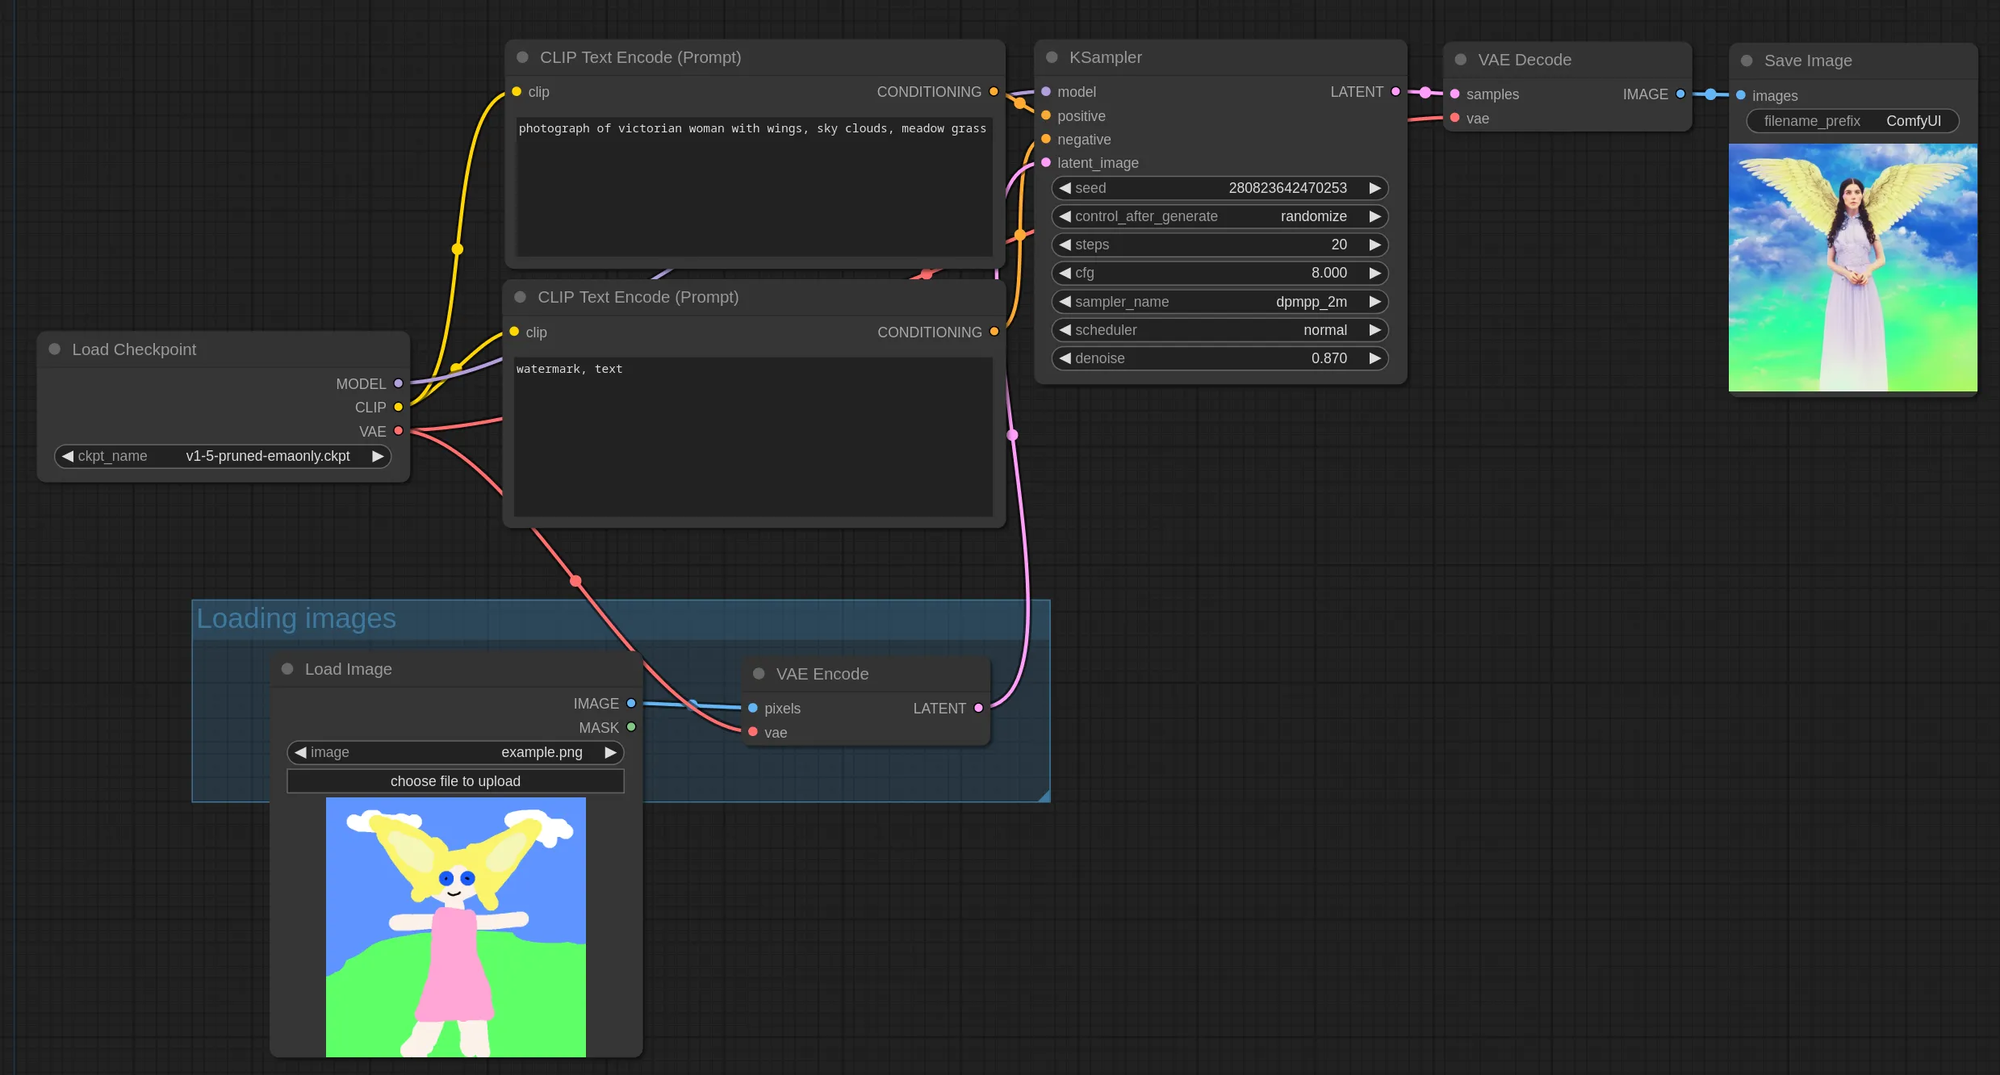
We are generating some images to check the output; check below:
Conclusion
In this guide, we've walked through setting up and running Flux Image Generators on a GPU-powered virtual machine using ComfyUI. With FluxAI, you now have the tools to create stunning, high-quality images, whether for commercial projects or personal exploration. By following these steps, you have the power of advanced AI image generation, all while enjoying the flexibility and efficiency that Flux AI offers.
For more information about NodeShift: