How to Install and Run Qwen2-VL 2B-Instruct Vision Language Model in the Cloud

Qwen2-VL is a vision language model that can understand images and text at the same time. For example, you could show it a picture of a person, and it could tell you, "This is a man in a suit eating cereals." The model was developed by Alibaba Cloud.
Qwen2-VL is the latest addition to the vision-language models in the Qwen series, building upon the capabilities of Qwen-VL. Compared to its predecessor, Qwen2-VL offers:
- State-of-the-Art Image Understanding: Qwen2-VL excels in visual understanding across various resolutions and aspect ratios, achieving top performance on benchmarks like MathVista, DocVQA, RealWorldQA, and MTVQA.
- Extended Video Comprehension: Qwen2-VL can analyze videos over 20 minutes long and supports high-quality video-based question answering, dialog, and content creation.
- Advanced Agent Capabilities: With its complex reasoning and decision-making skills, Qwen2-VL can be integrated with mobile phones and robots to perform automated tasks based on visual and textual inputs.
- Multilingual Support: To cater to a global audience, Qwen2-VL understands text in images across multiple languages, including most European languages, Japanese, Korean, Arabic, and Vietnamese, in addition to English and Chinese.
Model Architecture
Qwen Dev Team built upon the Qwen-VL architecture, continuing to utilize a Vision Transformer (ViT) model in combination with Qwen2 language models. Across all variants, we employed a ViT with approximately 600 million parameters, designed to handle both image and video inputs seamlessly.
One significant improvement in Qwen2-VL is the implementation of Naive Dynamic Resolution support. Unlike its predecessor, Qwen2-VL can handle arbitrary image resolutions, dynamically mapping them into a varying number of visual tokens. This ensures a consistent relationship between the model’s input and the inherent information within images, closely mimicking human visual perception. This upgrade allows the model to process images of any clarity or size effectively.
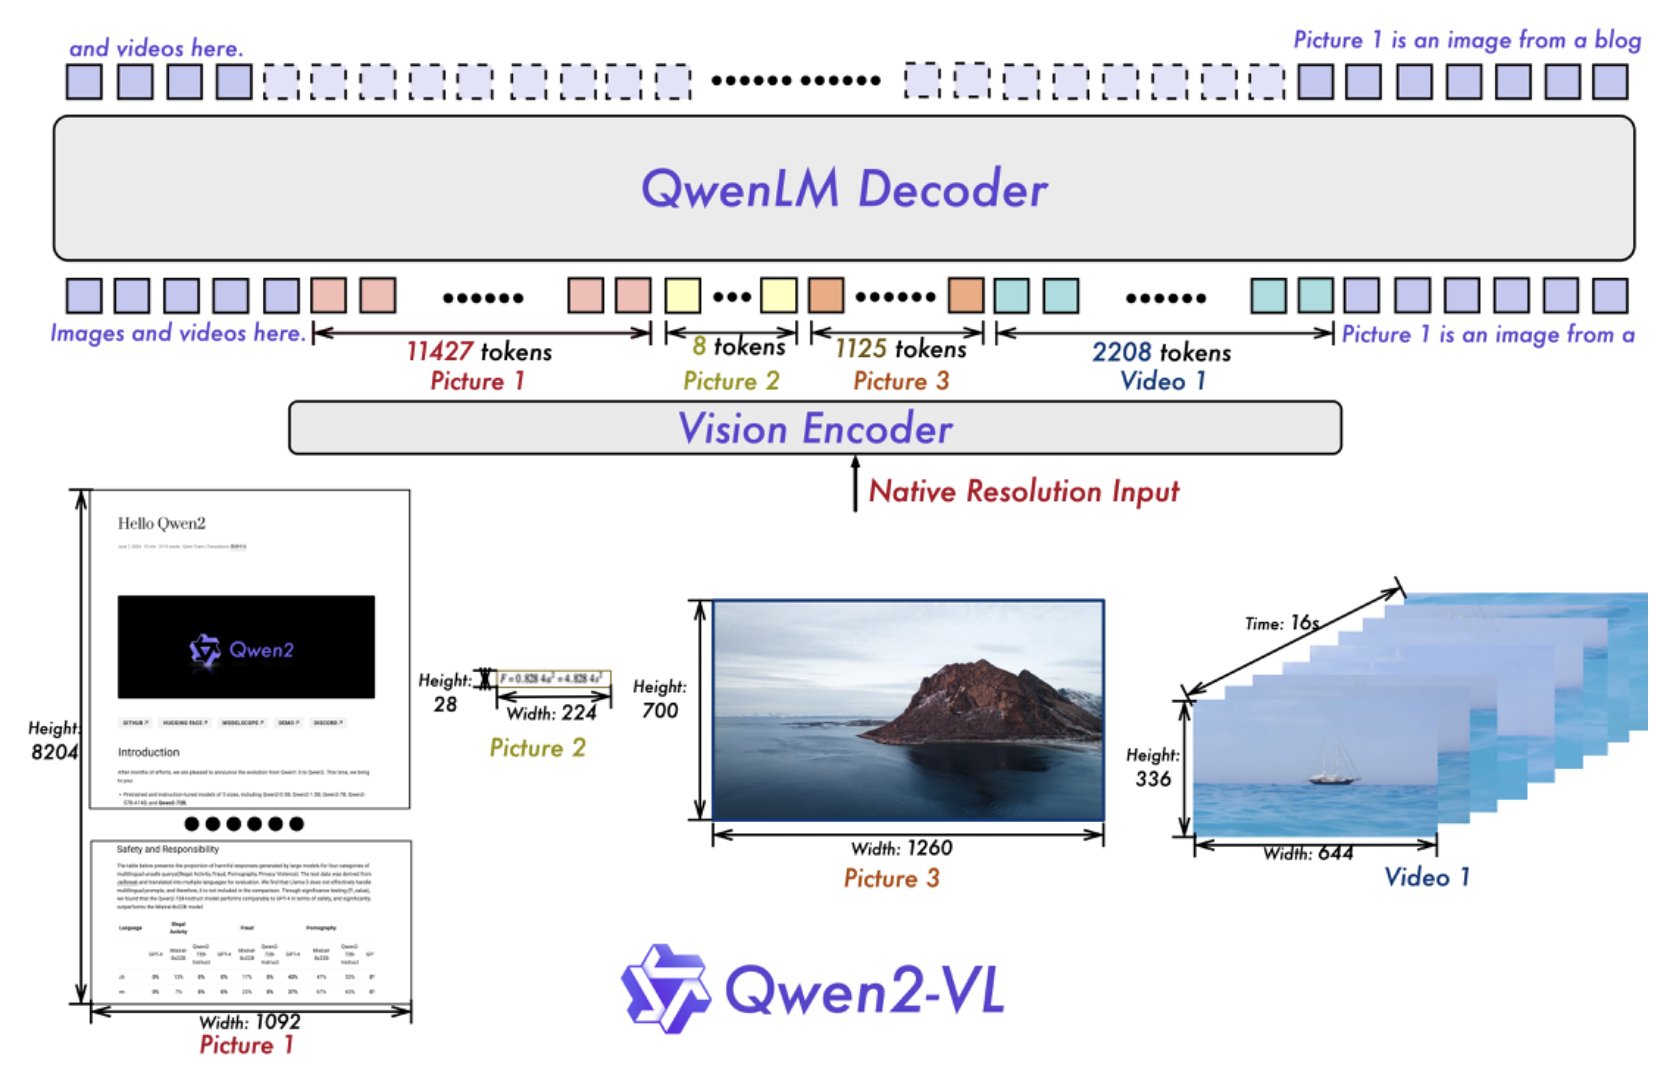
Image Benchmarks
| Benchmark | InternVL2-2B | MiniCPM-V 2.0 | Qwen2-VL-2B |
|---|---|---|---|
| MMMUval | 36.3 | 38.2 | 41.1 |
| DocVQAtest | 86.9 | - | 90.1 |
| InfoVQAtest | 58.9 | - | 65.5 |
| ChartQAtest | 76.2 | - | 73.5 |
| TextVQAval | 73.4 | - | 79.7 |
| OCRBench | 781 | 605 | 794 |
| MTVQA | - | - | 20.0 |
| VCRen easy | - | - | 81.45 |
| VCRzh easy | - | - | 46.16 |
| RealWorldQA | 57.3 | 55.8 | 62.9 |
| MMEsum | 1876.8 | 1808.6 | 1872.0 |
| MMBench-ENtest | 73.2 | 69.1 | 74.9 |
| MMBench-CNtest | 70.9 | 66.5 | 73.5 |
| MMBench-V1.1test | 69.6 | 65.8 | 72.2 |
| MMT-Benchtest | - | - | 54.5 |
| MMStar | 49.8 | 39.1 | 48.0 |
| MMVetGPT-4-Turbo | 39.7 | 41.0 | 49.5 |
| HallBenchavg | 38.0 | 36.1 | 41.7 |
| MathVistatestmini | 46.0 | 39.8 | 43.0 |
| MathVision | - | - | 12.4 |
Qwen2-VL Model Capabilities
👉Enhanced Recognition Capabilities
👉Visual Reasoning: Solving Real-World Problems
👉Video Understanding and Live Chat
👉Visual Agent Capabilities: Function Calling and Visual Interactions
Step-by-Step Process Install and Run Qwen2-VL 2B Vision Language Model Locally
For the purpose of this tutorial, we will use a GPU-powered Virtual Machine offered by NodeShift; however, you can replicate the same steps with any other cloud provider of your choice. NodeShift offers the most affordable Virtual Machines at a scale that meets GDPR, SOC2, and ISO27001 requirements.
Step 1: Sign Up and Set Up a NodeShift Cloud Account
Visit the NodeShift Platform and create an account. Once you've signed up, log into your account.
Follow the account setup process and provide the necessary details and information.

Step 2: Create a GPU Node (Virtual Machine)
GPU Nodes are NodeShift's GPU Virtual Machines, on-demand resources equipped with diverse GPUs ranging from H100s to A100s. These GPU-powered VMs provide enhanced environmental control, allowing configuration adjustments for GPUs, CPUs, RAM, and Storage based on specific requirements.
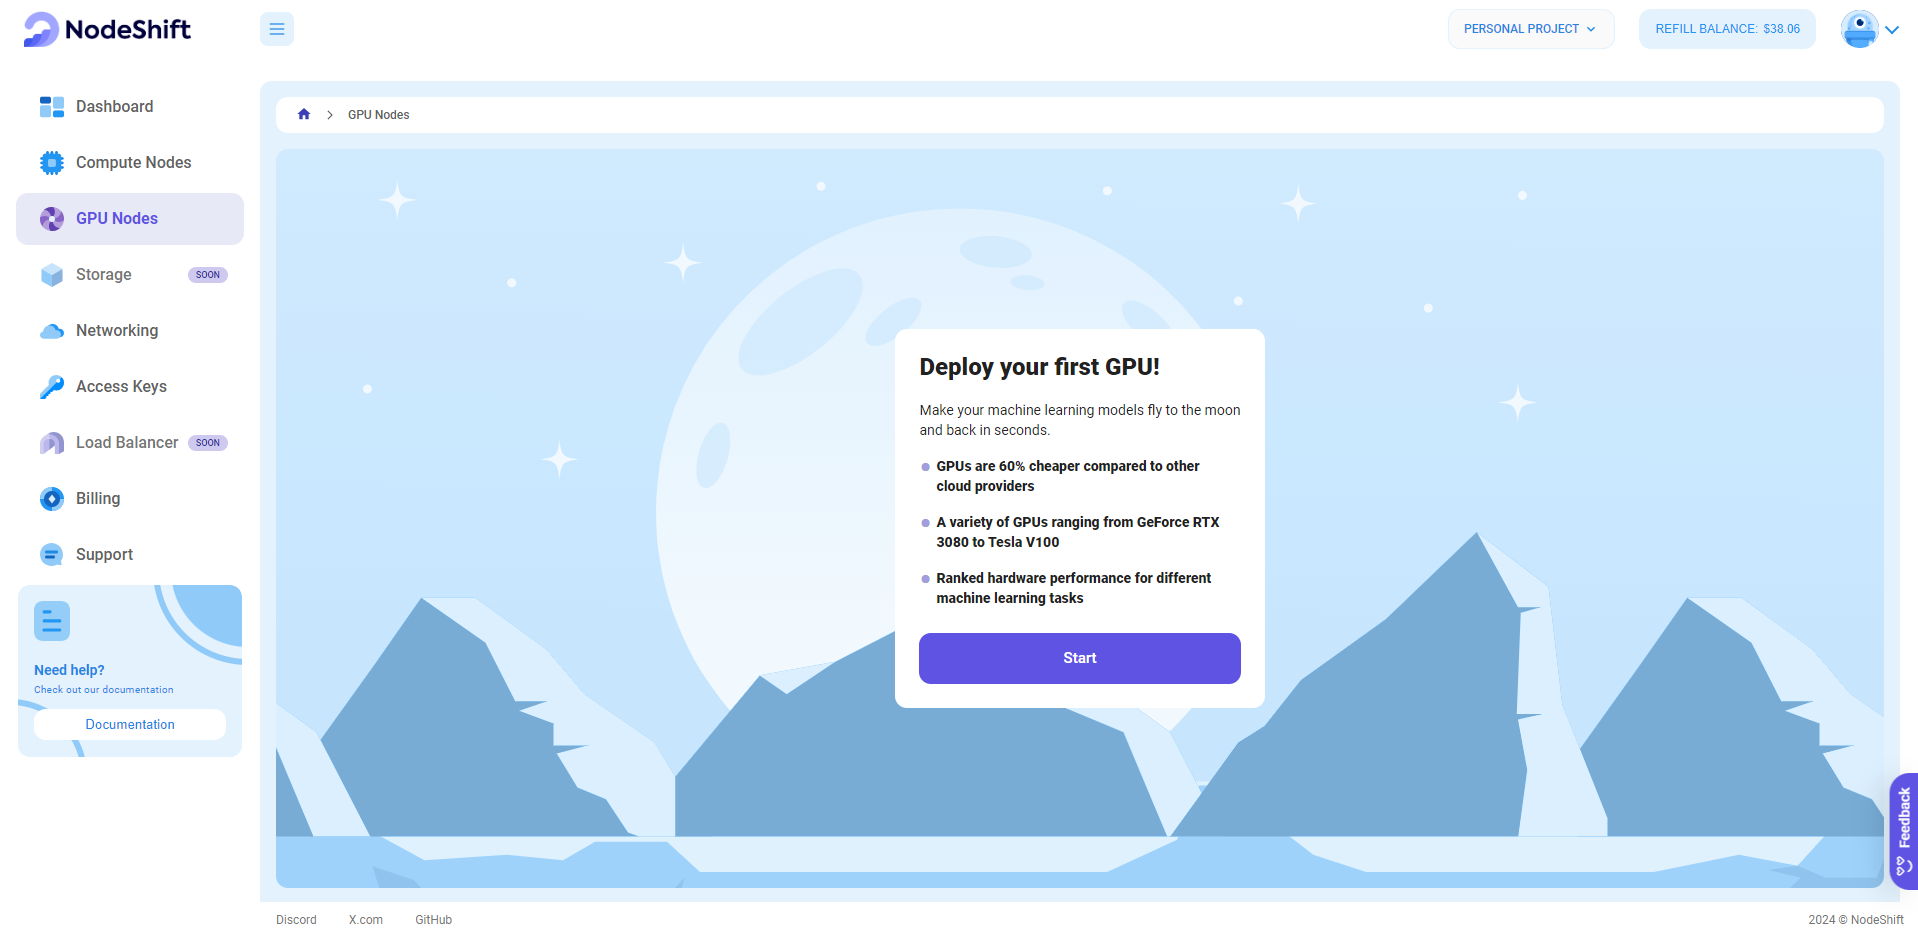
Navigate to the menu on the left side. Select the GPU Nodes option, create a GPU Node in the Dashboard, click the Create GPU Node button, and create your first Virtual Machine deployment.
Step 3: Select a Model, Region, and Storage
In the "GPU Nodes" tab, select a GPU Model and Storage according to your needs and the geographical region where you want to launch your model.
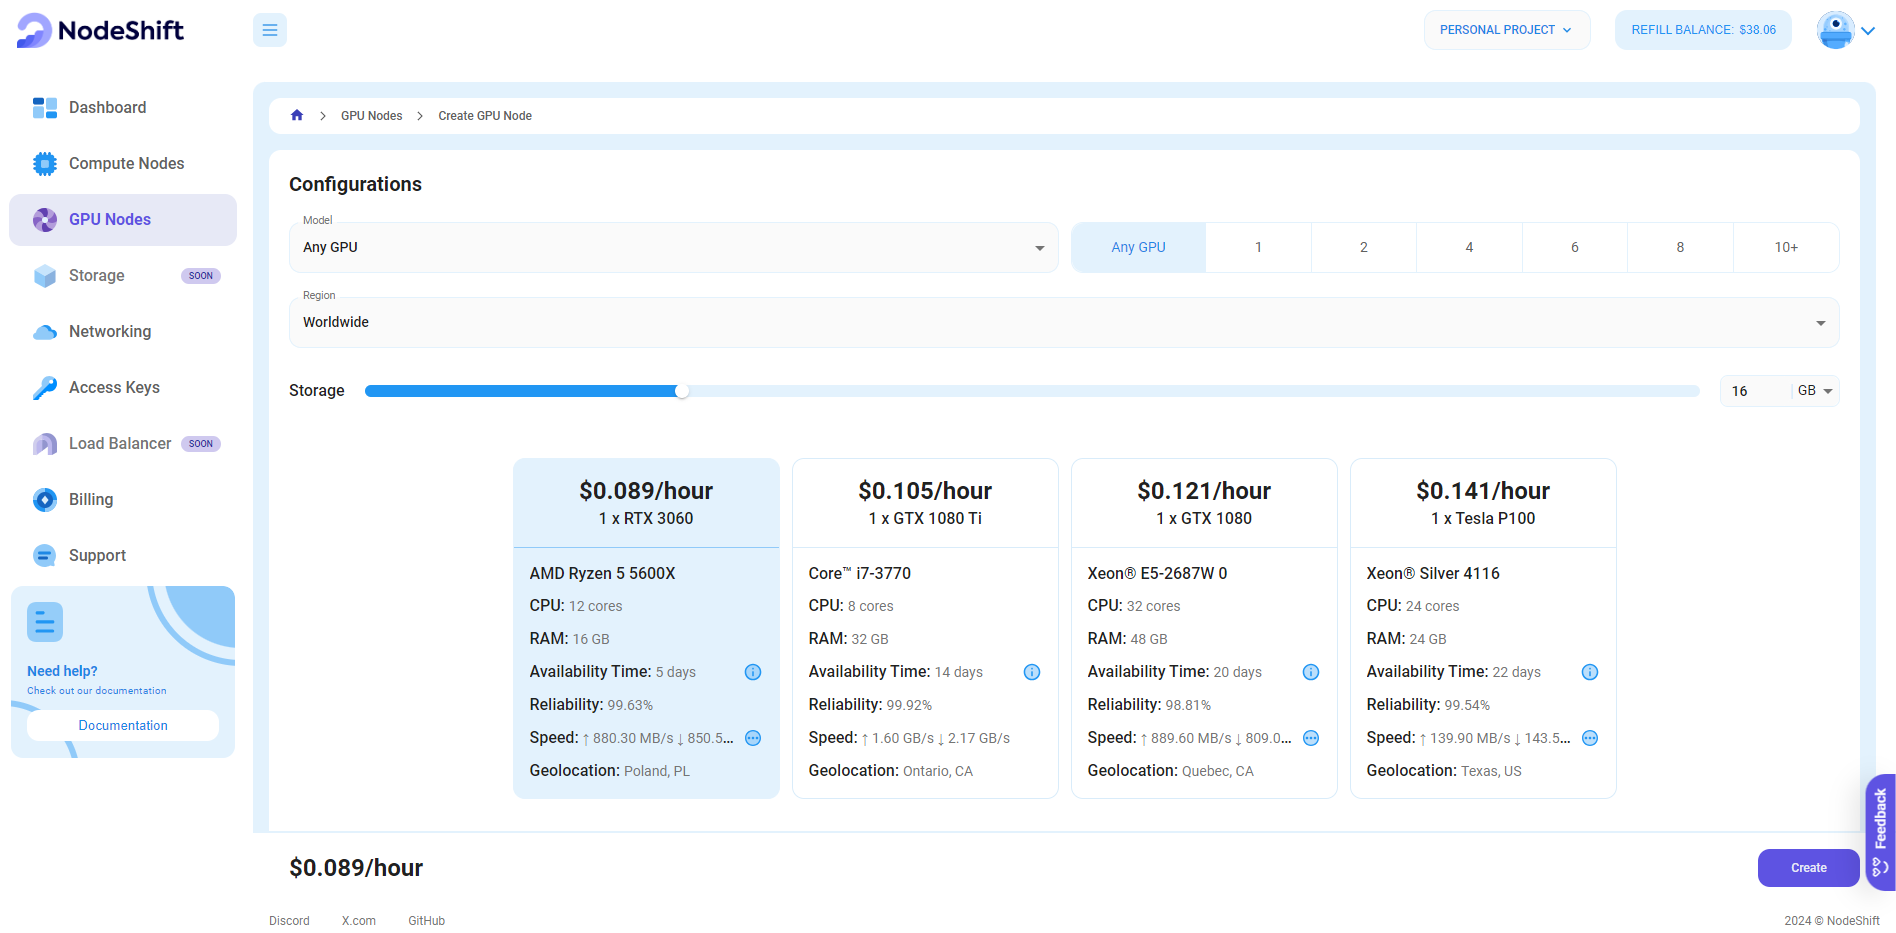
We will use 1x RTX A6000 GPU for this tutorial to achieve the fastest performance. However, you can choose a more affordable GPU with less VRAM if that better suits your requirements.
Step 4: Select Authentication Method
There are two authentication methods available: Password and SSH Key. SSH keys are a more secure option. To create them, please refer to our official documentation.

Step 5: Choose an Image
Next, you will need to choose an image for your Virtual Machine. We will deploy the Qwen2-VL 2B-Instruct Vision Language Model on a Jupyter Virtual Machine. This open-source platform will allow you to install and run the Qwen2-VL 2B-Instruct Vision Language Model on your GPU node. By running this model on a Jupyter Notebook, we avoid using the terminal, simplifying the process and reducing the setup time. This allows you to configure the model in just a few steps and minutes.
Note: NodeShift provides multiple image template options, such as TensorFlow, PyTorch, NVIDIA CUDA, Deepo, Whisper ASR Webservice, and Jupyter Notebook. With these options, you don’t need to install additional libraries or packages to run Jupyter Notebook. You can start Jupyter Notebook in just a few simple clicks.
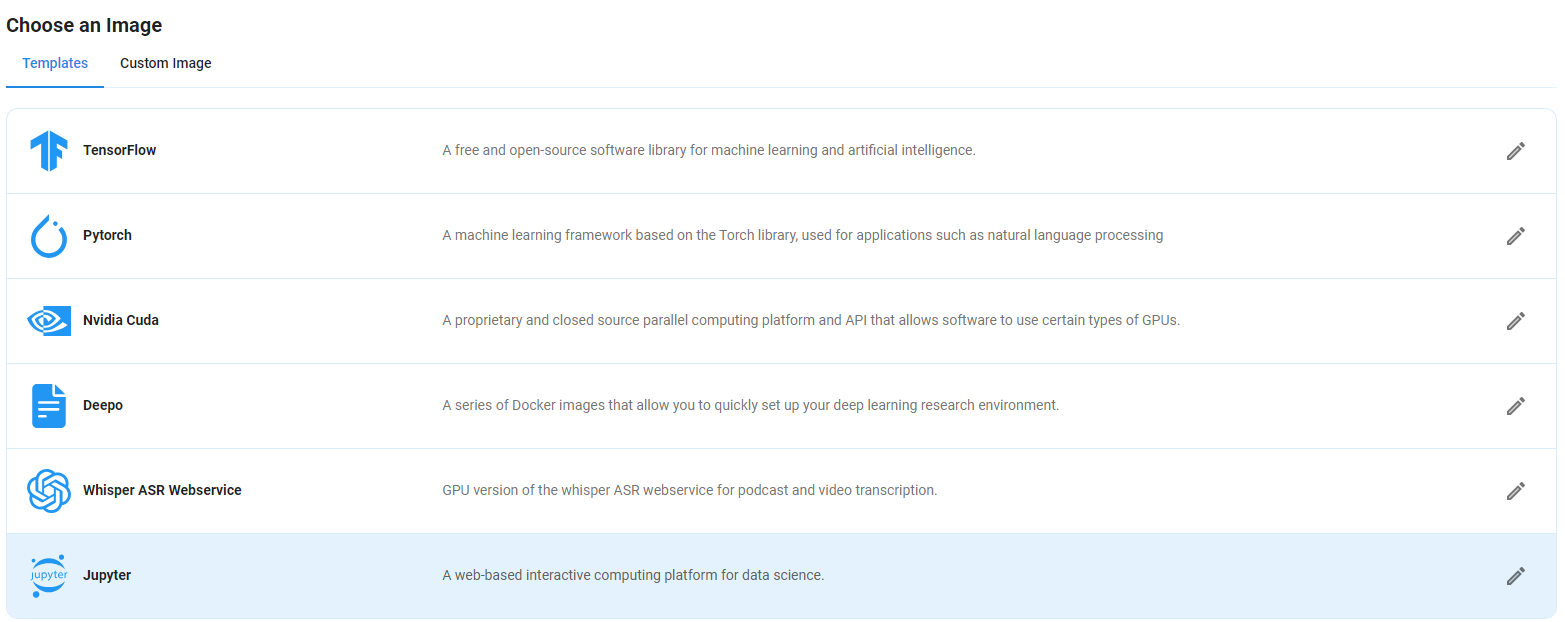
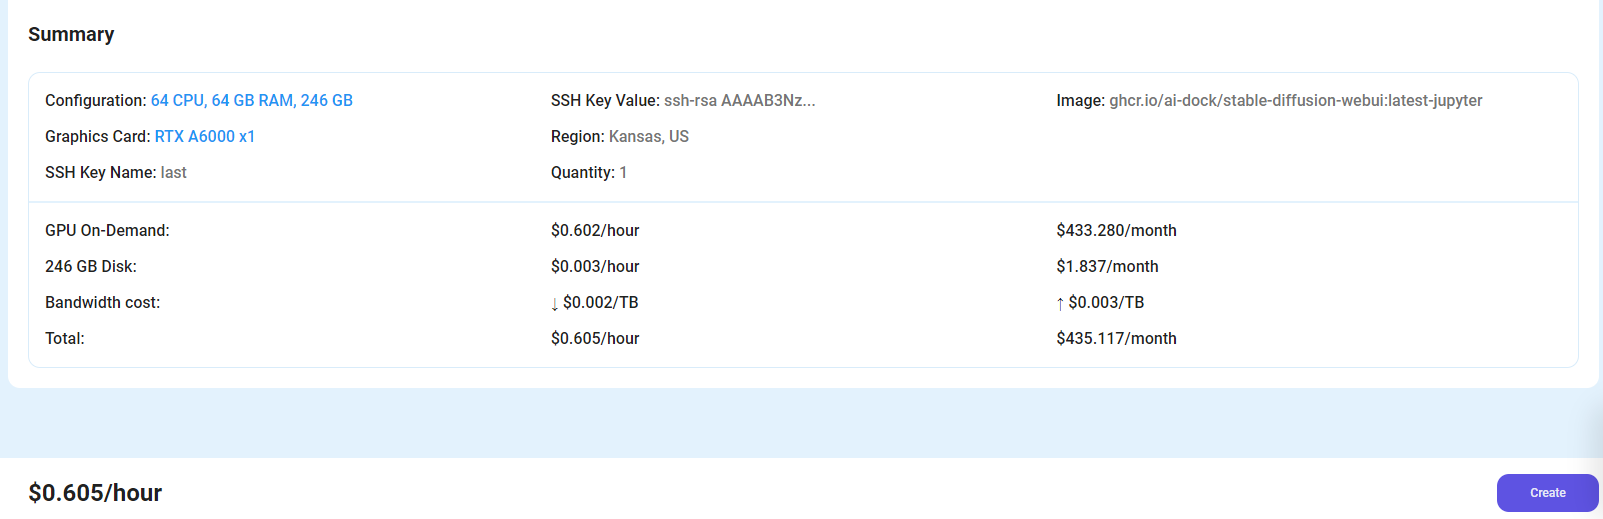
After choosing the image, click the 'Create' button, and your Virtual Machine will be deployed.
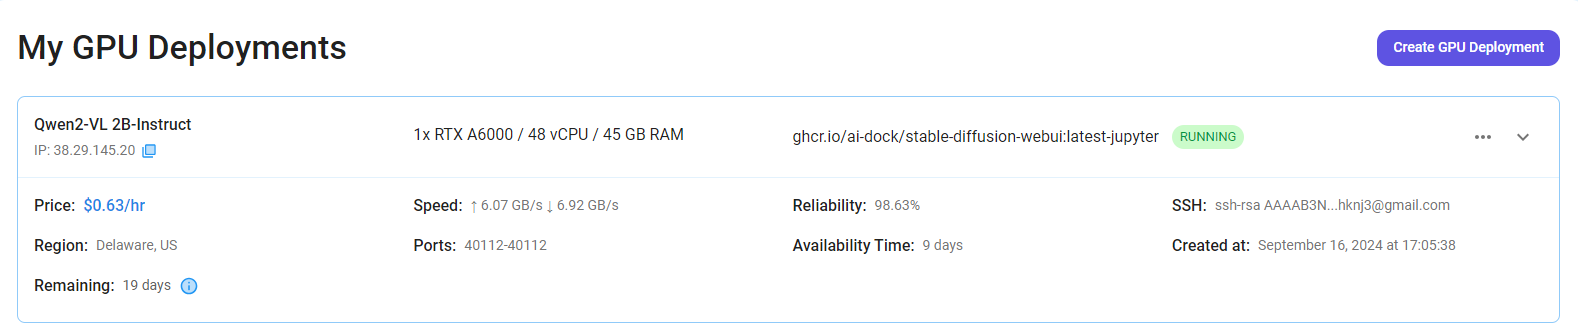
Step 6: Virtual Machine Successfully Deployed
You will get visual confirmation that your node is up and running.
Step 7: Connect to Jupyter Notebook
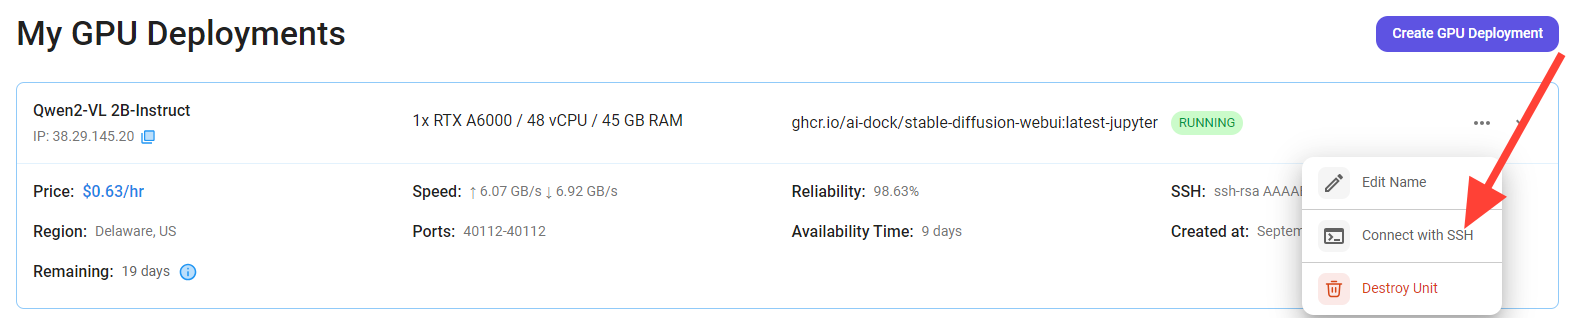
Once your GPU VM deployment is successfully created and has reached the 'RUNNING' status, you can navigate to the page of your GPU Deployment Instance. Then, click the 'Connect' Button in the top right corner.
After clicking the 'Connect' button, you can view the Jupyter Notebook.
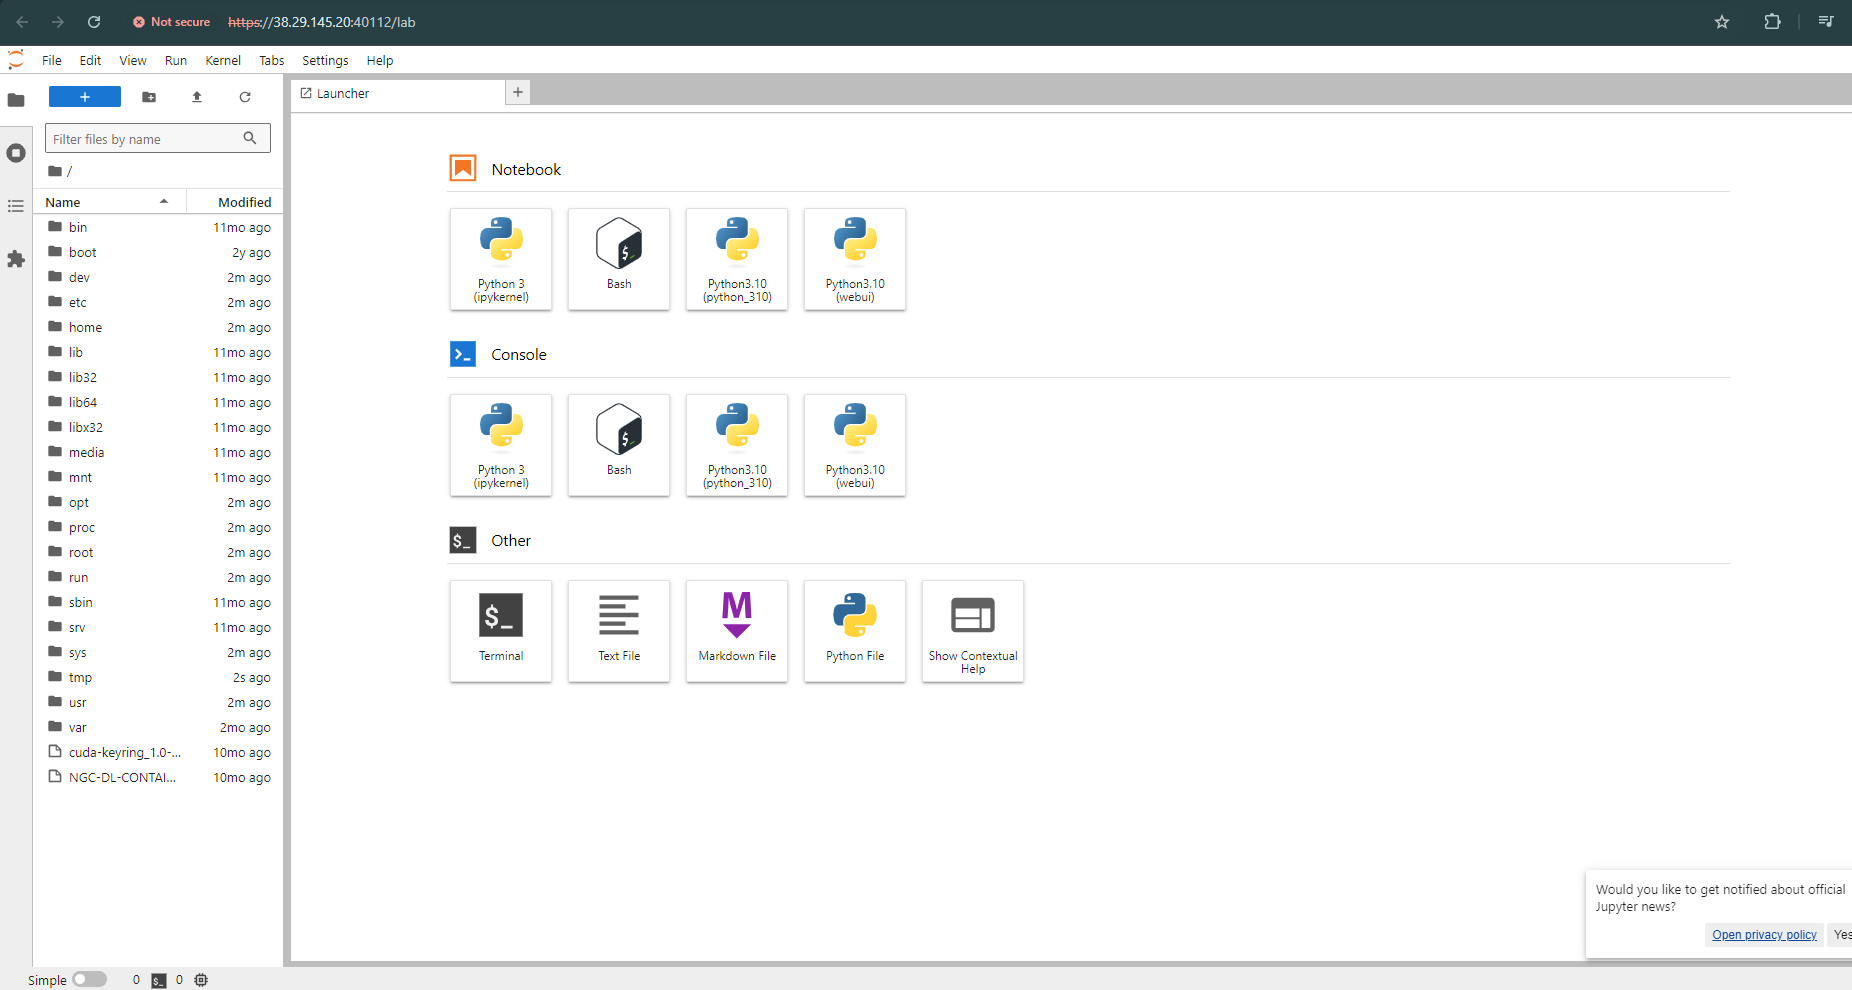
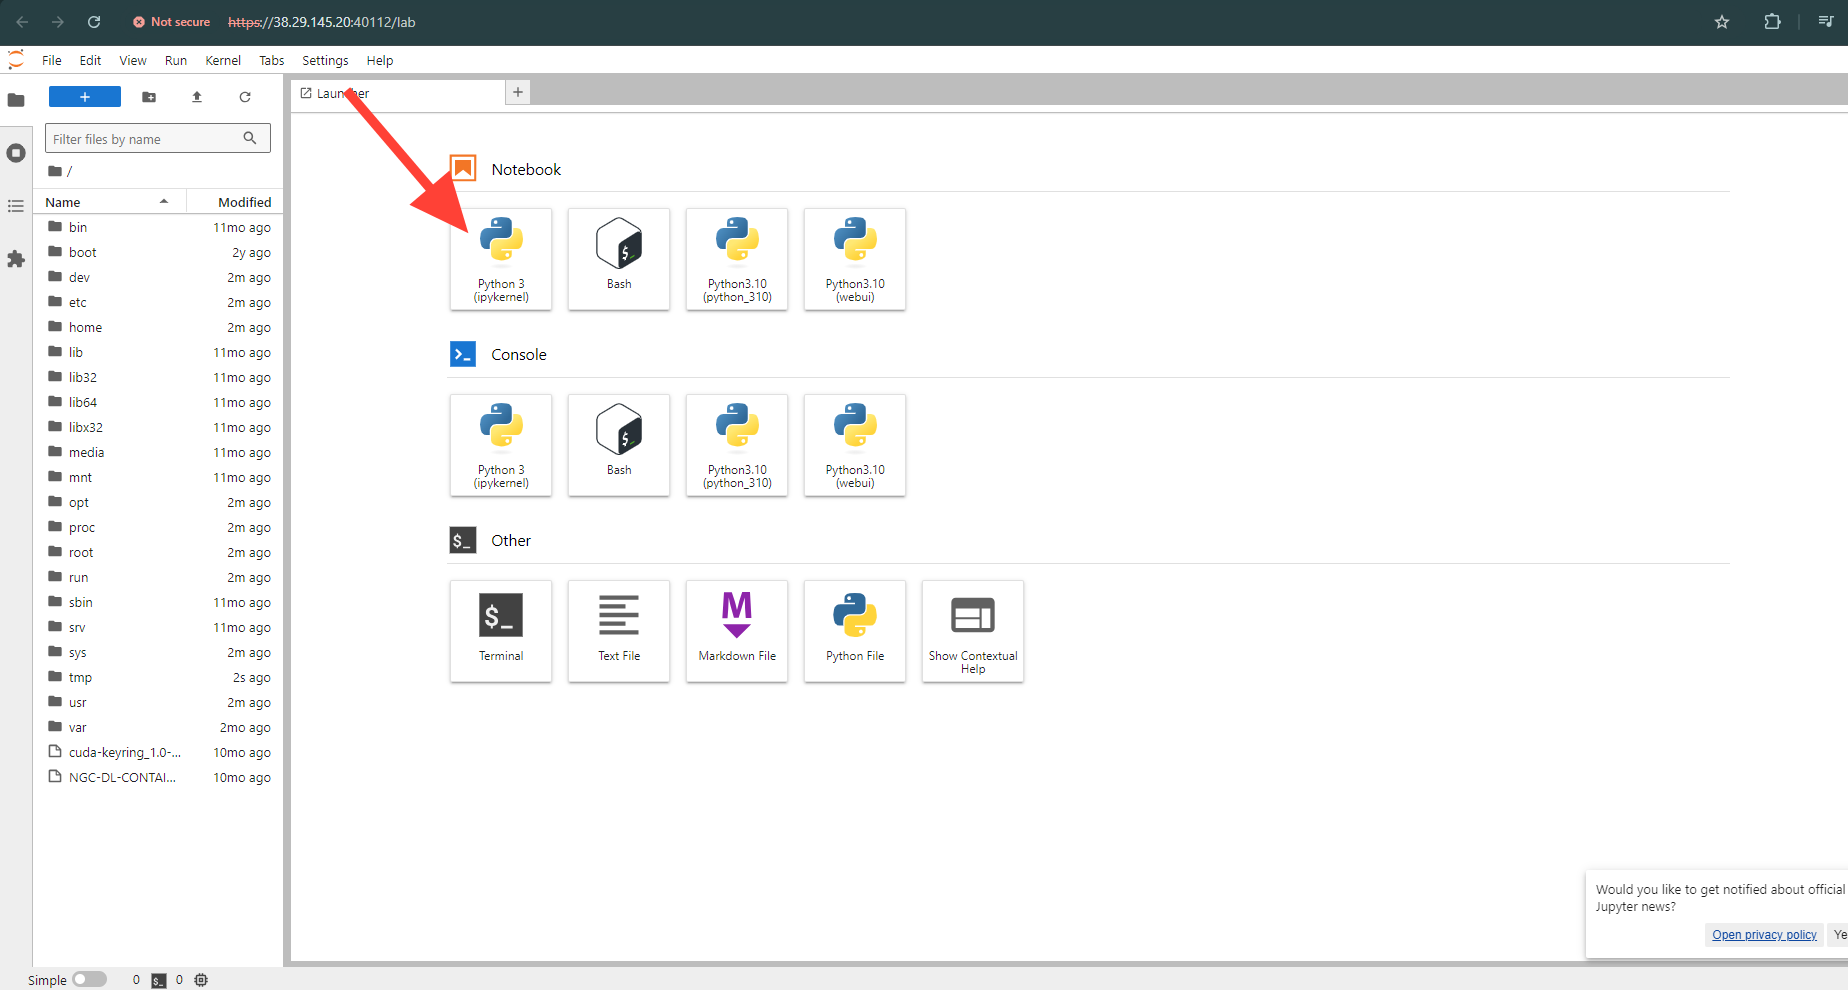
Now open Python 3(pykernel) Notebook.
Next, If you want to check the GPU details, run the command in the Jupyter Notebook cell:
nvidia-smi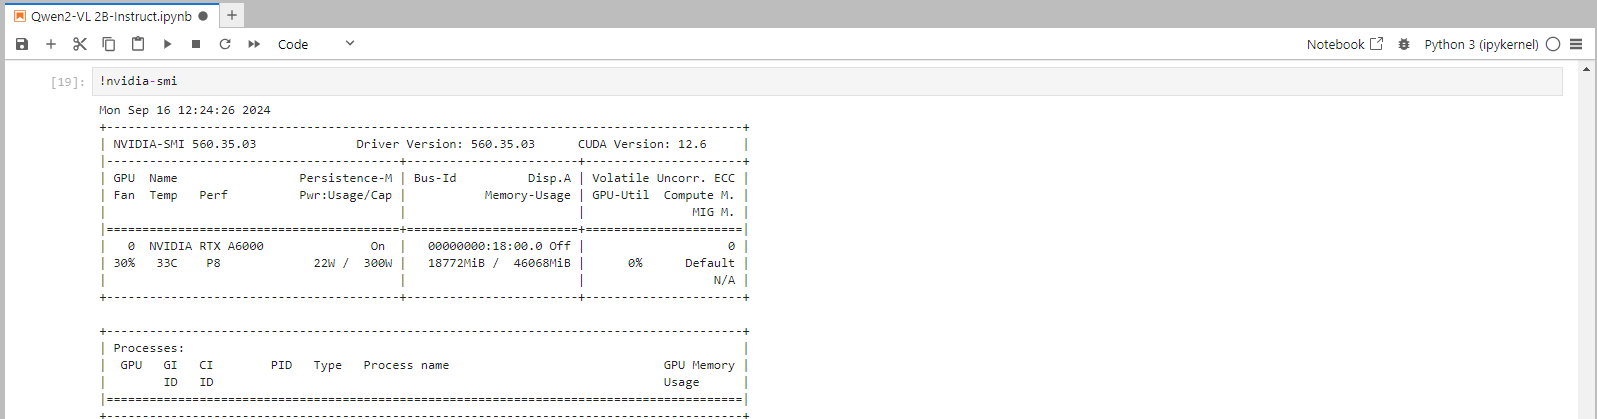
Step 8: Install the Torch Library
Torch is an open-source machine learning library, a scientific computing framework, and a scripting language based on Lua. It provides LuaJIT interfaces to deep learning algorithms implemented in C.
Torch was designed with performance in mind, leveraging highly optimized libraries like CUDA, BLAS, and LAPACK for numerical computations.
Run the following command in the Jupyter Notebook cell to install the Torch Library:
pip install torch
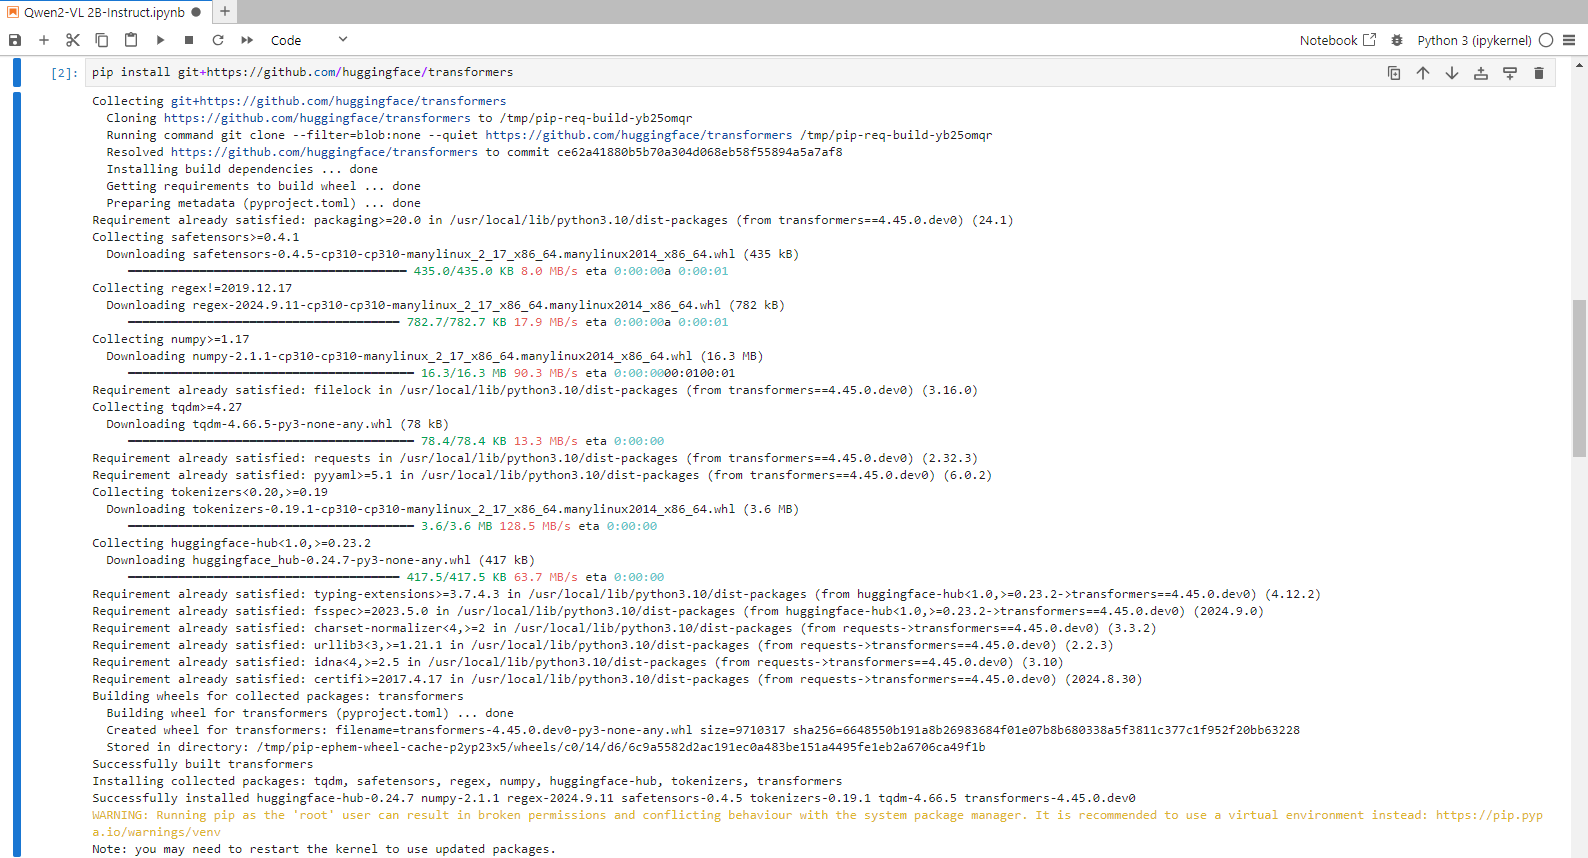
Step 9: Install Transformers from GitHub
Run the following command in the Jupyter Notebook cell to install the Transformers:
pip install git+https://github.com/huggingface/transformersTransformers provide APIs and tools to download and efficiently train pre-trained models. Pre-trained models can reduce computing costs and carbon footprint and save the time and resources required to train a model from scratch.
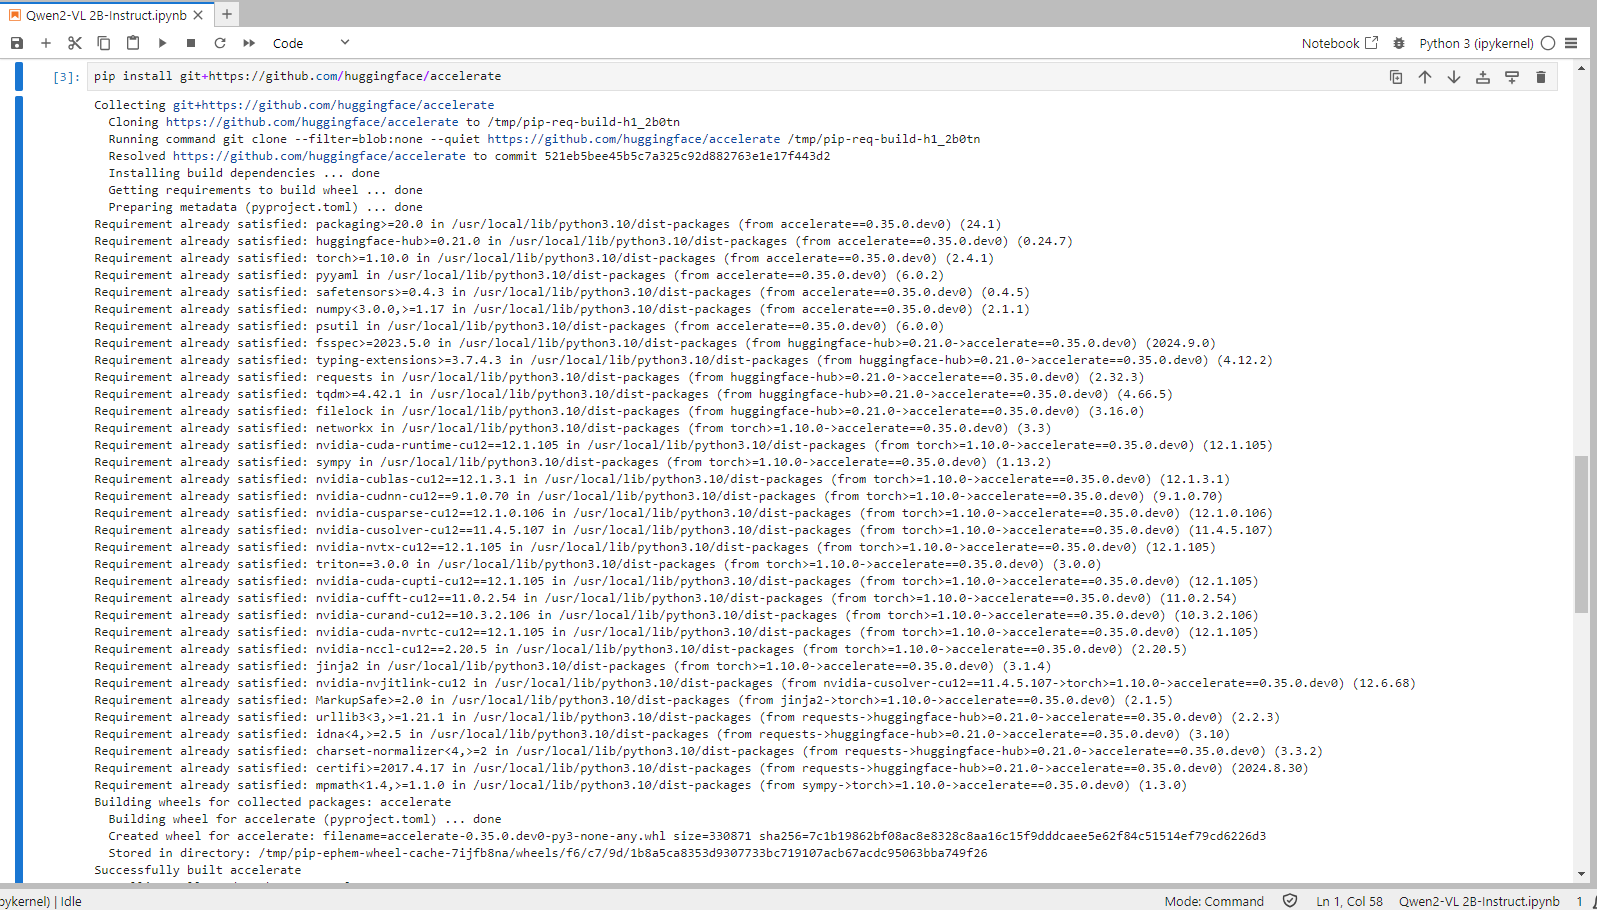
Step 10: Install Accelerate from GitHub
Run the following command in the Jupyter Notebook cell to install the Accelerate:
pip install git+https://github.com/huggingface/accelerateThis library, also by Hugging Face, is designed to simplify the efficient running of machine learning models across different hardware (like CPUs and GPUs) and support mixed precision training.
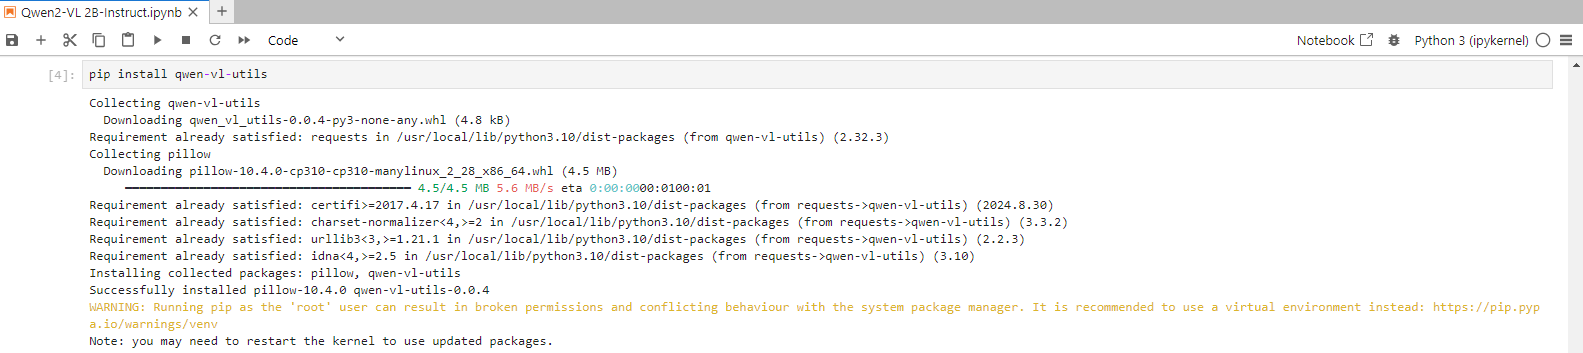
Step 11: Install Toolkit from Hugging face
Run the following command in the Jupyter Notebook cell to install the Toolkit:
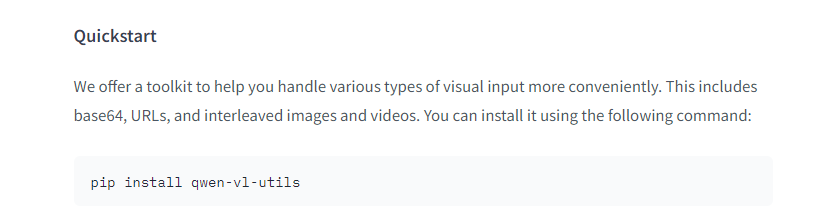
Link: https://huggingface.co/Qwen/Qwen2-VL-2B-Instruct
pip install qwen-vl-utils
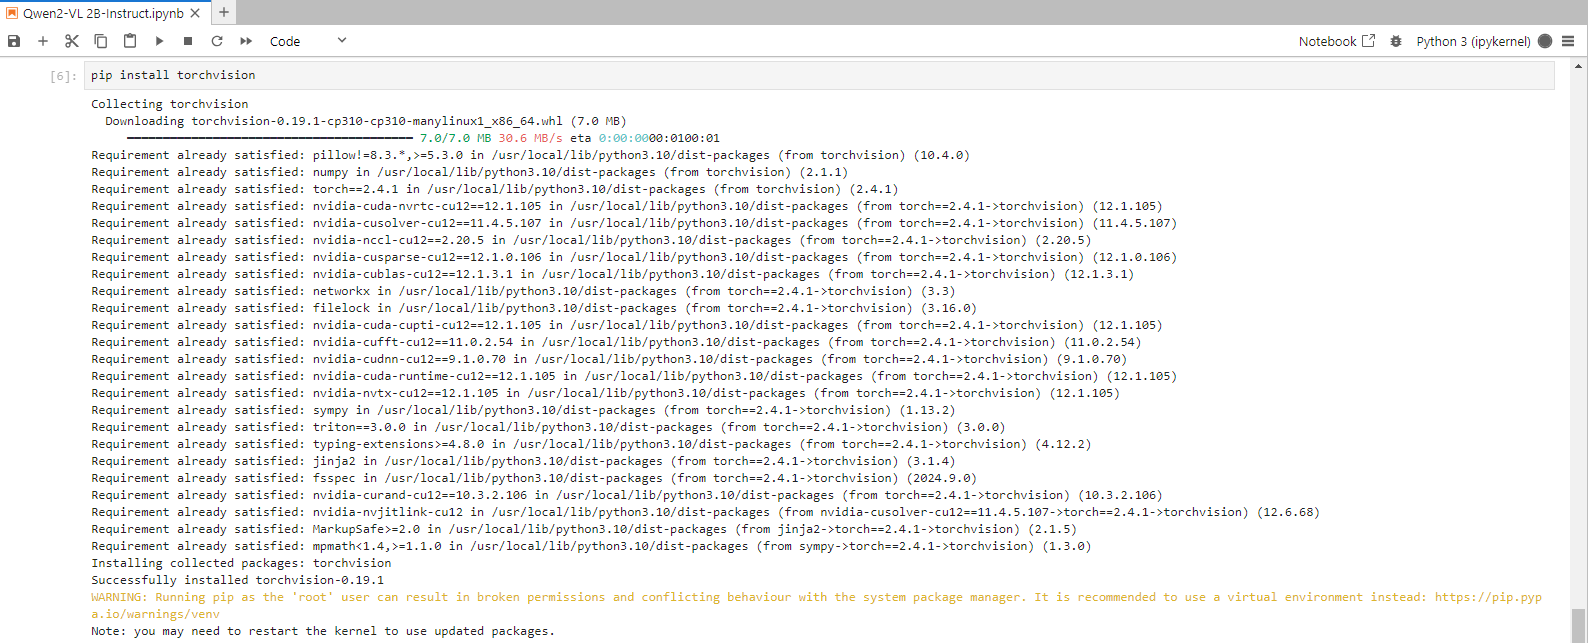
Step 12: Install Torchvision
Run the following command in the Jupyter Notebook cell to install the Torchvision:
pip install torchvision
TorchVision is a library in PyTorch that helps with computer vision tasks by providing datasets, model architectures, and standard image transformations.
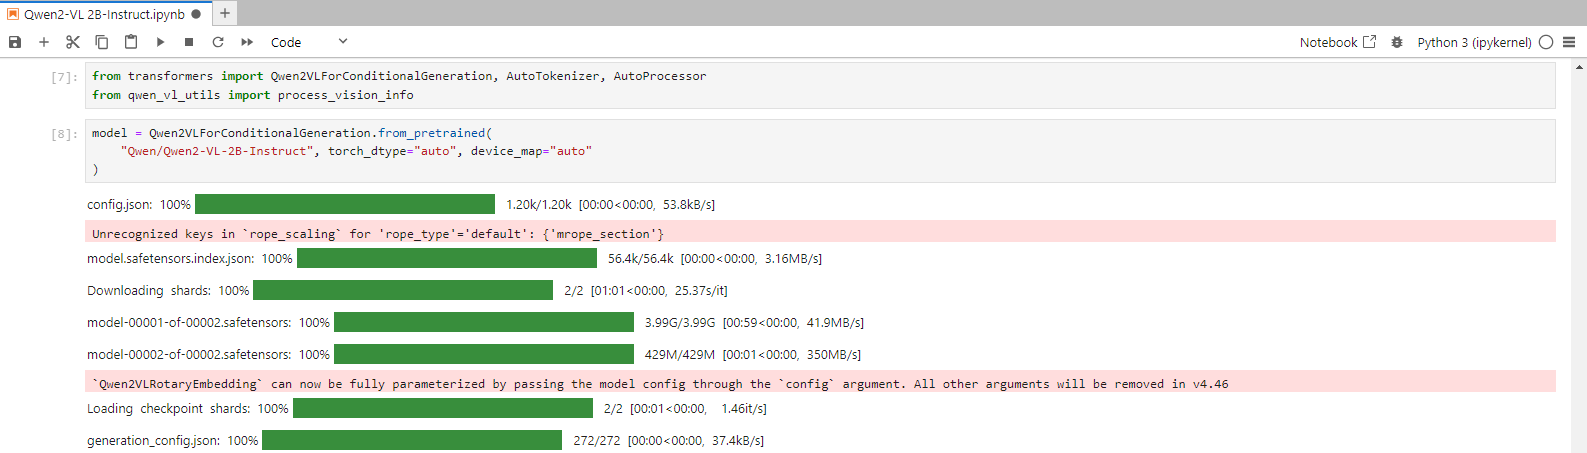
Step 13: Run the Qwen2-VL-2B-Instruct code & Load the model on the available device
First, execute the following command in the Jupyter Notebook cell to run the Qwen2-VL-2B-Instruct code, then load the model in the Jupyter Notebook cell:
from transformers import Qwen2VLForConditionalGeneration, AutoTokenizer, AutoProcessor
from qwen_vl_utils import process_vision_info

# default: Load the model on the available device(s)
model = Qwen2VLForConditionalGeneration.from_pretrained(
    "Qwen/Qwen2-VL-2B-Instruct", torch_dtype="auto", device_map="auto"
)
Step 14: Run the default processer code
Execute the following command in the Jupyter Notebook cell to run the default processor code:
# default processer
processor = AutoProcessor.from_pretrained("Qwen/Qwen2-VL-2B-Instruct")
Step 15: Enter the Input
Run the following command in the Jupyter Notebook cell to enter the Input:
messages = [
    {
        "role": "user",
        "content": [
            {
                "type": "image",
                "image": "https://qianwen-res.oss-cn-beijing.aliyuncs.com/Qwen-VL/assets/demo.jpeg",
            },
            {"type": "text", "text": "Describe this image."},
        ],
    }
]
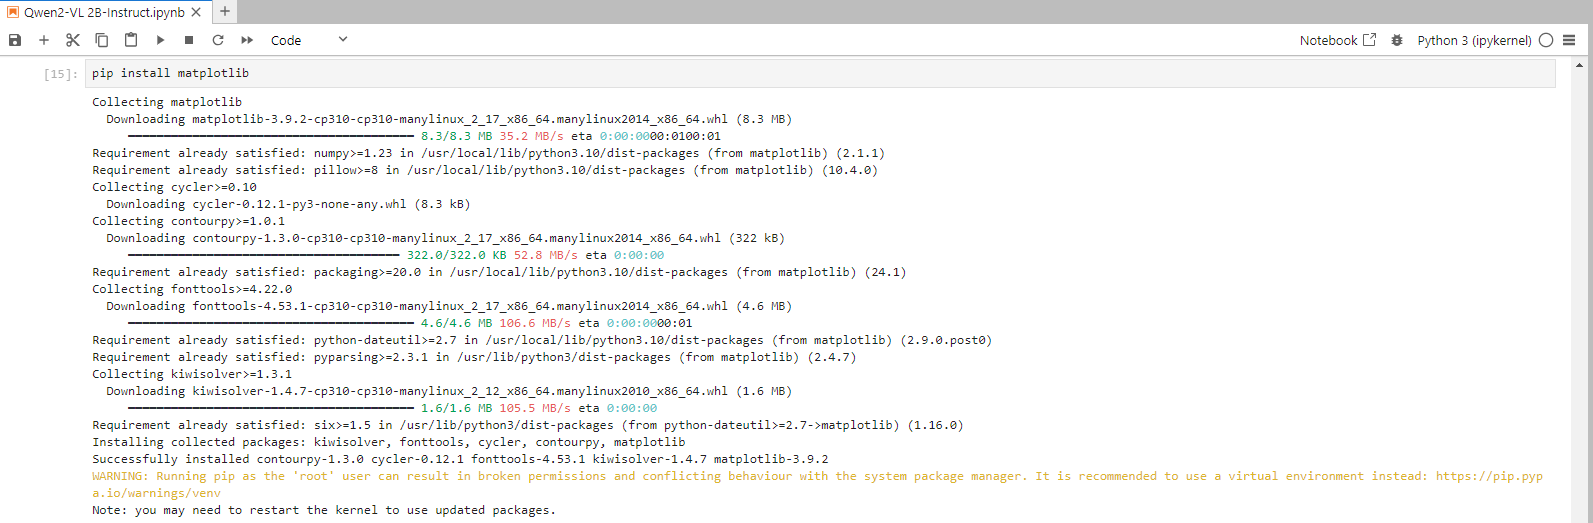
Step 16: Install Pillow requests and matplotlib
Run the following command in the Jupyter Notebook cell to install Pillow requests and matplotlib:
pip install Pillow requests
pip install matplotlib
Python Pillow module is built on top of PIL (Python Image Library). It is the essential modules for image processing in Python.
Matplotlib is a cross-platform, data visualization and graphical plotting library (histograms, scatter plots, bar charts, etc) for Python and its numerical extension NumPy.

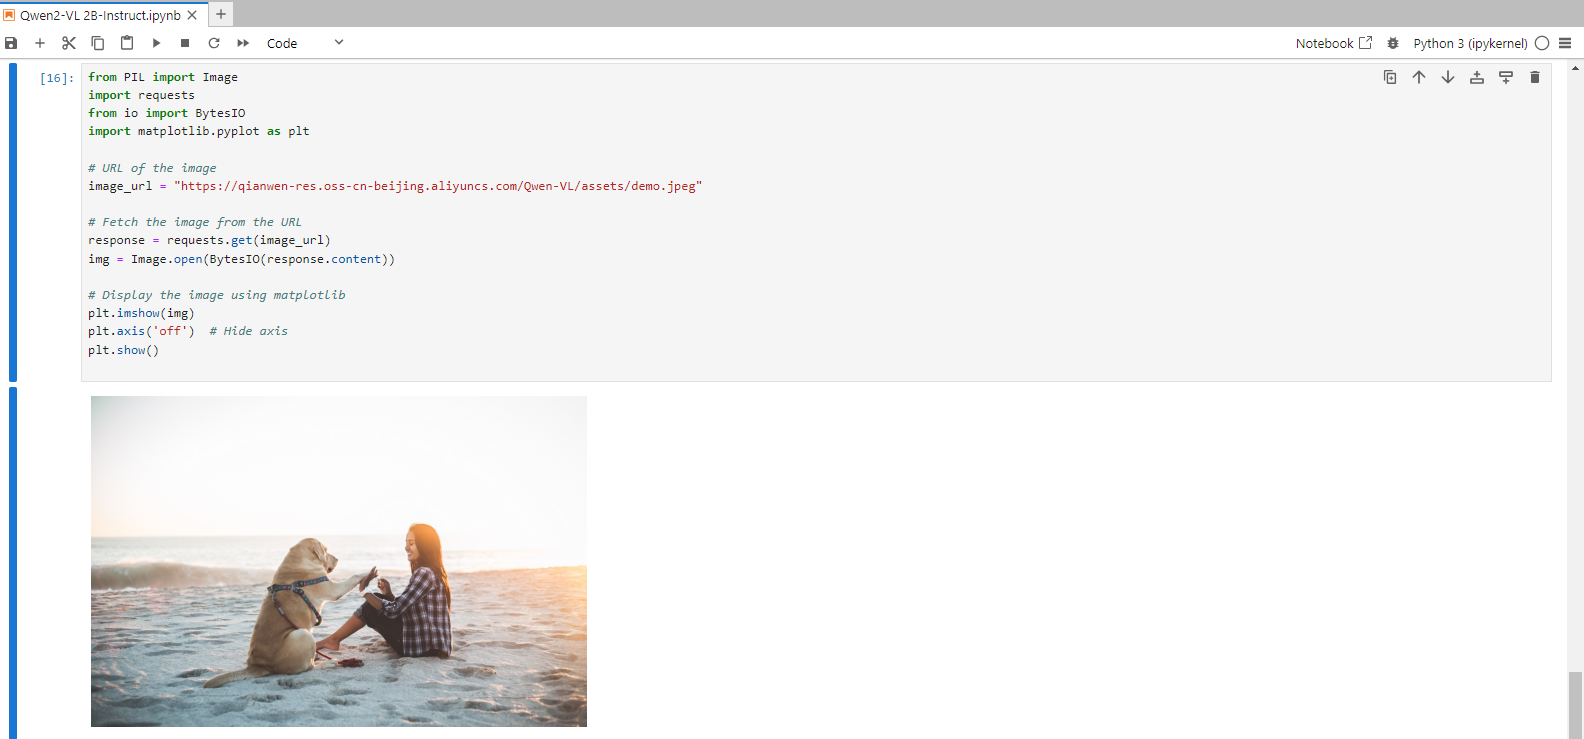
Step 17: Load the Image
Run the following command in the Jupyter Notebook cell to Load the image:
Step 18: Preparation for inference
Run the following command in the Jupyter Notebook cell to prepare for inference:
# Preparation for inference
text = processor.apply_chat_template(
    messages, tokenize=False, add_generation_prompt=True
)
image_inputs, video_inputs = process_vision_info(messages)
inputs = processor(
    text=[text],
    images=image_inputs,
    videos=video_inputs,
    padding=True,
    return_tensors="pt",
)
inputs = inputs.to("cuda")

# Inference: Generation of the output
generated_ids = model.generate(**inputs, max_new_tokens=128)
generated_ids_trimmed = [
    out_ids[len(in_ids) :] for in_ids, out_ids in zip(inputs.input_ids, generated_ids)
]
output_text = processor.batch_decode(
    generated_ids_trimmed, skip_special_tokens=True, clean_up_tokenization_spaces=False
)
print(output_text)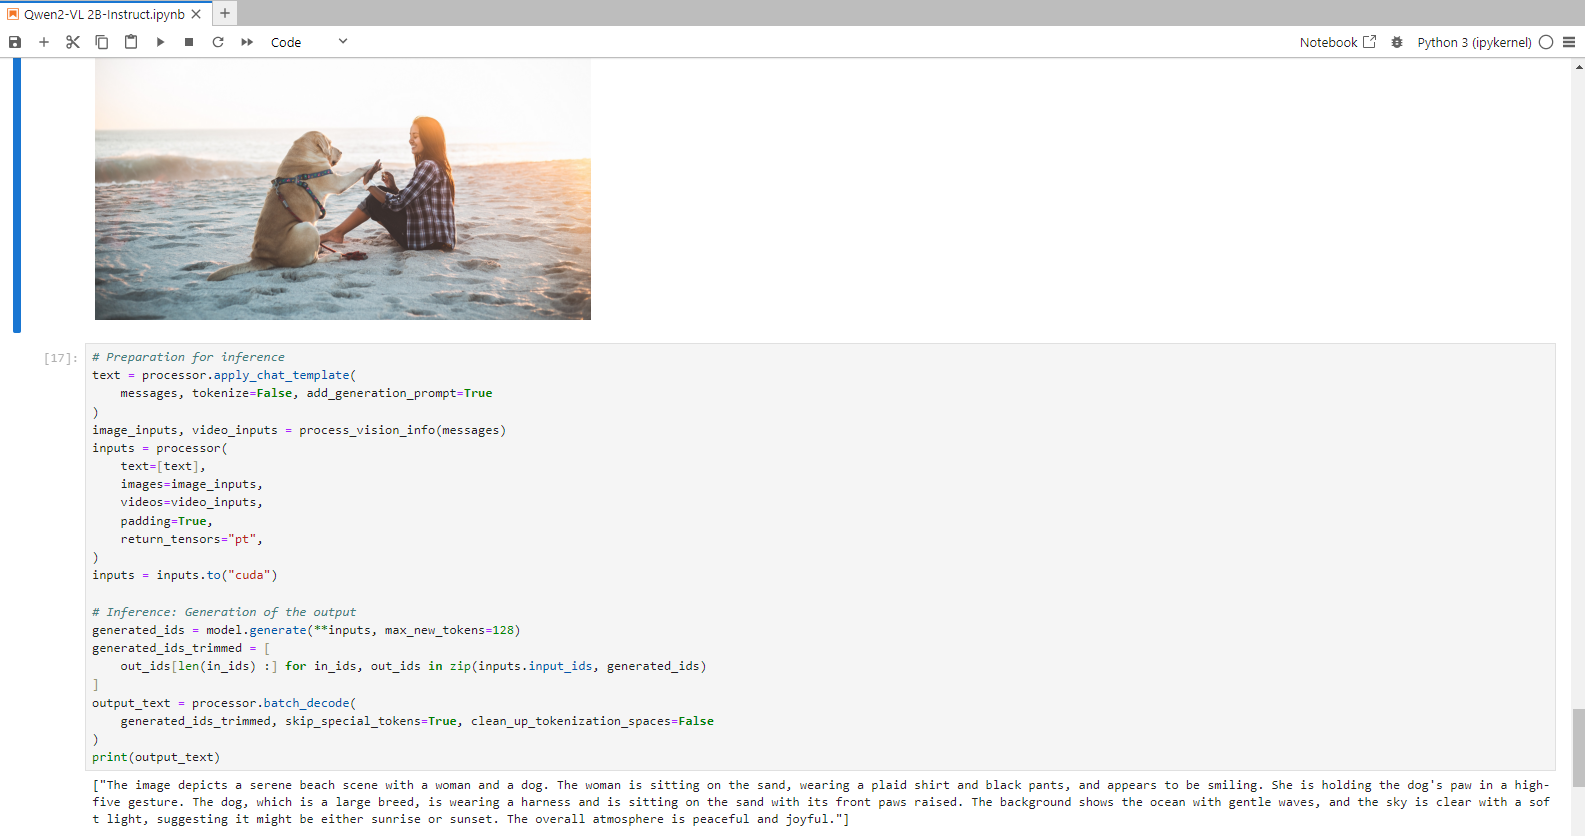
Conclusion
In this guide, we've walked through setting up and running the Qwen2-VL 2B model Locally on a GPU-powered virtual machine. With Qwen2-VL 2B, you now have the tools to generate text from images and videos. By following these steps, you have the power of advanced AI text generation while enjoying the flexibility and efficiency that Qwen2-VL 2B offers.
For more information about NodeShift: