How to Install Ruby on Rails with rbenv on Ubuntu 22.04


Ruby on Rails (RoR), also known as Rails, is a full-stack framework written in the Ruby programming language. The framework is based on the model-view-controller (MVC) pattern and ships with a rich toolkit covering core features for both frontend and backend concerns.
Ruby is considered similar to Perl and Smalltalk programming languages. It runs on all types of platforms like Windows, Mac OS and all versions of UNIX.
It is fully object oriented programming language. Everything is an object in Ruby. Each and every code has their properties and actions.
Ruby is considered to follow the principle of POLA (principle of least astonishment). It means that the language behaves in such a way to minimize the confusion for experienced users.
When Ruby was created, no other language could provide both the intuitiveness of functional programming and the efficiency of imperative programming.
Ruby programming language is unique in that it is:
Cross-platform, Object-based, Modular, Dynamically typed, and Flexible in terms of implementations.
Prerequisites
- A server with a fresh installation of the latest Ubuntu version 22.04, with
sudoprivileges. - A root user account.
Step-by-step process to Install Ruby on Rails on Ubuntu
For the purpose of this tutorial, we will use a CPU-powered Virtual Machine offered by NodeShift; however, you can replicate the same steps with any other cloud provider of your choice.
In order to deploy a NodeShift Virtual Machine, follow the guidelines here:
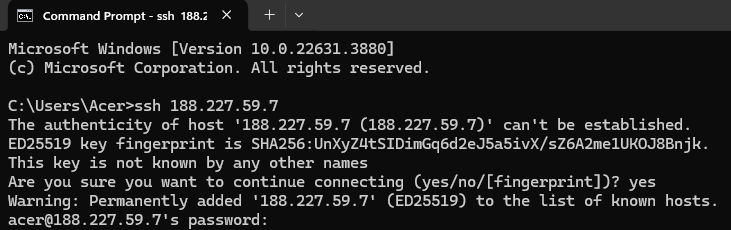
Step 1: Connect to the Virtual Machine using SSH or Username/Password
- NodeShift Compute VMs can be connected and controlled through a terminal and SSH.
- Open your terminal paste the IP with SSH and set up the password.
- And then you will get connected to the root user.
Step 2: Update the System, packages, and repositories
First, ensure your system is up to date. Open a terminal and run the command below:
sudo apt update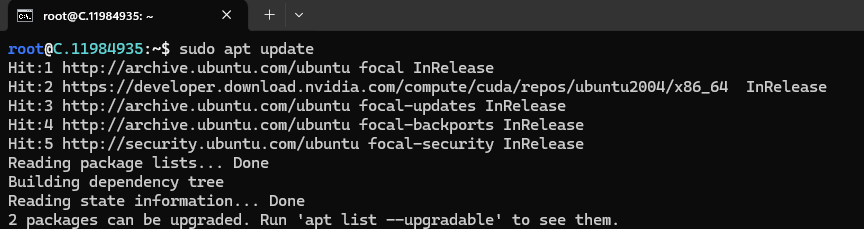
After executing the update command, execute the following command to upgrade your systems’ installed packages.
sudo apt upgrade

You can also combine both commands and run them simultaneously.
sudo apt update && sudo apt upgrade
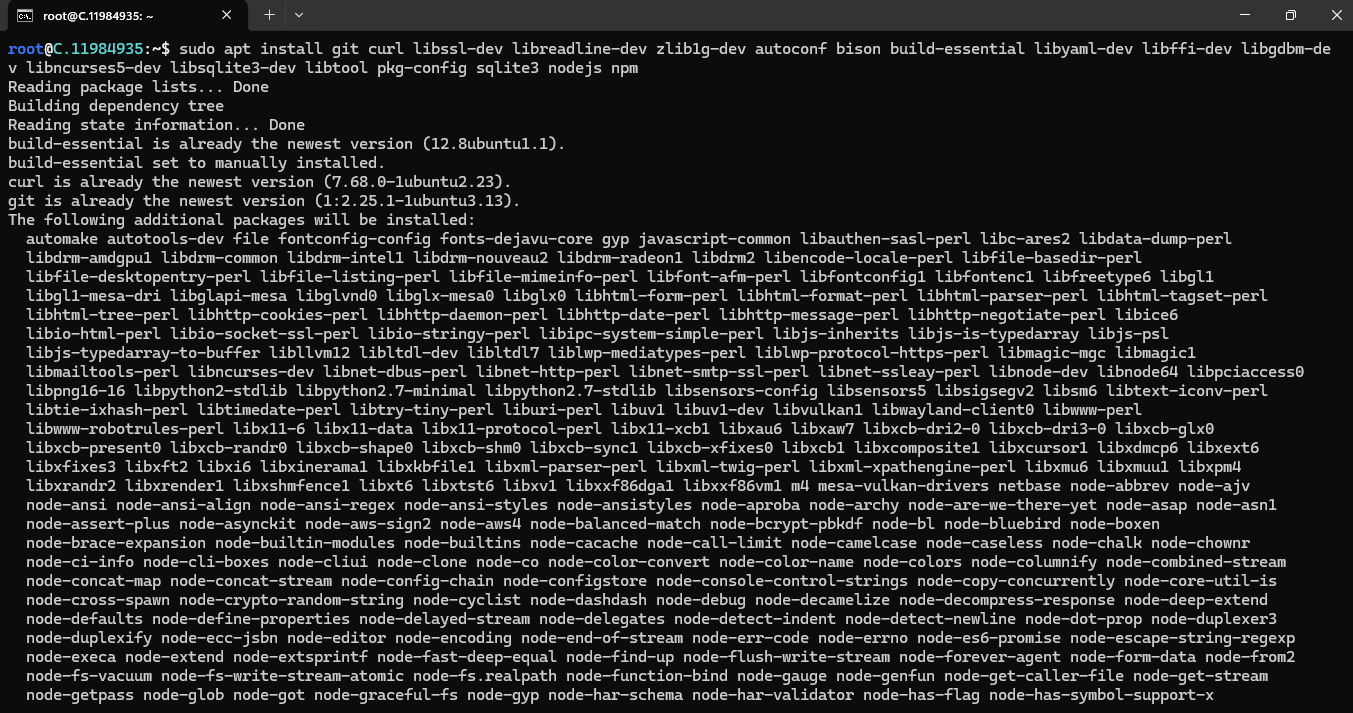
Step 3: Install the necessary dependencies
You'll need to install some dependencies to compile Ruby and some Rails gems. Run the below command to install them:
sudo apt install git curl libssl-dev libreadline-dev zlib1g-dev autoconf bison build-essential libyaml-dev libffi-dev libgdbm-dev libncurses5-dev libsqlite3-dev libtool pkg-config sqlite3 nodejs npm
Step 4: Install rbenv
To install rbenv, run the following commands:
git clone https://github.com/rbenv/rbenv.git ~/.rbenv
echo 'export PATH="$HOME/.rbenv/bin:$PATH"' >> ~/.bashrc
echo 'eval "$(rbenv init -)"' >> ~/.bashrc
exec $SHELL

Step 5: Install Ruby-build
Ruby-build is an rbenv plugin that allows you to install different versions of Ruby.
git clone https://github.com/rbenv/ruby-build.git ~/.rbenv/plugins/ruby-build
echo 'export PATH="$HOME/.rbenv/plugins/ruby-build/bin:$PATH"' >> ~/.bashrc
exec $SHELL

Step 6: Install Ruby
Once rbenv and ruby-build are installed, you can install the version of Ruby you want. For example, to install Ruby 3.3.4, run the following command:
rbenv install 3.3.4
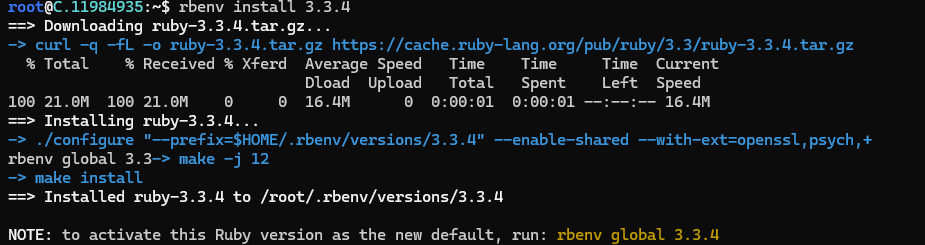
Once the installation is complete, be sure to set the newly installed version of Ruby as the default version of rbenv:
rbenv global 3.3.4

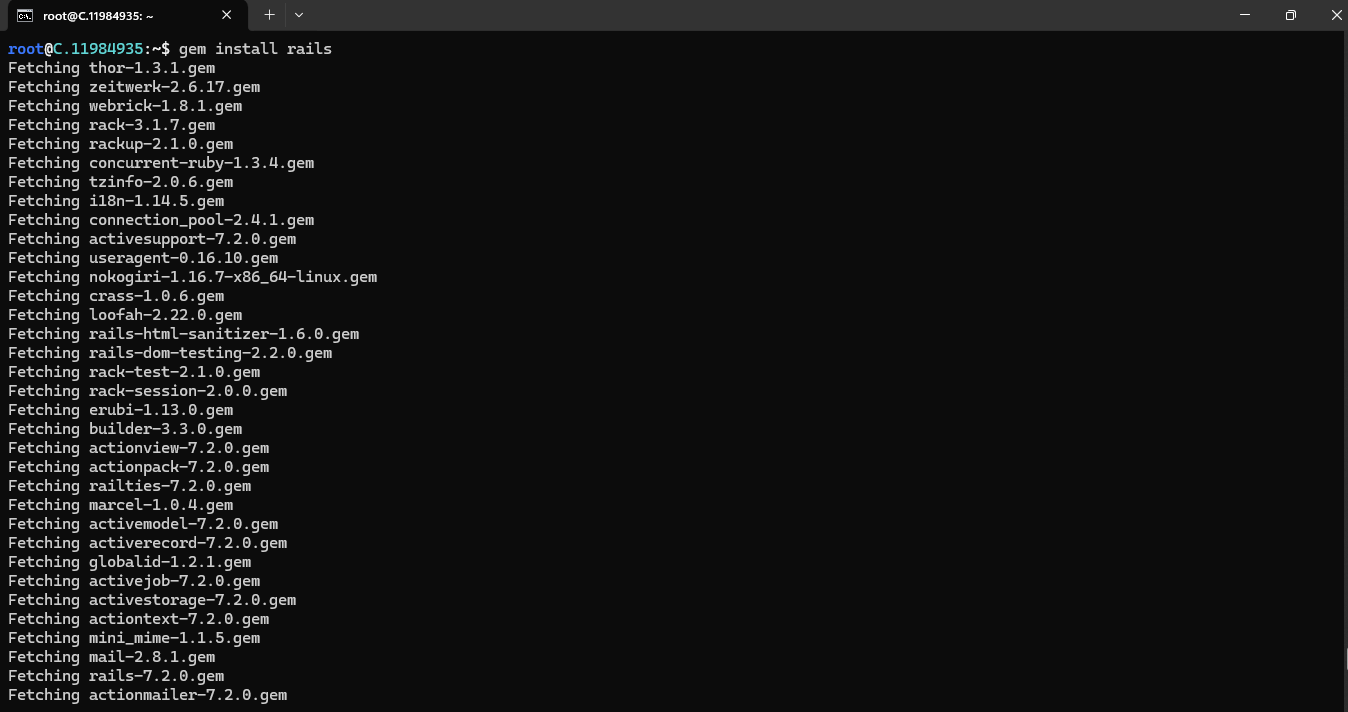
Step 7: Install Rails
Finally, you can install Rails by running the following command:
gem install rails
Step 8: Verify the installation
To verify that everything has been installed correctly, run the following commands:
ruby -v
rails -v

Step 9: Create a New Rails Application
Navigate to your workspace:
mkdir -p ~/workspace
cd ~/workspace
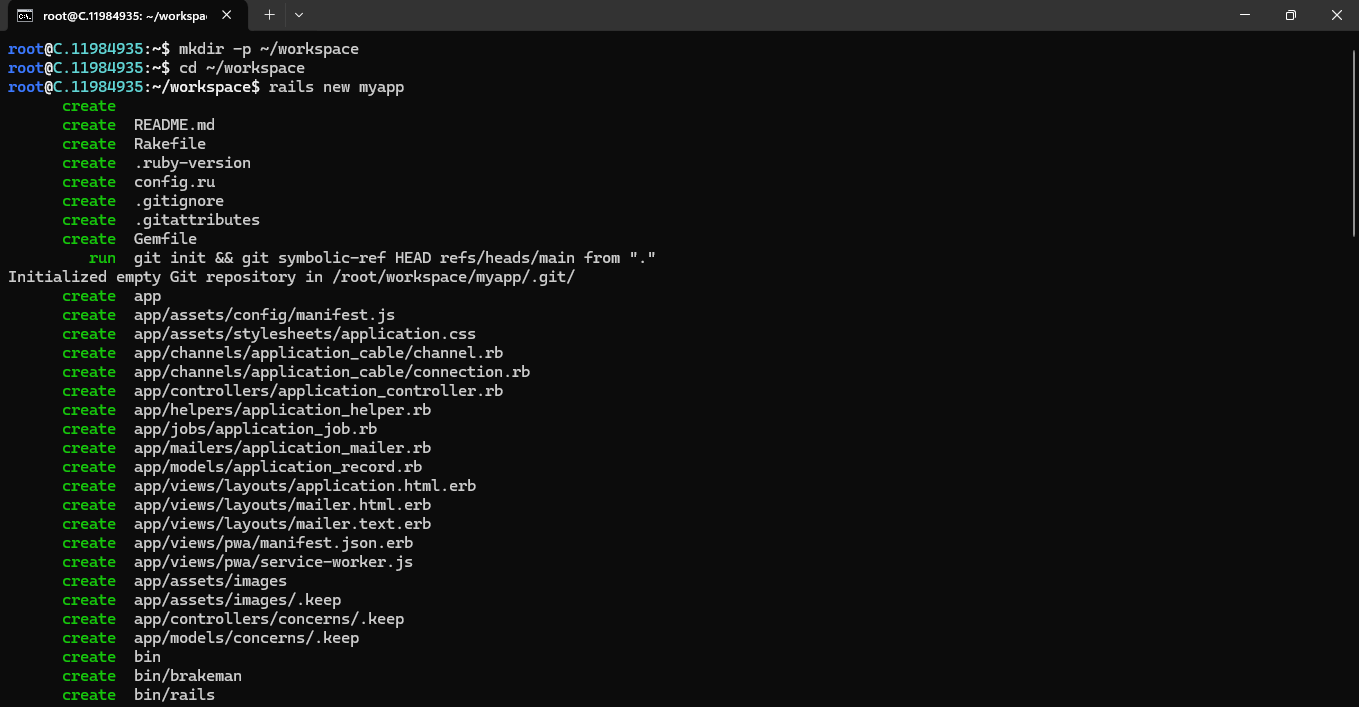
Create a new Rails application:
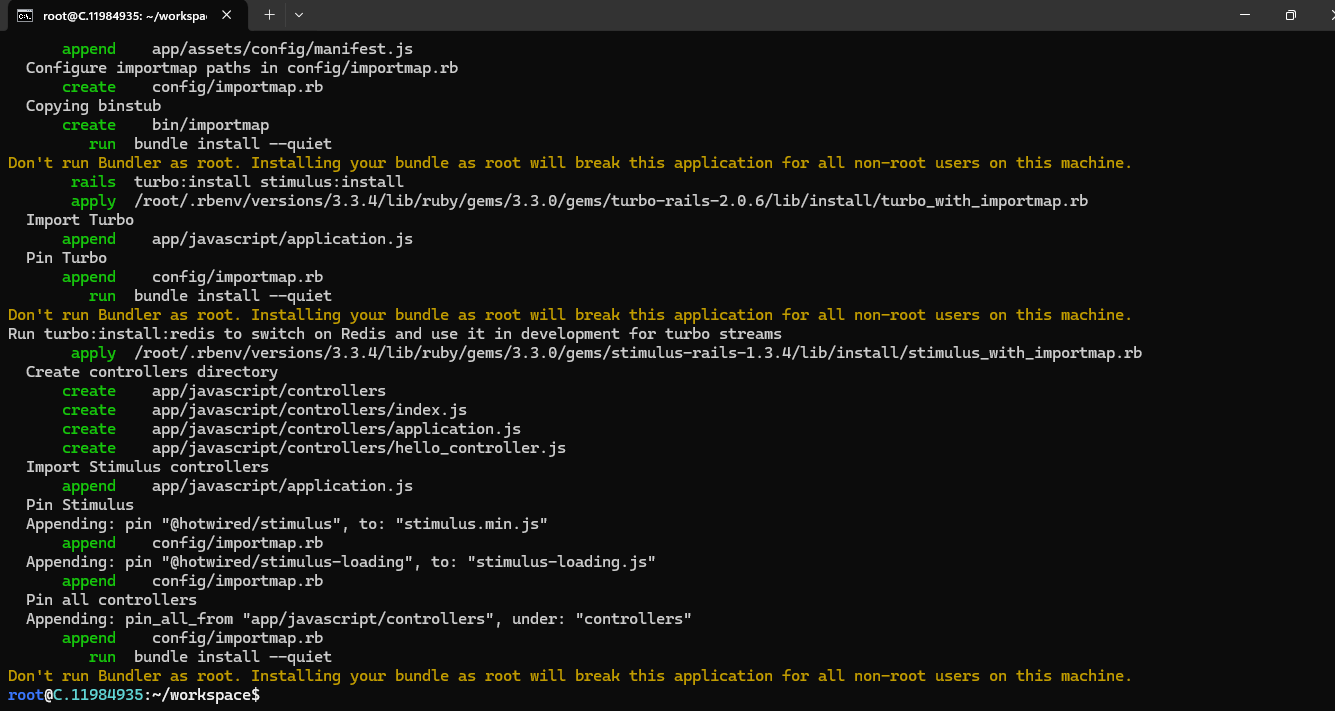
rails new myapp
cd myapp
Step 10: Start the Rails Server
Start the Rails development server:
rails server
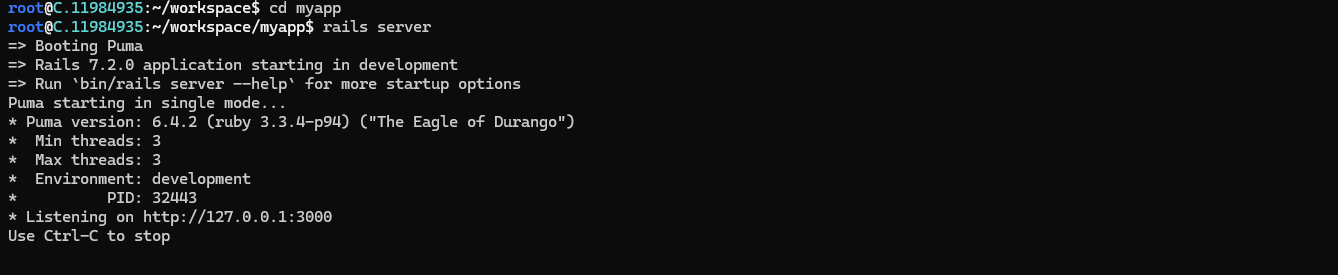
The server will start, and you should see output similar to this:
=> Booting Puma
=> Rails 7.x.x application starting in development
=> Run `bin/rails server --help` for more startup options
Puma starting in single mode...
* Version 5.x.x (ruby 3.x.x-pxxx), codename: Spoony Bard
* Min threads: 5, max threads: 5
* Environment: development
* Listening on http://127.0.0.1:3000
Use Ctrl-C to stop
Step 11: Create a Simple Controller and View
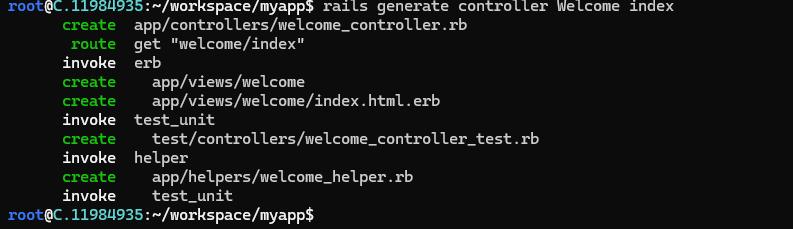
Generate a controller:
rails generate controller Welcome index
Edit the route to point to the new controller:
Open it using the Vim text editor:
So, what is Vi?
Vi is a text editor. The last line of the text editor is used to give commands to vi and provide you with information.
Note: If an error occurs which states that Vi is not a recognised internal or external command then install vim using the steps below.
Step 1: Update the package list
Before installing any software, we will update the package list using the following command in your terminal:
sudo apt update
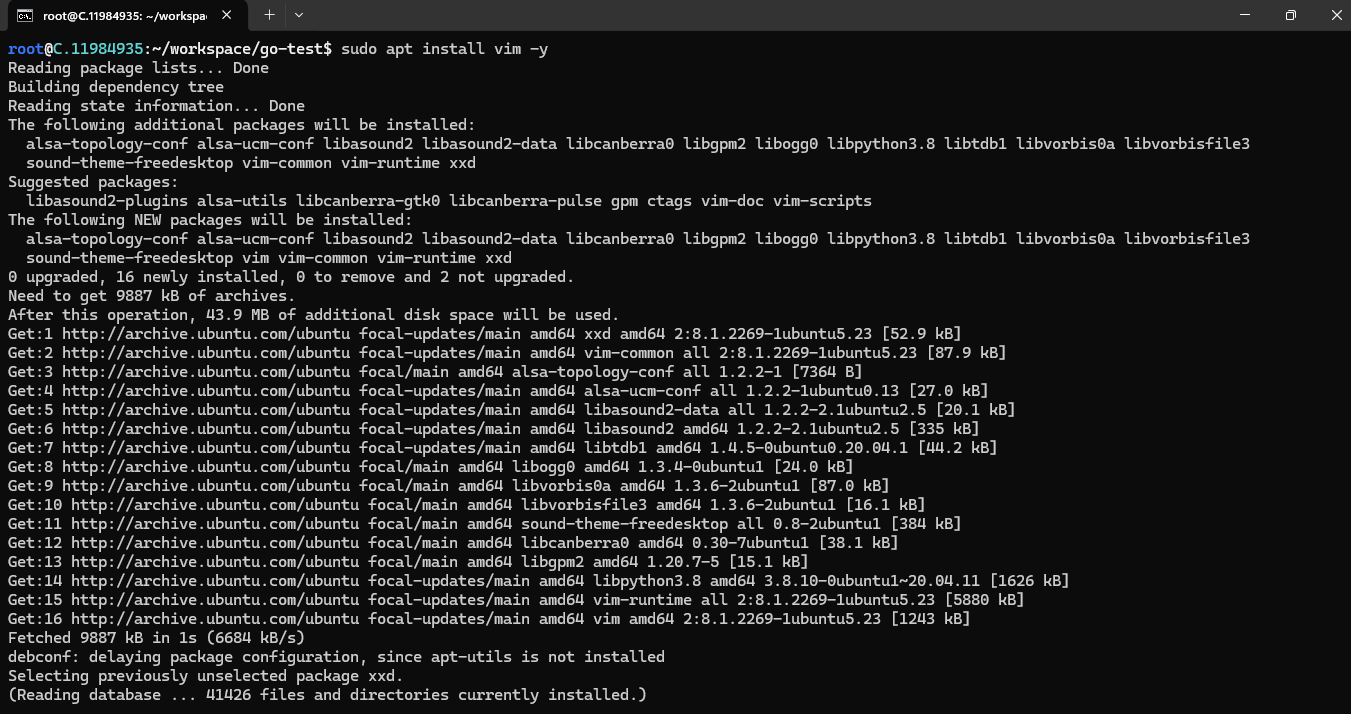
Step 2: Install Vim
To install Vim, enter the following command:
sudo apt install vim -y
This command will retrieve and install Vim and its necessary components.
Entering the editing mode in Vi:
Follow the steps below to enter the editing mode in Vi
Step 1: Open a File in Vi
Step 2: Navigate to Command Mode
When you open a file in Vi, you start in the command mode. You can issue commands to navigate, save, and manipulate text in this mode. To ensure you are in command mode, press the Esc key. This step is crucial because you cannot edit the text in other modes.
Now, Open the config/routes.rb file:
vim config/routes.rb

Modify the file to look like this:
Rails.application.routes.draw do
  root 'welcome#index'
end
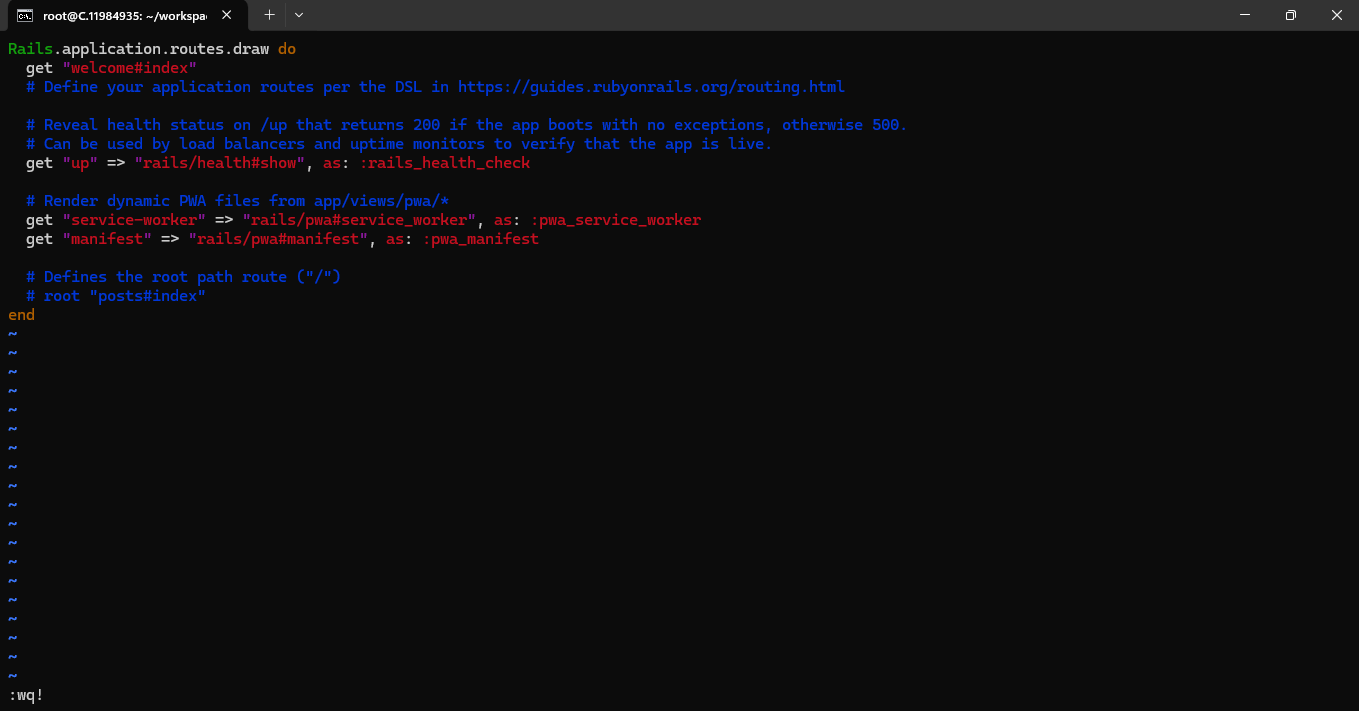
Save and close the file.
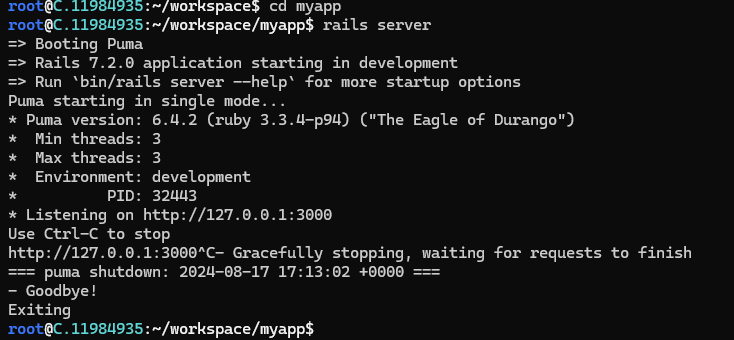
Step 12: Restart the Rails Server
- If the server is running, stop it by pressing.
CTRL + C. - Restart the server:
rails server

- Access your app: Go to
http://127.0.0.1:3000your browser. You should see a simple page generated by yourWelcomeController, confirming that Rails is set up correctly.
Conclusion
In this guide, we've walked through the step-by-step process of installing Ruby on Rails on Ubuntu, starting from setting up your system to deploying a Rails application. By following these steps, you should now have a fully functional Rails environment ready for development. Whether you're creating a simple web app or diving into more complex projects, you're equipped with the tools you need to start building with Ruby on Rails. Happy coding!
For more information about NodeShift: