How to Run Flux AI Image Generator with WebUI and Gradio GUI


What is Flux AI?
Flux AI is an open-source image generation model developed by Black Forest Labs. It specializes in generating high-quality images from text prompts. At its core, the Flux image generator is built on a novel architecture that combines the best of several cutting-edge AI technologies. Unlike its predecessors, which primarily rely on diffusion models, FLUX incorporates a hybrid approach that leverages multimodal and parallel diffusion transformer blocks. This unique blend allows for unprecedented detail, accuracy, and creative interpretation of prompts.
Flux 1 is available in three different versions. The Pro version of the AI model is the high-end one designed for commercial use. Meanwhile, the Dev version has open weights and is built for non-commercial use. The faster version of Flux 1 with open weights is called Schnell.
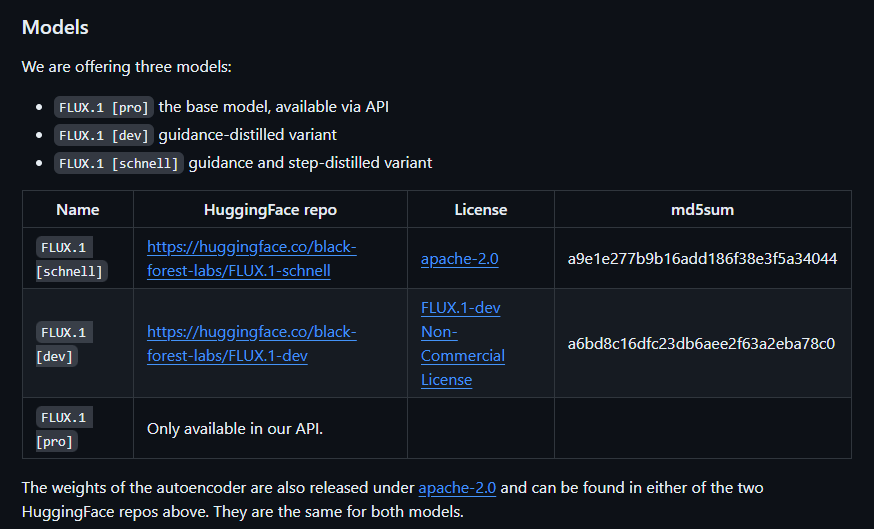
Flux 1 Pro: The powerhouse of the Flux family, crafted for commercial and enterprise use. This model delivers top-tier performance, exceptional image quality, and a nuanced understanding of prompts, making it the go-to choice for those needing the absolute best.
Flux 1 Dev: The open-source variant that serves as the backbone of the Flux AI community, allowing developers, researchers, and enthusiasts to explore, modify, and contribute to the model’s codebase.
Flux 1 Schnell: This optimized model prioritizes speed and efficiency without compromising image quality. It is open-source and available on platforms like Hugging Face, making it ideal for real-time or near-real-time generation applications. It strikes a delicate balance between quick processing and high-quality output, perfect for personal projects or integrations with tools like Diffusers and Comfy UI.

What sets FluxAI apart from its predecessors is its unique hybrid architecture that combines the strengths of Transformer networks for text understanding with the power of diffusion models for image generation. This approach enables FluxAI to excel in prompt interpretation and high-quality image synthesis, producing results that closely align with the provided textual descriptions.
This is the third blog in our FluxAI series. This post will guide you through installing and running the Flux Image Generator with WebUI and Gradio GUI. In this series's first and second blogs, we covered how to run the Flux 1 Schnell and Pro Image Generators in the cloud and install and run the Flux Image Generator with ComfyUI. If you missed either of these blogs, you can check them out via the links below.
Blog Link: How to Run Flux 1 Schnell and Pro Image Generator in the Cloud
Blog Link: How to Install and Run Flux Image Generator with ComfyUI
What is WebUI?
WebUI is a graphical interface that allows you to interact with an application visually through a browser. It supports various LLM runners, including Ollama and OpenAI-compatible APIs.
It can be used in any web browser or WebView as a GUI. It support all modern programming languages in the backend and modern web technologies in the front, in a lightweight and portable library.
What is Gradio GUI?
Gradio is an open-source Python package that allows you to quickly build a demo or web application for your machine learning model, API, or any arbitrary Python function. Using Gradio's built-in sharing features, you can then share your demo with a public link in seconds. No JavaScript, CSS, or web hosting experience is needed.
Step-by-Step Process to Run Flux Image Generator with WebUI and Gradio GUI
For the purpose of this tutorial, we will use a GPU-powered Virtual Machine offered by NodeShift; however, you can replicate the same steps with any other cloud provider of your choice. NodeShift offers the most affordable Virtual Machines at a scale that meets GDPR, SOC2, and ISO27001 requirements.
Step 1: Sign Up and Set Up a NodeShift Cloud Account
Visit the NodeShift Platform and create an account. Once you've signed up, log into your account.
Follow the account setup process and provide the necessary details and information.

Step 2: Create a GPU Node (Virtual Machine)
GPU Nodes are NodeShift's GPU Virtual Machines, on-demand resources equipped with diverse GPUs ranging from H100s to A100s. These GPU-powered VMs provide enhanced environmental control, allowing configuration adjustments for GPUs, CPUs, RAM, and Storage based on specific requirements.
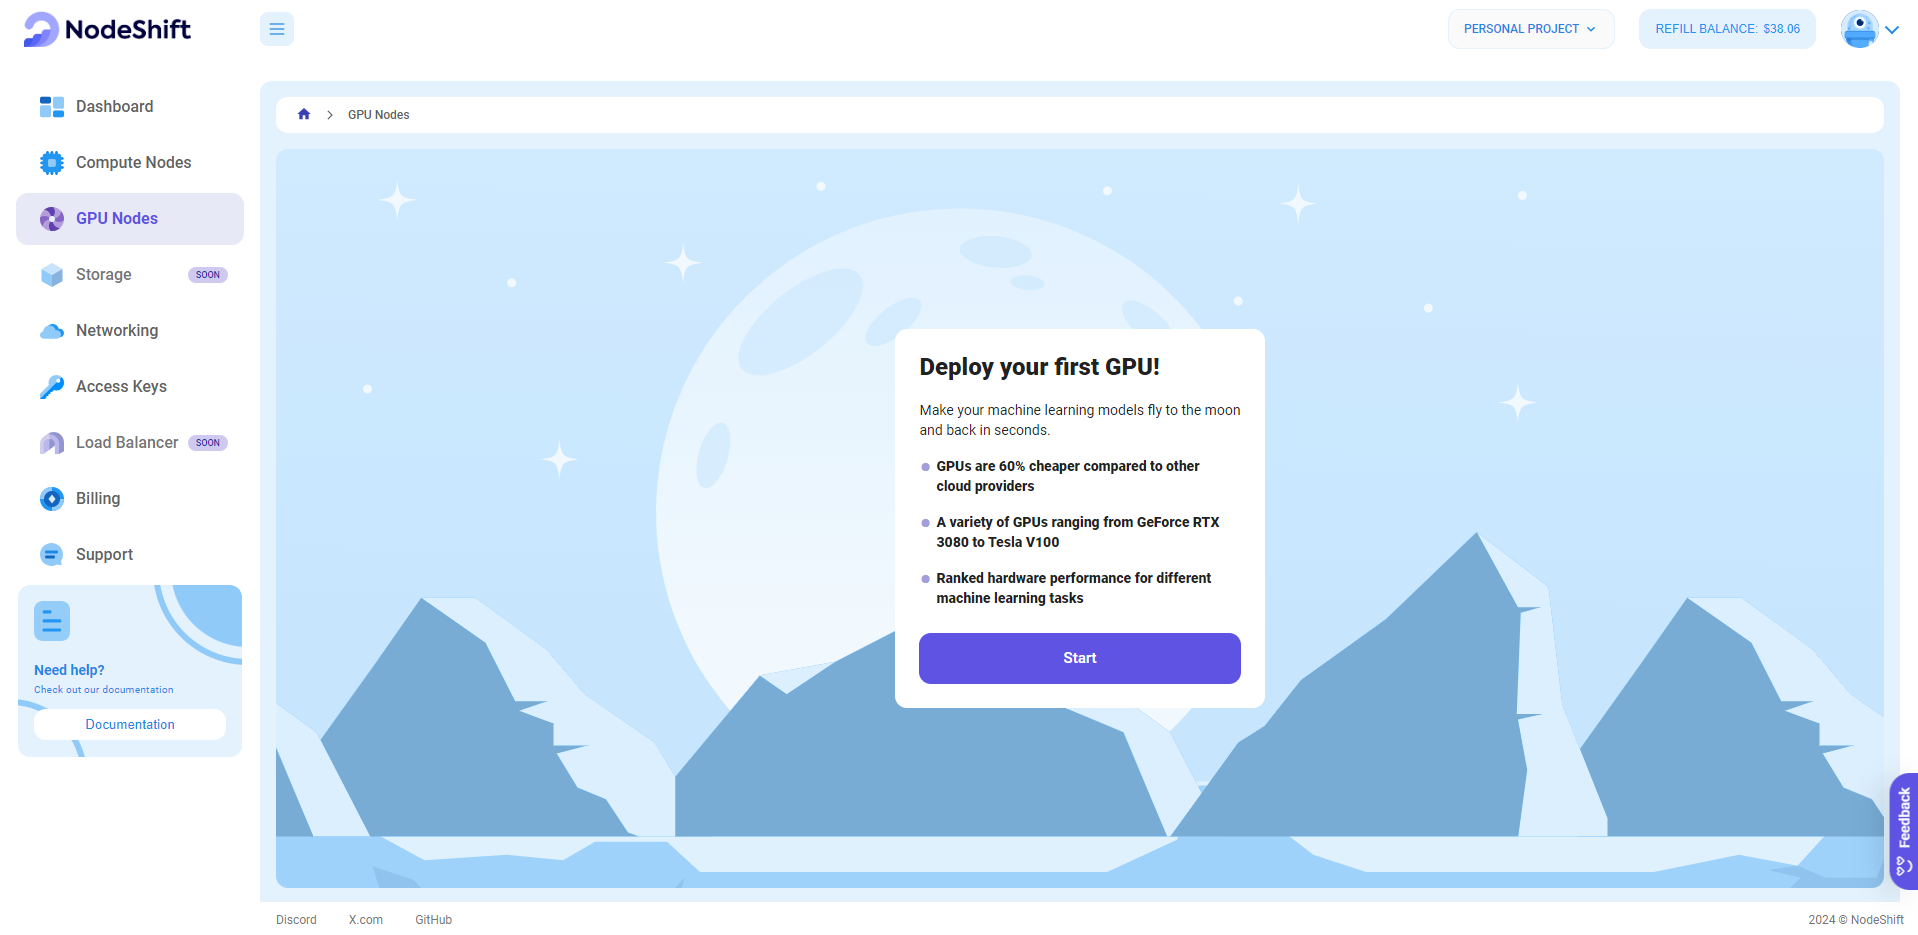
Navigate to the menu on the left side. Select the GPU Nodes option, create a GPU Node in the Dashboard, click the Create GPU Node button, and create your first Virtual Machine deployment.
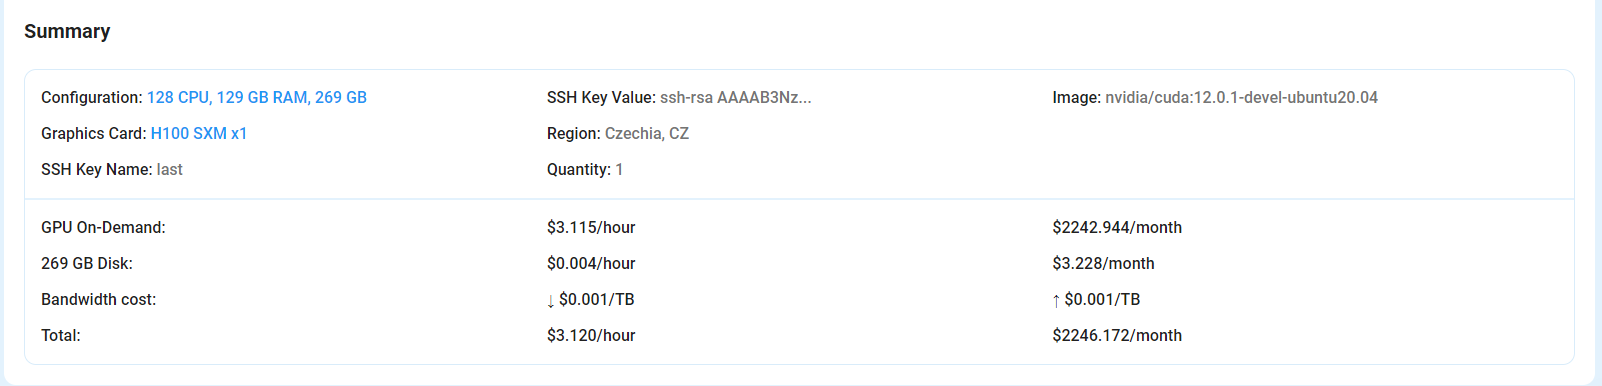
Step 3: Select a Model, Region, and Storage
In the "GPU Nodes" tab, select a GPU Model and Storage according to your needs and the geographical region where you want to launch your model.
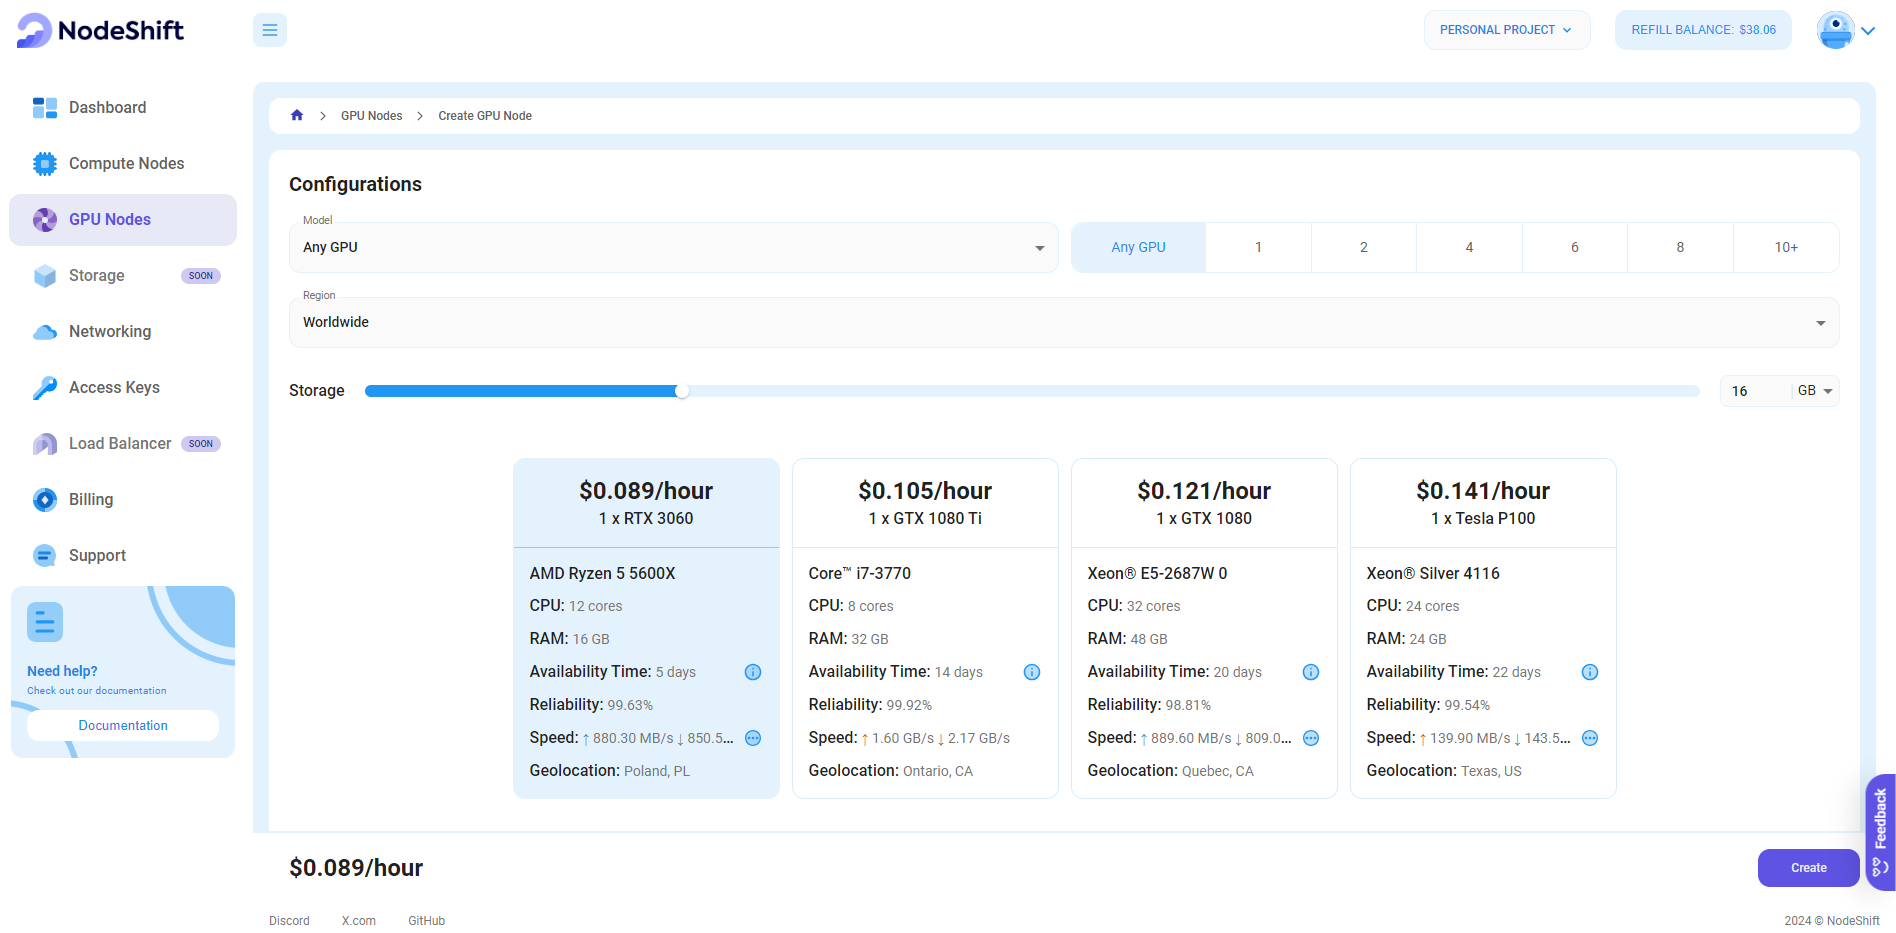

- Flux1-dev requires more than 12GB VRAM.
- Flux1-schnell can run on 12GB VRAM
- If you have less than 32GB of System RAM, use the t5xxl_fp8_e4m3fn text encoder instead of the t5xxl_fp16 version.
We will use one H100 SXM GPU for this tutorial to achieve the fastest performance. However, you can choose a more affordable GPU with less VRAM if that better suits your requirements.
Step 4: Select Authentication Method
There are two authentication methods available: Password and SSH Key. SSH keys are a more secure option. To create them, please refer to our official documentation.

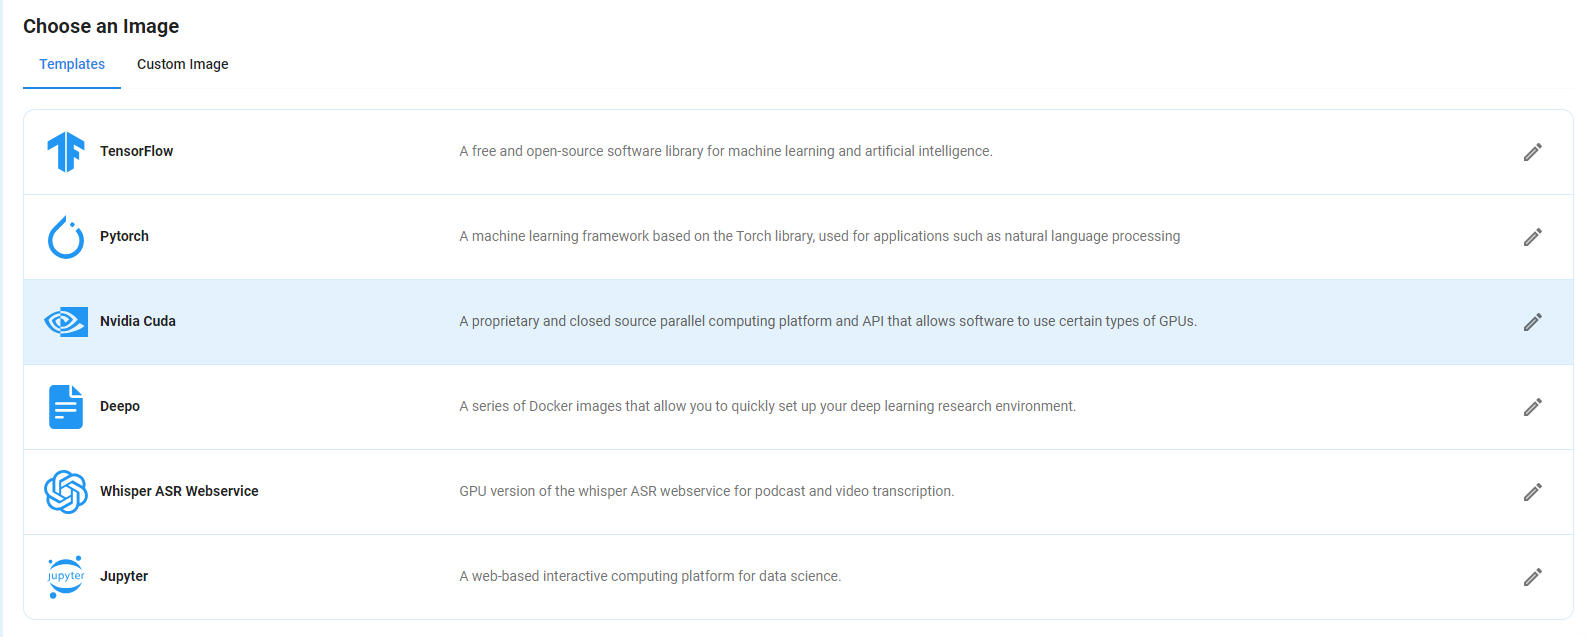
Step 5: Choose an Image
Next, you will need to choose an image for your Virtual Machine We will deploy Flux 1 Schnell and Pro Image Generator on an NVIDIA Cuda Virtual Machine. This proprietary, closed-source parallel computing platform will allow you to install Flux 1 Schnell and Pro Image Generator on your GPU Node.
After choosing the image, click the ‘Create’ button, and your Virtual Machine will be deployed.
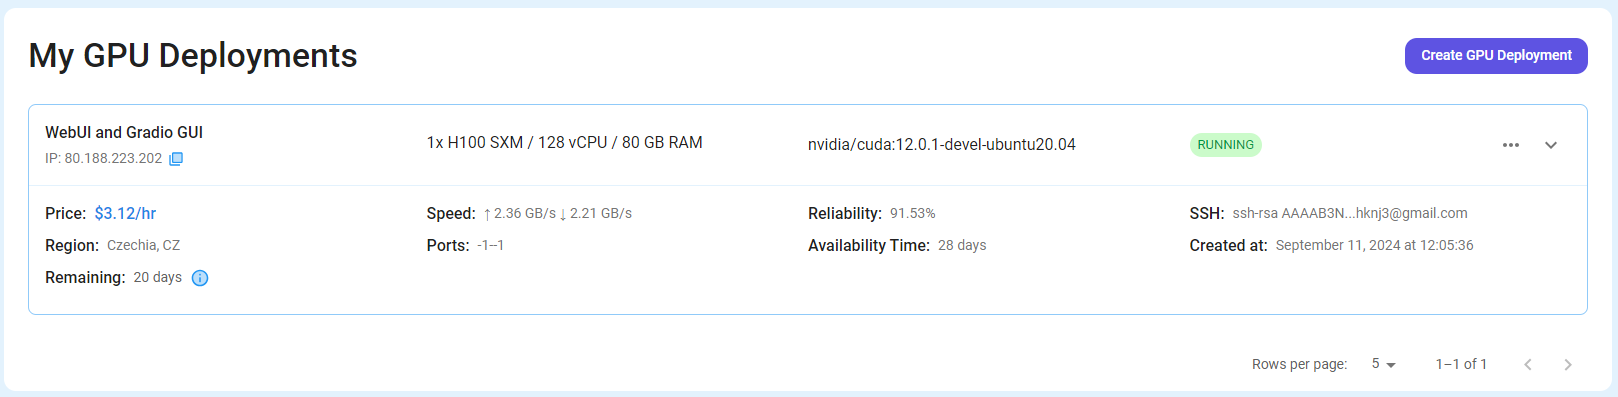
Step 6: Virtual Machine Successfully Deployed
You will get visual confirmation that your node is up and running.
Step 7: Connect to GPUs using SSH
NodeShift GPUs can be connected to and controlled through a terminal using the SSH key provided during GPU creation.
Once your GPU Node deployment is successfully created and has reached the 'RUNNING' status, you can navigate to the page of your GPU Deployment Instance. Then, click the 'Connect' button in the top right corner.
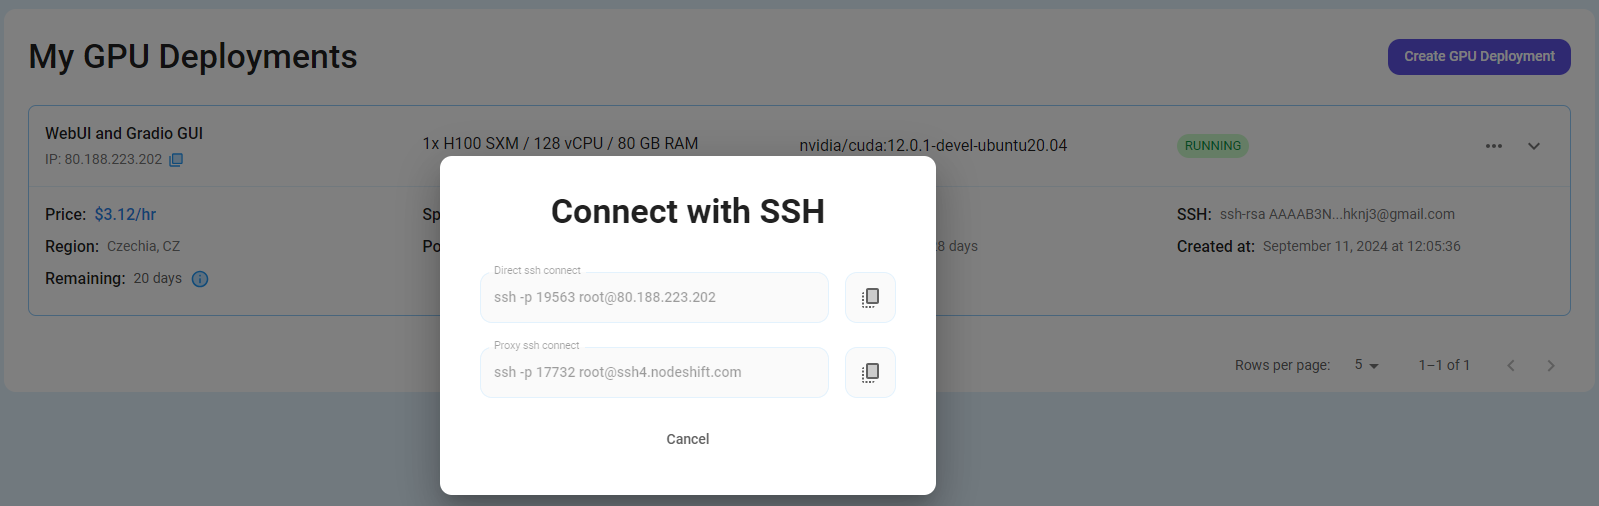
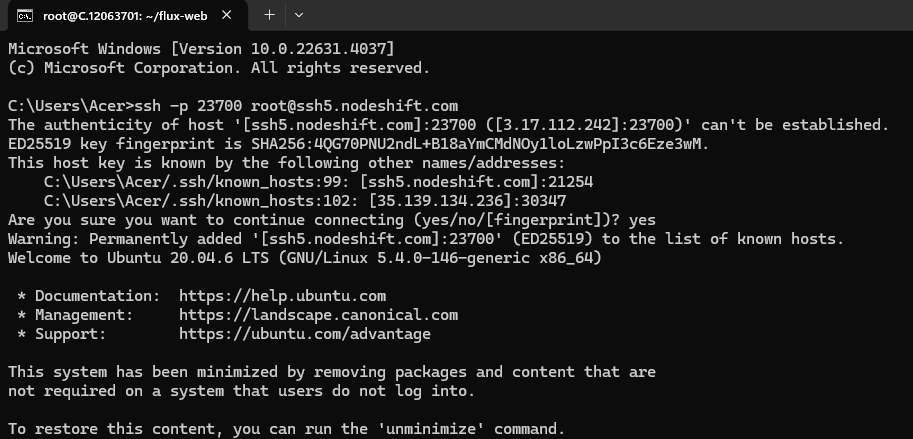
Now open your terminal and paste the proxy SSH IP or direct SSH IP.
Next, If you want to check the GPU details, run the command below:
nvidia-smi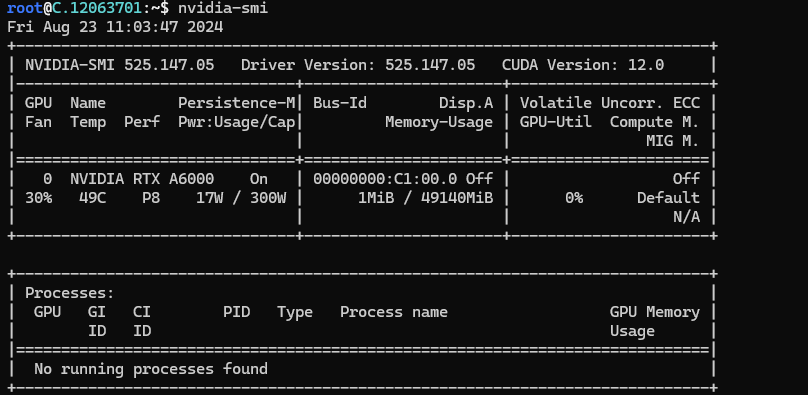
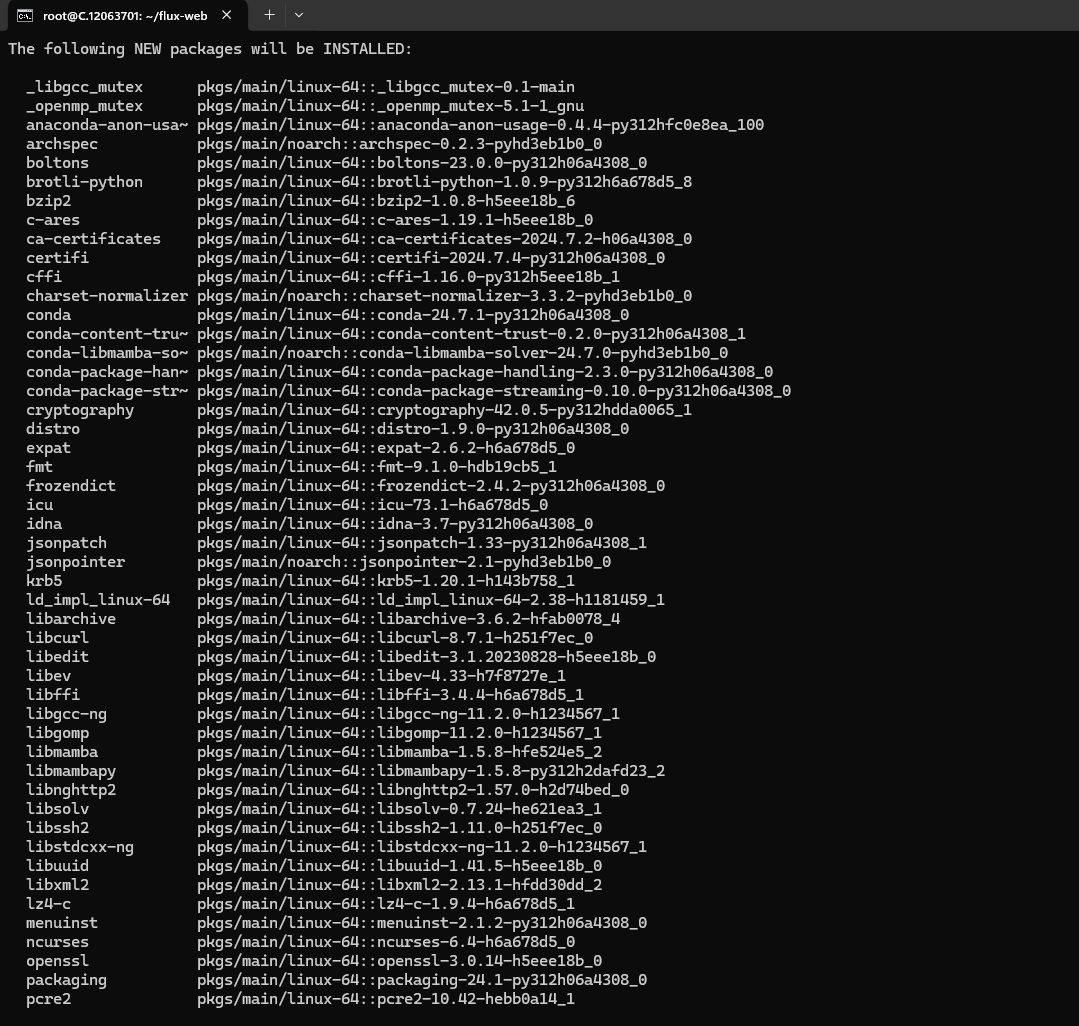
Step 8: Install Miniconda & Packages
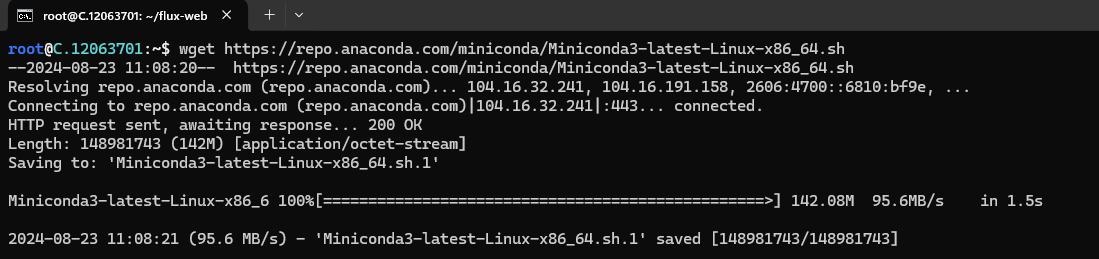
After completing the steps above, install Miniconda.
Miniconda is a free minimal installer for conda. It allows the management and installation of Python packages.
We highly recommend installing Python using Miniconda. Miniconda comes with Python and a small number of essential packages. Additional packages can be installed using the package management systems Mamba or Conda.
For Linux/macOS:
Download the Miniconda installer script:
wget https://repo.anaconda.com/miniconda/Miniconda3-latest-Linux-x86_64.sh
For Windows:
- Download the Windows Miniconda installer from the official website.
- Run the installer and follow the installation prompts.
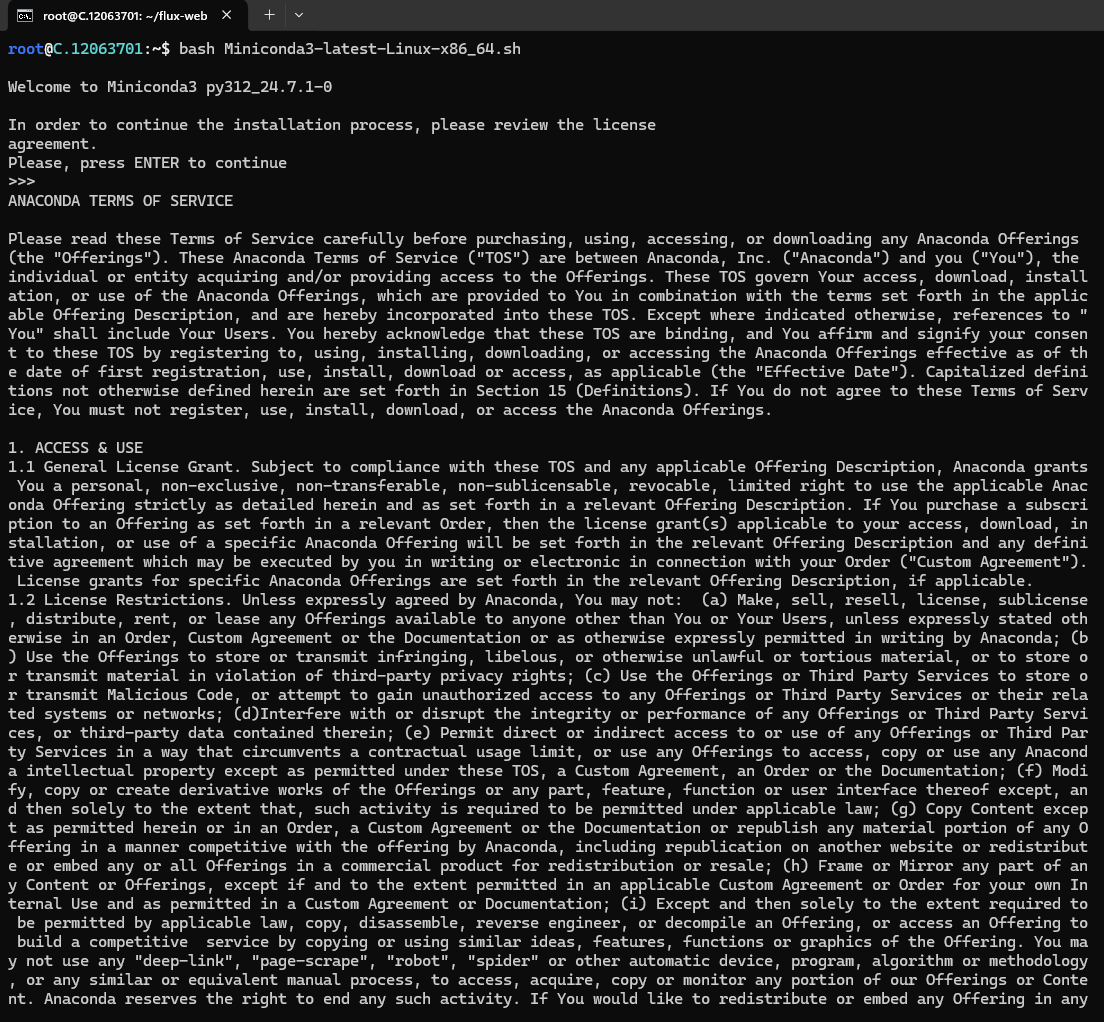
Run the installer script:
bash Miniconda3-latest-Linux-x86_64.sh
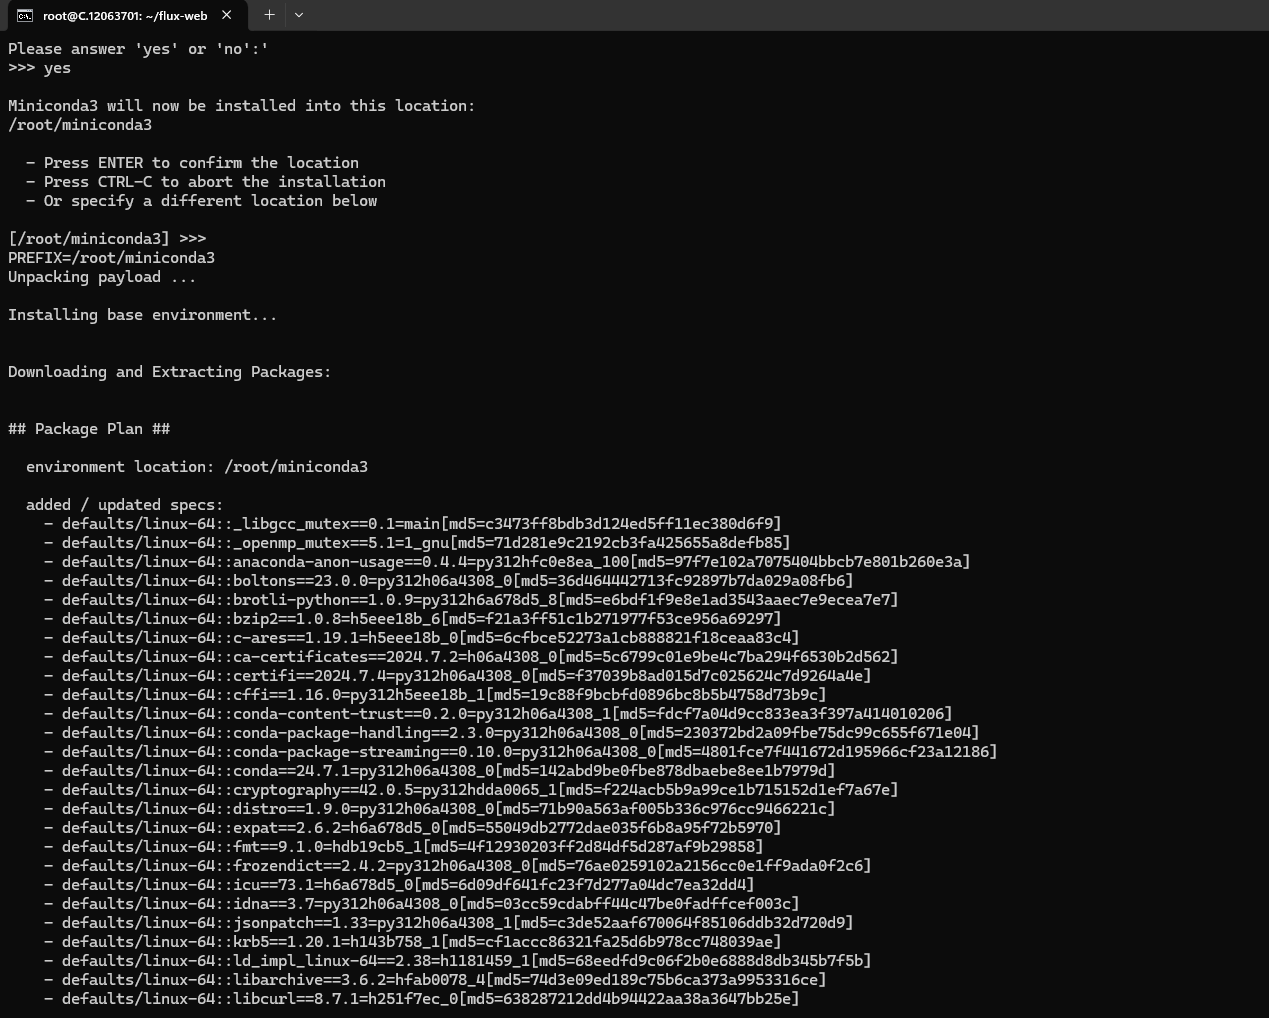
After Installing Miniconda, you will see the following message:
Thank you for installing Miniconda 3! This means Miniconda is installed in your working directory or on your operating system.
Check the screenshot below for proof:

Step 9: Activate Conda and perform a version check
After the installation process, activate Conda using the following command:
conda init
source ~/.bashrc
Also, check the version of Conda using the following command:
conda --version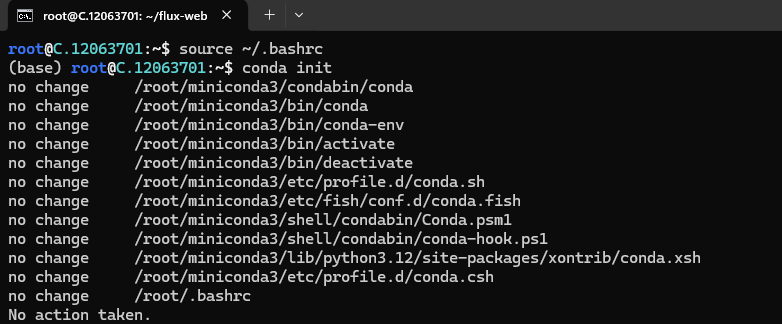
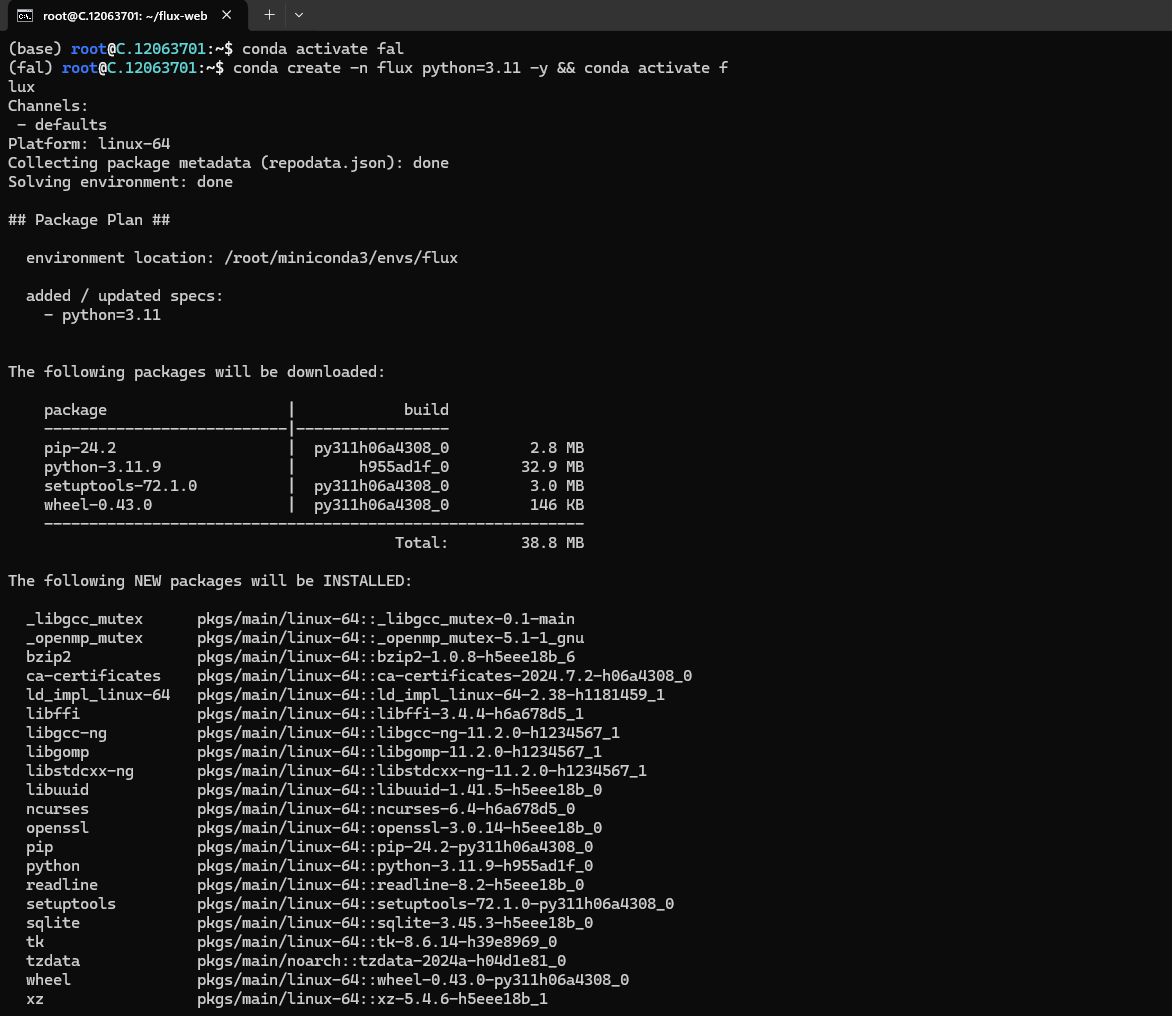
Step 10: Create and activate your environment
Run the following command to activate the Conda Environment:
conda activate fal
conda activate fal: This command activates the environment you just created. Once activated, any Python-related commands or installations will be isolated to this environment, which won’t affect other environments or your global Python installation.
Role of Fal here
Fal is a tool that integrates with dbt (Data Build Tool) to run Python scripts within your dbt project. It allows you to execute Python code alongside your dbt models, which can be helpful for tasks such as:
- Post-processing data after it has been transformed by dbt.
- Running machine learning models or other advanced analytics on your data.
- Automating workflows that require both SQL (handled by dbt) and Python.
When you name a Conda environment fal, you are likely setting up a dedicated environment to work with Fal and its dependencies. By having this environment, you ensure that all required libraries and tools are available from other projects.
After this, run the following command to create and activate a new environment:
conda create -n flux python=3.11 -y && conda activate fluxconda create: This is the command to create a new environment.-n flux: The-nflag specifies the name of the environment you want to create. Herefluxis the name of the environment you're creating. You can name it anything of your choice.python=3.11: This is the version of Python that you want to install in the new environment.-y: This flag automatically answers "yes" to all prompts during the creation process, so the environment is created without asking for further confirmation.
&& conda activate flux
&&: The && (logical AND) operator indicates whether both operands are true. It allows the following command (conda activate flux) to run only if the previous command (conda create -n flux python=3.11 -y) was successful.conda activate flux: This activates the newly created environment named "flux," making it the active environment for Python and packages.

Step 12: Download the Flux WebUI from GitHub
Next, you need to download the Flux WebUI from GitHub. Run the following command to download the model.
git clone https://github.com/pinokiofactory/flux-webui.git && cd flux-webuiFlux GitHub Repo Link: https://github.com/pinokiofactory/flux-webui
Check Flux WebUI Repo for more info.

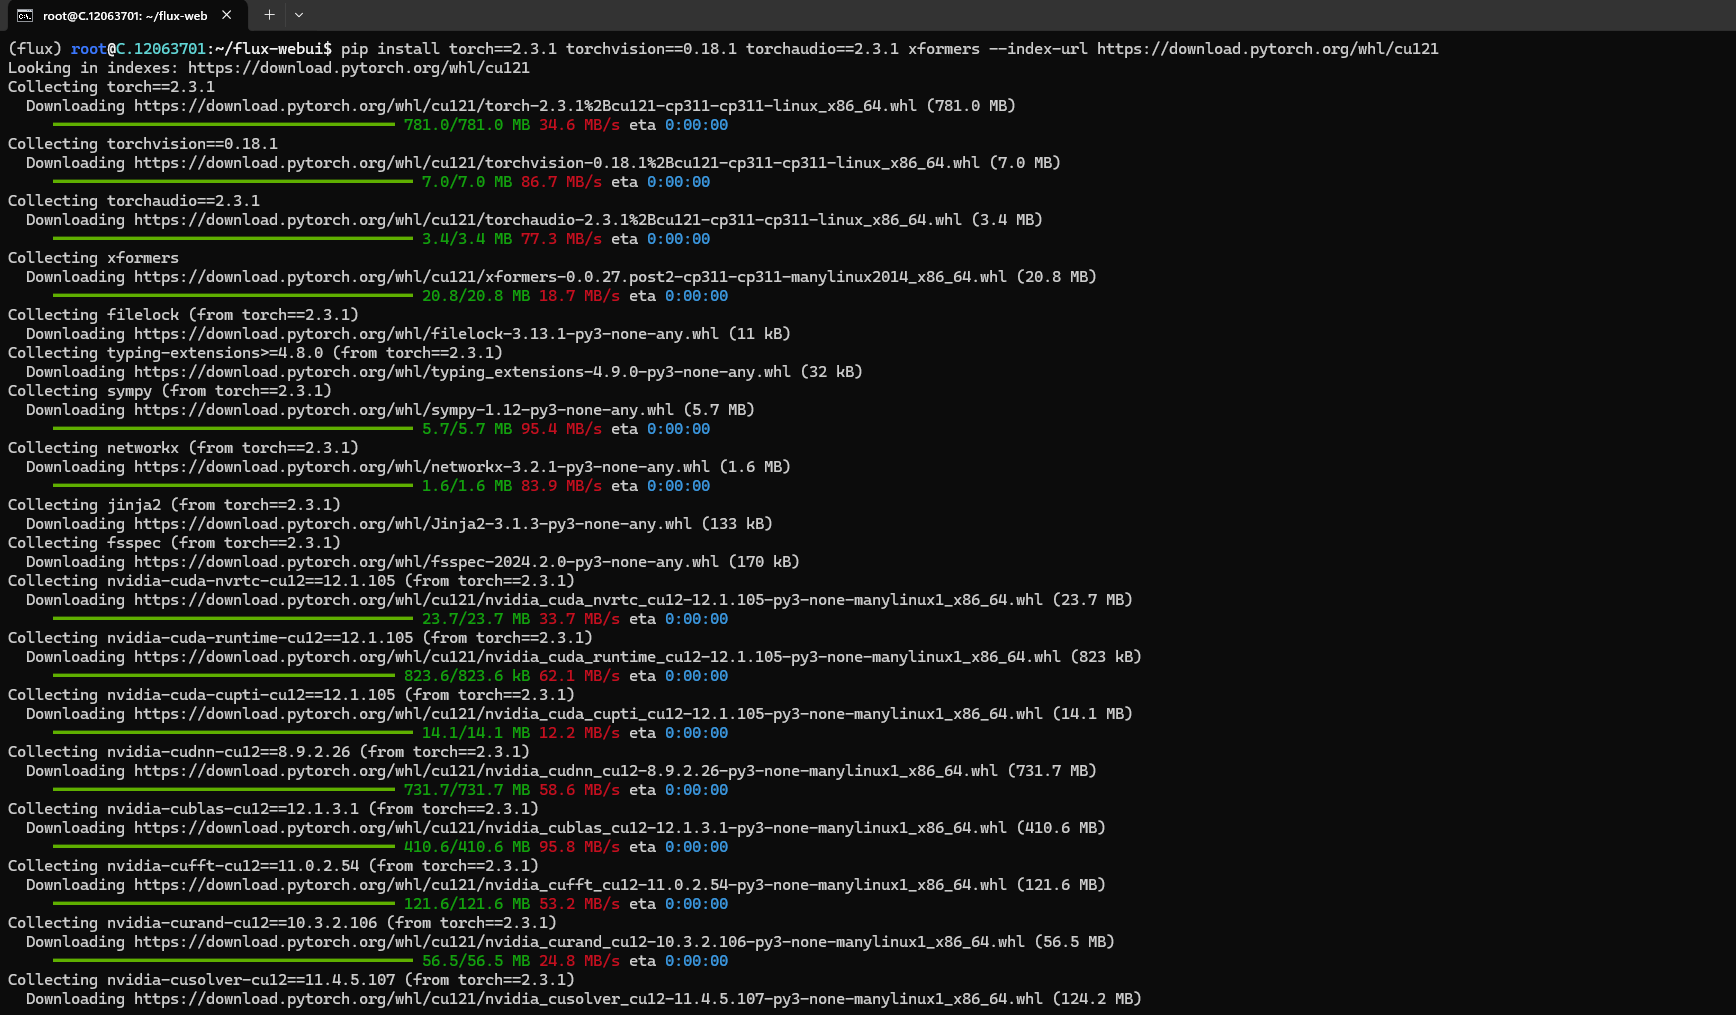
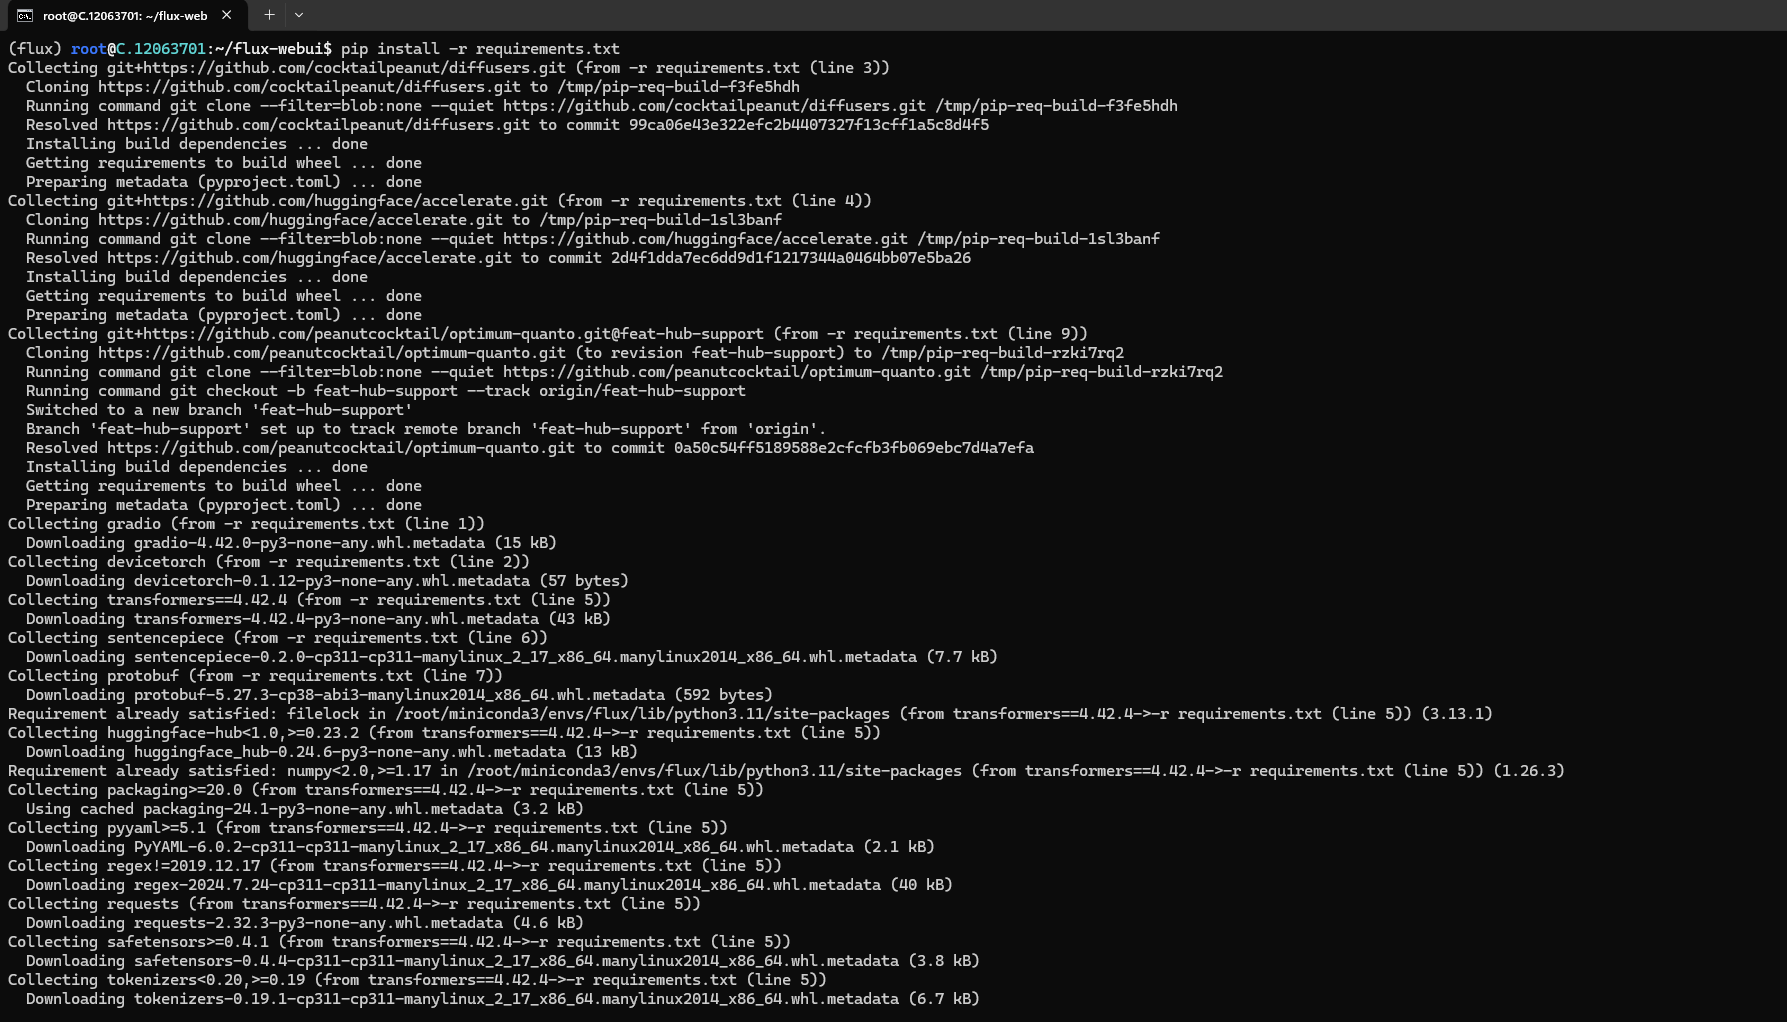
Step 13: Install Torch, PyTorch, and Requirements
Run the following command to Install packages and requirements:
pip install torch==2.3.1 torchvision==0.18.1 torchaudio==2.3.1 xformers --index-url https://download.pytorch.org/whl/cu121
Step 14: Run the Flux Model
Run the following command to run the model:
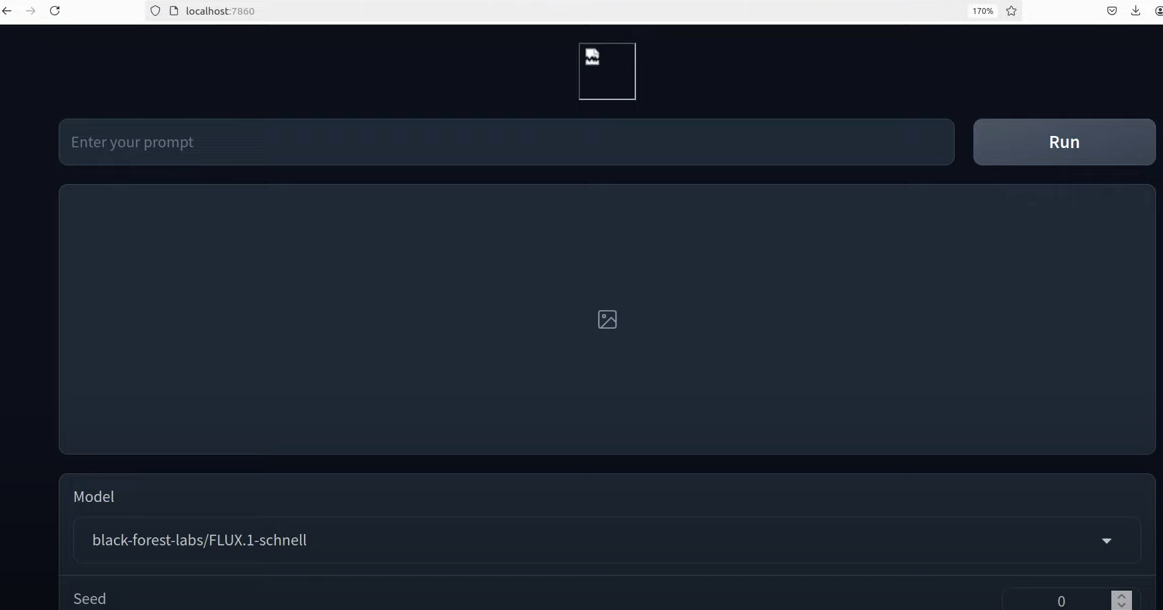
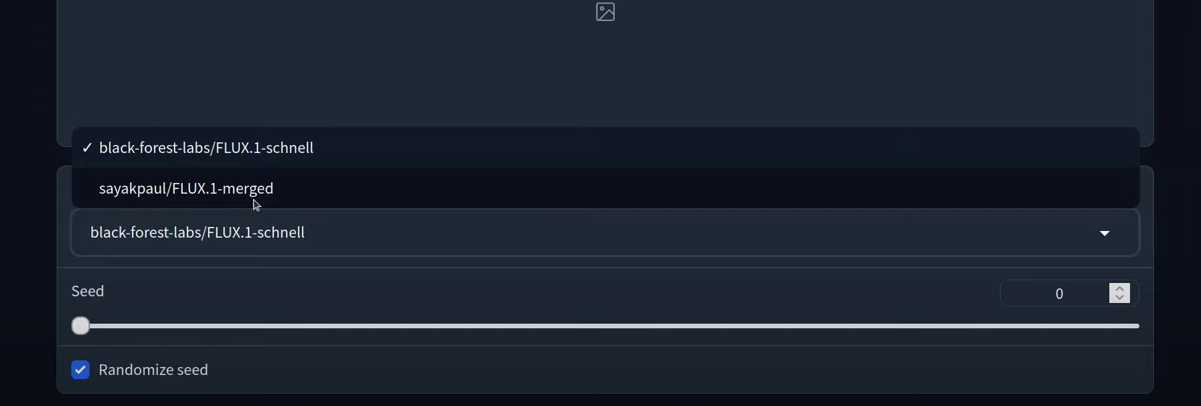
python app.pyNow, you can check the screenshot below for proof. When you run the command, it will give the following output: Running on local URL: http://127.0.0.1:7860.
This means your model is running successfully. You can now generate images with the model in your browser.

Open your preferred browser, copy the localhost address, and paste it into the browser.
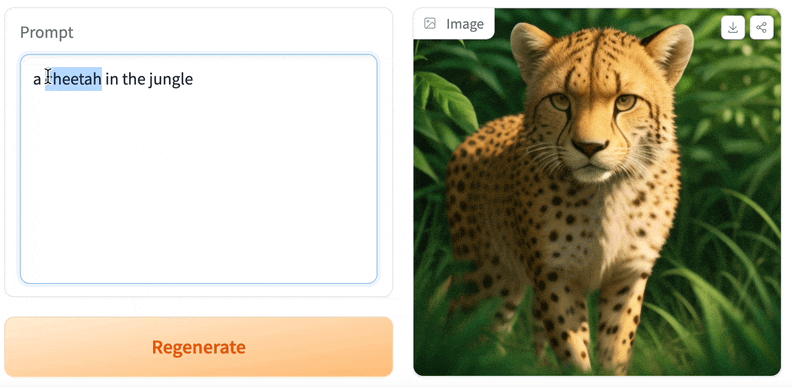
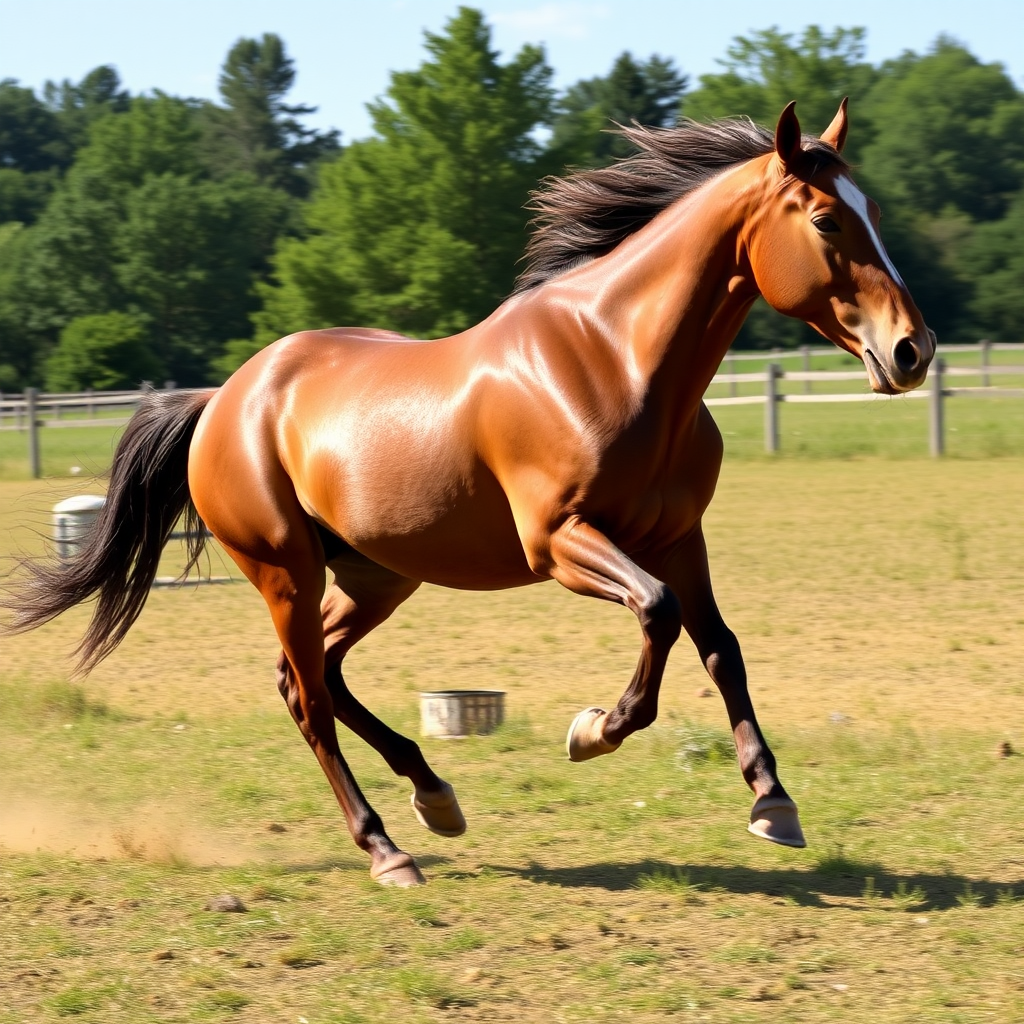
Enter your prompt and check the images.
Example of an image we generated below:
Conclusion
In this guide, we've walked through setting up and running Flux Image Generator on a GPU-powered virtual machine using WebUI and Gradio GUI. With FluxAI, you now have the tools to create stunning, high-quality images, whether for commercial projects or personal exploration. By following these steps, you have the power of advanced AI image generation, all while enjoying the flexibility and efficiency that Flux AI offers.
For more information about NodeShift: