How to Set up a Counter-Strike 2 Server on a Virtual Machine

Counter-Strike 2 (CS2) is one of the most popular competitive multiplayer first-person shooter games developed by Valve.
A dedicated server you set up and host yourself is the best solution for an individual gaming experience, and CS2 (Counter Strike 2) is no exception. Setting up your Counter-Strike 2 server allows you to benefit from additional game experience control. Unlike public community servers, you can easily host a private online session where no other players participate, meaning you can decide who joins the game. Additionally, you get complete freedom over the maps played and the game settings, such as friendly fire or rounds.
In this article, we’ll guide you on creating your own Counter-Strike 2 server, whether using an automated game server or a manual CS2 server setup. This tutorial also suits seasoned gamers and newcomers entering the server arena. Let’s get started.
Counter-Strike 2 Server Prerequisites
While Counter-Strike 2 doesn’t require a lot of resources:
- An account on the NodeShift cloud platform or any cloud provider of your choice.
- Up to 32GB RAM and 8 vCPU, exceeding recommended specifications.
- A graphical user interface (GUI) control panel that simplifies CS2 server administration.
- Configure the game server to your preferences.
- Network is another very important consideration. No official connection recommendations exist, but 100 Mbps is essential for seamless gameplay and handling multiple-player connections.
Step-by-step process to set up a Counter-Strike 2 Server on a Virtual Machine
For the purpose of this tutorial, we will use a CPU-powered Virtual Machine offered by NodeShift; however, you can replicate the same steps with any other cloud provider of your choice. NodeShift offers the most affordable Virtual Machines at a scale that meets GDPR, SOC2, and ISO27001 requirements.
In order to deploy a NodeShift Virtual Machine, follow the guidelines here:
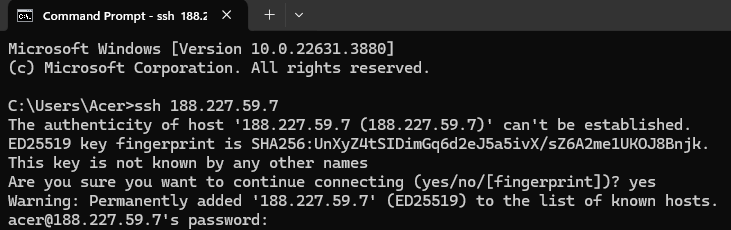
Step 1: Connect to the Virtual Machine using SSH or Username/Password
- NodeShift Compute VMs can be connected and controlled through a terminal and SSH.
- Open your terminal paste the IP with SSH and set up the password.
- And then you will get connected to the root user.
Step 2: Update the System, packages, and repositories
First, ensure your system is up to date. Open a terminal and run the command below:
sudo apt update
After executing the update command, execute the following command to upgrade your systems’ installed packages.
sudo apt upgrade
You can also combine both commands and run them simultaneously.
sudo apt update && sudo apt upgrade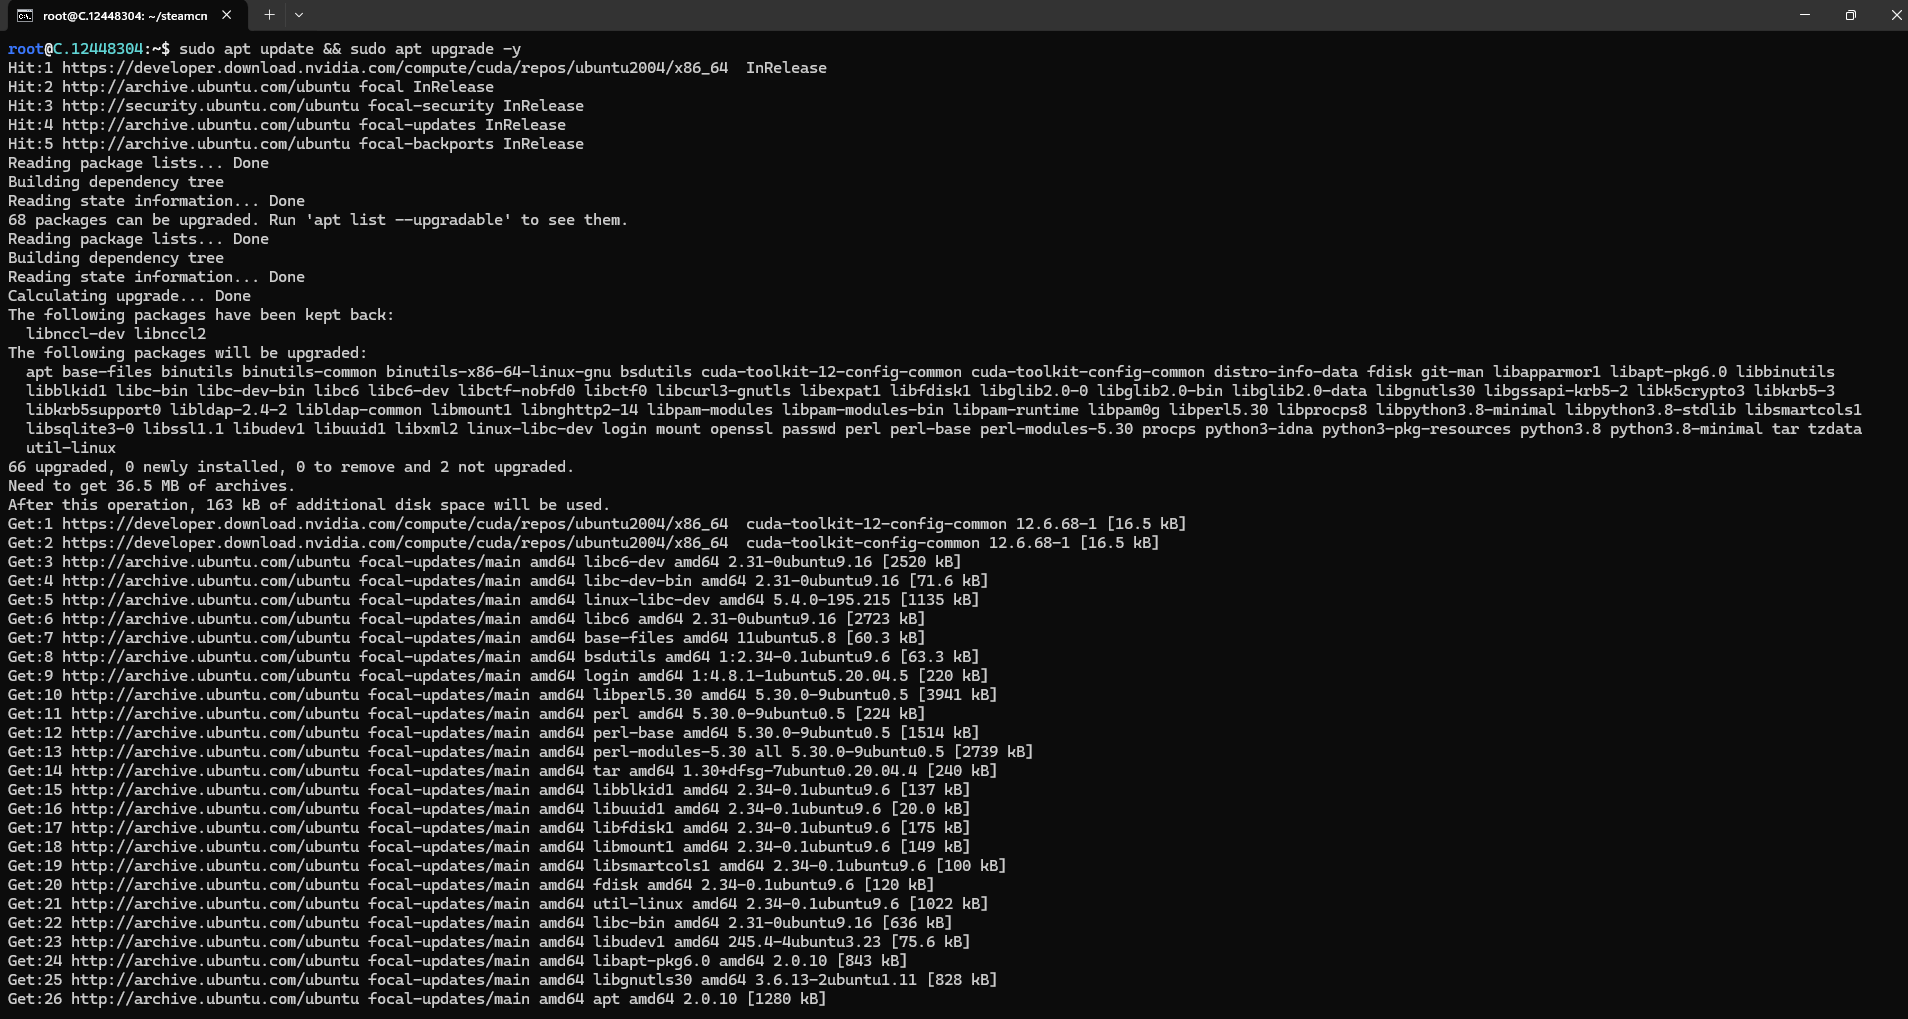
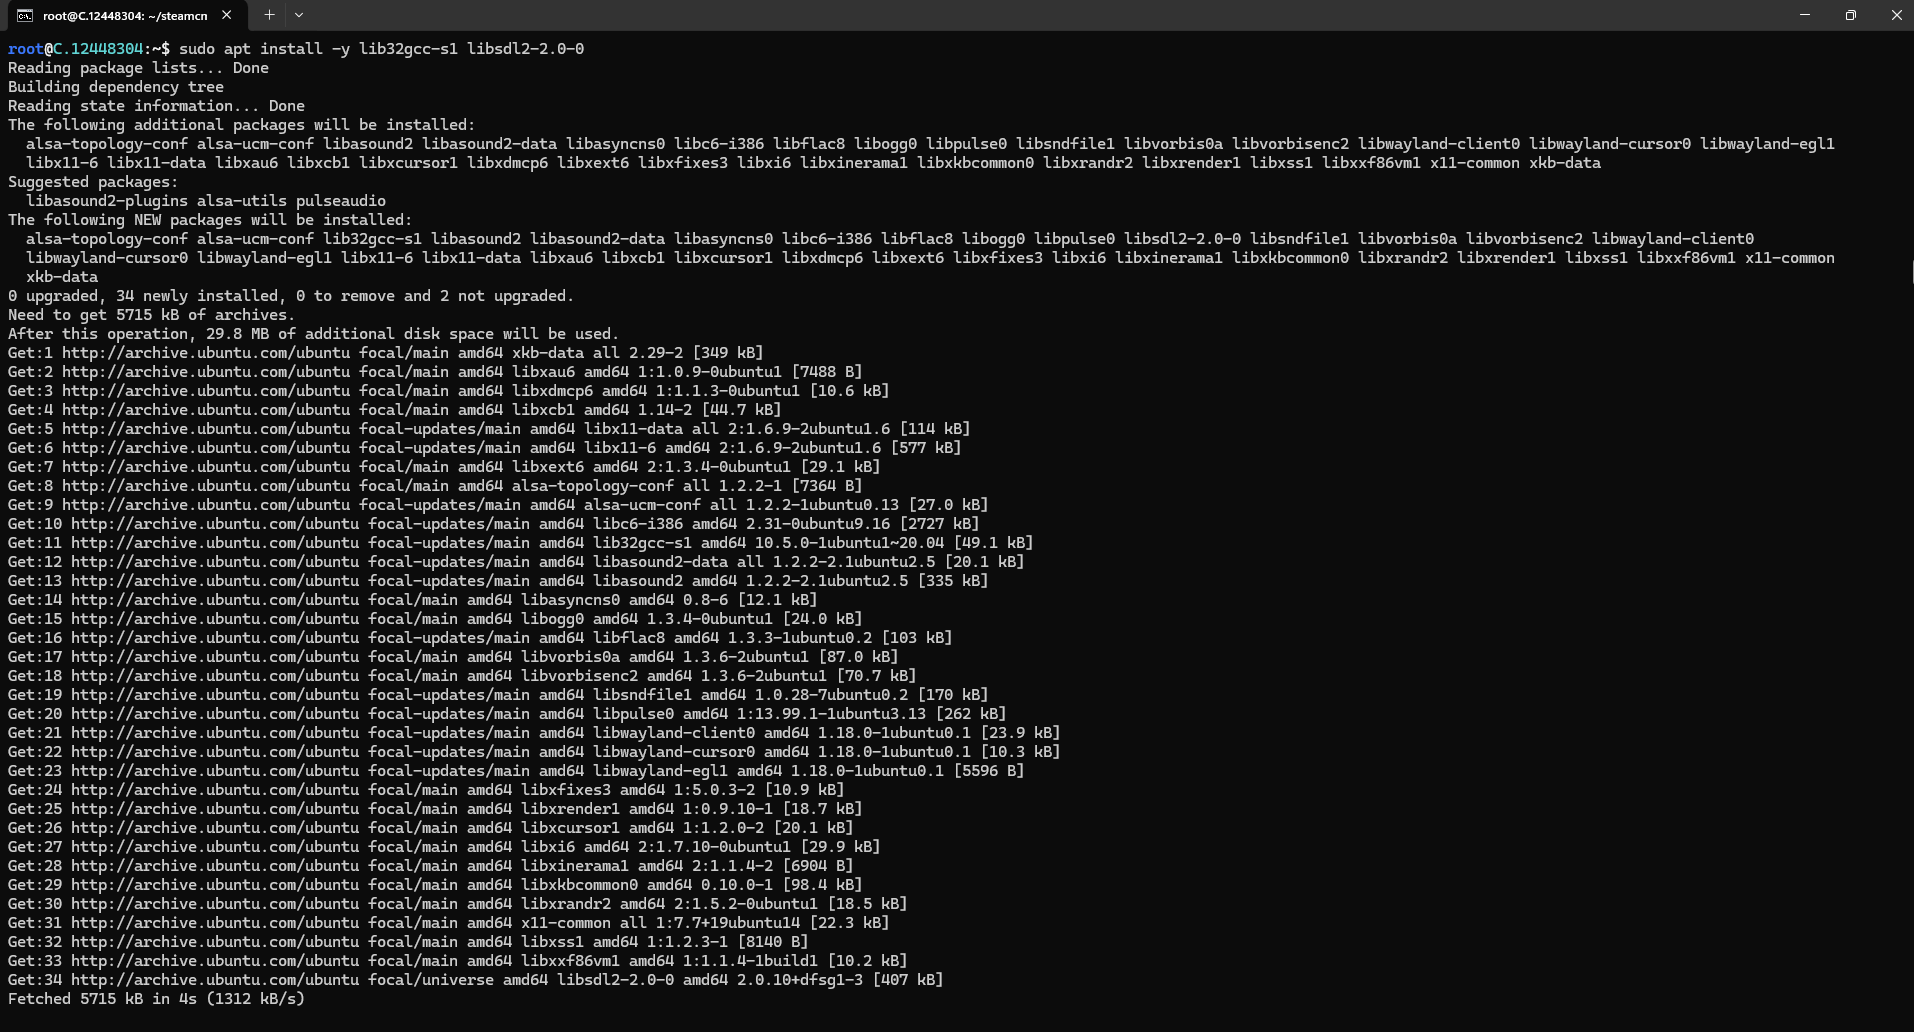
Step 3: Install the dependencies
Run the following command to install the necessary dependencies:
sudo apt install -y lib32gcc-s1 libsdl2-2.0-0This command installs specific libraries on a Debian-based Linux system (like Ubuntu). Here's a breakdown of what each part means:
Explanation:
sudo: Stands for "SuperUser DO." It allows you to run commands with elevated (administrative) privileges. You need these privileges to install software packages.apt: apt is a command-line tool that helps handle packages in Debian-based Linux distributions, such as Ubuntu.install: This is the command usedaptto install one or more packages.-y: This option automatically answers "yes" to any prompts during the installation process, allowing the installation to proceed without manual intervention.lib32gcc-s1: The shared version of the support library is a library of internal subroutines that GCC uses to overcome shortcomings of particular machines or special needs for some languages.libsdl2-2.0-0: Sdl is a library that allows programs with portable low-level access to a video frame buffer, audio output, mouse, and keyboard. This SDL version is compiled with x11 and Wayland graphics drivers and OSS, alsa, nas, sndio, and pulseaudio sound drivers.
Step 4: Download and Install SteamCMD
SteamCMD is the command-line version of the Steam client. The tool downloads dedicated server applications of popular Steam games quickly and efficiently to run your CS2 server.
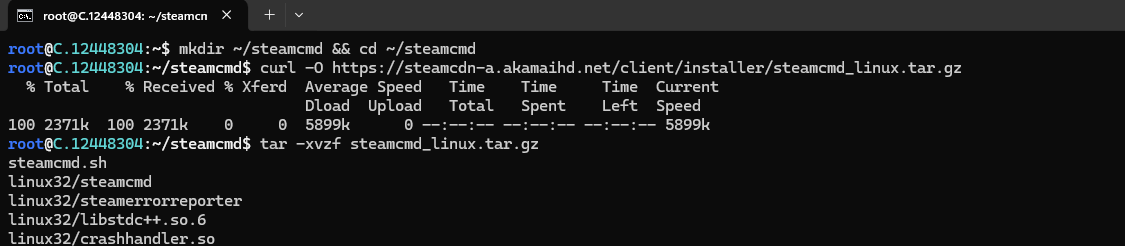
Now, Make a directory for SteamCMD from the following command:
mkdir ~/steamcmd && cd ~/steamcmd
Download and extract SteamCMD:
curl -sqL "https://steamcdn-a.akamaihd.net/client/installer/steamcmd_linux.tar.gz" | tar zxvf -
Step 5: Install the Counter-Strike 2 Server
Execute the following command to Run the SteamCMD:
SteamCMD.sh is a command-line tool that lets you download and update game files and dedicated server applications for Steam games. It helps set up and maintain game servers.
./steamcmd.sh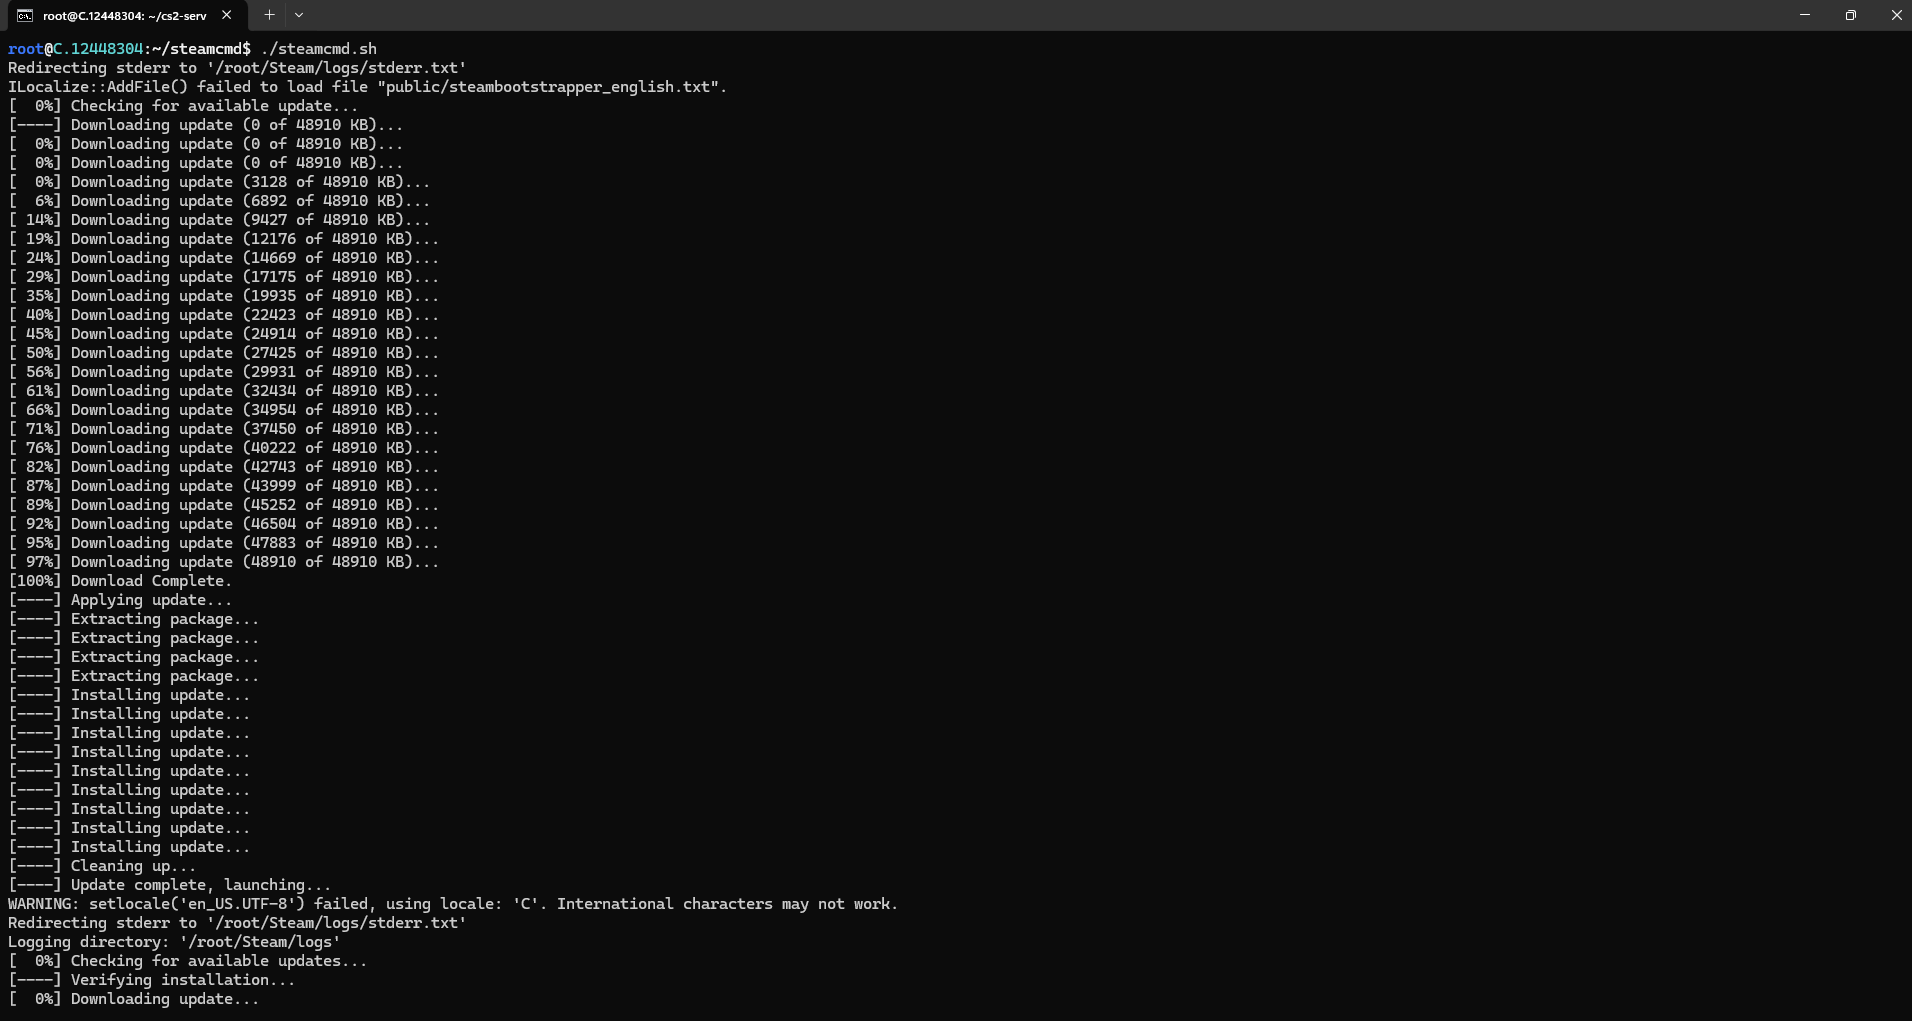

After running SteamCMD, you will enter in the SteamCMD prompt.
Step 6: Run the SteamCMD Commands
After entering in SteamCMD Prompt, run the following commands:
login anonymous
force_install_dir ~/cs2-server
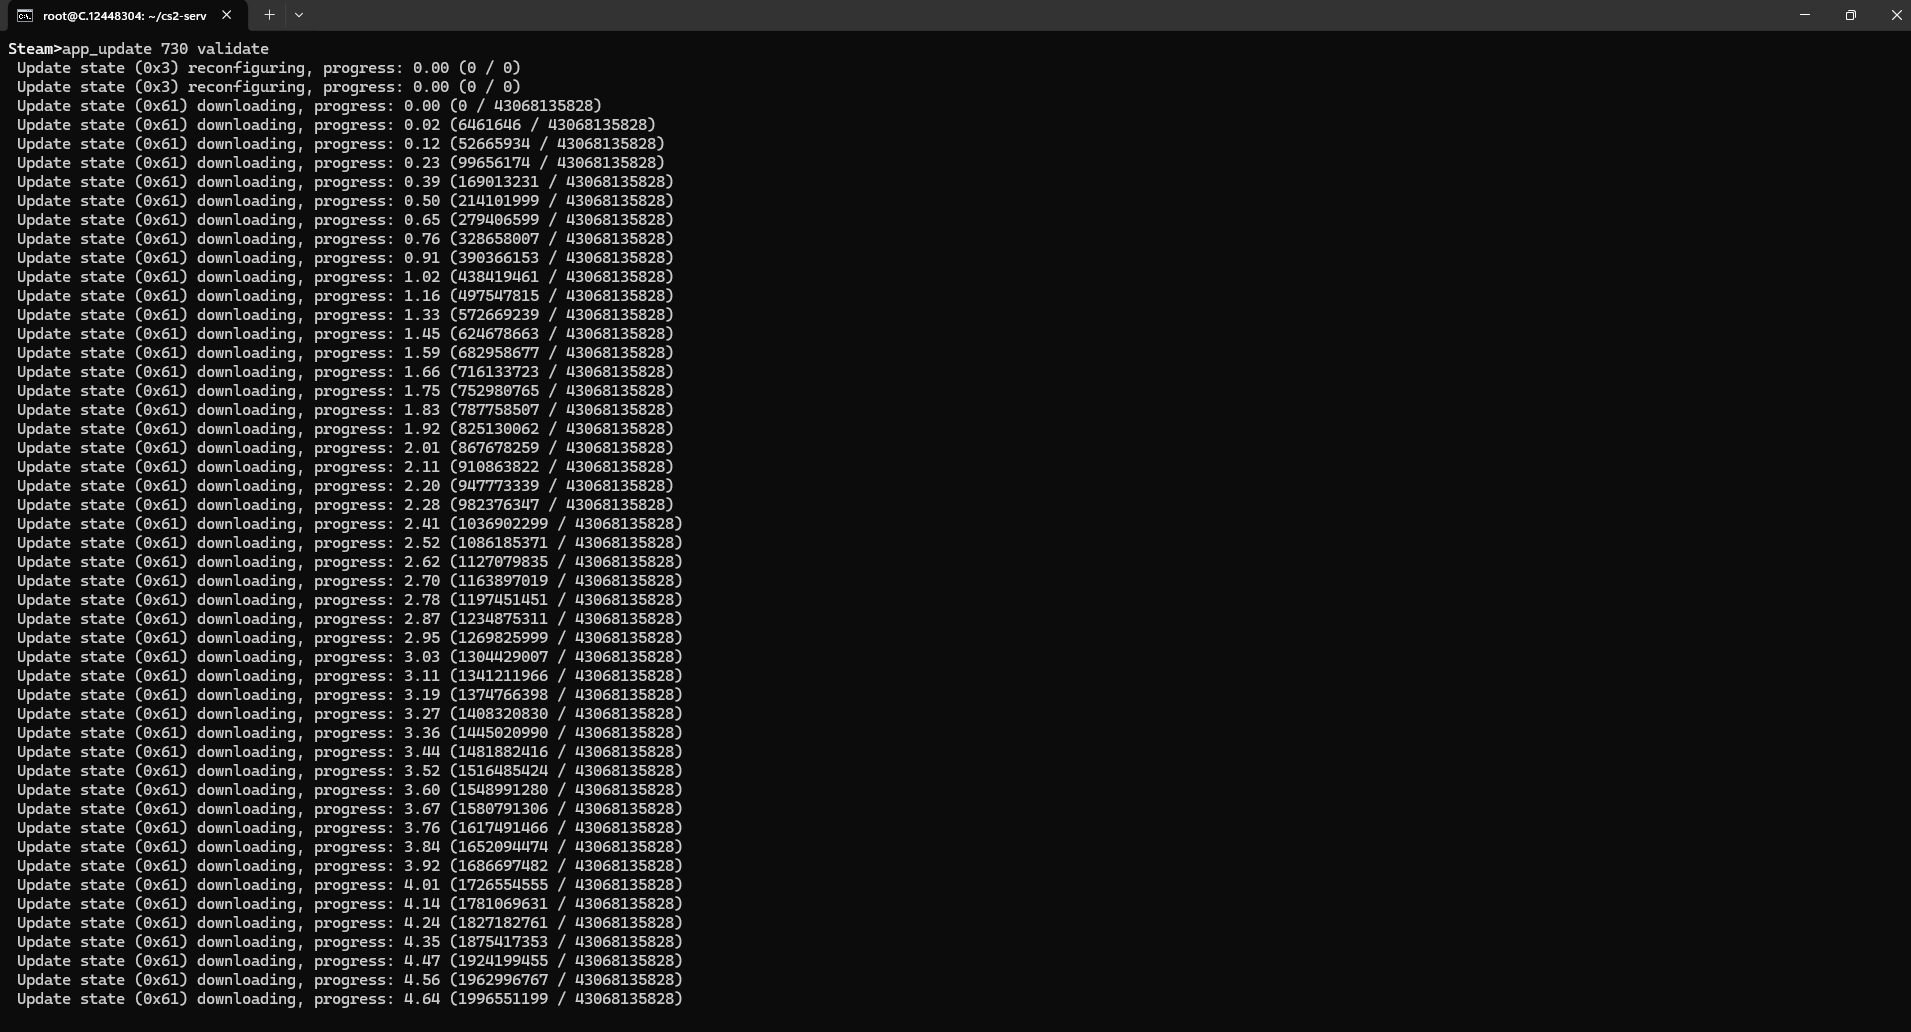
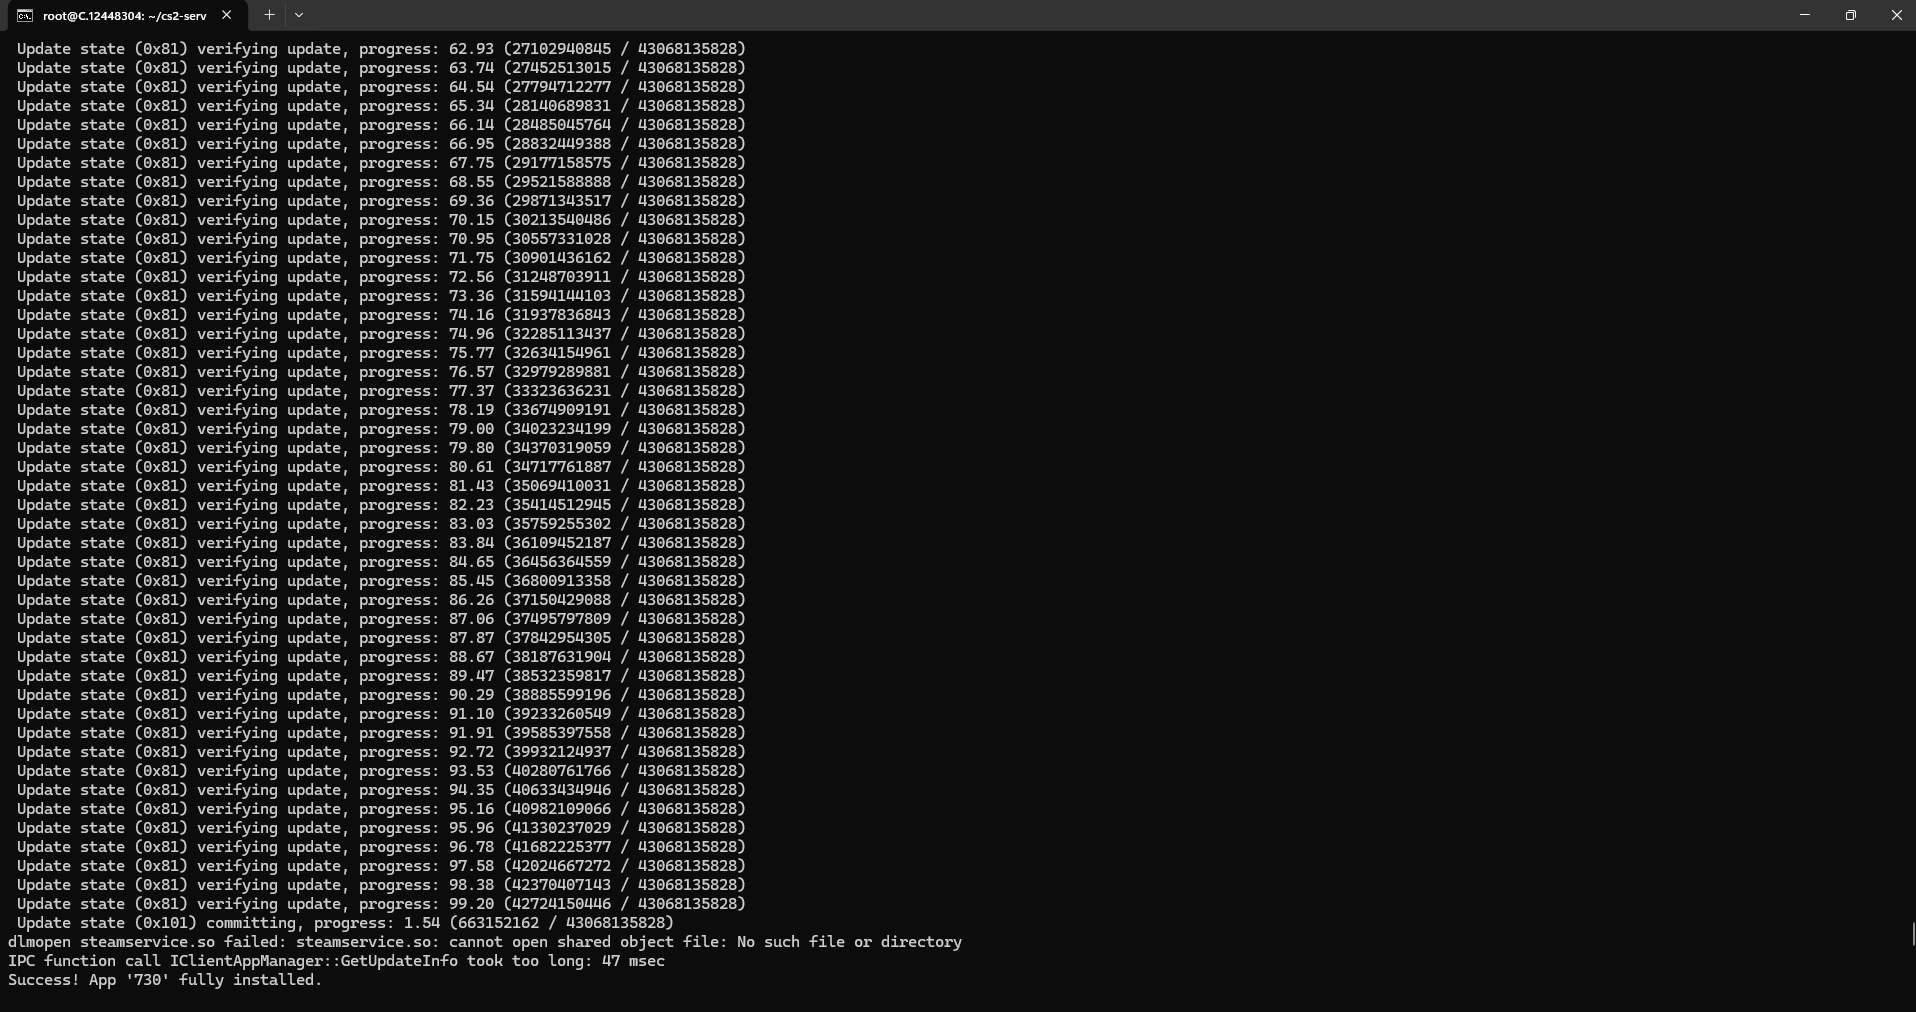
app_update 730 validate
quit- Logs in to SteamCMD anonymously.
- Sets the installation directory for the game server files.
- Downloads and installs or updates the game server files for the app with ID
730. - Exits the SteamCMD console.
force_install_dir ~/cs2-serverThis command tells SteamCMD where to install the game server files. In this case, ~/cs2-server specifies a directory named cs2-server in the user's home directory running SteamCMD.
login anonymousThis command lets you download and install dedicated server files for certain games without a Steam account. Logging in anonymously is sufficient for most game servers, including Counter-Strike.

app_update 730 validate730 is the App ID for Counter-Strike: Global Offensive (CS). The app_update command instructs SteamCMD to download the latest version of the server files for CSto the specified directory (~/cs2-server).
quitThis command terminates the current SteamCMD session after the download and installation processes are completed.
Step 7: Navigate to the CS2 Server Directory
Run the following command to navigate the directory:
cd ~/cs2-server
Step 8: Create a Configuration File
Run the following command to create a configuration file (server.cfg) in the cs2-server/csgo/cfg Directory:
The primary configuration file within this folder is typically named server.cfg. Open it using the Vim text editor:
vim server.cfgSo, what is Vim?
Vim is a text editor. The last line of the text editor is used to give commands to vi and provide you with information.
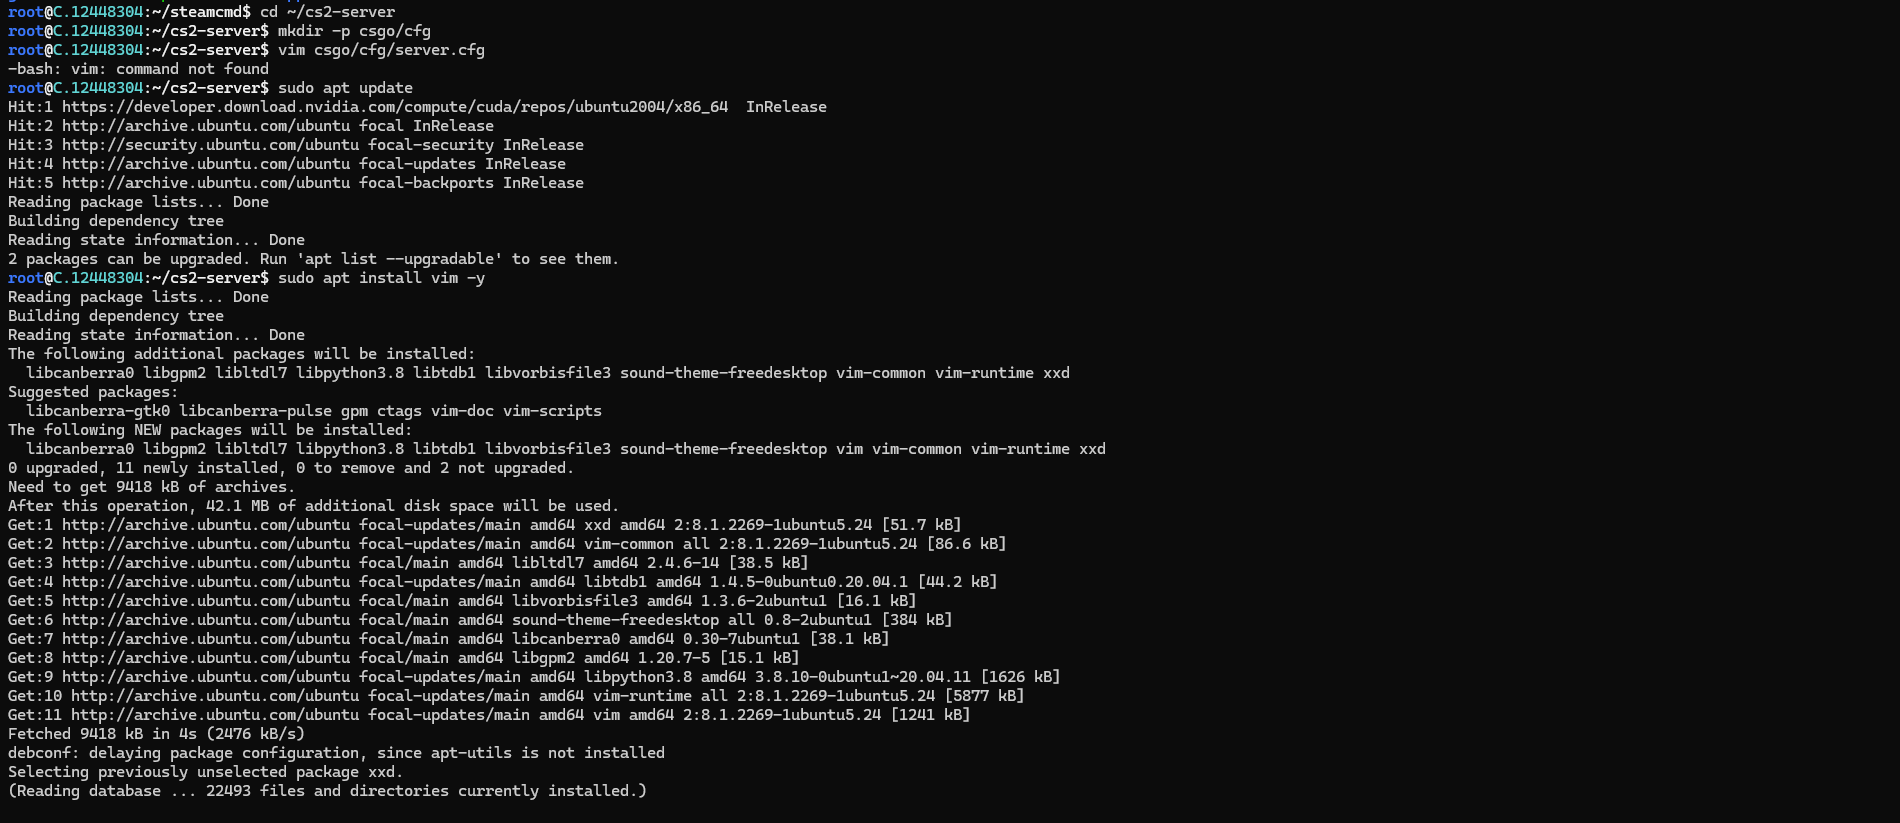
Note: If an error occurs stating that Vim is not a recognized internal or external command, install Vim using the steps below.
Step 1: Update the package list
Before installing any software, we will update the package list using the following command in your terminal:
sudo apt update
You might be prompted to enter your password for authentication.
Step 2: Install Vim
To install Vim, enter the following command:
sudo apt install vim -y
This command will retrieve and install Vim and its necessary components.
Now you have to run the below command to check and add the server properties:
vim csgo/cfg/server.cfg
Entering the editing mode in Vi:
Follow the below steps to enter the editing mode in Vim
Step 1: Open a File in Vim
Step 2: Navigate to Command Mode
When you open a file in Vim, you start in the command mode. You can issue commands to navigate, save, and manipulate text in this mode. To ensure you are in command mode, press the Esc key. This step is crucial because you cannot edit the text in other modes.
This file contains various settings you can modify, such as hostname, password, etc.
Assign a unique name to your server hostname using the line:
hostname "Your Server Name"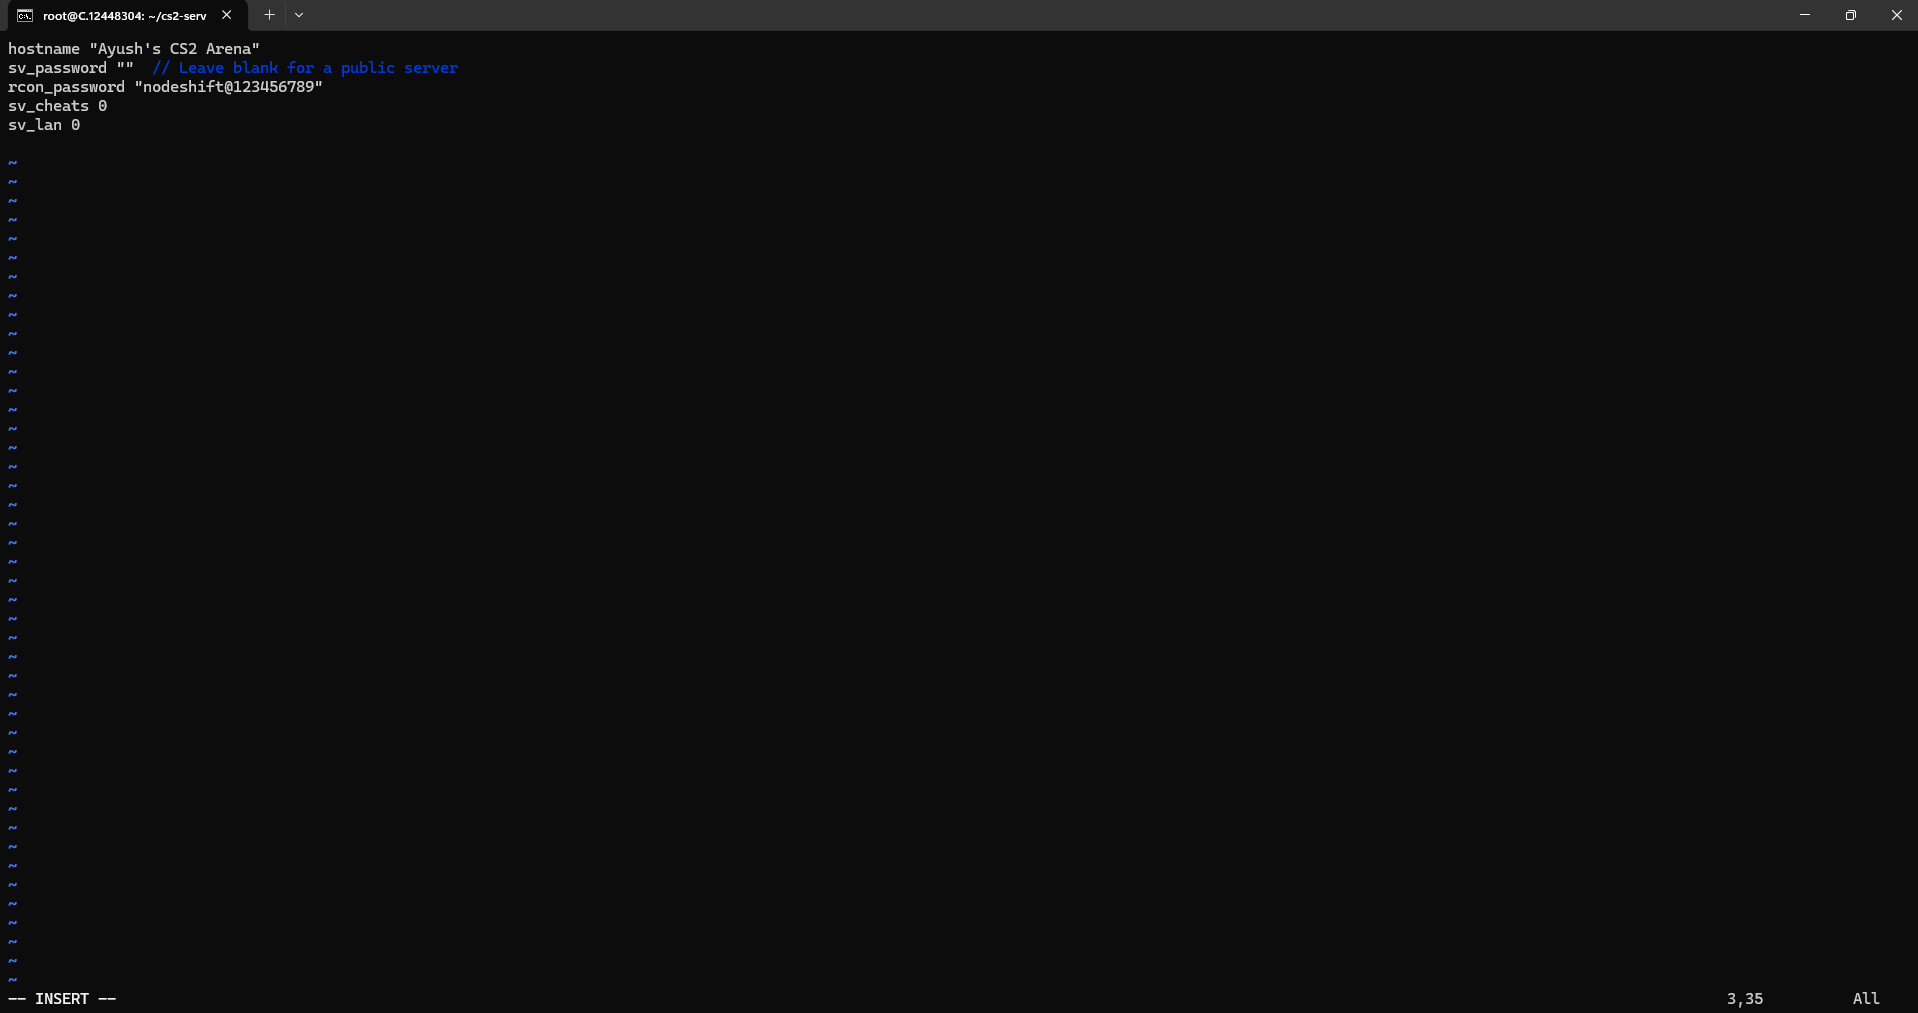
Save and close the file (Ctrl+X, Y, Enter).
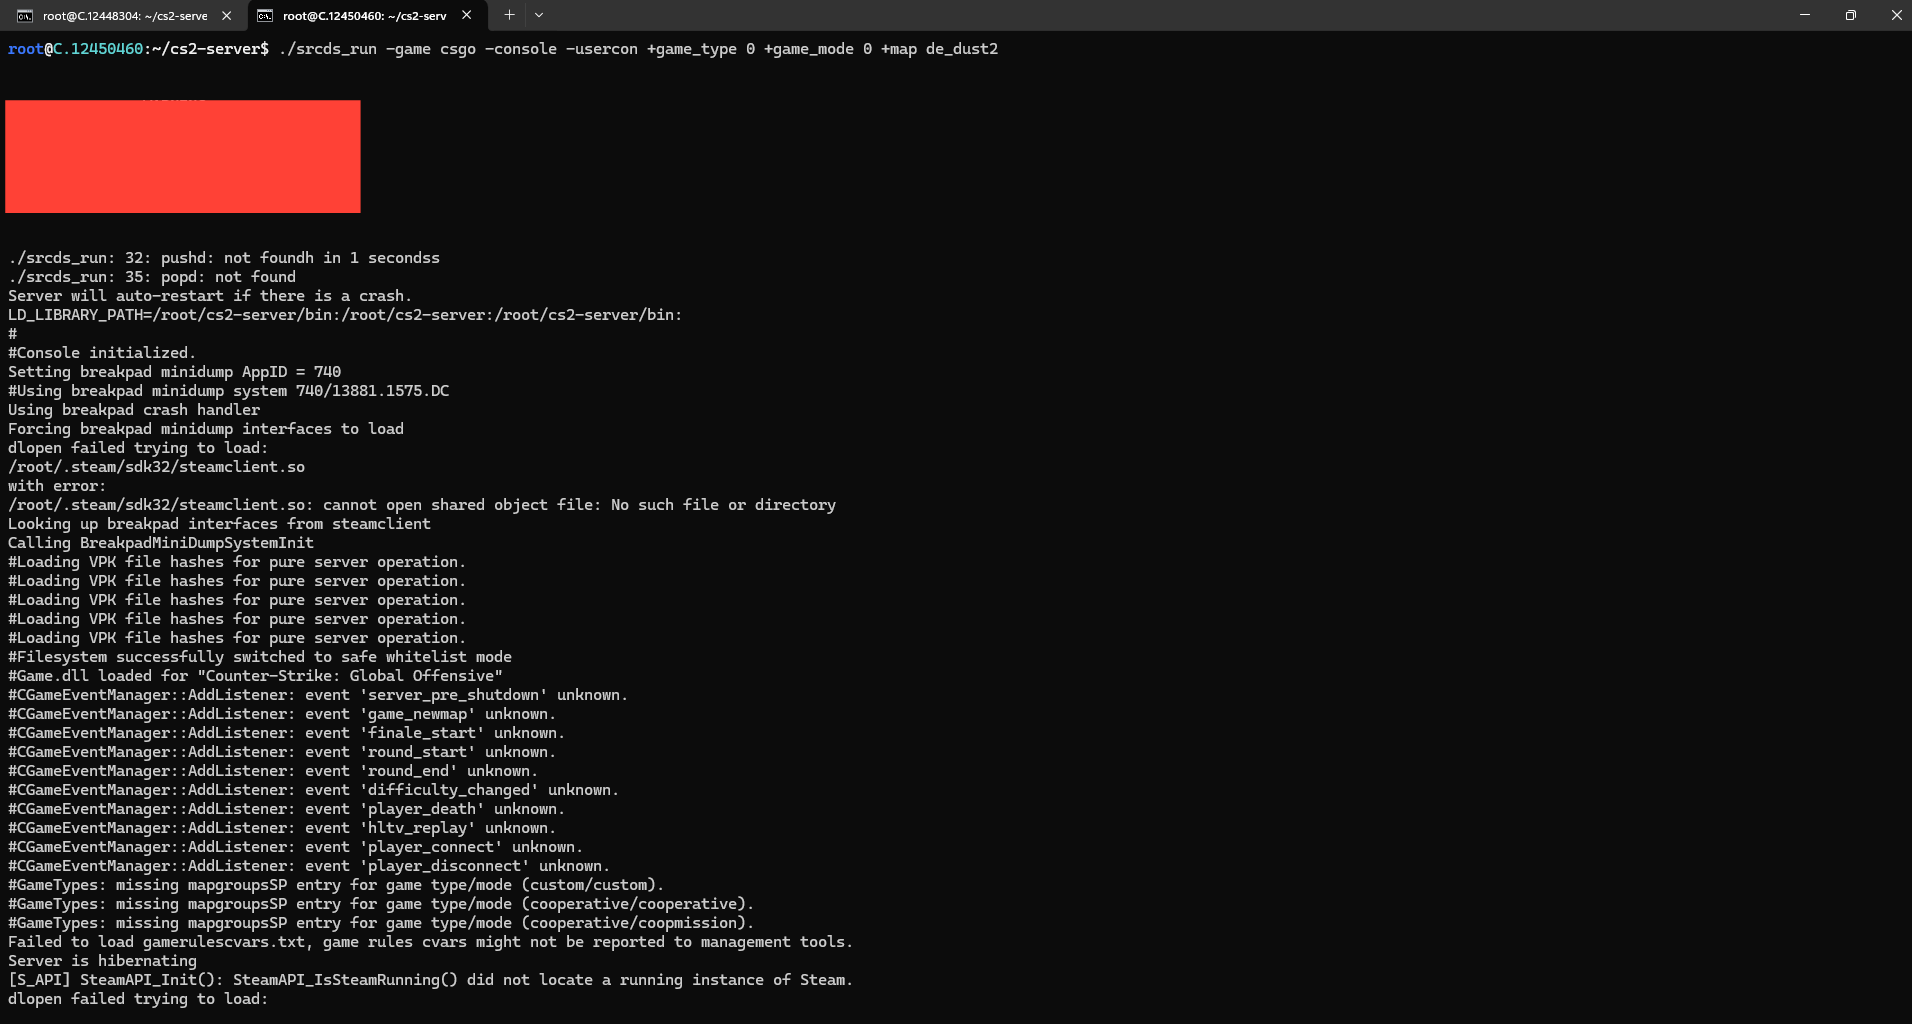
Step 9: Start the CS2 Server
Run the following command to start the server:
./srcds_run -game csgo -console -usercon +game_type 0 +game_mode 0 +map de_dust2

If you want to customize your CS2 server’s game mode, refer to the cheat sheet below:
Competitive
./cs2 -dedicated +map de_dust2 +game_mode 1 +game_type 0Wingman
./cs2 -dedicated +map de_dust2 +game_mode 2 +game_type 0Casual
./cs2 -dedicated +map de_dust2 +game_mode 0 +game_type 0Deathmatch
./cs2 -dedicated +map de_dust2 +game_mode 2 +game_type 1Custom
./cs2 -dedicated +map de_dust2 +game_mode 0 +game_type 3Choosing the right custom CS2 server settings is crucial for delivering your ideal gaming experience.
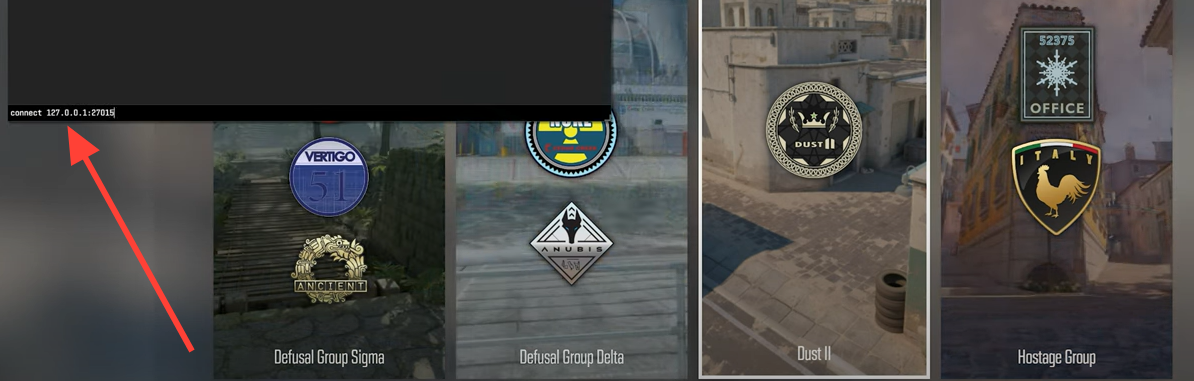
Step 10: Connect to Your CS2 Server
The last step is to connect to your Counter-Strike 2 server from your gaming machine once it is running. This is straightforward if you know the server IP and port.
- Ensure you’ve set up CS2 server port forwarding on your router to direct traffic to the server. Typically, CS2 uses ports 27015-27030 for this purpose.
- Launch the Counter-Strike 2 and open the game console. This is usually accessible by pressing the ~ key.
- In the console window, type the following command, replacing [Server IP]:[Port] with your specific details:
connect [Server IP]:[Port]- Press Enter, and you’ll establish your CS2 server connection.

Conclusion
Counter-Strike 2 (CS2) is a first-person shooter video game developed by Valve Corporation. It is part of the Counter-Strike series. Following this step-by-step guide, you can easily set up a Counter-Strike 2 Server on a Virtual Machine with a NodeShift Cloud. To launch and connect to your server, you can enjoy the full benefits of a customizable Counter-Strike 2 experience. With your server up and running, the only limit is your imagination. Happy gaming!
For more information about NodeShift: