How to set up a Minecraft Server on Ubuntu

Setting up your own Minecraft server gives you full control over your multiplayer environment, enabling customization, mods, and dedicated performance. In this guide, we’ll walk through the process of configuring a Minecraft server, from installation to optimization, so you can get your server up and running efficiently.
Prerequisites
To follow this tutorial and install a Minecraft server on Ubuntu, you will need the following:
- An account on the NodeShift cloud platform.
- A copy of Minecraft Java Edition installed on a local Mac, Windows, or Linux machine.
Step-by-step process to set up a Minecraft game server on Ubuntu
For the purpose of this tutorial, we will use a CPU-powered Virtual Machine offered by NodeShift; however, you can replicate the same steps with any other cloud provider of your choice.
Step 1: Sign Up and Set Up a NodeShift Cloud Account
- Visit the NodeShift Cloud website and create an account.
- Once you've signed up, log into your account.
- Follow the account setup process and provide the necessary details and information.

Step 2: Create a CPU Virtual Machine
NodeShift CPUs offer flexible and scalable on-demand resources like NodeShift Virtual Machines (VMs), which are easily deployed and come with general-purpose, CPU-powered, or storage-optimized nodes.
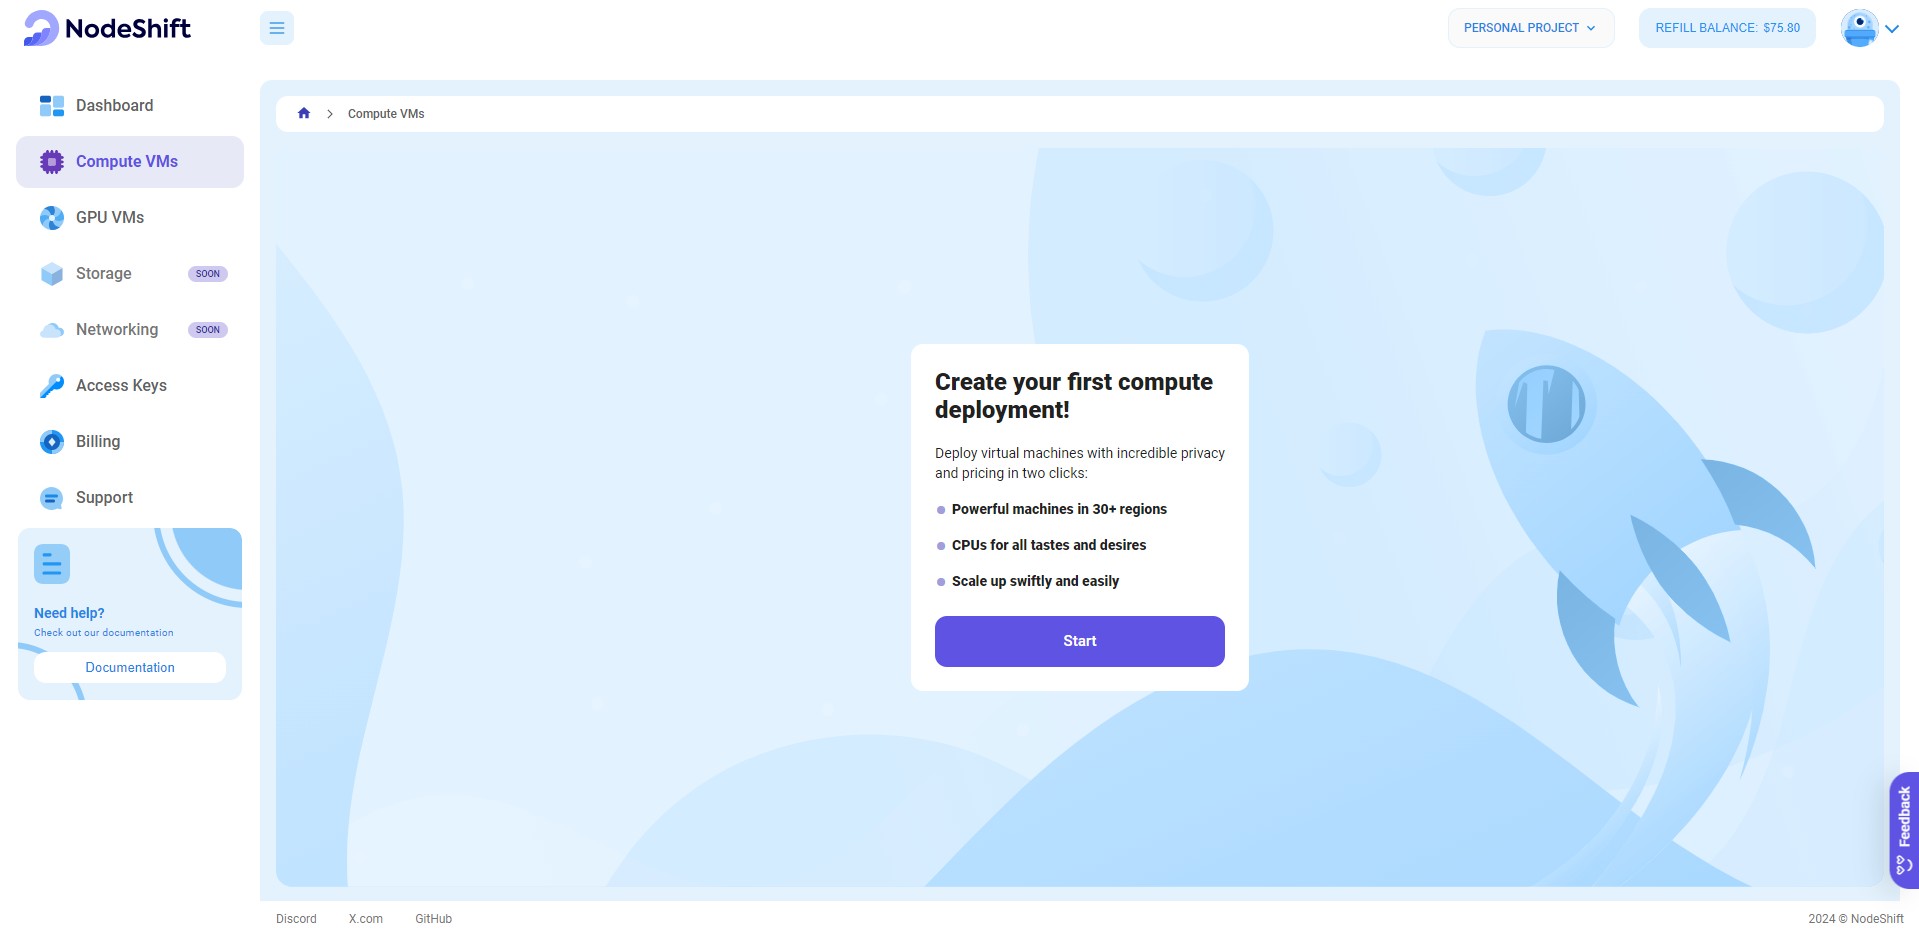
- Navigate to the menu on the left side.
- Select the "Compute VMs" option.
- Click the "Create Compute VM" button in the Dashboard to make your first deployment.
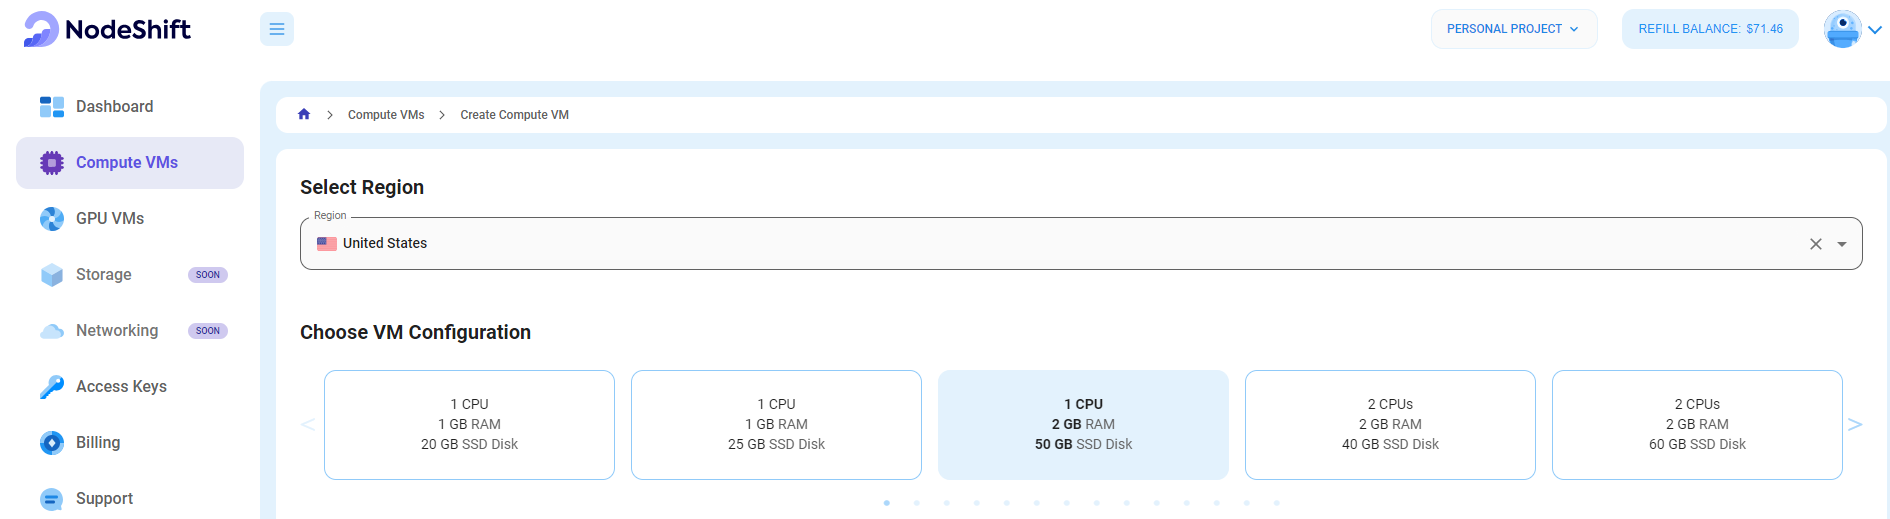
Step 3: Select a Region and Choose VM Configuration
- In the "Compute VMs" tab, select a geographical region where you want to launch the Virtual Machine (e.g., the United States).

- In the "Choose VM Configuration" section, select the number of cores, amount of memory, boot disk type, and size that best suits your needs.
- You will need at least 30 GB of storage for the server to run smoothly. If you use NodeShift and need more resources, you can always resize to add more CPUs and RAM.
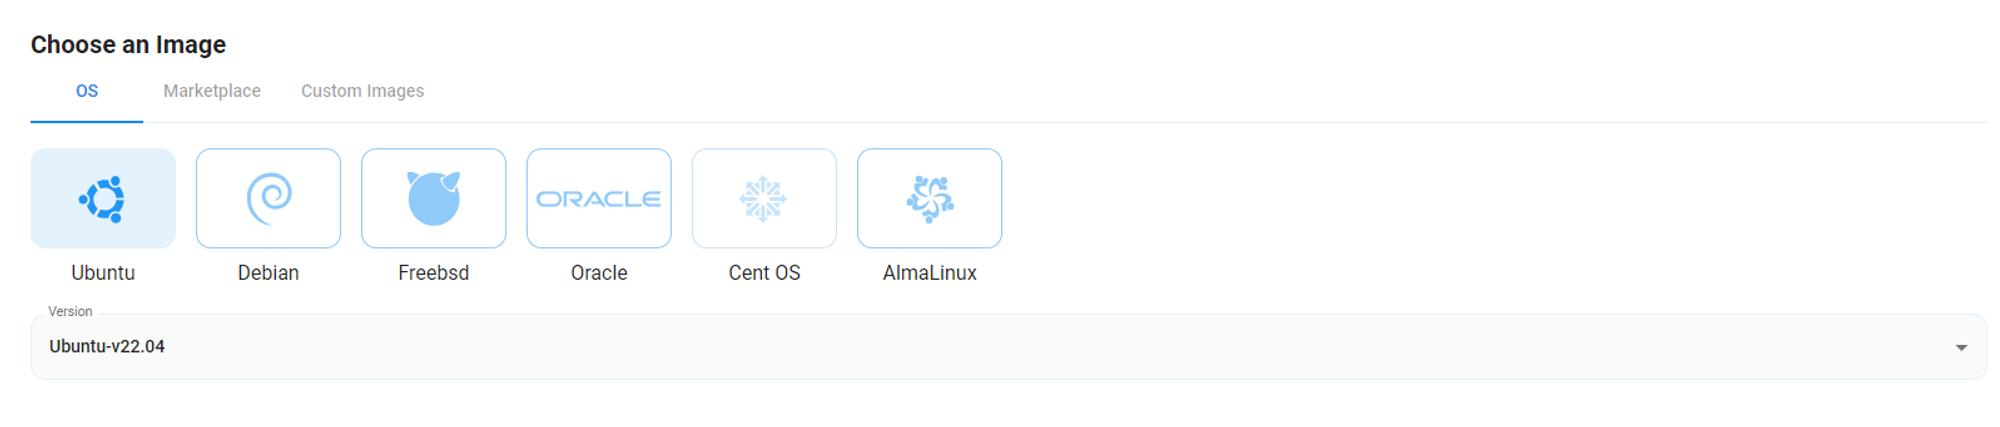
Step 4: Choose an Image
Next, you will need to choose an image for your Virtual Machine. We will deploy the VM on Ubuntu, but you can choose according to your preference. Other options like CentOS and Debian are also available to deploy your Minecraft server.
Step 5: Authentication Method
- Select the authentication method. There are two options: Password and SSH Key. SSH keys are a more secure option. To create them, refer to our official documentation.

Step 6: Additional Details
- The ‘Finalize Details' section allows users to configure the final aspects of the Virtual Machine.

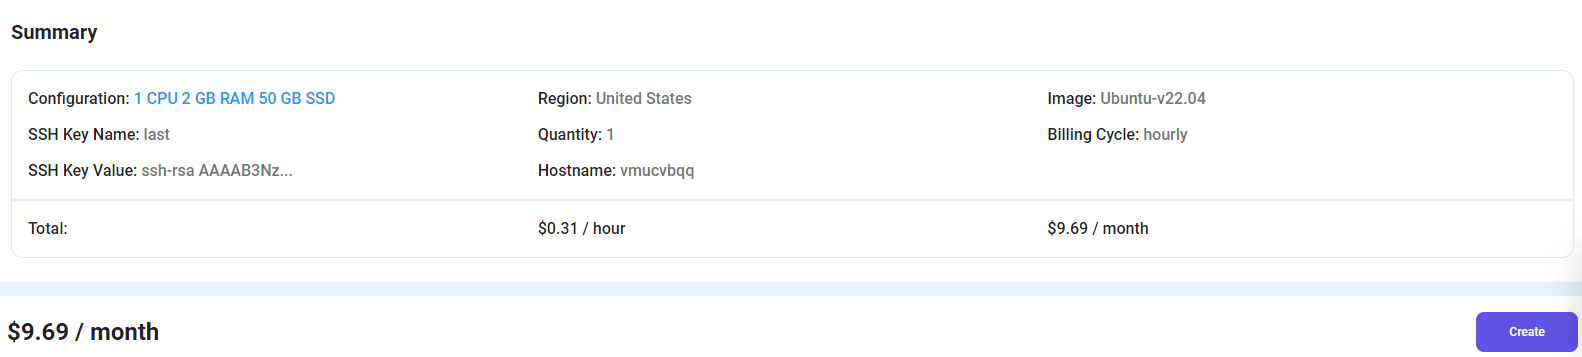
Step 7: Complete Deployment
After finalizing the details, click the ‘Create’ button, and your VM will be deployed.
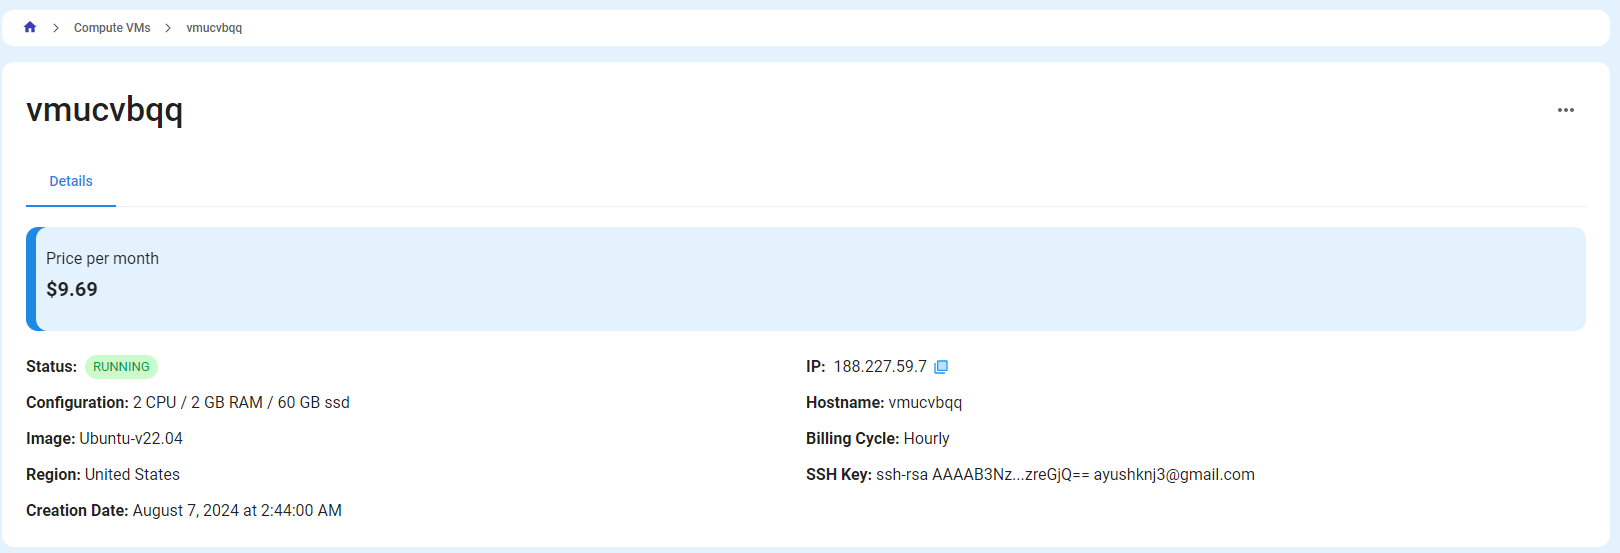
Step 8: Virtual Machine Successfully Deployed
You will get visual confirmation that your machine is up and running.
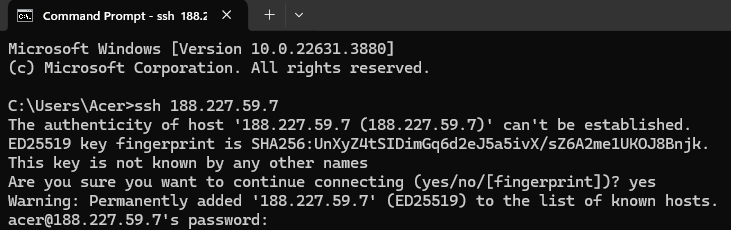
Step 9: Connect to Compute VMs using SSH
- NodeShift Compute VMs can be connected and controlled through a terminal and SSH.
- Open your terminal paste the IP with SSH and give password.
Step 10: Install Minecraft on Ubuntu
Install Java JRE with the following command:
sudo apt-get update
sudo apt install default-jre-headless
What is JRE in Java?
Java Run-time Environment (JRE) is part of the Java Development Kit (JDK). It is the most common environment for running Java programs on devices. The source Java code is compiled and converted to Java bytecode. If you wish to run this bytecode on any platform, you require JRE.
Check if Java JRE has been installed with the following command:
java -version
You can also install the OpenJDK version 17 of Java, specifically the headless JRE. This minimal version of Java removes the support for GUI applications. This makes it ideal for running Java applications on a server:
sudo apt install openjdk-17-jre-headless
You also need to use the screen software to create detachable server sessions.
sudo apt install screen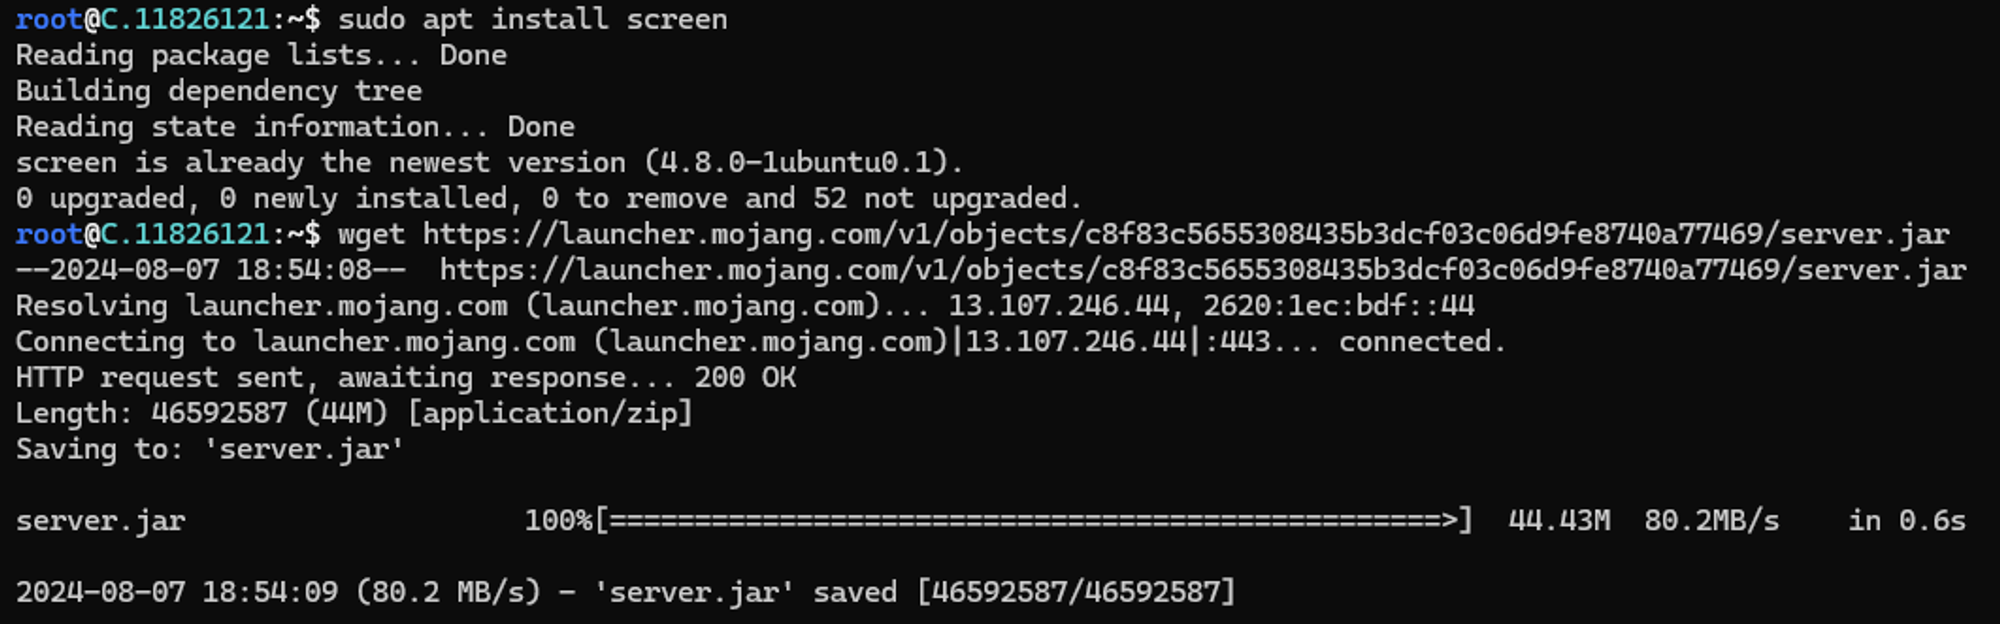
Step 11: Download the Latest Version of Minecraft
wget https://launcher.mojang.com/v1/objects/c8f83c5655308435b3dcf03c06d9fe8740a77469/server.jar
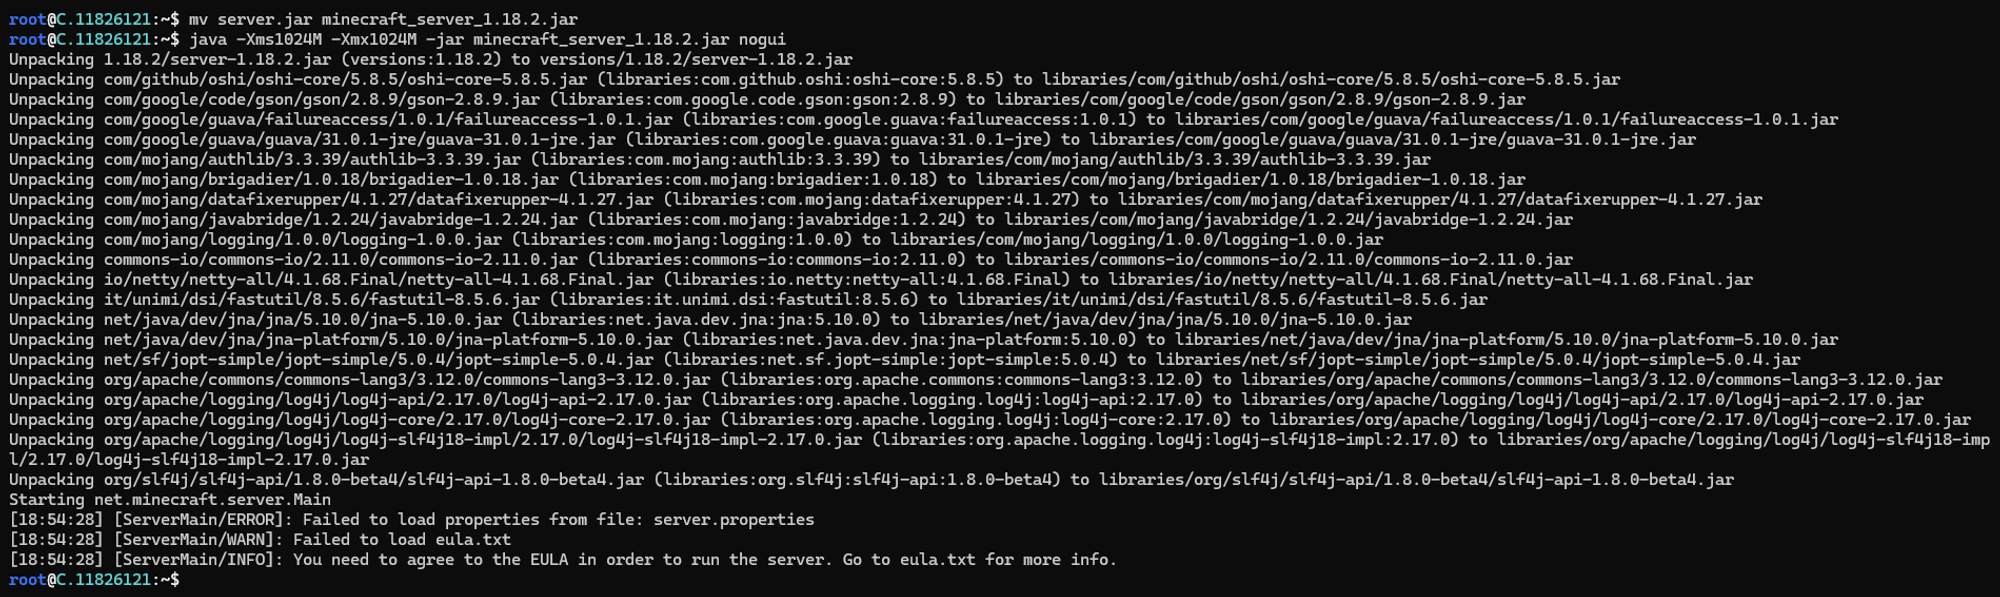
Step 12: Initialize setup
Let us now run the server:
java -Xms1024M -Xmx1024M -jar minecraft_server_1.18.2.jar nogui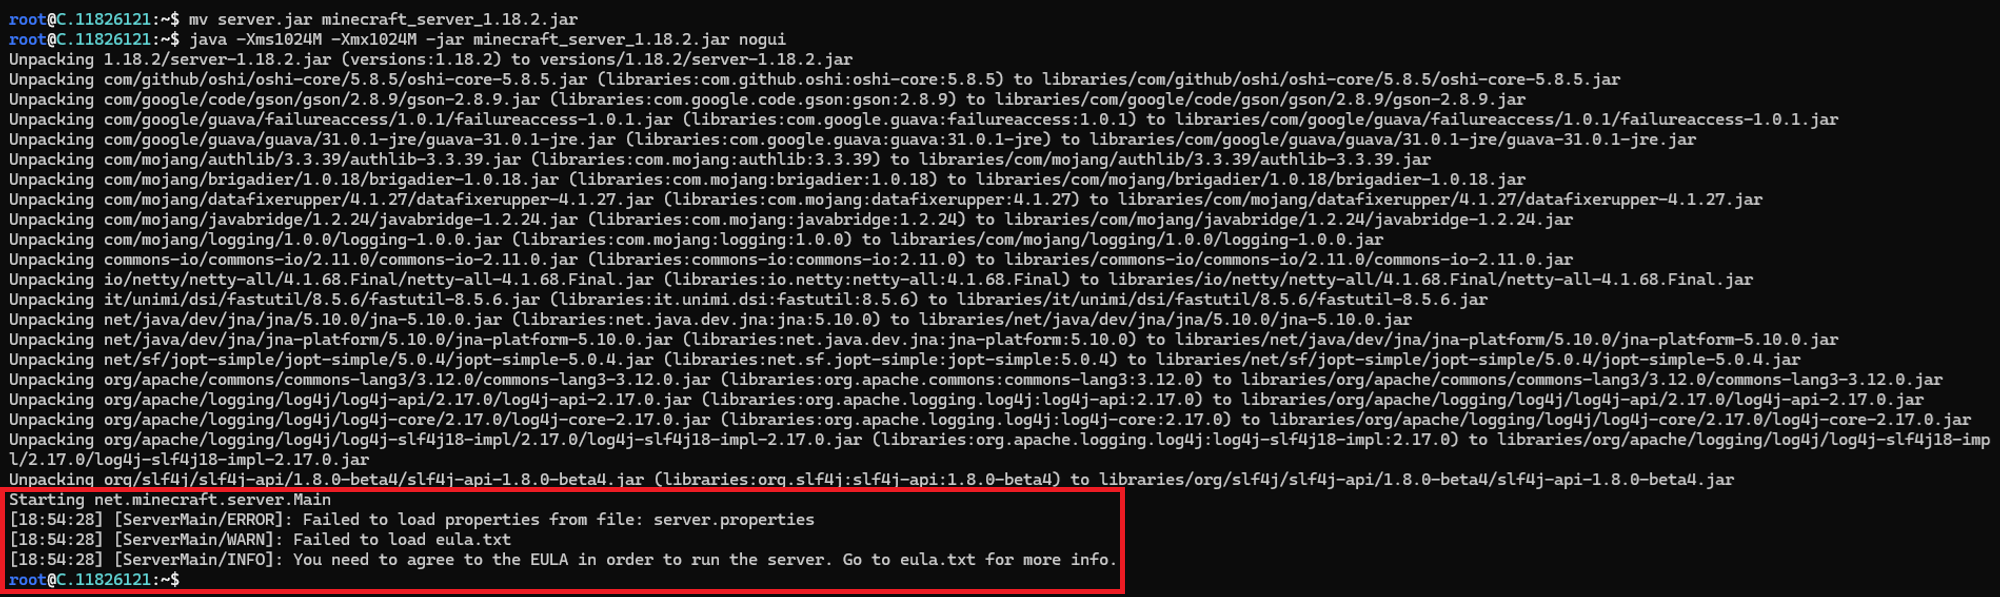
You can install a more recent JRE version using apt-get, specify the JRE version, sudo apt install openjdk-21-jre-headless and then relaunch the server.
After running, the above command will give some errors, such as eula.txt file errors.
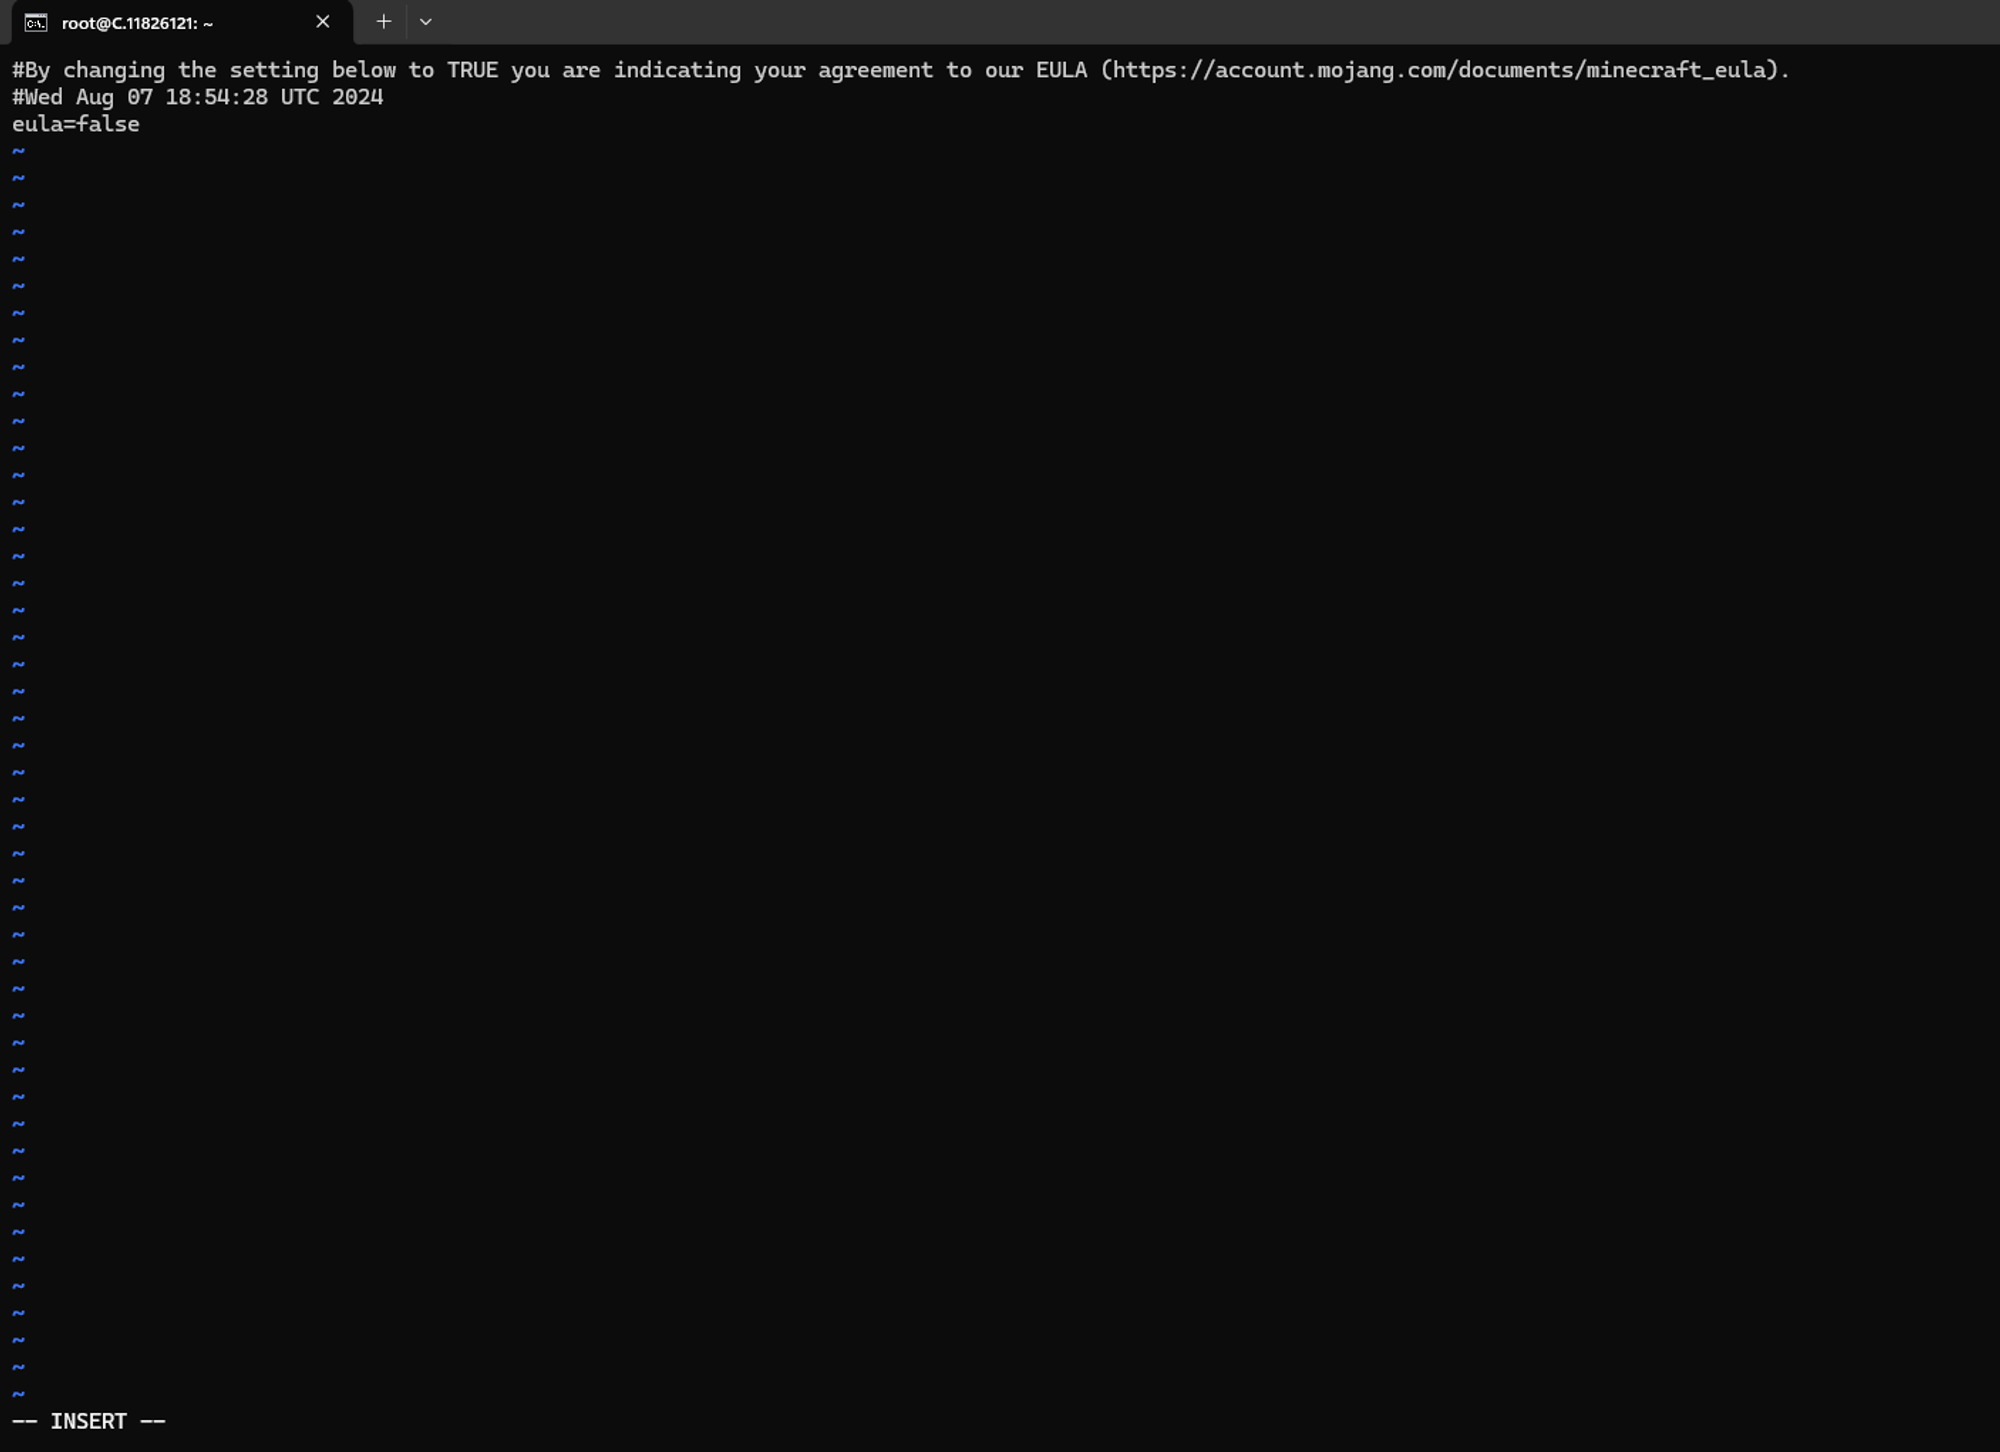
These errors were generated because the server could not find two necessary files required for execution: the EULA (End User License Agreement), found ineula.txt, and the configuration file server.properties. Since the server could not find these files, it created them in your current working directory. Minecraft does this intentionally to ensure you have read and consented to its EULA.
Open eula.txt in vi or your favorite text editor:
ls
eula.txt  libraries  logs  server.jar  server.properties  versions
Now, You can run the ls command to list files. "ls" lists all files in the current directory except for hidden files.
After performing the ls command, you will find the eula.txt file.

So, what is Vi?
Vi is a text editor. The last line of the text editor is used to give commands to vi and provide you with information.
Note: If an error occurs which states that Vi is not a recognised internal or external command then install vim using the steps below.
Step 1: Update the package list
Before installing any software, we will update the package list using the following command in your terminal:
sudo apt update
You might be prompted to enter your password for authentication.
Step 2: Install Vim
To install Vim, enter the following command:
sudo apt install vim -y
This command will retrieve and install Vim and its necessary components.
Now you have to run the below command to check the server properties:
vi server.properties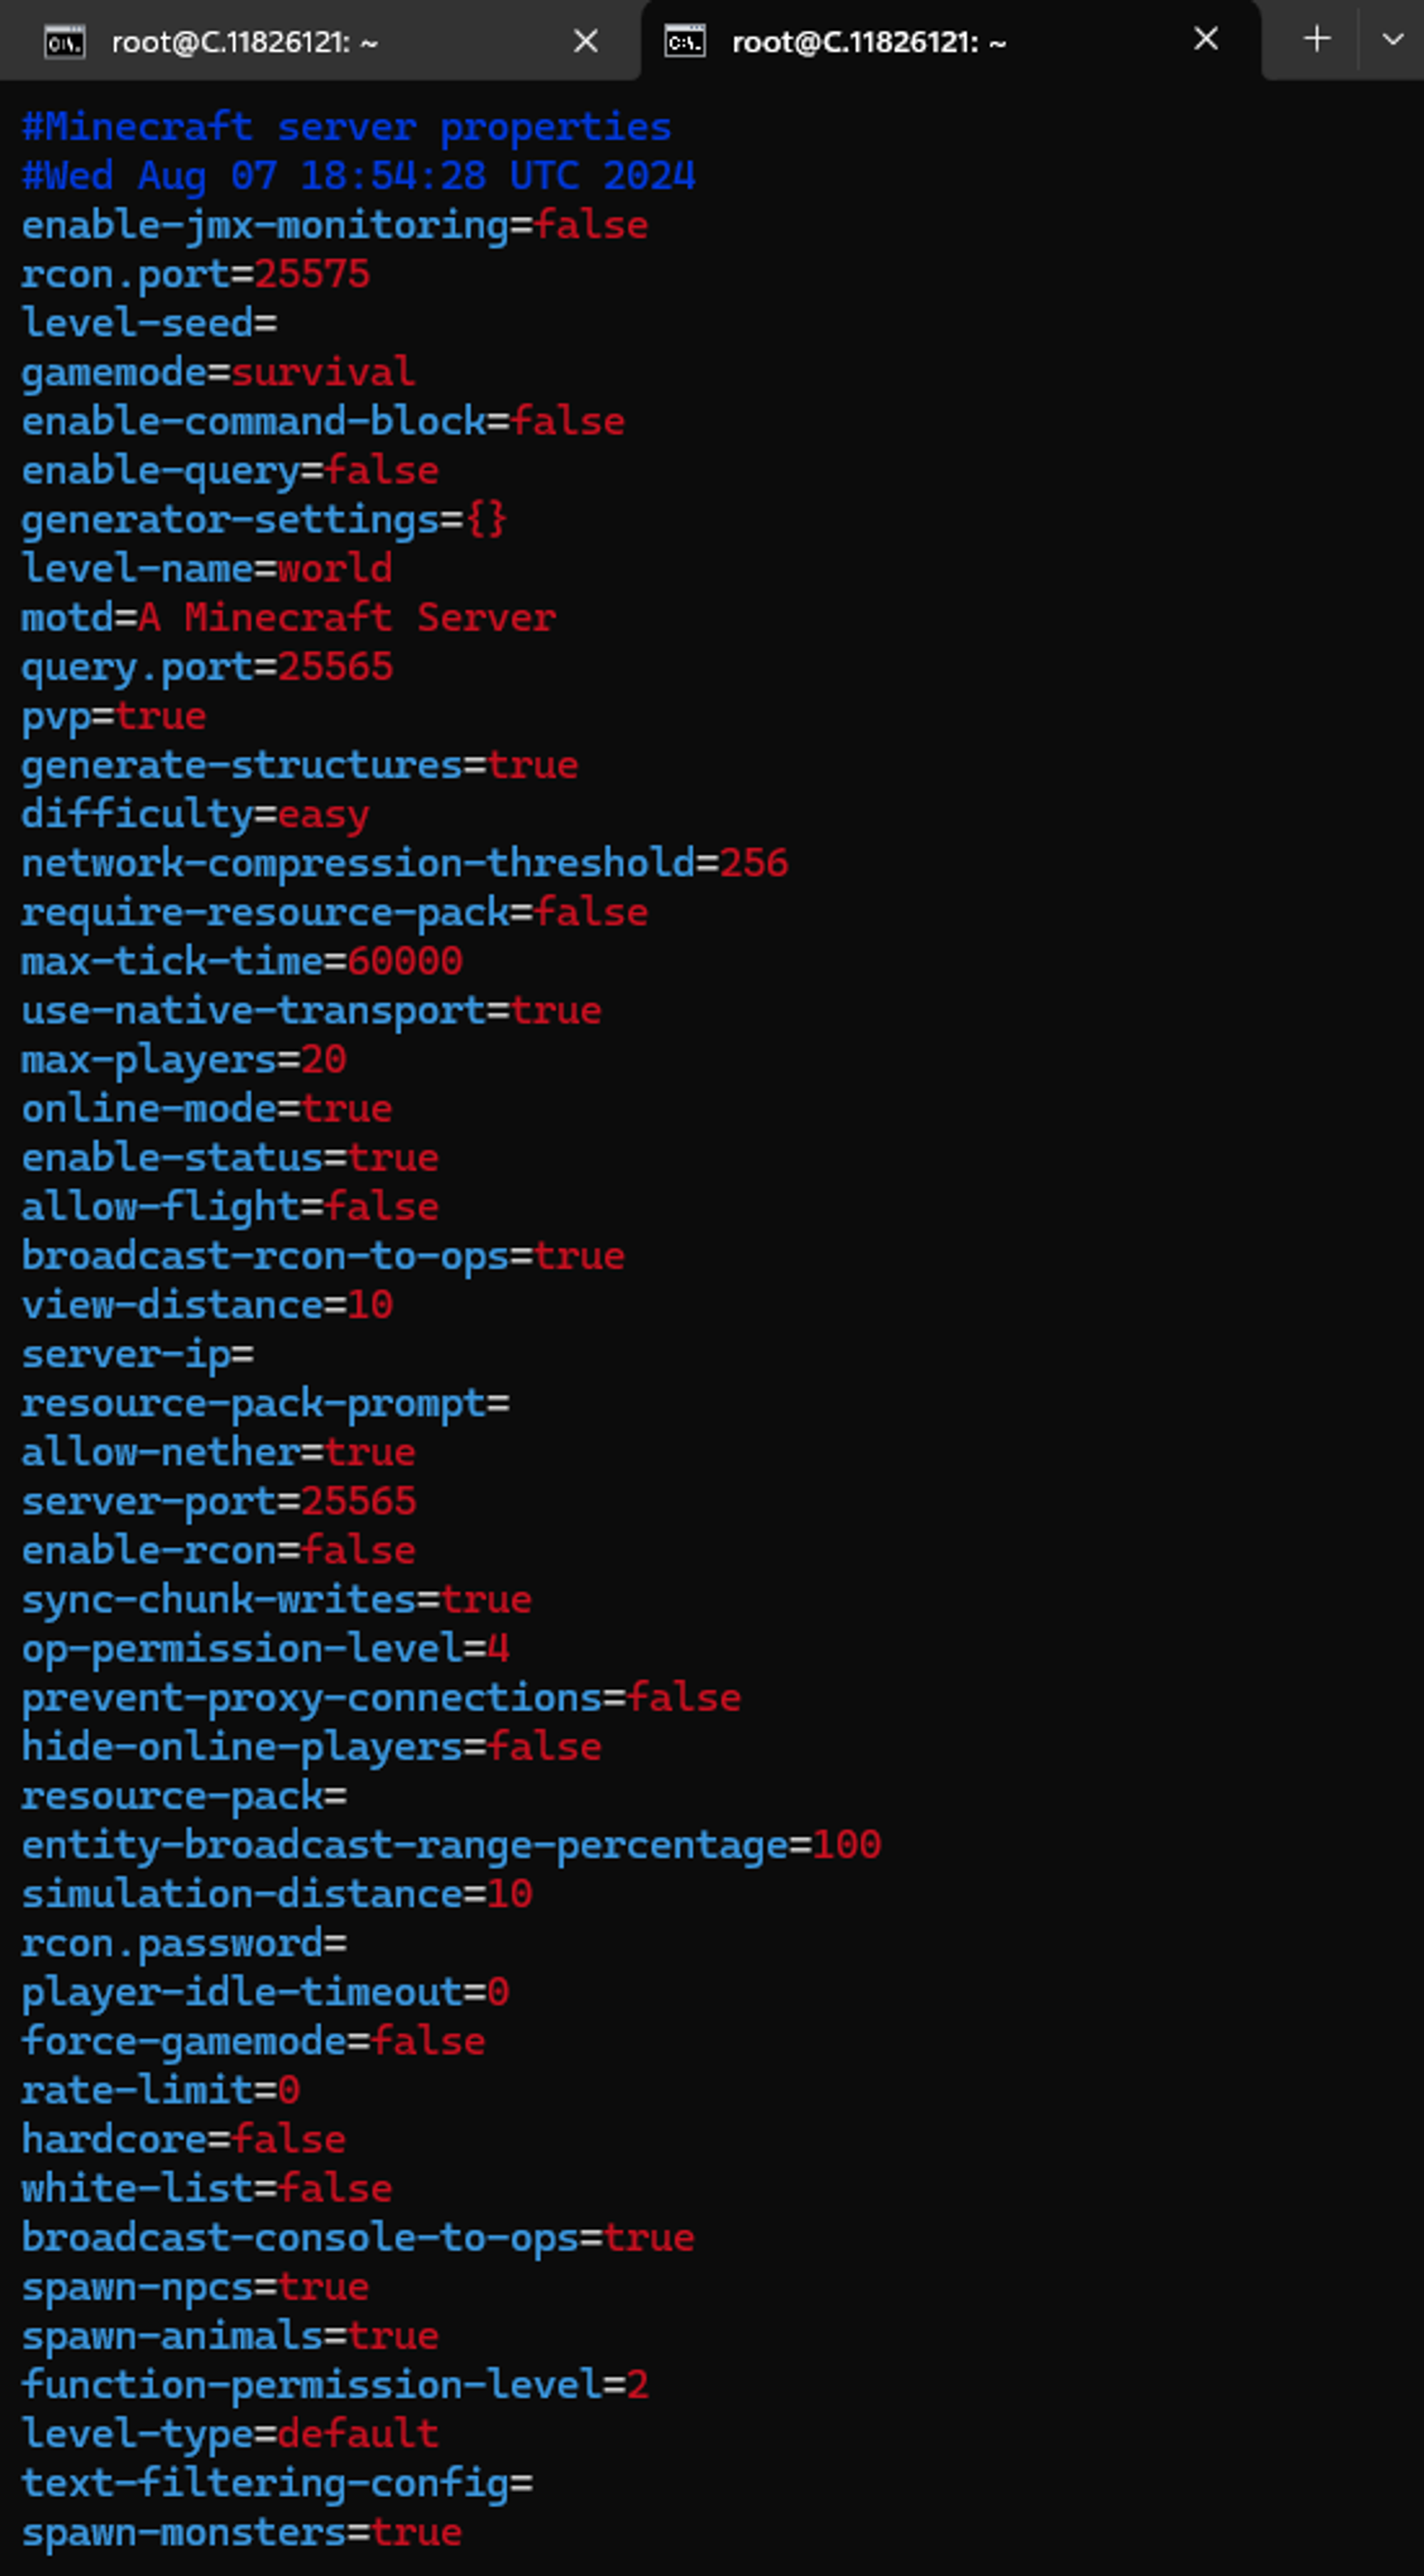
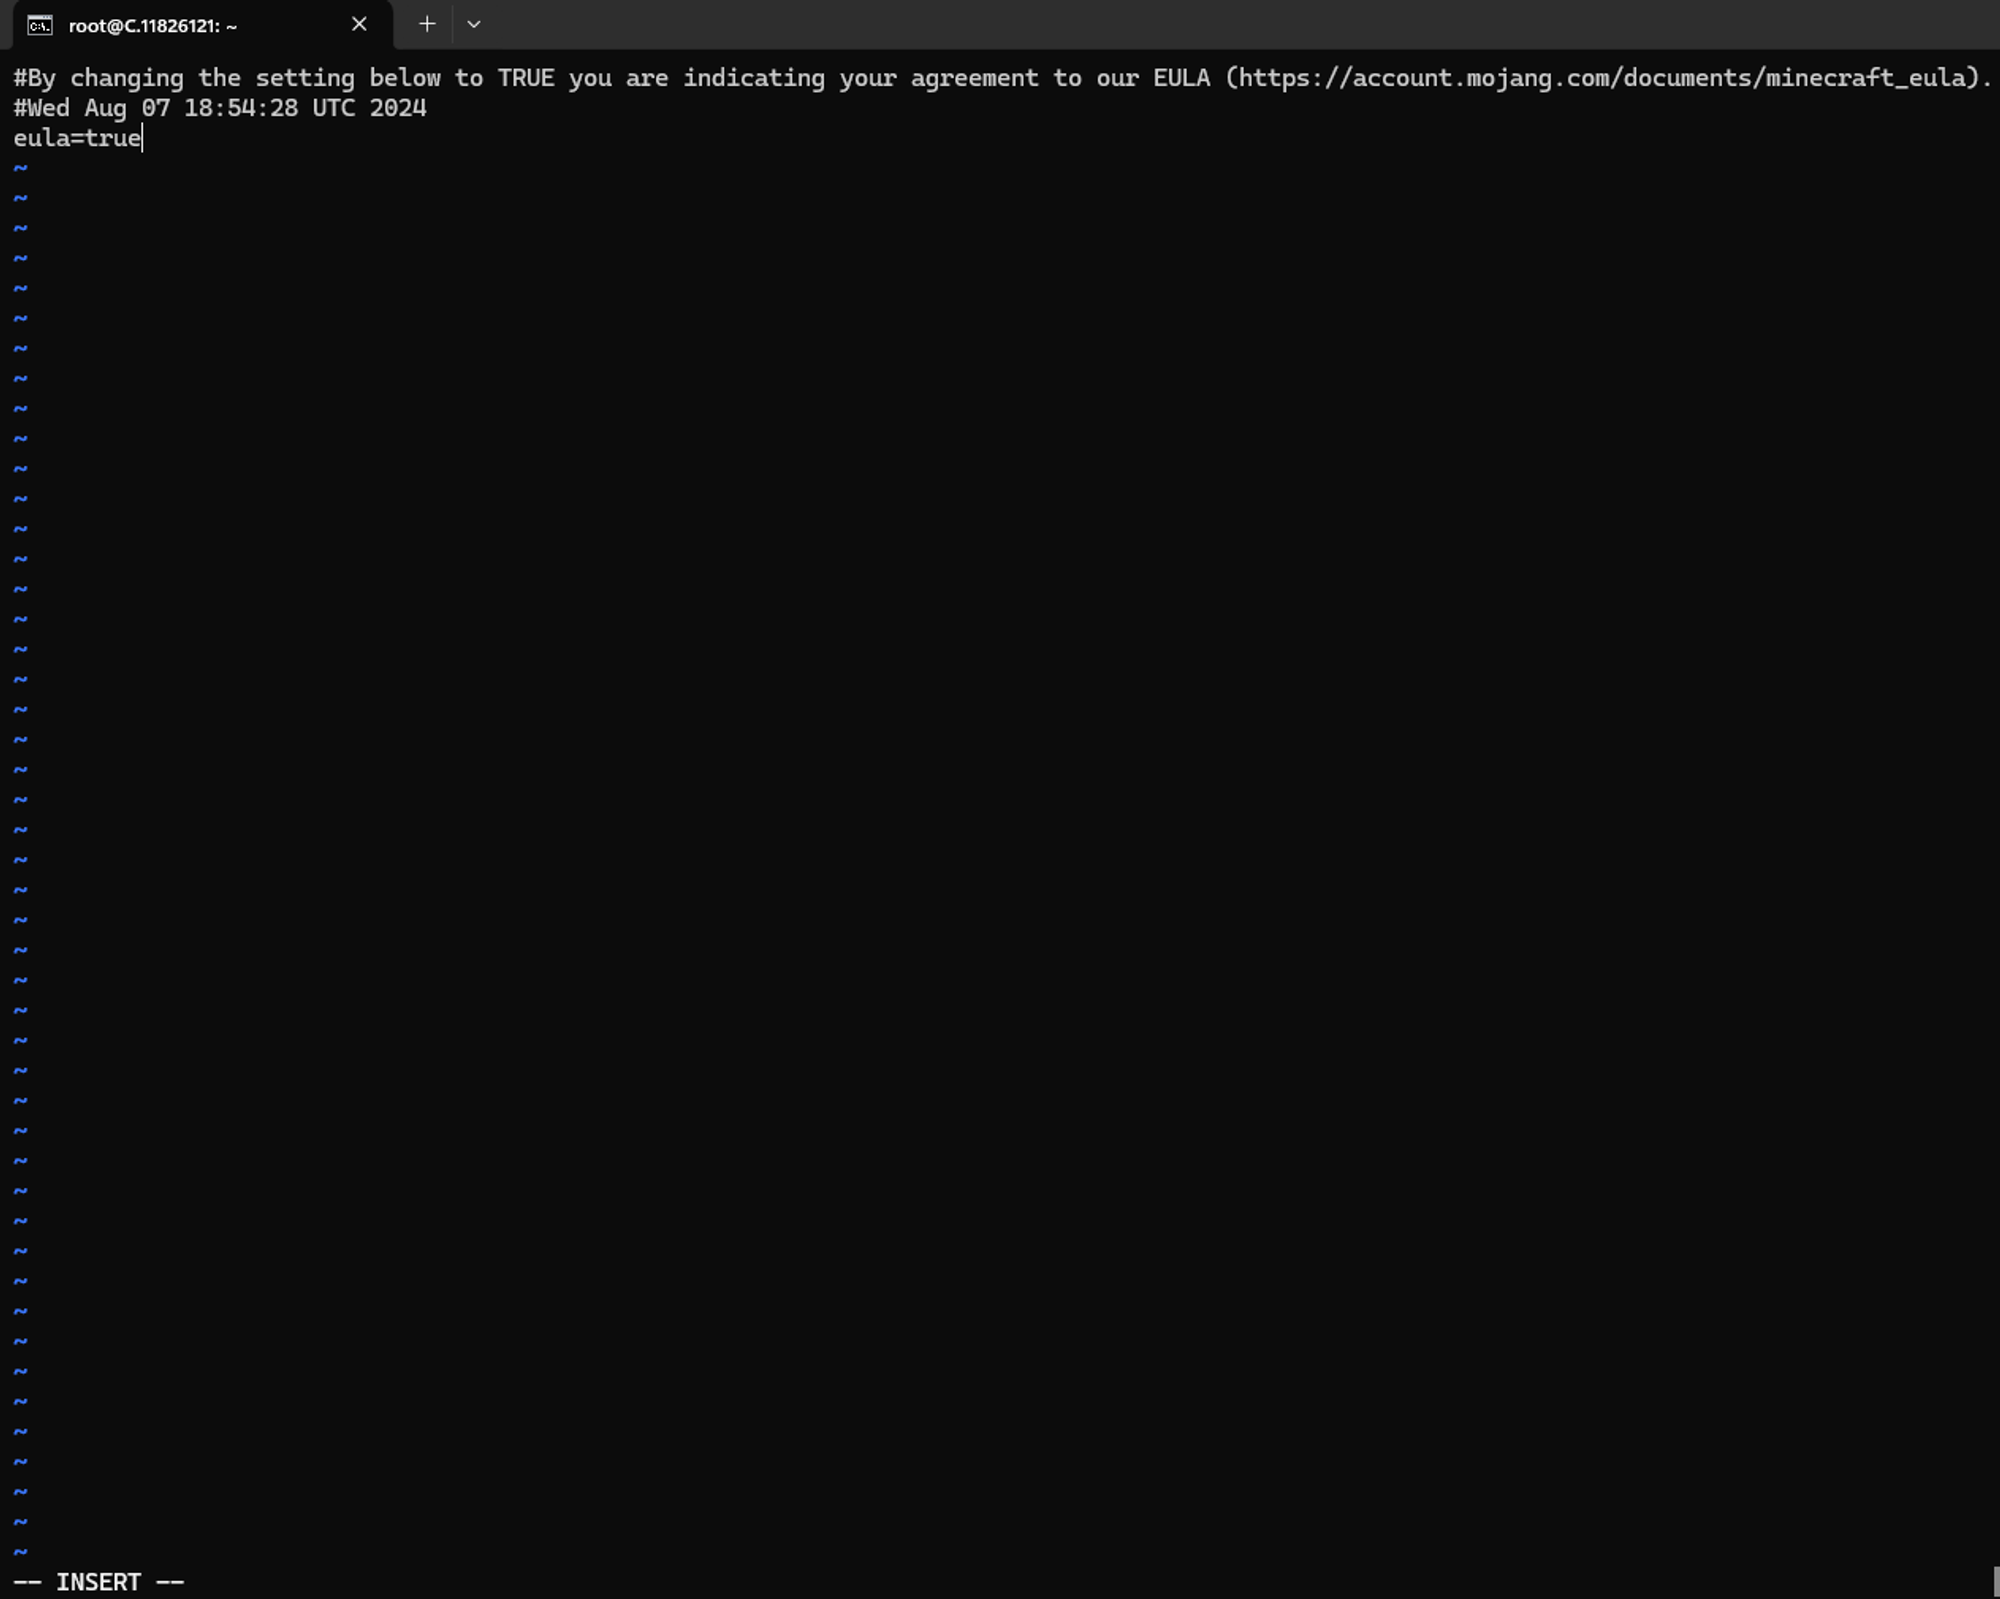
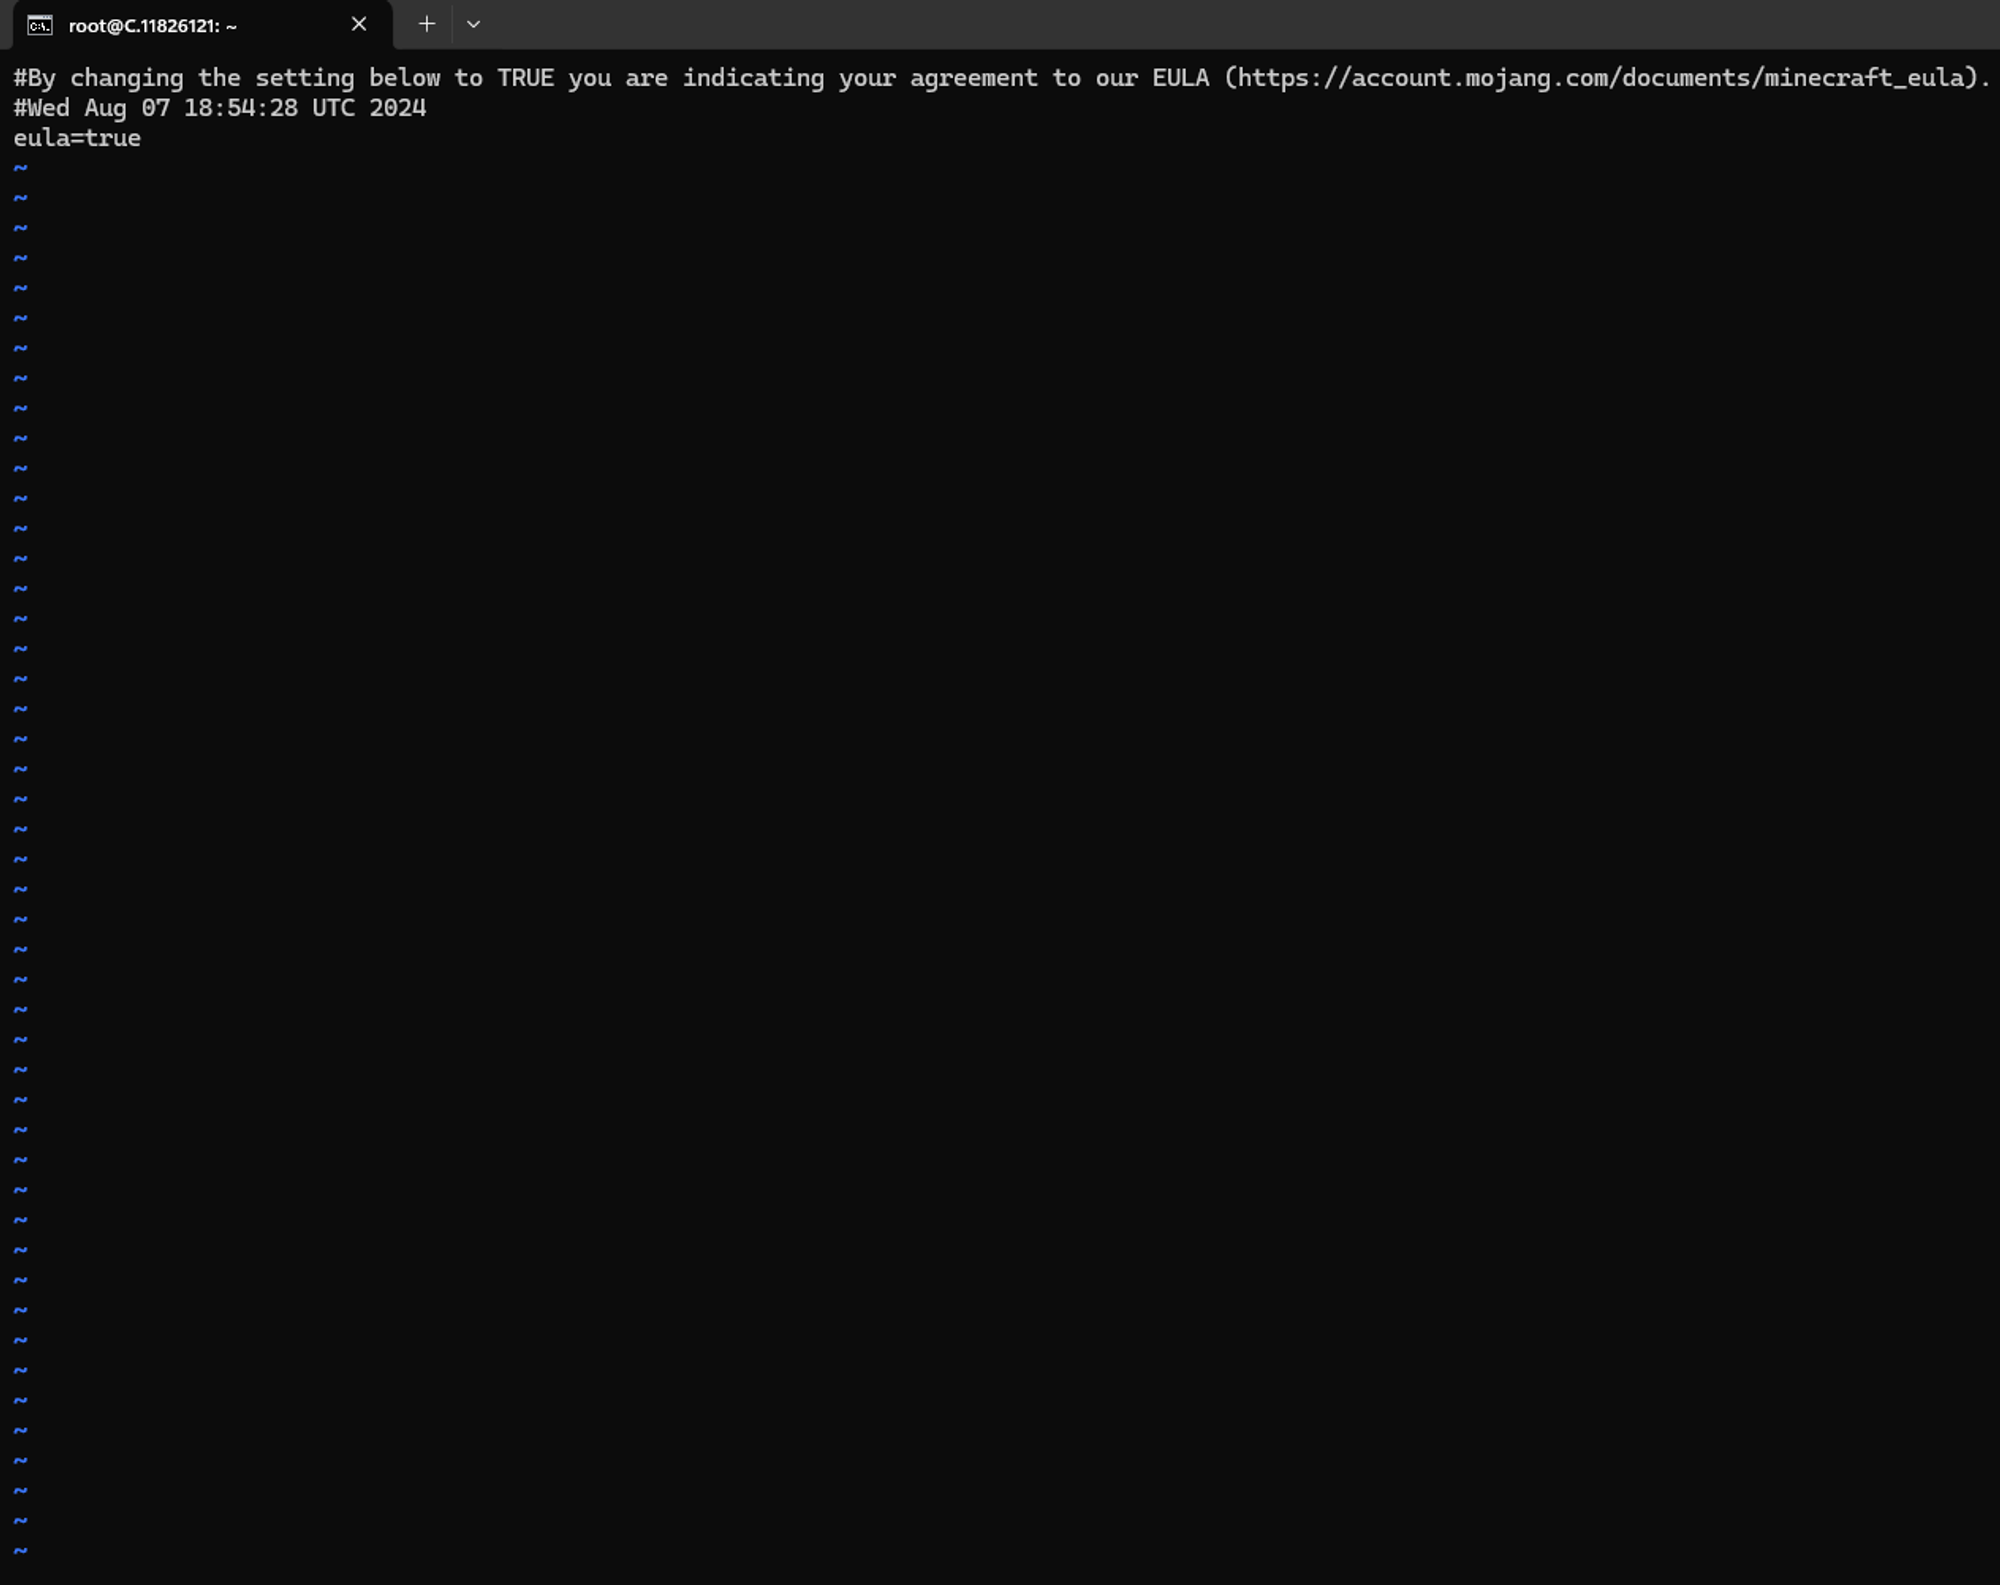
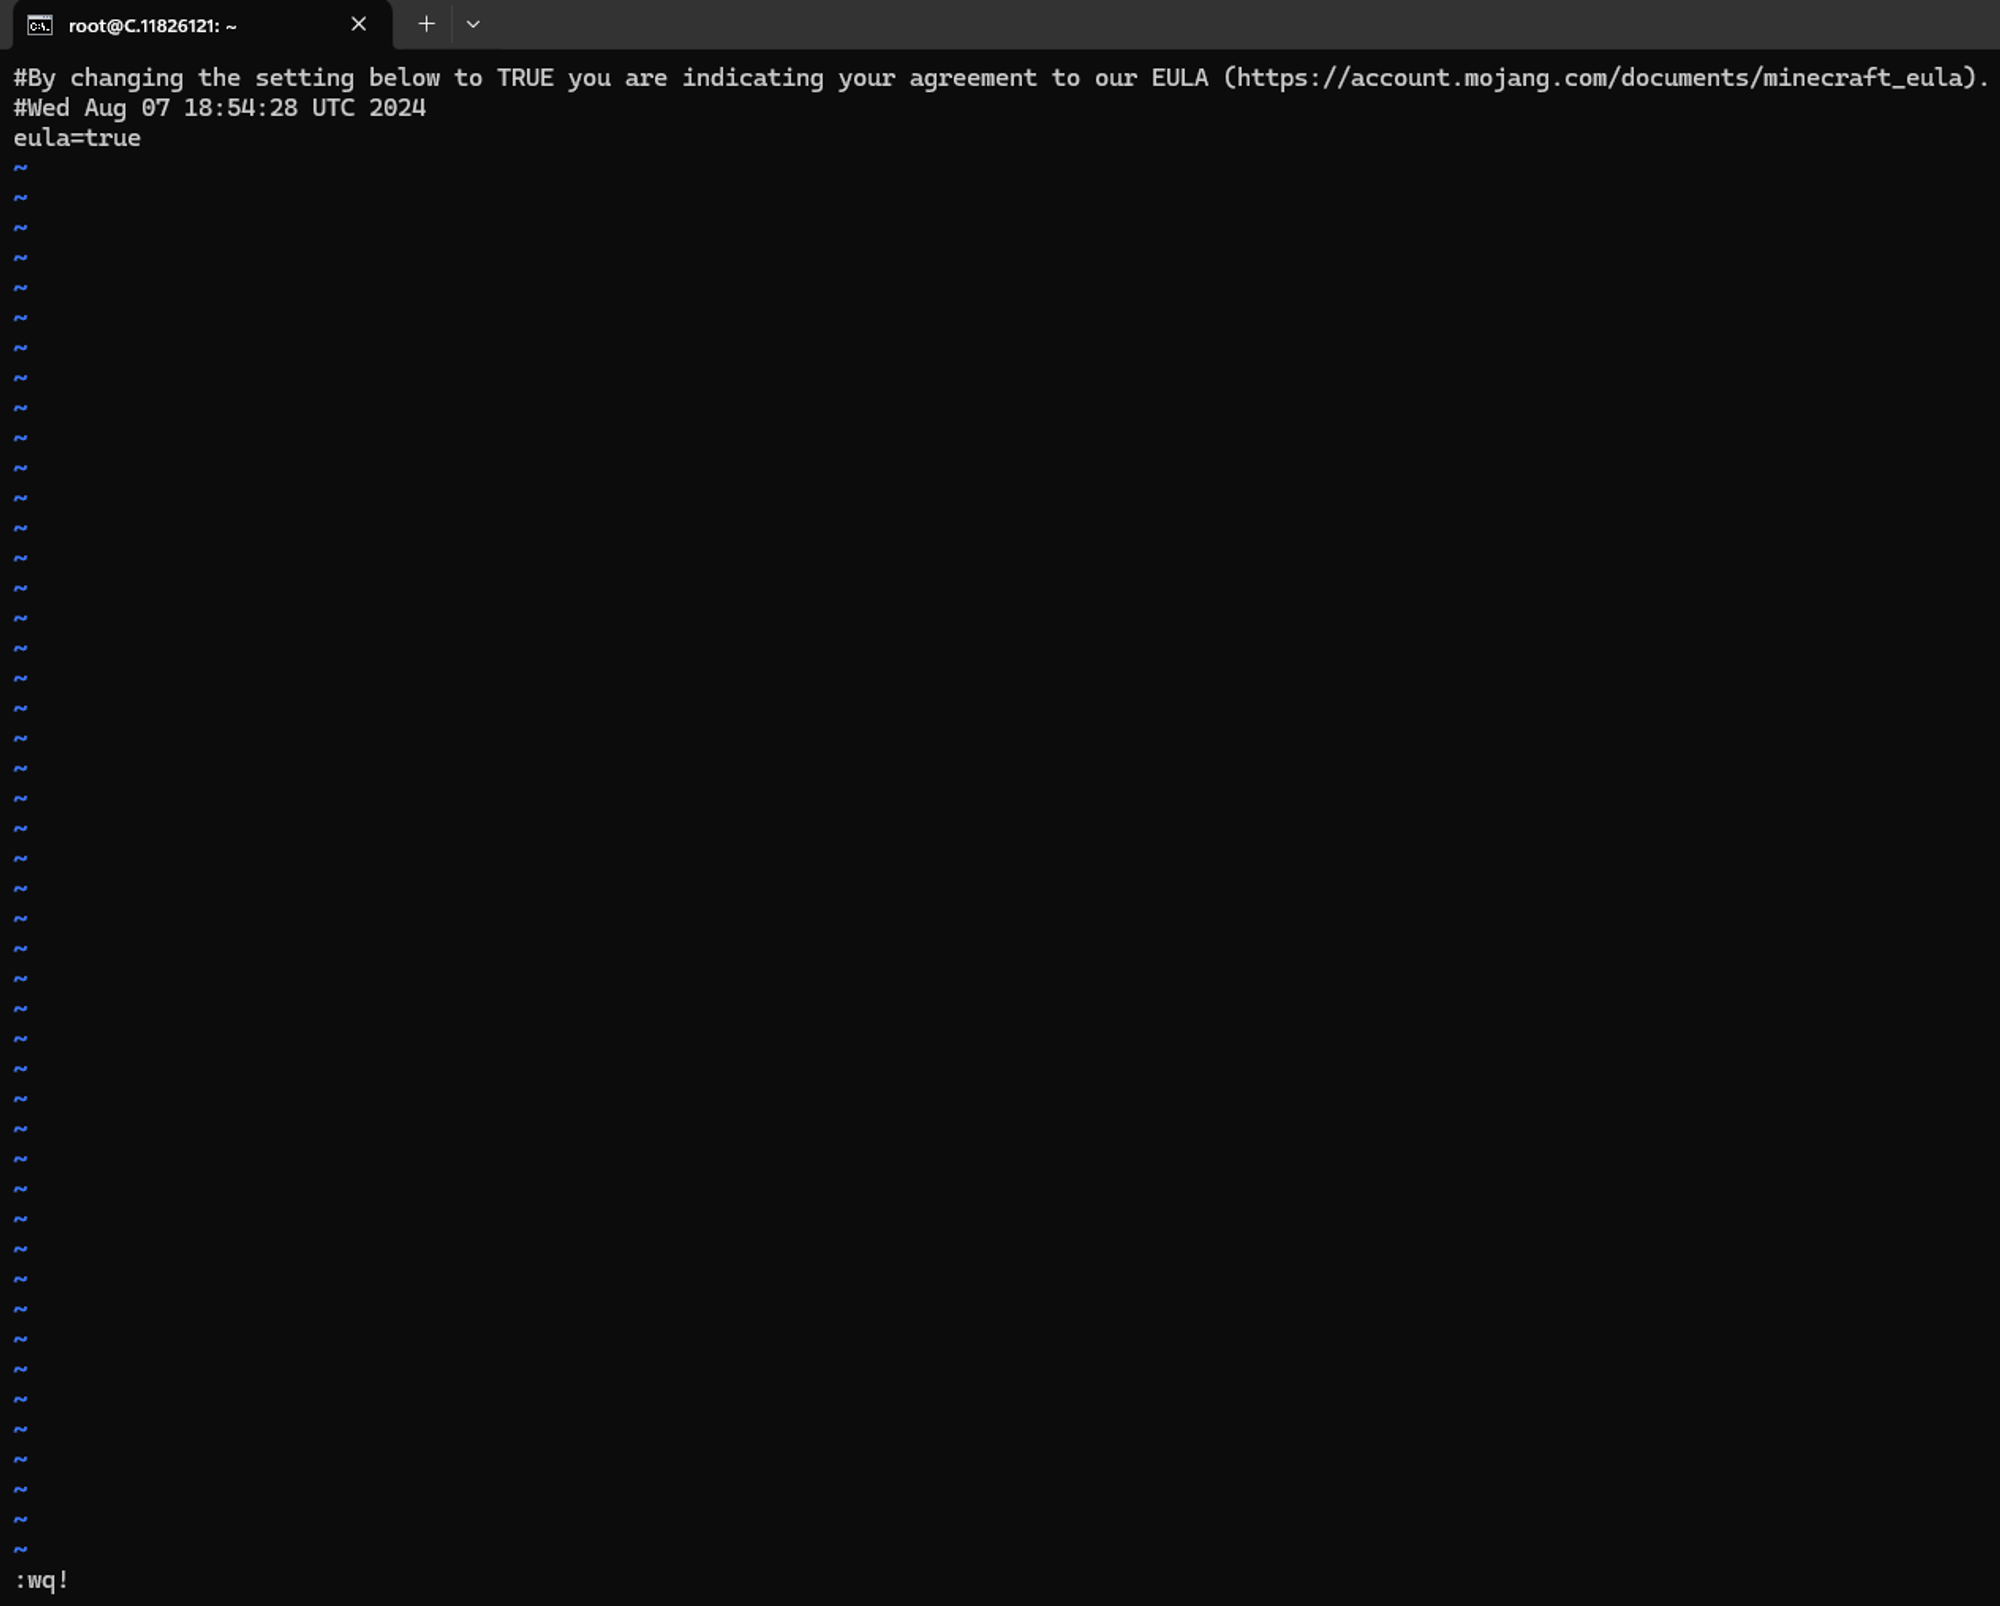
We will accept the Minecraft End-user license agreement (EULA) by replacing false to True in EULA.txt:
Entering the editing mode in Vi:
Follow the below steps to enter the editing mode in Vi
Step 1: Open a File in Vi
Step 2: Navigate to Command Mode
When you open a file in Vi, you start in the command mode. You can issue commands to navigate, save, and manipulate text in this mode. To ensure you are in command mode, press the Esc key. This step is crucial because you cannot edit the text in other modes.
Step 13: Launch the Minecraft Java server
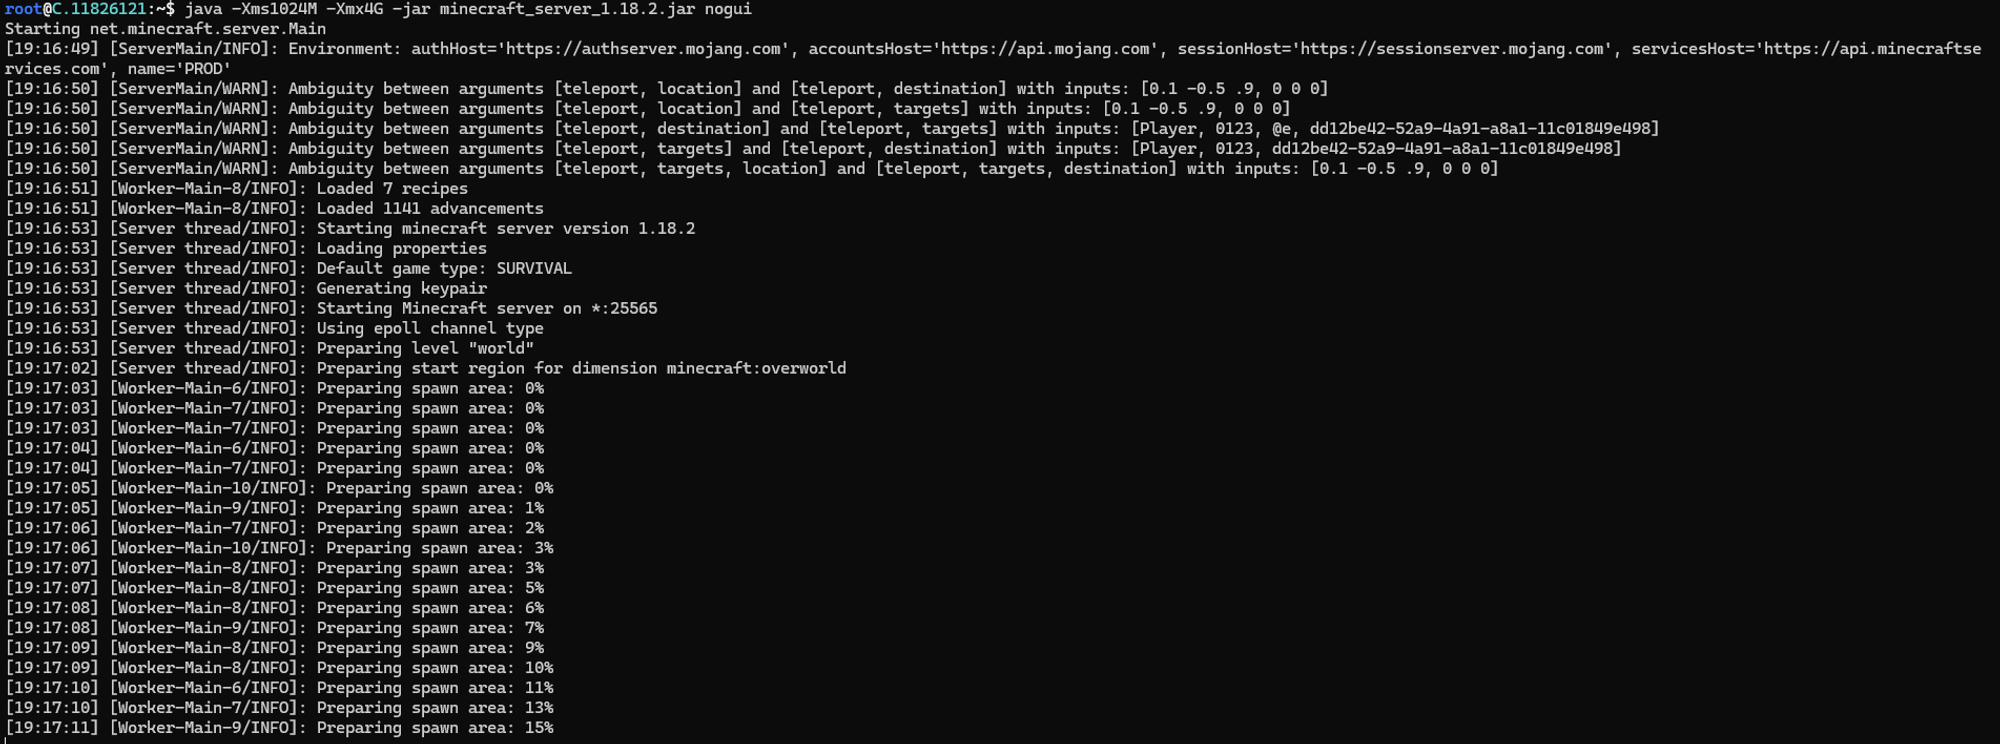
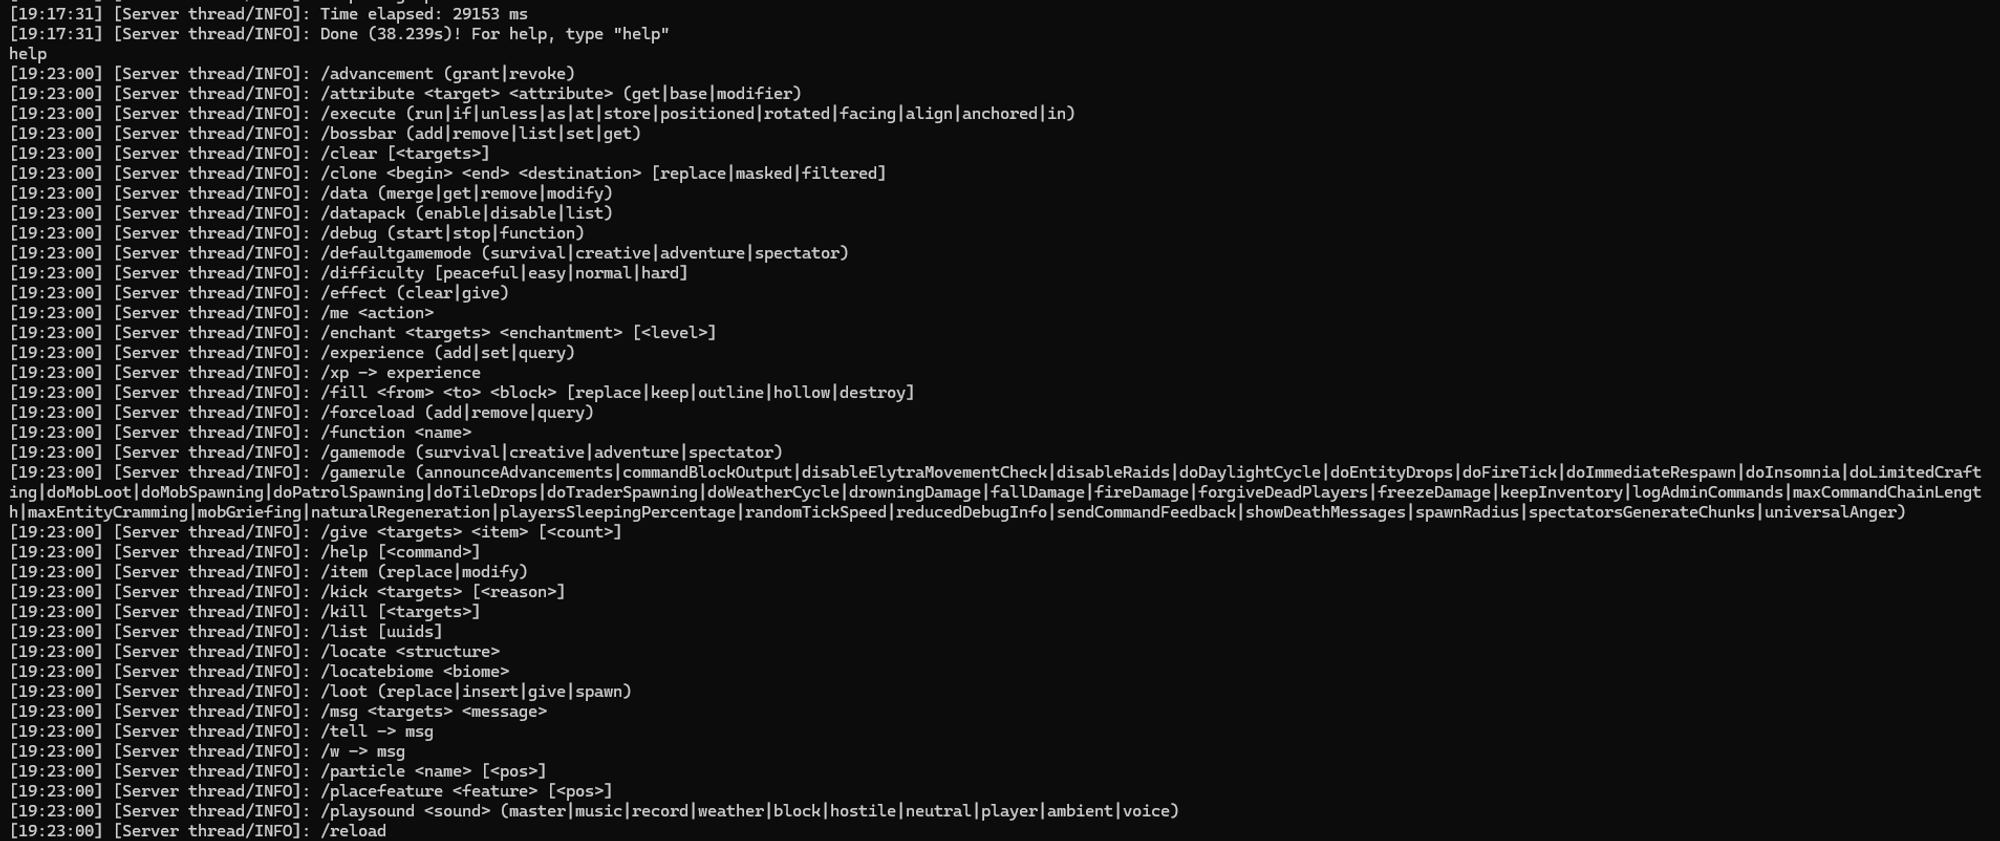
java -Xms1024M -Xmx4G -jar minecraft_server_1.18.2.jar noguiGive the initialization a few moments. Soon, your new Minecraft server will start producing an output; check the screenshot for output.
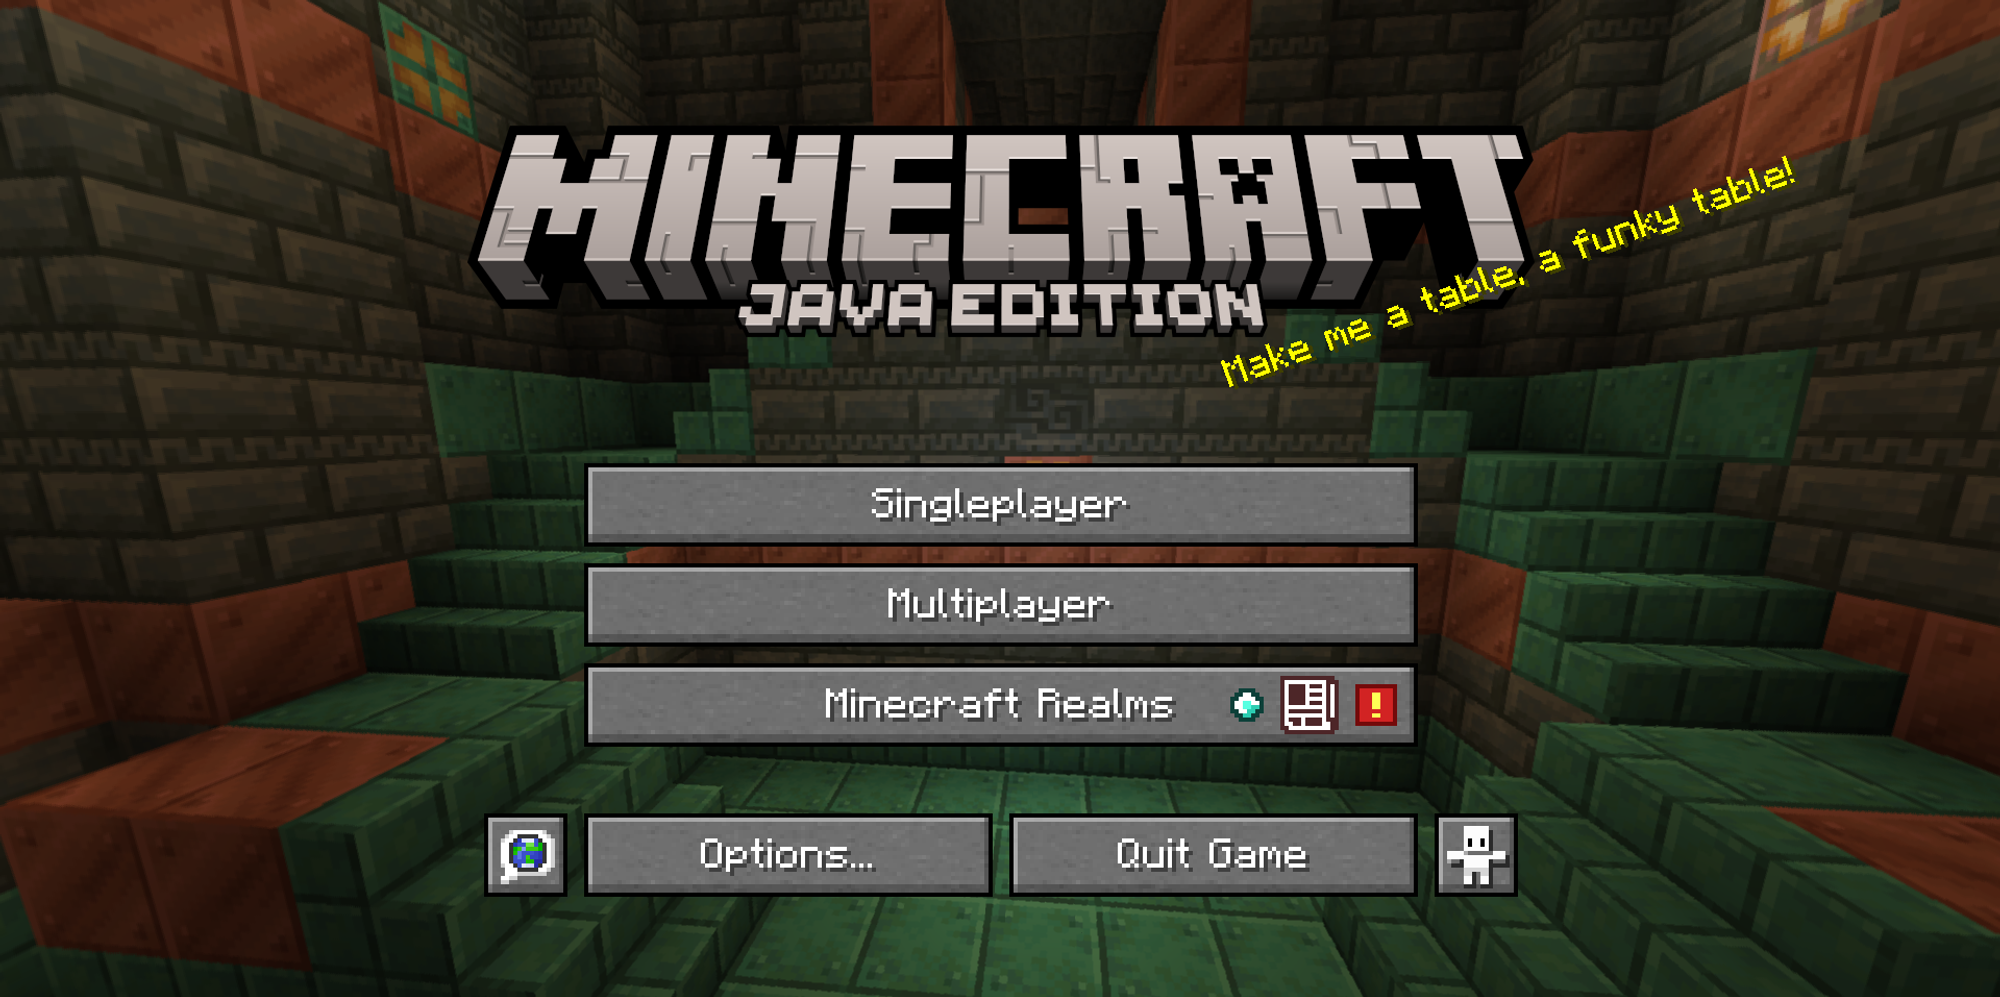
Step 14: Connecting to Your Server from the Minecraft Client
Now that your server is running let’s connect to it through the Minecraft client. Then you can play!
Next, you add a server to connect to, so click the Add Server button.
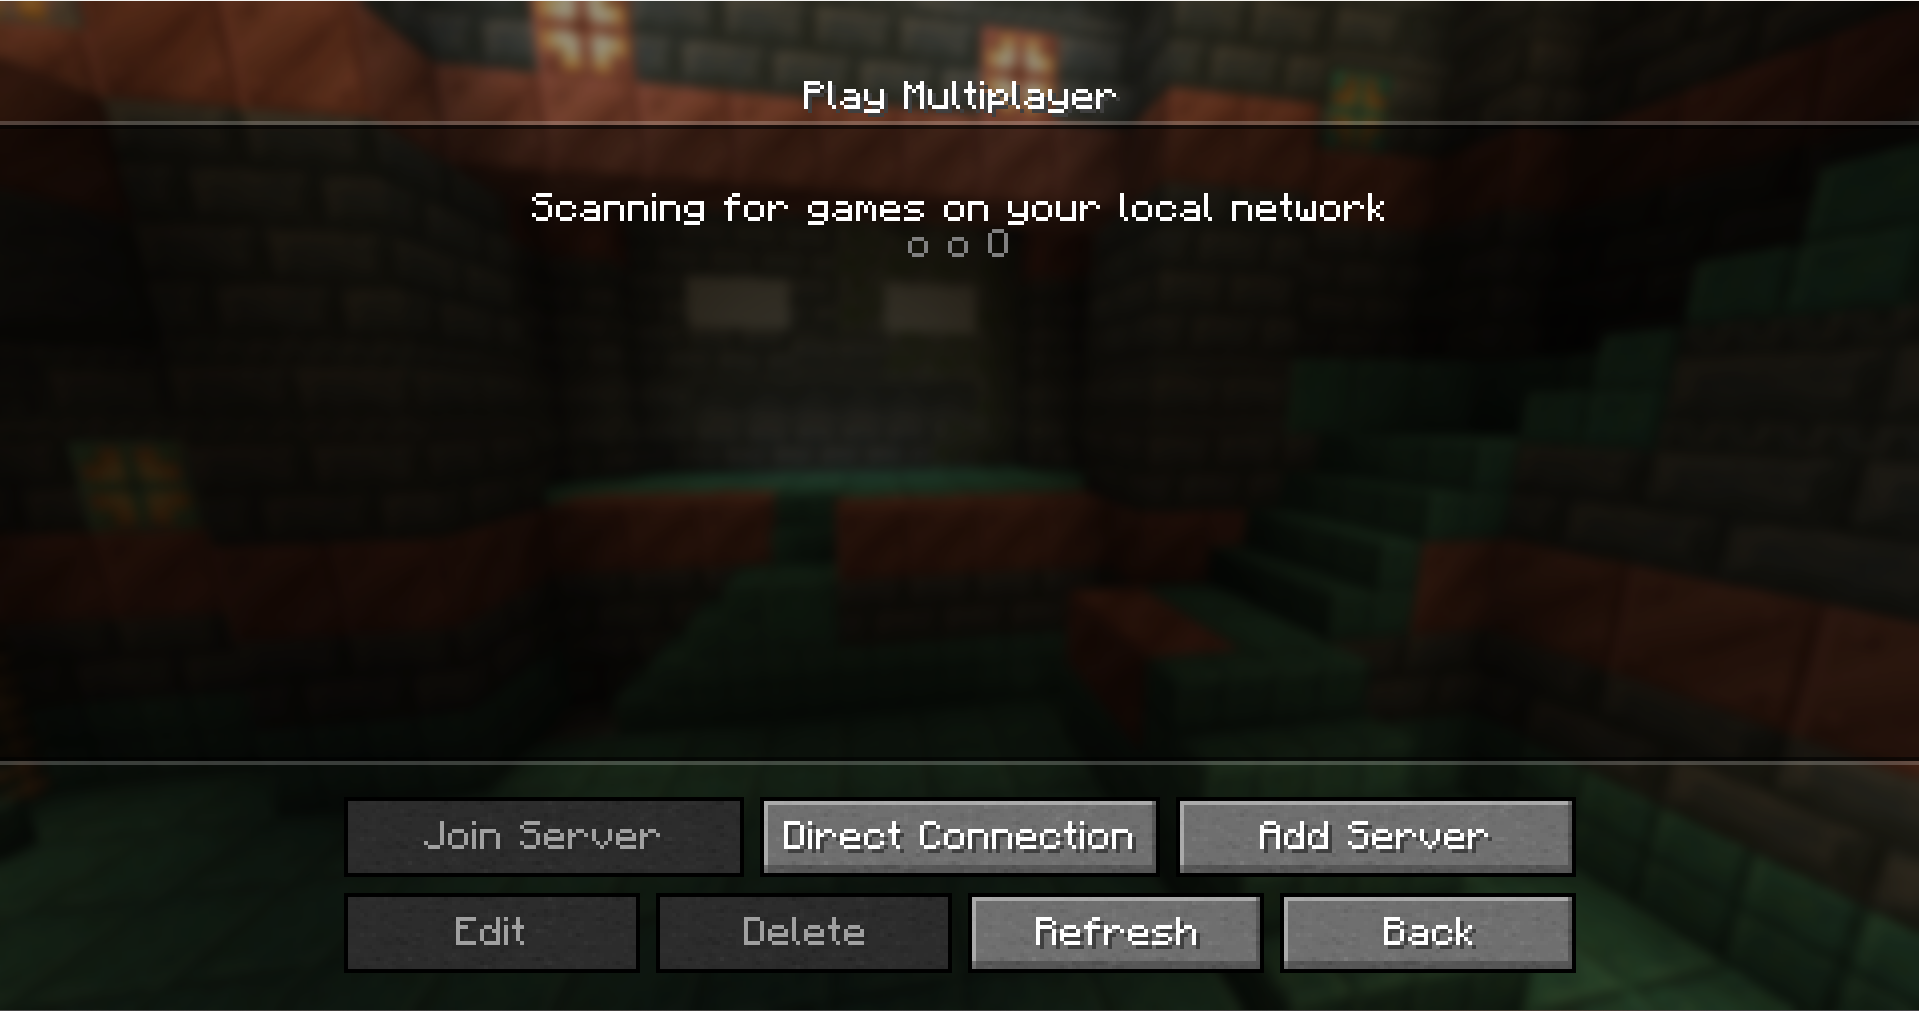
In the Edit Server Info screen that shows up, give your server a name and type in the IP address of your server. This is the same IP address that you used to connect through SSH.
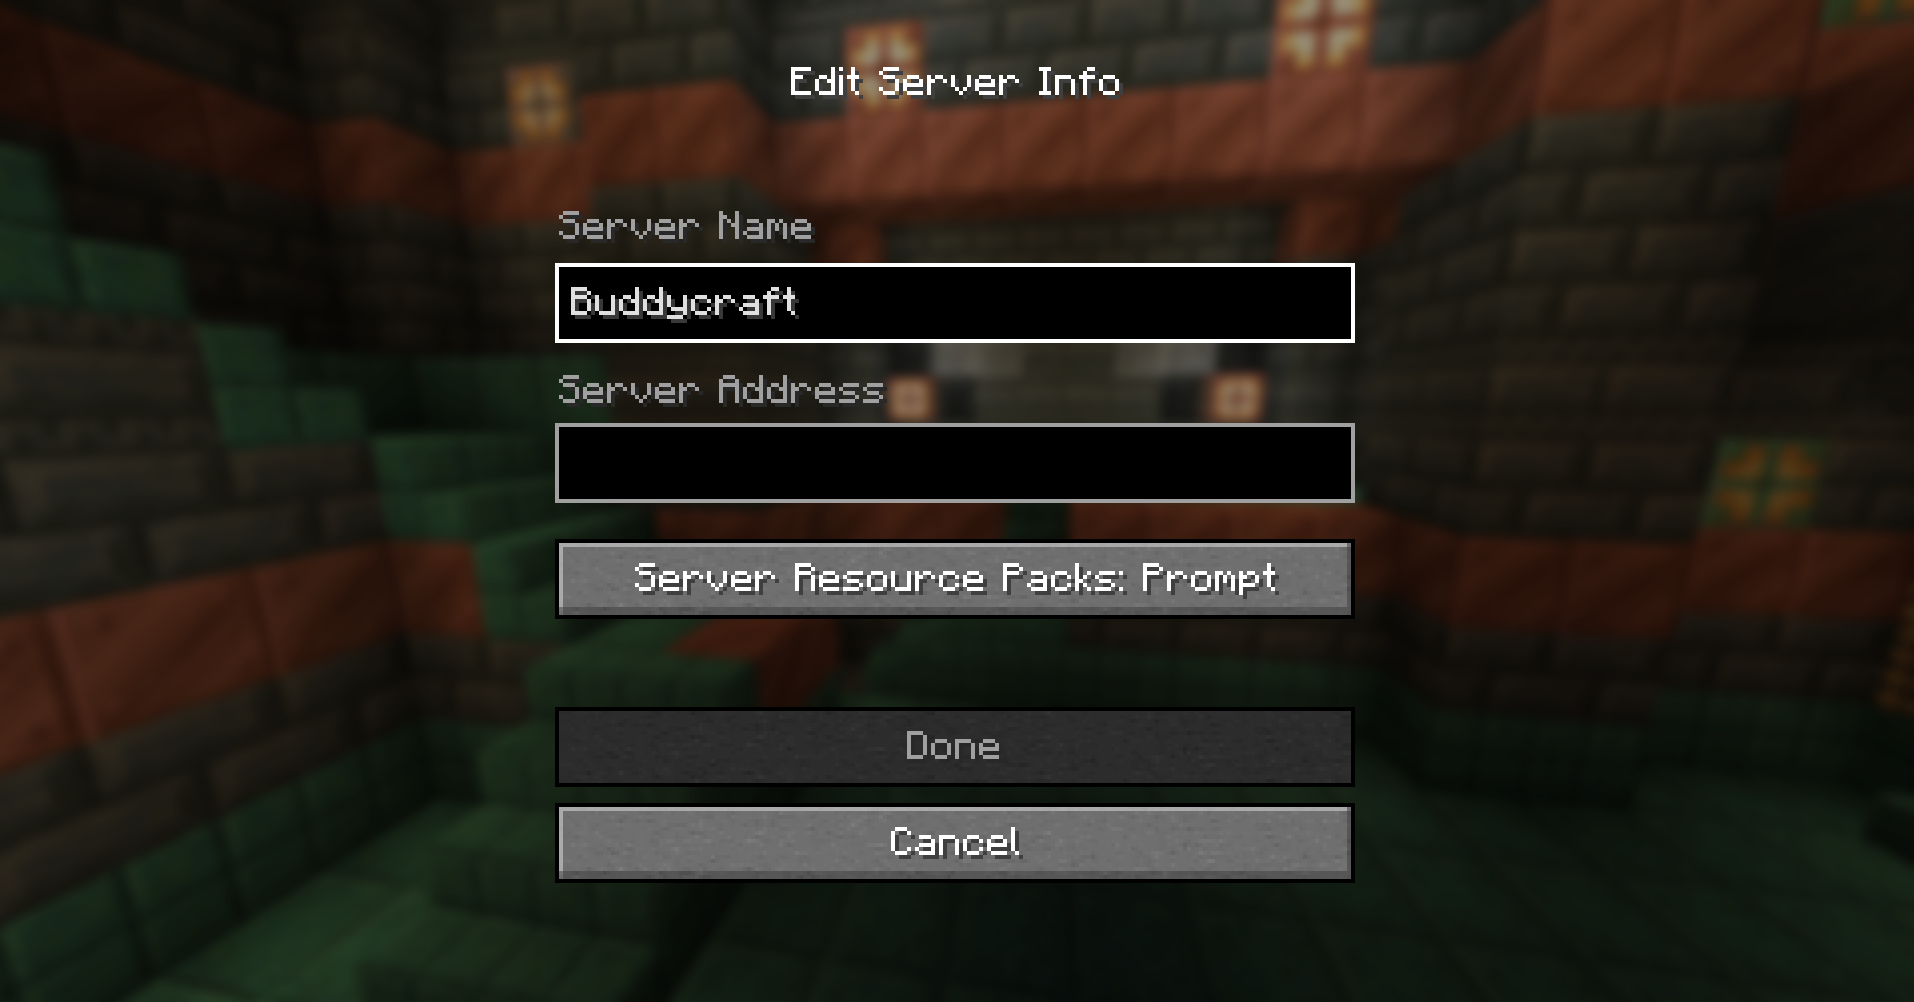
Once you have entered your server name and IP address, you’ll be taken back to the Multiplayer screen, where your server will be listed.

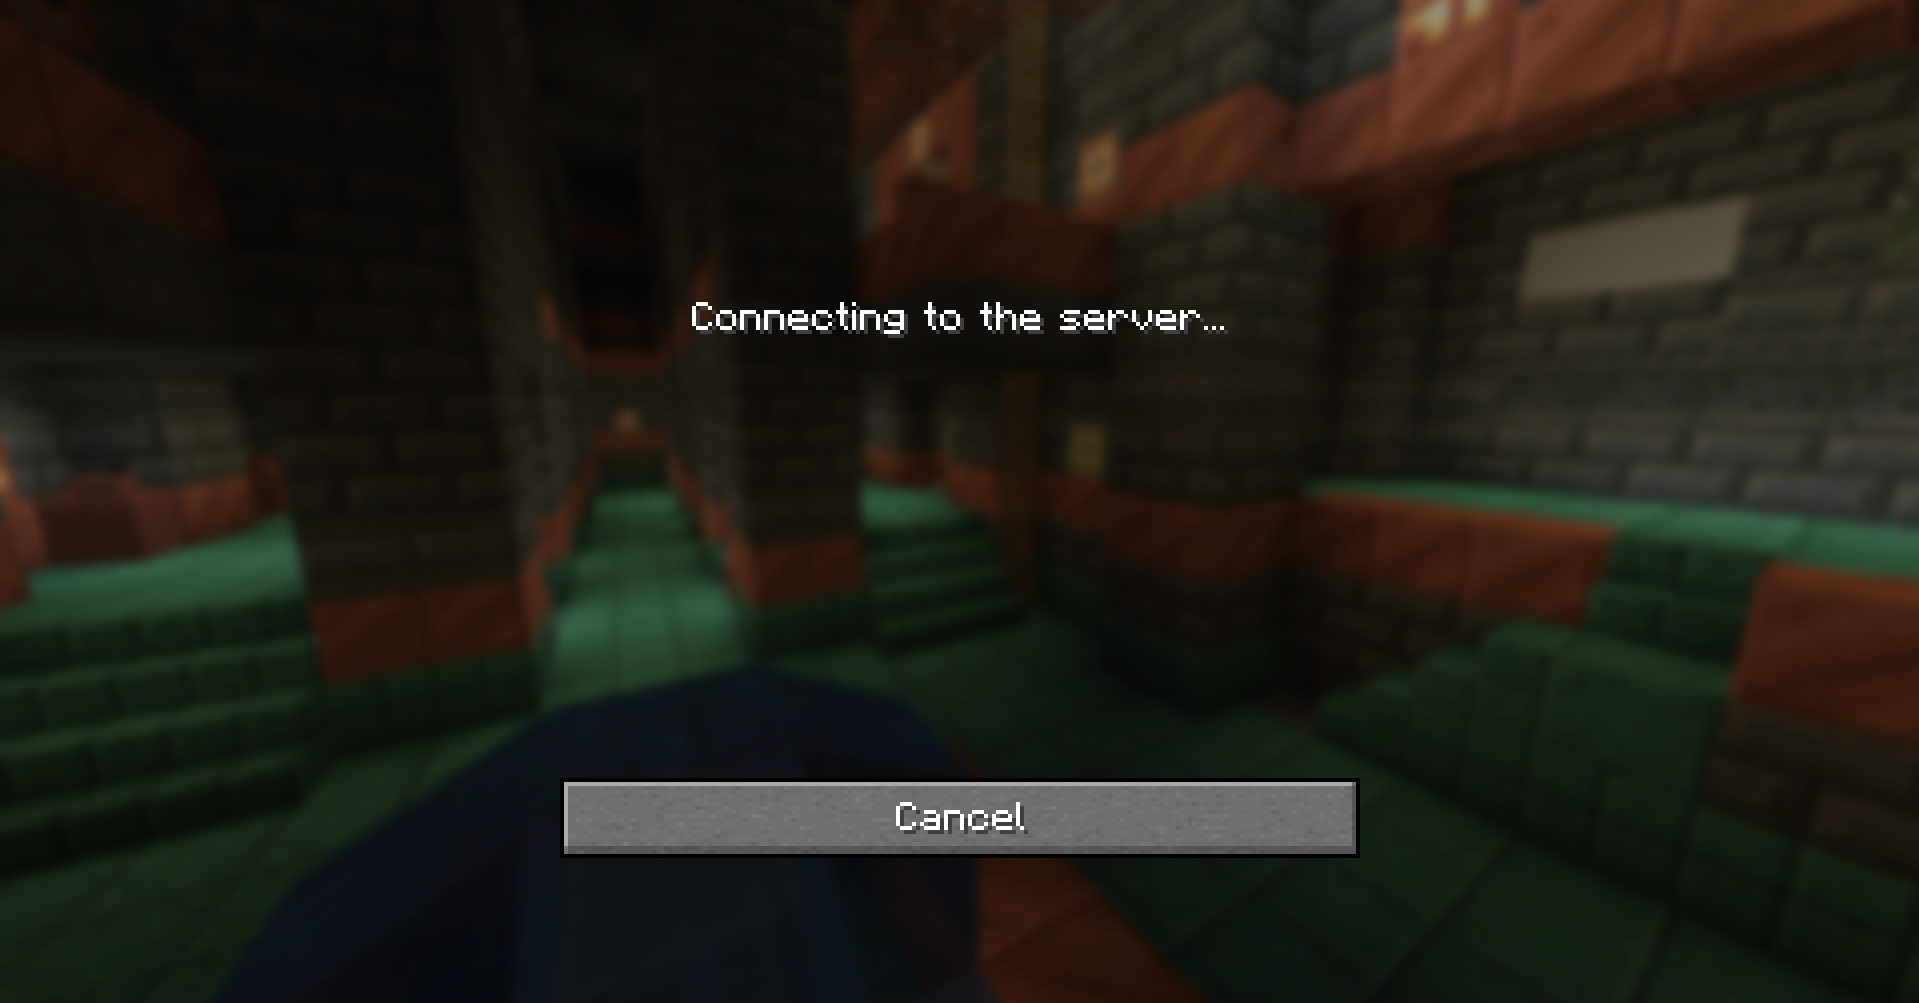
From now on, your server will always appear in this list. Select it and click Join Server.
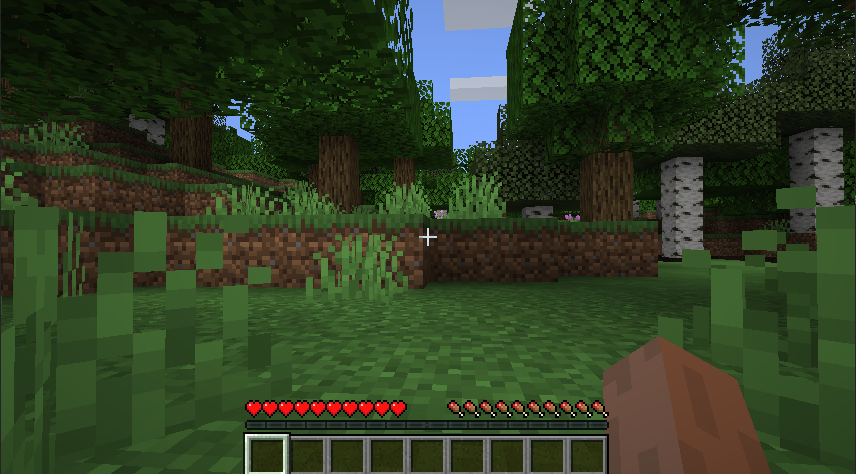
You are on your server and ready to play!
Conclusion
In conclusion, setting up a Minecraft game server on Ubuntu is a straightforward process that allows you to create your own multiplayer environment, giving you and your friends a space to explore, build, and adventure together. By following these step-by-step instructions, from setting up a NodeShift Cloud account to launching and connecting to your server, you can enjoy the full benefits of a customizable Minecraft experience. With your server up and running, the only limit is your imagination. Happy crafting!
For more information about NodeShift: