How to Use GitLab CI/CD Pipelines in the Cloud

GitLab is an open-source code repository and collaborative software development platform designed for large DevOps and DevSecOps projects. It is free for individuals.
GitLab provides a platform for online code storage, along with capabilities for issue tracking and CI/CD. The repository supports hosting different development branches and versions, enabling users to review previous code and roll back to it in case of unforeseen issues.
Many CI/CD systems offer features like source control, build artifacts, and deployment capabilities for development and DevOps teams. GitLab is one of these systems but brings unique advantages to CI/CD pipelines, from easy installation to advanced automation. This web-based tool promotes proper coding practices within the team and ensures safe deployment to production.
This guide will walk you through setting up GitLab CI/CD Pipelines in the cloud.
Step-by-step process to use GitLab CI/CD Pipelines in the Cloud
For the purpose of this tutorial, we will use a CPU-powered Virtual Machine offered by NodeShift; however, you can replicate the same steps with any other cloud provider of your choice.
In order to deploy a NodeShift Virtual Machine, follow the guidelines here:
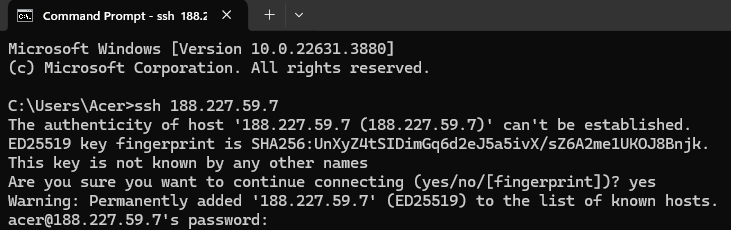
Step 1: Connect to the Virtual Machine using SSH or Username/Password
- NodeShift Compute VMs can be connected to and controlled through a terminal and SSH.
- Open your terminal paste the IP with SSH and set up the password.
- And then you will get connected to the root user.
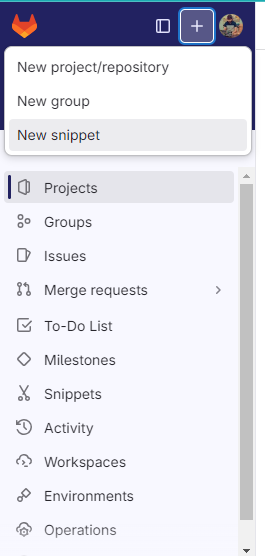
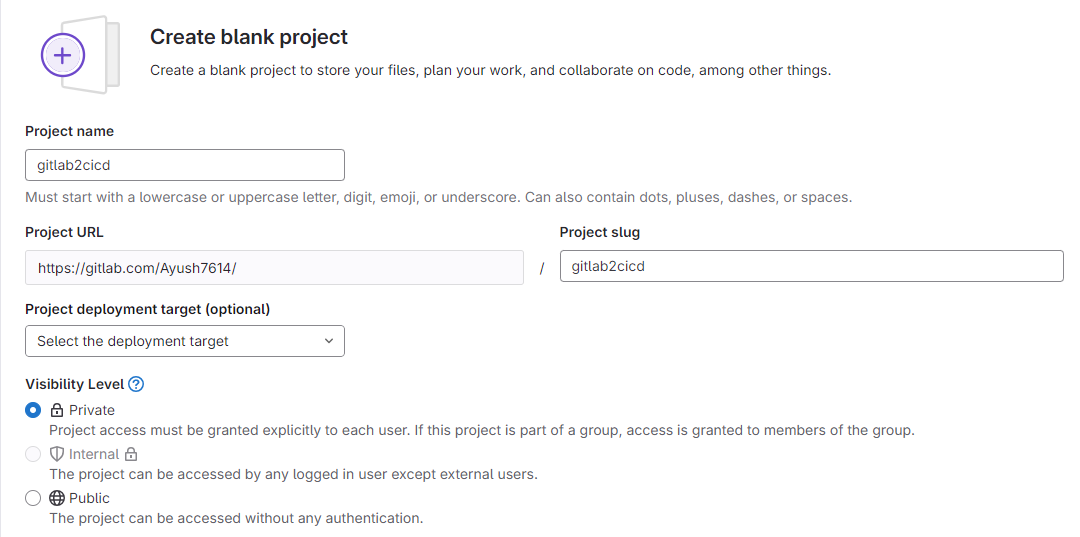
Step 2: Create a GitLab Project
- Log in to your GitLab account. If you don’t have an account, sign up at GitLab.com.
- Click on the + icon in the top right corner and select "New project."
- Ceate a blank project or import an existing repository.
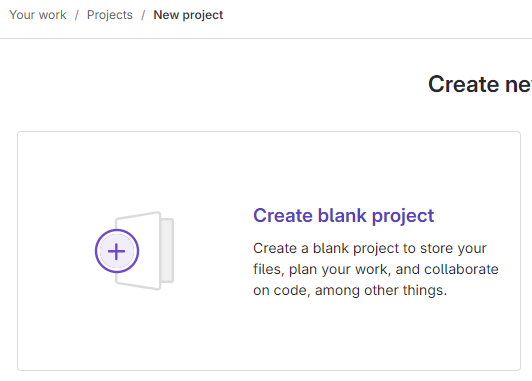
- Name your project, set its visibility level (public, private, internal), and click "Create project."
Step 3: Registering a GitLab Runner
- To install the
gitlab-runnerservice, you’ll first need to add the official GitLab repository. A GitLab Runner is a tool that runs the jobs and tasks in a GitLab CI/CD pipeline, such as building, testing, and deploying code. Download and inspect the install script:
curl -L "https://packages.gitlab.com/install/repositories/runner/gitlab-runner/script.deb.sh" | sudo bash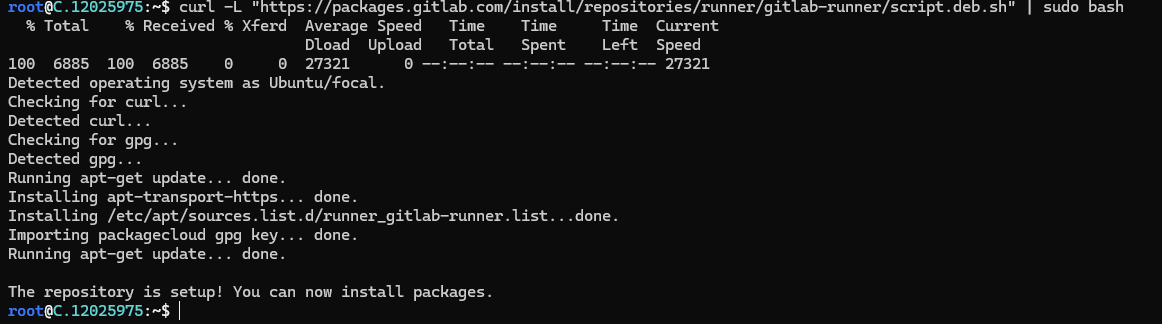
- Once the repository is added, you can install the GitLab Runner using:
sudo apt-get install gitlab-runner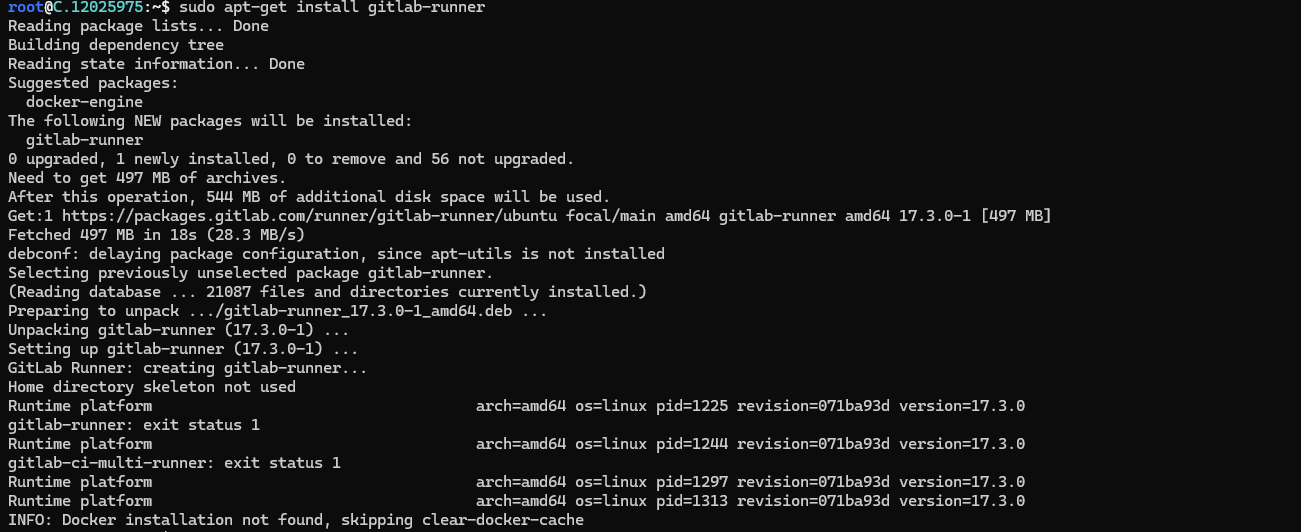
You can also check if the gitlab-runner is running by using the ps command:
ps aux | grep gitlab-runner

If the gitlab-runner is not running, you can start it manually by the following command:
sudo gitlab-runner run
This will start gitlab-runner in the foreground. If you want it to run in the background, you can use the following command:
sudo gitlab-runner run & disown
If your system uses sysvinit or another init system that supports the service command, you can try to manage gitlab-runner with the following command:
sudo service gitlab-runner start

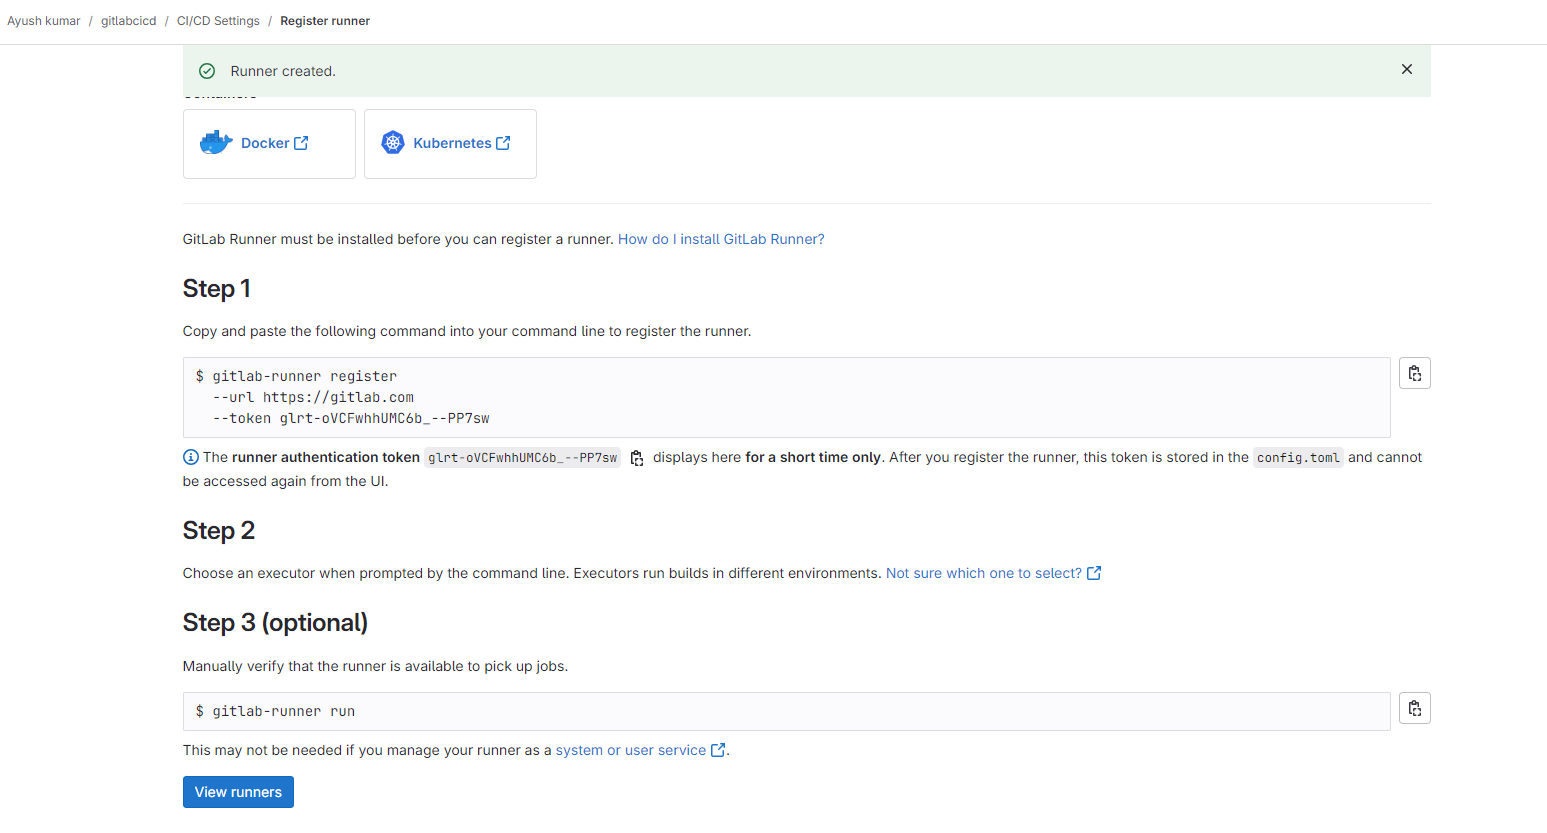
To register the runner, you need to get the project token and the GitLab URL:
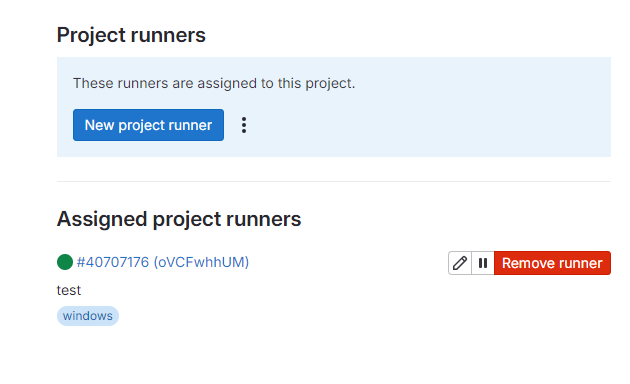
- In your GitLab project, navigate to Settings > CI/CD > Runners > Expand.
- In the Project runners section, click New project runner and follow the form to create a new runner for your project.
- Once a runner is in place, you’ll find the registration token and the GitLab URL. Copy both to a text editor; you’ll need them for the next command. They will be referred to as
https://your_gitlab.comandproject_token.
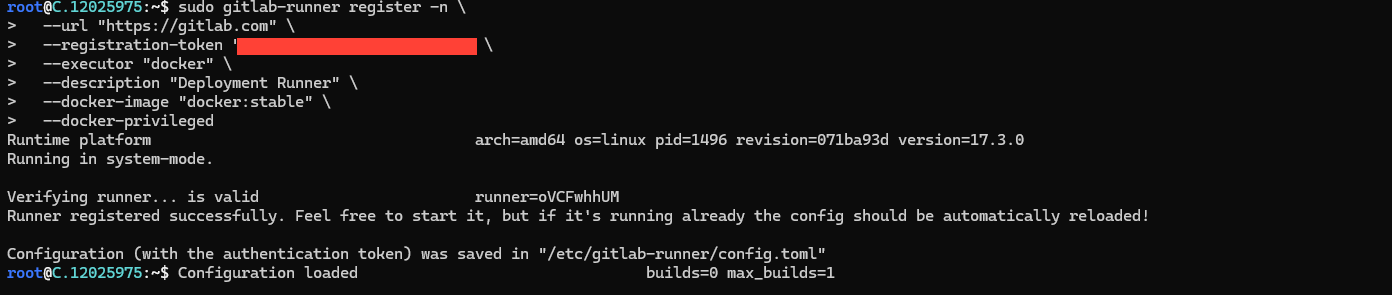
In your terminal, run the following command to register the runner for your project:
sudo gitlab-runner register -n \
  --url "https://gitlab.com" \
  --registration-token "xyz" \
  --executor "docker" \
  --description "Deployment Runner" \
  --docker-image "docker:stable" \
  --docker-privileged
After executing the gitlab-runner register command, you will receive the following output:

Verify the registration process by going to Settings > CI/CD > Runners in GitLab, where the registered runner will appear.
Step 4: Creating a Deployment User
You will create a user dedicated to the deployment task. Later, you will configure the CI/CD pipeline to log in to the server using that user.
On your server, create a new user with the following command:
You’ll be guided through the user creation process. Enter a strong password and any additional user information you want to specify. Finally, confirm the user creation by typing Y.
sudo adduser deployer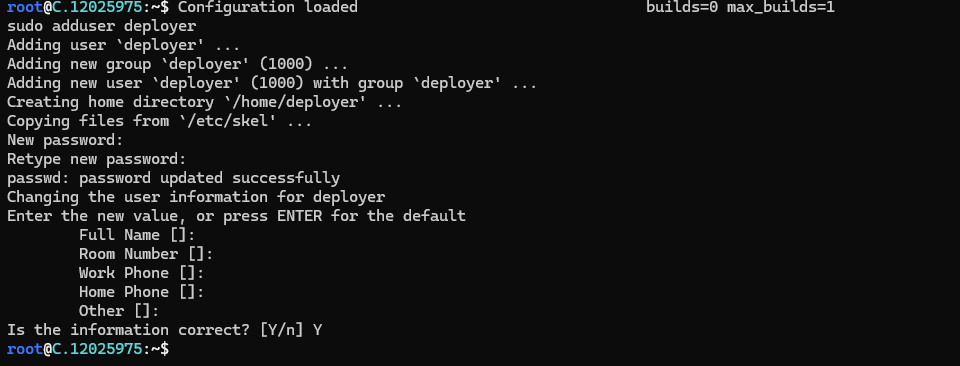
Step 5: Configure the .gitlab-ci.yml File
You will need to configure the GitLab CI/CD pipeline. The pipeline will build a Docker image and push it to the container registry. GitLab provides a container registry for each project. You can explore the container registry by going to Packages & Registries > Container Registry in your GitLab project (read more in GitLab’s container registry documentation.) The final step in your pipeline is to log in to your server, pull the latest Docker image, remove the old container, and start a new container.
Now, you will create the file containing.gitlab-ci.yml the pipeline configuration. For project overview, click the + button and select New file. Then, set the File name to .gitlab-ci.yml.
(Alternatively, you can clone the repository and make all following changes to .gitlab-ci.yml on your local machine, commit, and push to the remote repository.)
To begin, add the following:
stages:
  - publish
  - deploy
Each job is assigned to a _stage_. Jobs assigned to the same stage run in parallel (if enough runners are available). Stages will be executed in the order they were specified. Here, the publish stage will go first, and the deploy Stage. Successive stages only start when the previous stage finishes successfully (that is, all jobs have passed). Stage names can be chosen arbitrarily.
When you want to combine this CD configuration with your existing CI pipeline, which tests and builds the app, you may want to add the publish and deploy stages after your existing stages, so the deployment only occurs if the tests pass.
Following this, add this to your .gitlab-ci.yml file:
. . .
deploy:
  image: alpine:latest
  stage: deploy
  tags:
    - deployment
Sample .gitlab-ci.yml Configuration:
stages:
  - build
  - test
  - deploy

build-job:
  stage: build
  script:
    - echo "Building the application..."
    - make build

test-job:
  stage: test
  script:
    - echo "Running tests..."
    - make test

deploy-job:
  stage: deploy
  script:
    - echo "Deploying to production..."
    - ./deploy.sh
Step 6: Validating the Deployment
Now, you’ll need to validate the deployment in various places of GitLab, on your server, and in a browser.
When the .gitlab-ci.yml file is pushed to the repository, GitLab will automatically detect it and start a CI/CD pipeline. When you created the .gitlab-ci.yml file, GitLab began to the first pipeline.
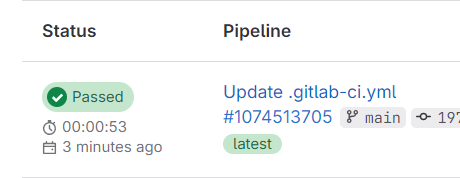
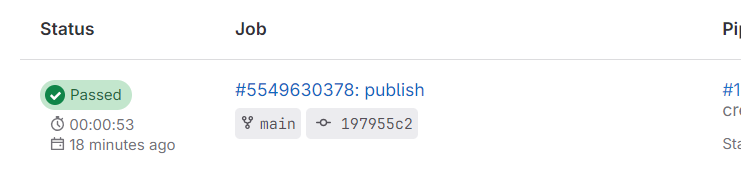
Go to Build > Pipelines in your GitLab project to see the pipeline’s status. If the jobs are still running/pending, wait until they are complete. You will see a Passed pipeline with two green checkmarks, denoting that the publish and deploy job ran successfully.
Next, click the View Deployment button, which will open http://your_server_IP In a browser, you should see the app, web, etc.
Conclusion
In conclusion, setting up GitLab CI/CD pipelines in the cloud enables efficient and automated software deployment, enhancing collaboration and streamlining workflows. Following the steps outlined in this guide, you can leverage GitLab's powerful CI/CD features to manage code, automate builds, and seamlessly deploy applications on a NodeShift Virtual Machine or any cloud provider you choose. This process ensures that your code is tested and deployed safely, promoting robust development practices within your team.
For more information about NodeShift: