How to Use VNC for Remote Desktop Access in the Cloud

Virtual Network Computing (VNC) is a remote desktop-sharing application. It enables a computer's desktop display to be controlled remotely by another via a network. With its flexible configuration, VNC is highly popular with the IT crowd and system administrators as it provides a powerful tool for managing remote desktops.
What does VNC do?
- It enables you to control another computer (or server) remotely
- Displays the remote computer’s desktop on your screen
- Transmits your mouse and keyboard functions to the remote computer
- It uses a server program for the machine to be controlled and a client/viewer program for the controlling device
- Runs on a wide range of operating systems
- It is the basis for many remote desktop applications, though not all programs use VNC.
How departments can use VNC
- IT support can use VNC to troubleshoot issues remotely.
- Web development teams can use VNC to access web servers and cloud-hosted virtual machines remotely.
- VNC can quickly display data on multiple screens for the whole sales team.
Prerequisites
- A server with a fresh installation of the latest Ubuntu version 22.04, with
sudoprivileges. - A root user account.
- SSH access to the virtual machine.
- Basic knowledge of Linux command-line operations
Step-by-step process to use VNC for Remote Desktop Access in the Cloud
For the purpose of this tutorial, we will use a CPU-powered Virtual Machine offered by NodeShift; however, you can replicate the same steps with any other cloud provider of your choice.
In order to deploy a NodeShift Virtual Machine, follow the guidelines here:
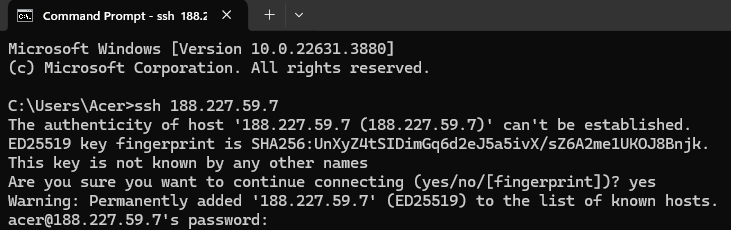
Step 1: Connect to the Virtual Machine using SSH or Username/Password
- NodeShift Compute VMs can be connected and controlled through a terminal and SSH.
- Open your terminal paste the IP with SSH and set up the password.
- And then you will get connected to the root user.
Step 2: Installing the Desktop Environment and VNC Server
First, log in to your virtual machine via SSH and update the package lists to ensure you have the latest software versions.
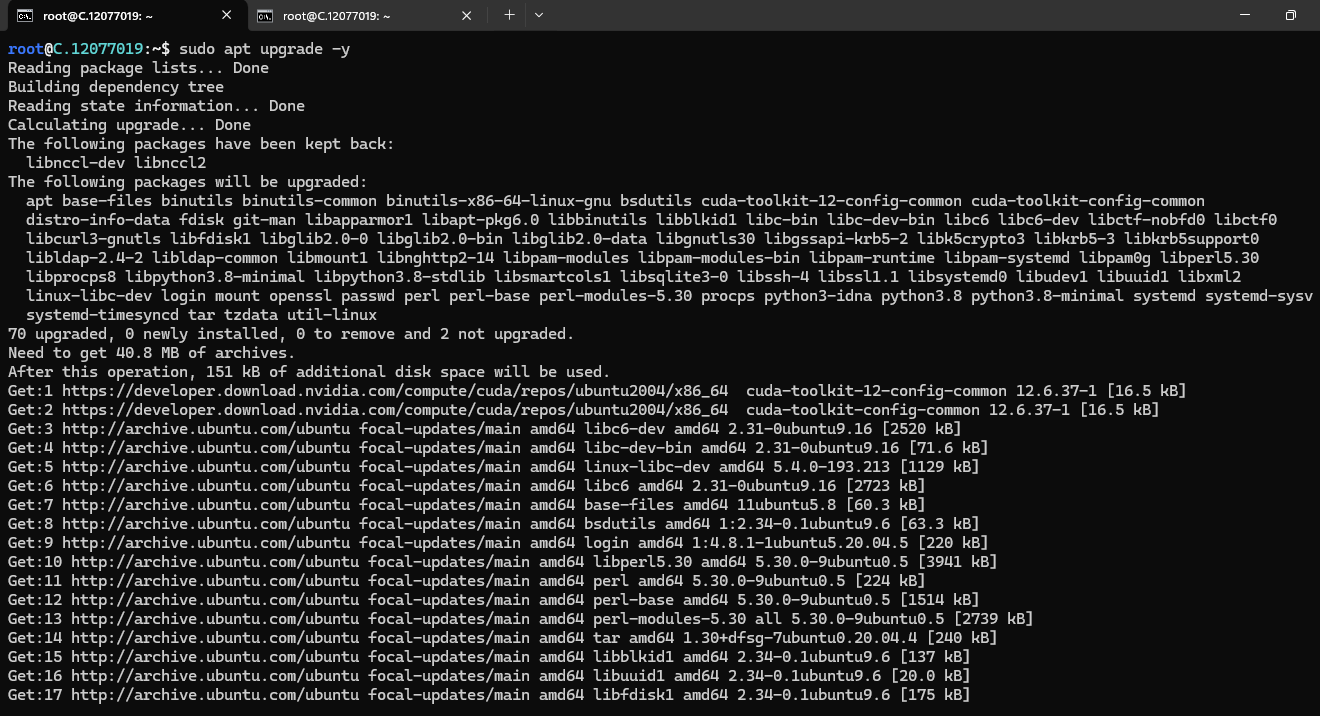
Run the following command to update the package lists:
sudo apt update
sudo apt upgrade -y

Step 3: Install Xfce along with the xfce4-goodies package
For a lightweight desktop environment, install Xfce.
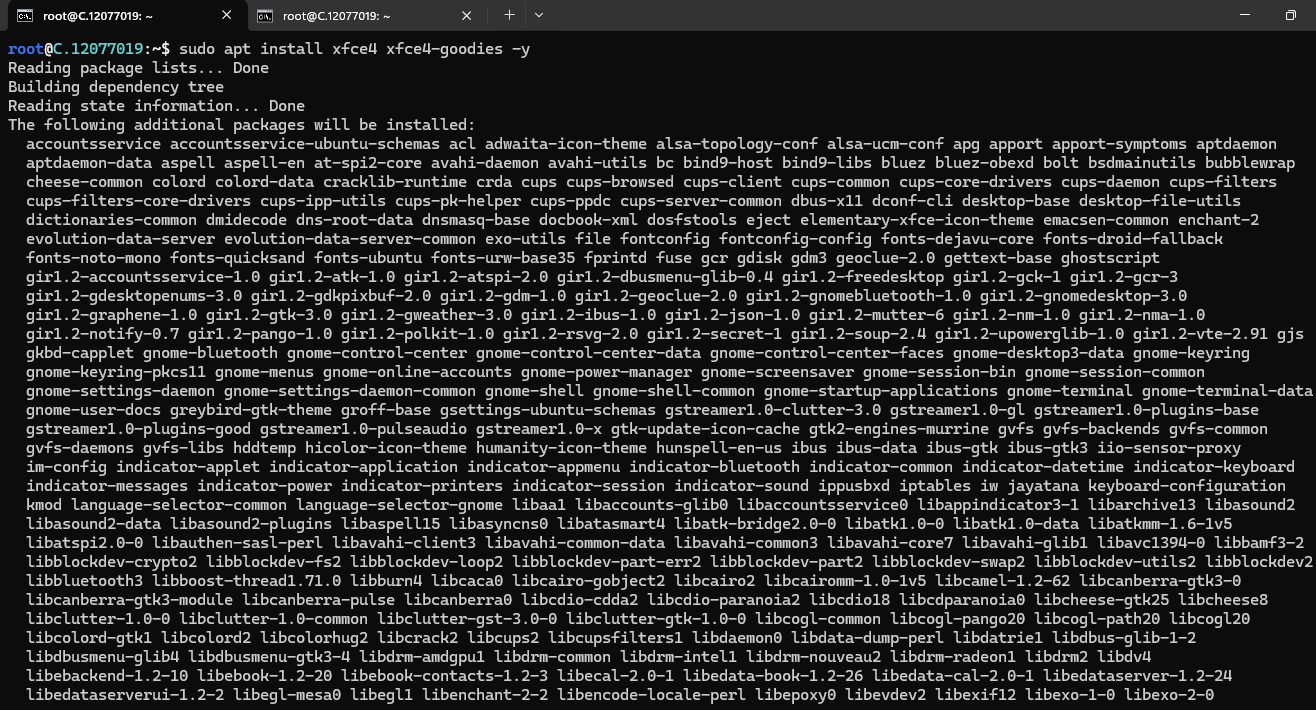
Run the following command to install the Xfce:
sudo apt install xfce4 xfce4-goodies
Xfce is an open-source environment for desktops or PCs aimed explicitly at Linux and BSD operating systems. With the native intent, while developing the open-source environment to keep it lightweight and fast, XFCE personifies the art of modularity and promotes re-usability. In XFCE, since it is modular, it contains separate parts packaged so that, when they come together, it helps the user perform all functions of the Linux or BSD environment on the desktop or PCs.
Step 4: Install VNC Server
Next, install a VNC server software to allow remote desktop connections.
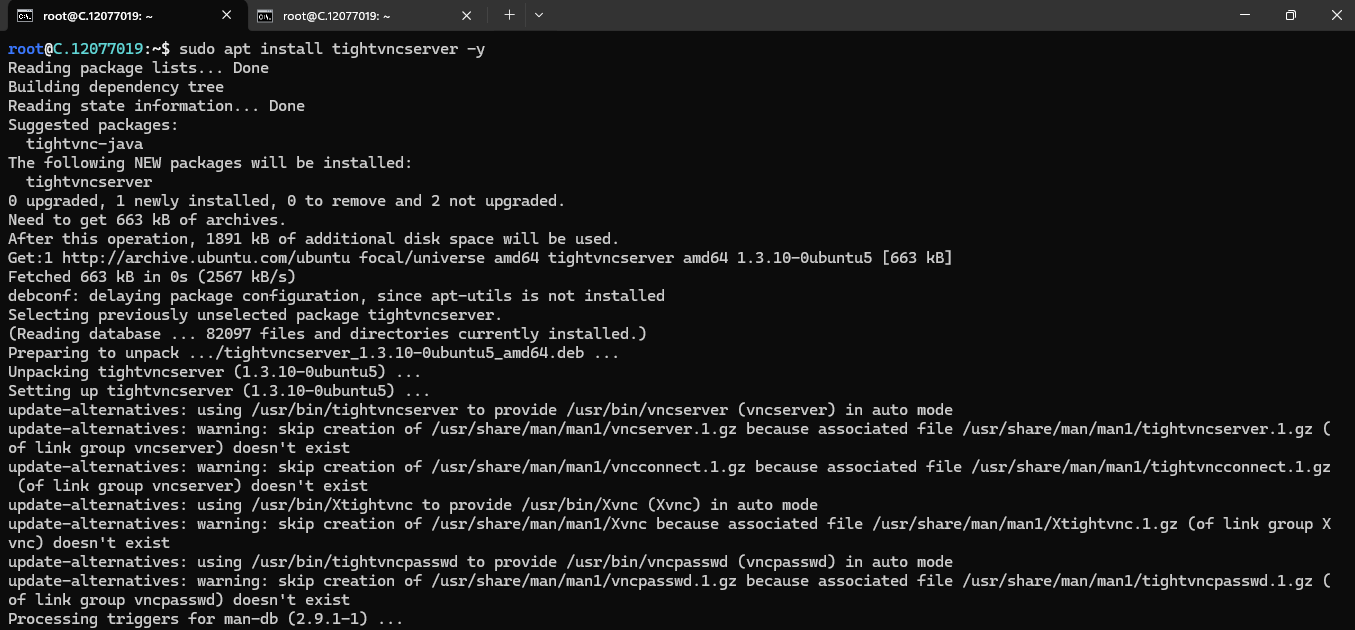
Run the following command to install the VNC Server:
sudo apt install tightvncserver
A free and open-source software, TightVNC is an app that connects remotely, via the internet, to two or more computers.
The software consists of two applications: the TightVNC server, which must be installed on the receiving computer or the remote machine, and the TightVNC viewer, which must be installed on the computer from which we will connect or the local machine.
This software provides remote assistance through a simple and intuitive interface, which is helpful in many situations. Basically, on the screen of the computer that we use to control, we can view everything from the display of the machine that is controlled. This is done either through the client or using a web browser.
To control another PC, enter the computer's IP to be controlled, then enter the password for the TightVNC server installed on the controlled computer.
You can also make file transfers through TightVNC; it does not consume many system resources and is relatively tiny when discussing the required disk space.
TightVNC is straightforward to use and has no restrictions as a free application, without any financial obligation on our part, while most remote support apps need to be paid to be allowed to use them.
The command sudo apt install tightvncserver It is used in a Linux terminal to install the TightVNC Server package on a Debian-based Linux distribution, such as Ubuntu.
sudo: This stands for "superuser do." It allows the command to be run with superuser (root) privileges. Installing software typically requires these elevated permissions because it modifies system files.apt: This is the package manager used on Debian-based distributions like Ubuntu. It handles the installation, updating, and removal of software packages.install: This is a subcommandaptthat tells it to install a package.tightvncserver: This is the name of the package you want to install. TightVNC Server is a software application that allows you to remotely control a computer's desktop via the VNC (Virtual Network Computing) protocol.
Next, run the vncserver command to set a VNC access password, create the initial configuration files, and start a VNC server instance:
vncserver
When you run the server command, it will give the following output. Check the screenshot below for proof.
You will require a password to access your desktops.

Password:
Verify:
You’ll be prompted to enter and verify a password to access your machine remotely.
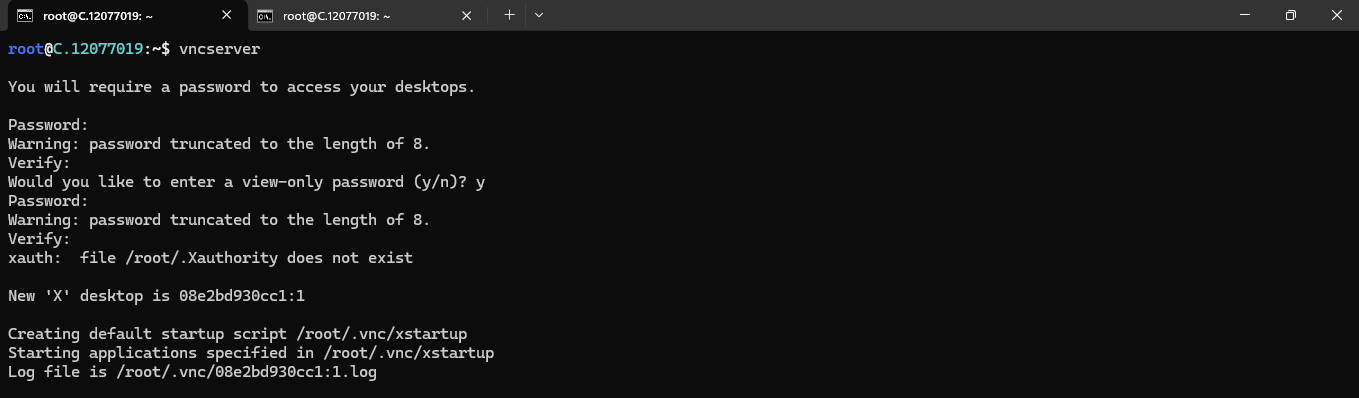
The password must be between six and eight characters long. Passwords with more than 8 characters will be truncated automatically.
The VNC server needs to know which commands to execute when it starts up. Specifically, VNC needs to know which graphical desktop environment it should connect to.
The commands that the VNC server runs at startup are located in a configuration file called xstartup the .vnc folder under your home directory. The startup script was created when you ran the vncserver command in the previous step, but you’ll create your own to launch the Xfce desktop.
Because you are going to be changing how the VNC server is configured, first stop the VNC server instance that is running on port 5901 with the following command:
The output will look like this, although you’ll see a different PID. Check the screenshot below for proof.
Output: Killing Xtightvnc process ID 14676
Step 5: Configure VNC to Use the Desktop Environment:
Edit the VNC startup configuration file using the Vim text editor.
Run the following command to edit the file:
vim ~/.vnc/xstartup
So, what is Vim?
Vi is a text editor. The last line of the text editor is used to give commands to vi and provide you with information.
Note: If an error occurs which states that Vi is not a recognised internal or external command then install vim using the steps below.
Step 1: Update the package list
Before installing any software, we will update the package list using the following command in your terminal:
sudo apt update

Step 2: Install Vim
To install Vim, enter the following command:
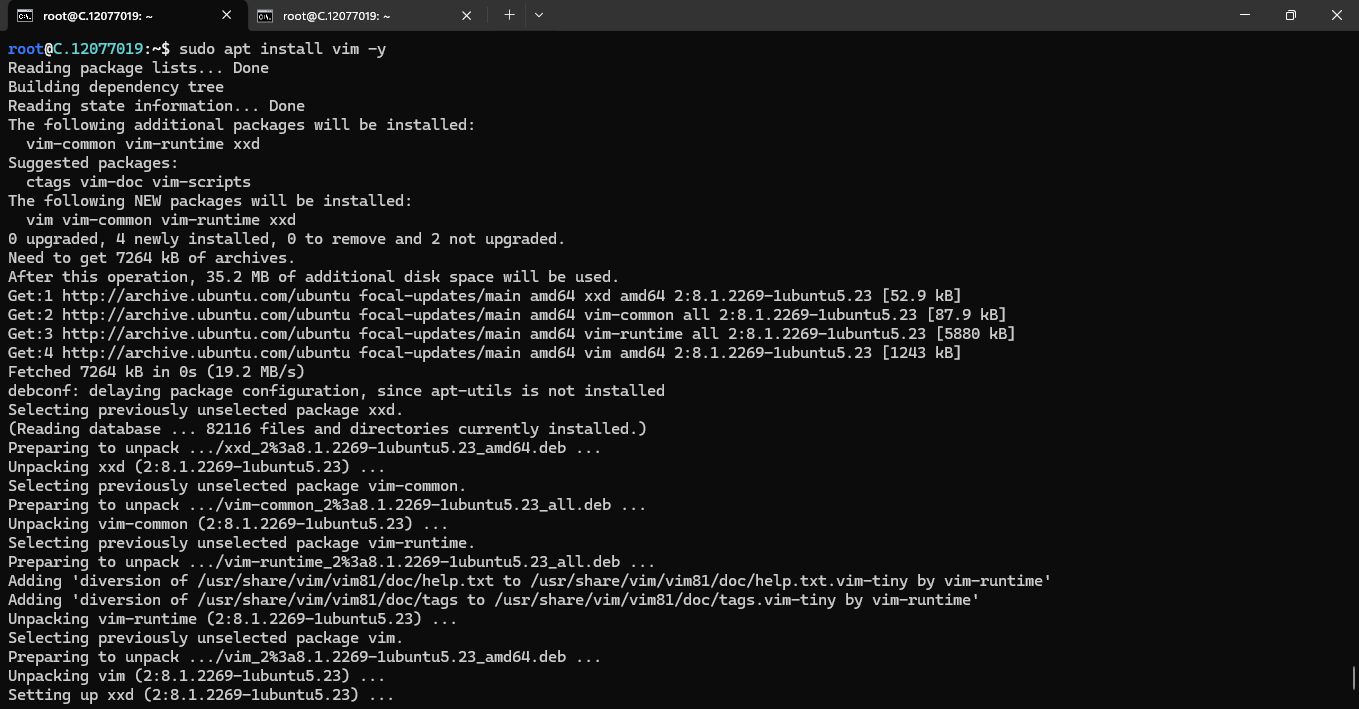
sudo apt install vim -y
This command will retrieve and install Vim and its necessary components.
Now, you have to Run the following command to edit the file:
vim ~/.vnc/xstartup
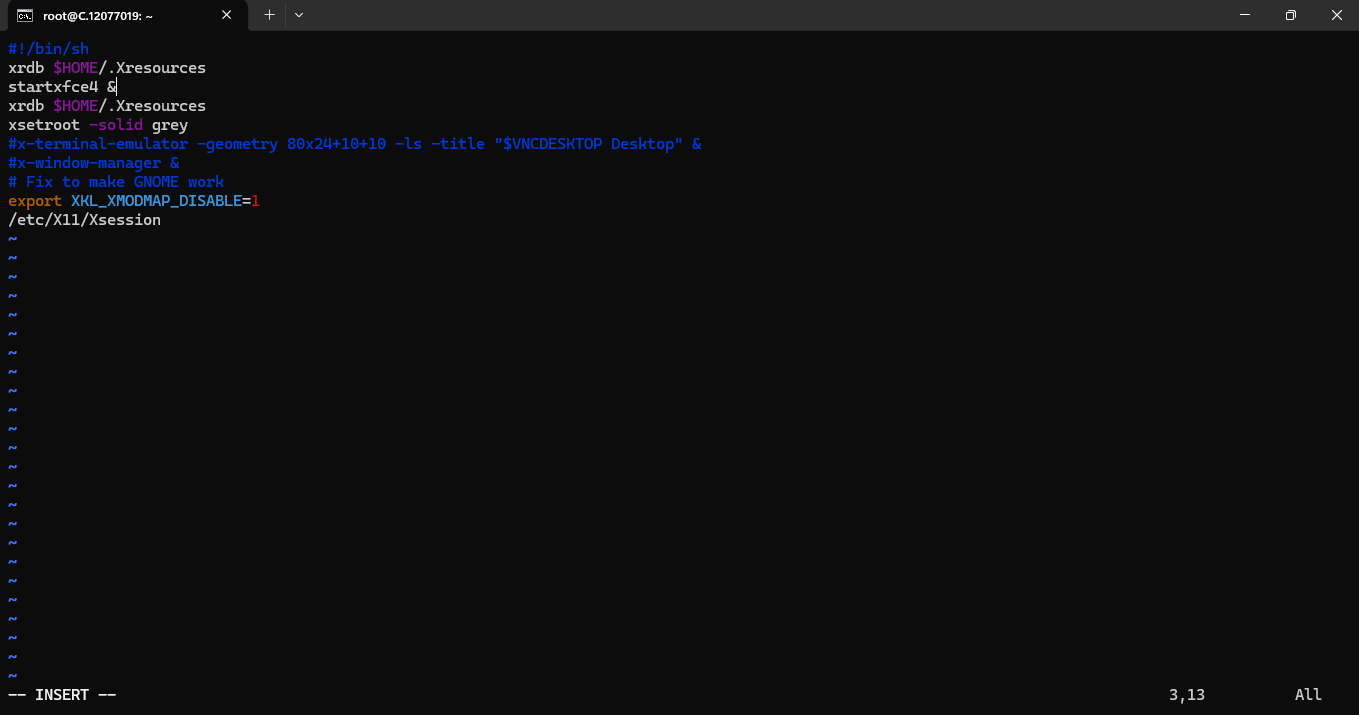
Entering the editing mode in Vim:
Then add the following lines to the file:
#!/bin/bash
xrdb $HOME/.Xresources
startxfce4 &
Follow the below steps to enter the editing mode in Vi
Step 1: Open a File in Vi
Step 2: Navigate to Command Mode
When you open a file in Vi, you start in the command mode. You can issue commands to navigate, save, and manipulate text in this mode. To ensure you are in command mode, press the Esc key. This step is crucial because you cannot edit the text in other modes.
Save and close the file using the following command:
:wq!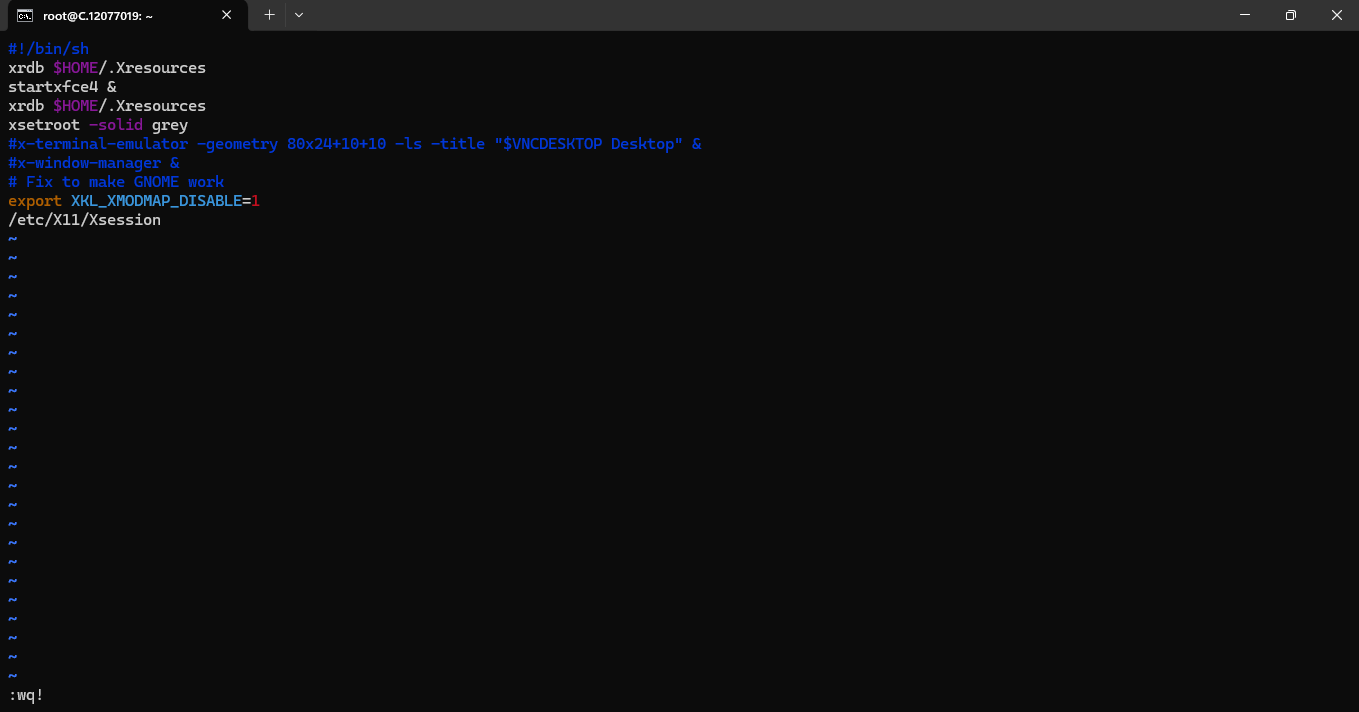
To ensure that the VNC server will be able to use this new startup file properly, you’ll need to make it executable from the following command:
chmod +x ~/.vnc/xstartup

Step 6: Start the VNC Server
Now, Start the VNC server again using the following command:
vncserver
You’ll see output similar to this:
Output
New 'X' desktop is your_hostname:1
Step 7: Configure Firewall and Security
Open the VNC Port:
Ensure the firewall allows traffic on the VNC port (default is 5901 for display:1).
sudo ufw allow 5901/tcp
Step 8: Connecting to the VNC Desktop Securely
Create an SSH connection on your local computer that securely forwards to the localhost connection for VNC. You can do this via the terminal on Linux or macOS with the following ssh command:

ssh -L 5901:localhost:5901 -C -N -l root your_server_ipHere’s what this ssh command’s options mean:
-L 5901:localhost:5901: The-Lswitch specifies that the given port on the local computer (5901Open your terminal, paste the IP with SSH, and set up the password.) is to be forwarded to the given host and port on the destination server (localhost:5901, meaning port5901on the destination server, defined asyour_server_ip). Note that the local port you specify is somewhat arbitrary; as long as it,isn’t already bound to another service, you can use it as the forwarding port for your tunnel.-C: This flag enables compression, which can help minimize resource consumption and speed things up.-N: This option tellssshyou don’t want to execute remote commands. This setting is useful when youpracticalwant to forward ports.-l root your_server_ip: The-lSwitch lets you specify the user you want to log in toyou you don’t want to executeonce you connect to the server. Make sure to replacerootandyour_server_ipwith the name of your non-root user and your server’s IP address.- Download a VNC Client: Install a VNC viewer on your local machine. Popular options include RealVNC, TigerVNC, and TightVNC.
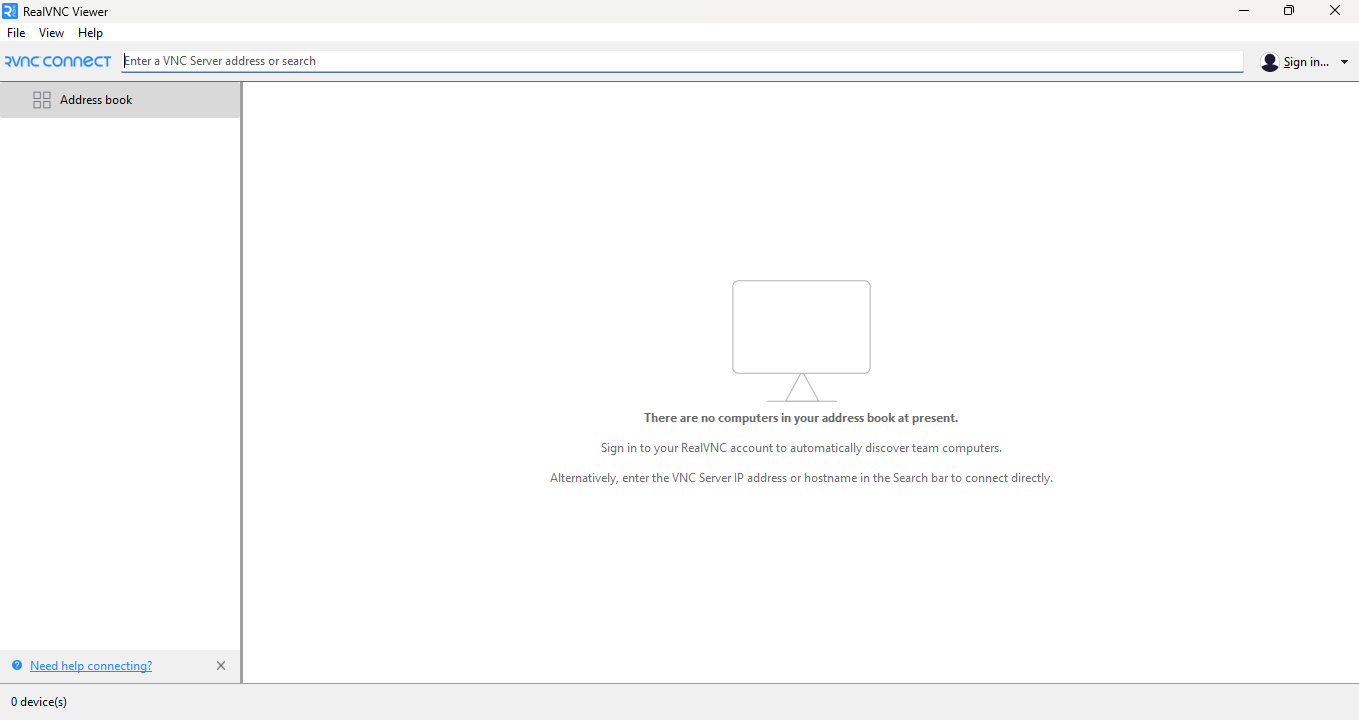
- Connect to the Server: Open the VNC client and connect to your server’s IP address with the port.
:1(e.g.,server-ip:1).
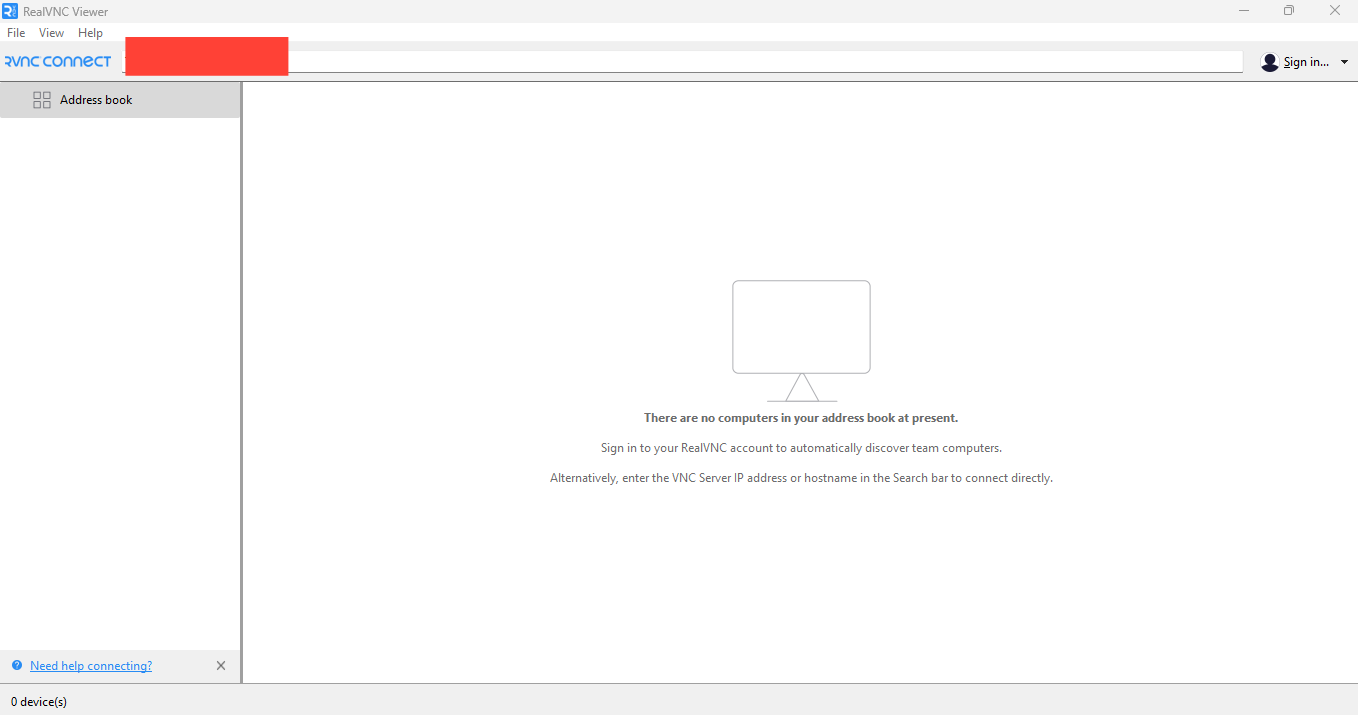
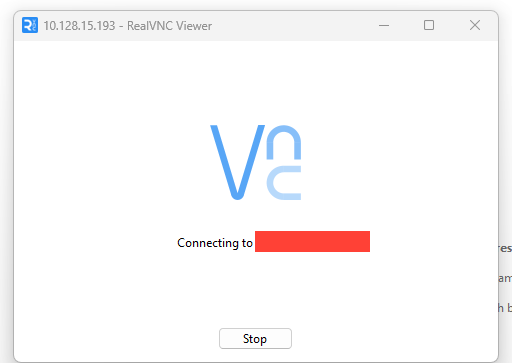
- Enter the Password: When prompted, enter the VNC password you set earlier.
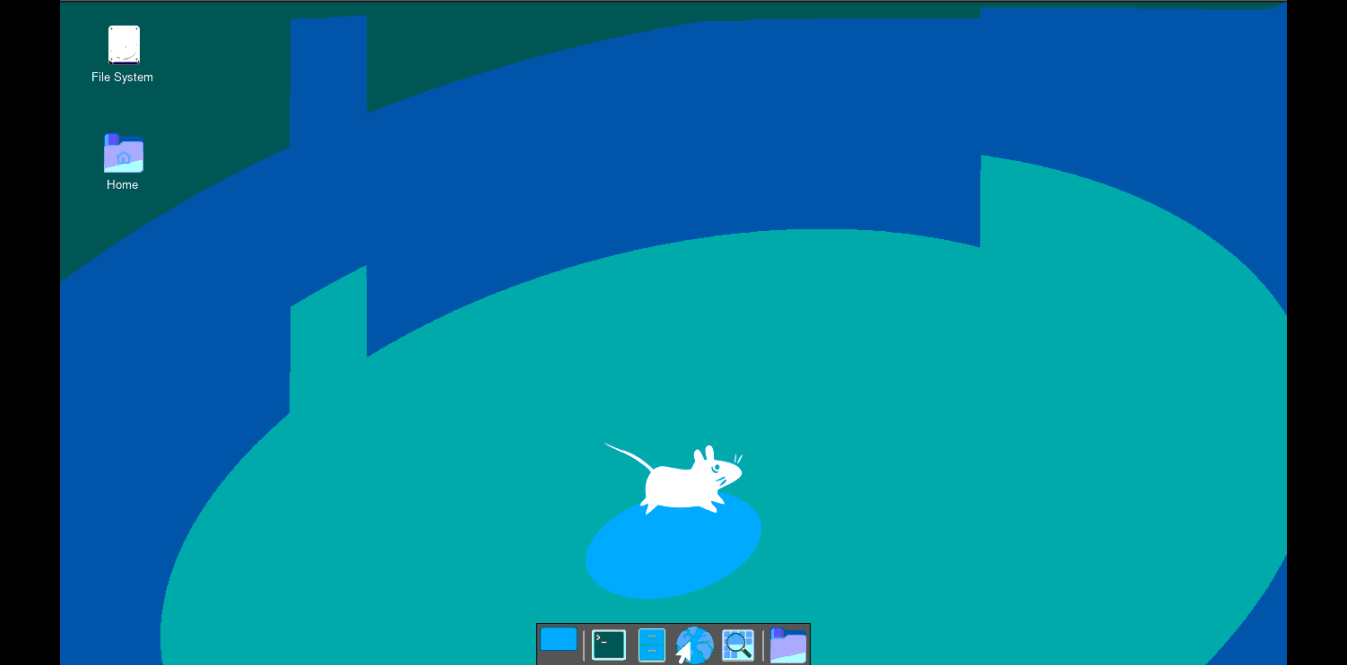
Once you are connected, you’ll see the default Xfce desktop. It should look something like this:
Conclusion
By following these steps, you can successfully set up VNC for remote desktop access in the cloud, allowing you to manage your virtual machines easily. Whether you provide IT support, develop websites, or need remote access, VNC offers a flexible and efficient solution for accessing your systems remotely.
For more information about NodeShift: