Setting Up a Remote Desktop Environment with RDP on Ubuntu

What is a Remote Desktop?
A simple way to describe Remote Desktop is to think of it as remote-controlled software. It enables users to connect to a specific computer over the Internet and operate it as if they were physically present. Remote Desktop is a client application that allows one computer (the "client") to remotely connect to and control another computer (the "host"). This means users can access and use the applications and files on the host computer from any location.
Why do you need a Remote Desktop?
In this evolving world, IT admins wish to have access to all the endpoints at their fingertips. A remote desktop solution will let you achieve this. Here's how:
- Transfer confidential files to computers away from you.
- Troubleshoot computers from anywhere.
- Remotely perform power operations on your desktop.
- Two is better than one, collaborate and troubleshoot quickly.
- Wake up remote computers using wake on LAN.
- View multiple monitors in a single console.
What is Remote Desktop Protocol (RDP)?
Remote Desktop Protocol (RDP) is a technical standard protocol developed by Microsoft that allows users to connect to and control remote computers over a network. Using Remote Desktop Protocol (RDP), users can manage and access systems from different locations by leveraging a graphical user interface (GUI). While this was initially developed and released by Microsoft, it can also be used with Mac.
In this tutorial, you will install and configure an RDP server using xrdp on a Ubuntu 22.04 server and access it using an RDP client from your local machine. You will understand how to establish access to a remote Linux server by configuring and using an RDP connection.
Prerequisites
- A server with a fresh installation of the latest Ubuntu version 22.04, with
sudoprivileges, a firewall, and at least 1GB of RAM. - A local computer with an RDP client installed. A list of available RDP clients for different operating systems is provided below:
- On Windows, you can use the default Remote Desktop Connection application.
- On macOS, you can use the Microsoft Remote Desktop application.
- On Linux, you can use FreeRDP, or Remmina.
Step-by-step process to Set Up a Remote Desktop Environment with RDP on the Cloud
For the purpose of this tutorial, we will use a CPU-powered Virtual Machine offered by NodeShift; however, you can replicate the same steps with any other cloud provider of your choice.
In order to deploy a NodeShift Virtual Machine, follow the guideline here:
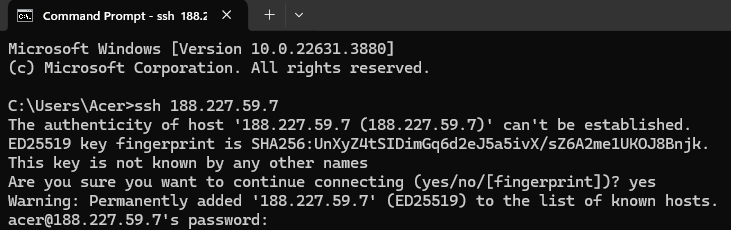
Step 1: Connect to the Virtual Machine using SSH or Username/Password
- NodeShift Compute VMs can be connected and controlled through a terminal and SSH.
- Open your terminal paste the IP with SSH and set up the password.
- And then you will get connected to the root user.
Step 2: Update the System
First, ensure your system is up to date. Open a terminal and run the below command:
sudo apt update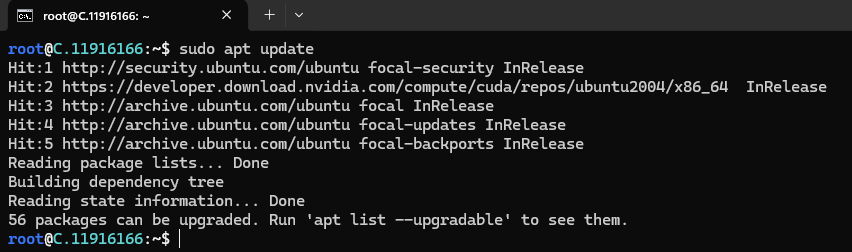
Step 3: Installing a Desktop Environment on Ubuntu
xrdp provides a graphical login to remote machines using RDP, to use xrdp, install a desktop environment on a Linux server. A desktop environment provides the graphical interface xrdp relies on for allowing remote GUI access. In this tutorial, we use the Xfce desktop environment, a lightweight and user-friendly option. To install Xfce, run the following command:
sudo apt install xfce4 xfce4-goodies -y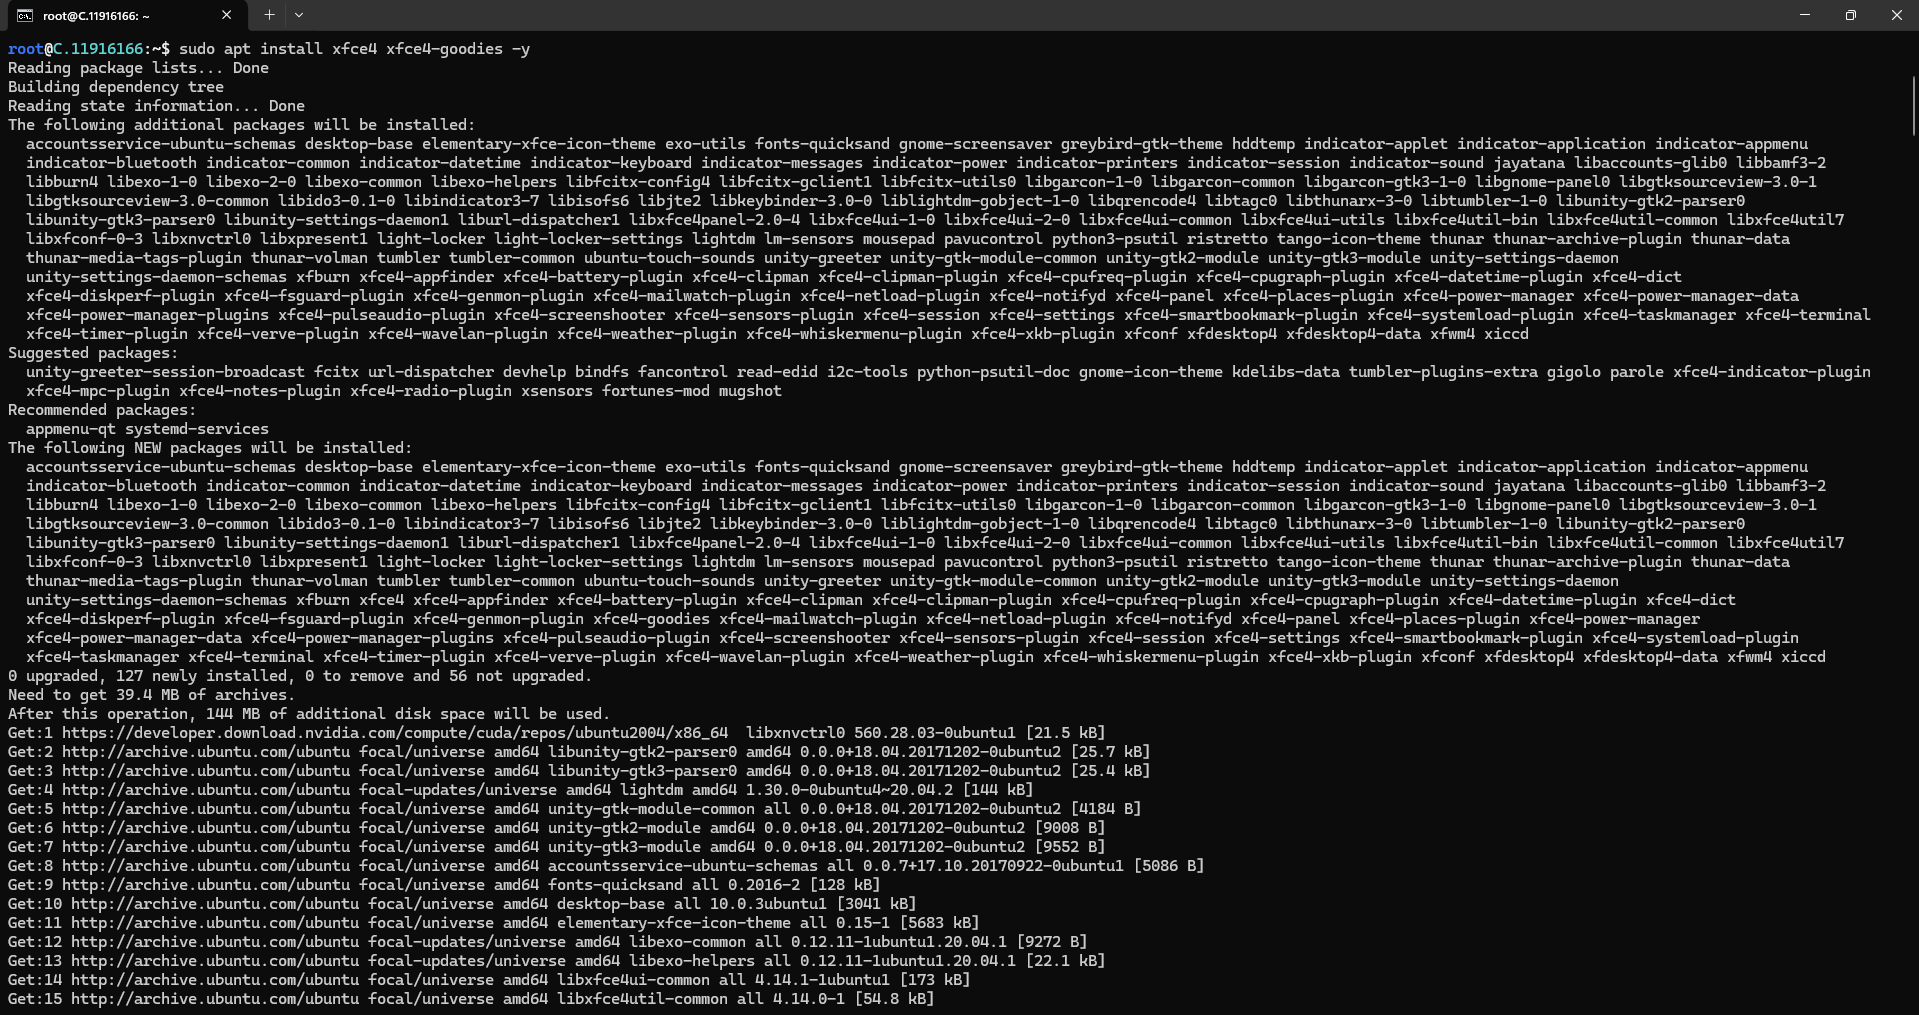
Step 4: Installing xrdp on Ubuntu
xrdp is an open-source implementation of the RDP server that allows RDP connections for Linux-based servers. In this step, you will install the xrdp on your Ubuntu server.
RDP uses the client-server model:
- An RDP client is installed on a local machine.
- An RDP server is installed on the remote server.
To install xrdp, run the following command in the terminal:
sudo apt install xrdp -y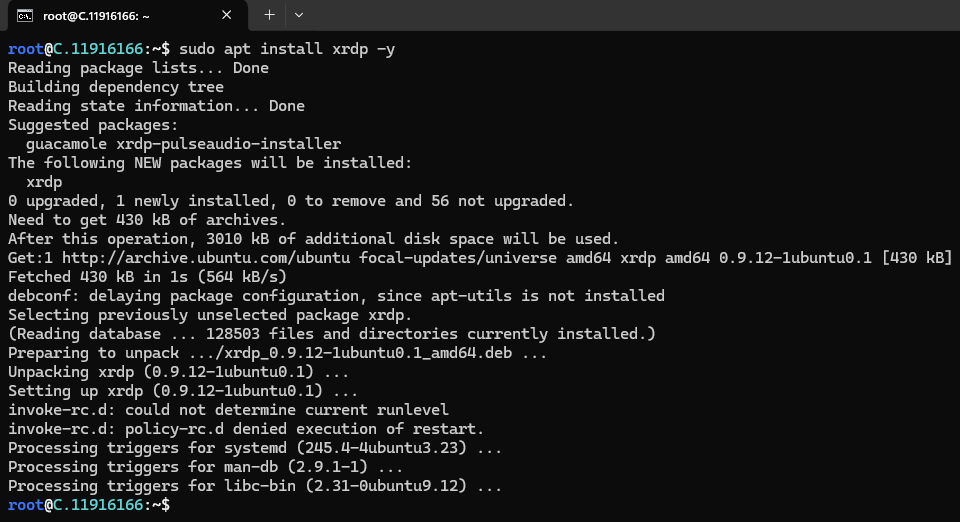
After installing xrdp, verify the status of xrdp using systemctl:
sudo systemctl status xrdpThis command will show the status as active (running):
Output
● xrdp.service - xrdp daemon
     Loaded: loaded (/lib/systemd/system/xrdp.service; enabled; vendor preset: enabled)
Active: **active (running)**
If the following error occurs, you may have to start the service manually.

The error message you're encountering indicates that the systemctl command cannot operate because your system isn't using systemd its init system. This situation often arises in environments like WSL (Windows Subsystem for Linux), containers, or systems that use alternative init systems.
Here's how you can address this issue:
- Use the
serviceCommand: Instead of usingsystemctl, try using theservicecommand, which is compatible with systems using SysVinit.bashCopy codesudo service xrdp start.
sudo service xrdp start- Check Your Init System:
Determine which init system your Linux distribution is using by running:
ps -p 1 -o comm=
Outputs:
systemd: Your system uses systemd.initorupstart: Your system uses SysVinit or Upstart.
- For WSL Users: If you're operating within WSL, it's important to note that systemd wasn't supported in earlier versions. However, recent updates have introduced systemd support.
- Enable Systemd in WSL
Follow the Microsoft Documentation to enable systemd in your WSL environment.
- Alternative XRDP Management: If you're unable to start
xrdpusing traditional methods, consider starting it directly:
sudo /etc/init.d/xrdp start
Or, if available:
sudo /etc/rc.d/init.d/xrdp start

Step 5: Configure xrdp
The xrdp.ini file, the default configuration file for establishing RDP (Remote Desktop Protocol) connections, is located at /etc/xrdp/xrdp.ini.
To make adjustments, open the xrdp.ini file using the preferred text editor. In this tutorial, we use Vim. Run the following command to open the file:
sudo vim /etc/xrdp/xrdp.ini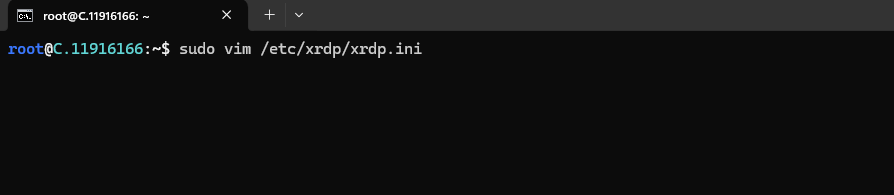
Output:
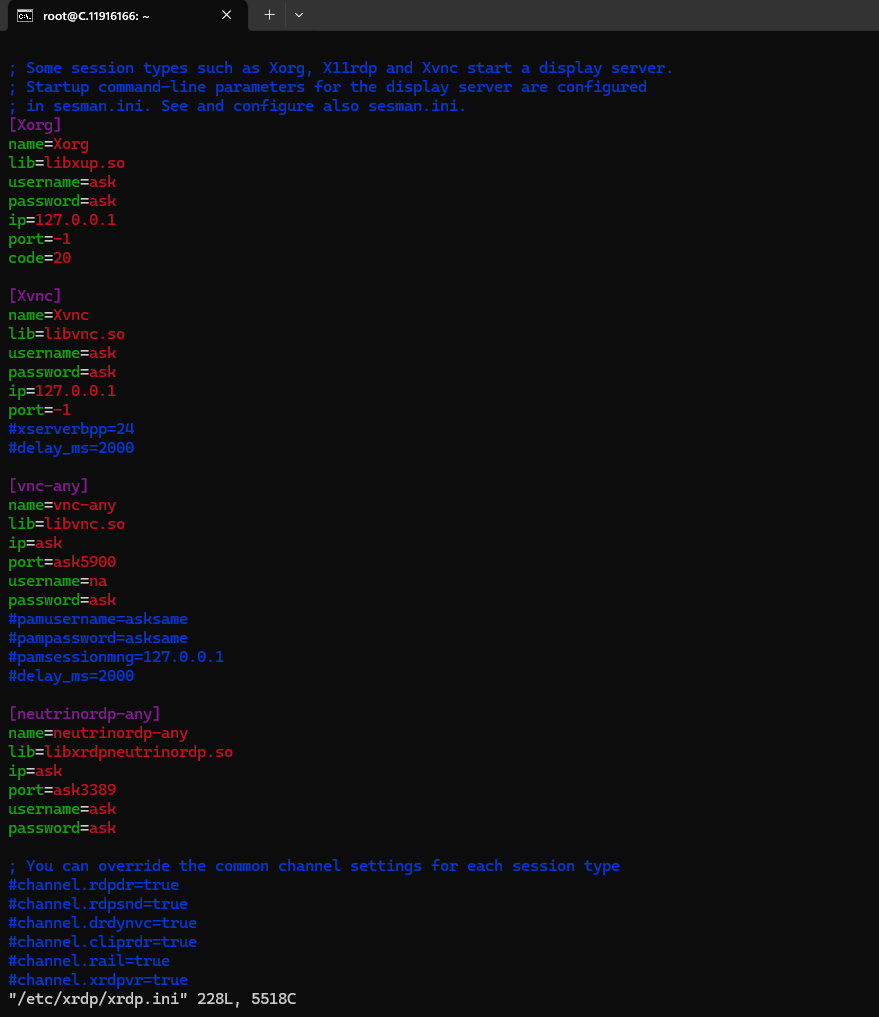
The config file is split into several sections:
- Globals. Defines global configuration.
- Logging. Specifies parameters for the logging system.
- Channels. Determines channel parameters.
- Session types. Enumerates the supported session types in separate sections.
Some potential changes to make include:
- Adjusting the username and password settings.
- Setting the screen resolution.
- Configuring color depth.
- Defining a session timeout value to disconnect inactive sessions automatically.
- Specifying the maximum number of concurrent connections allowed by xrdp.
By default, the username and password parameters are set to ask, which means the user will be prompted to enter their username and password to connect over RDP. Parameters, such as name, username, and password, can be modified if necessary. For the initial RDP connection to the server, the default configuration will suffice.
Save and close the file when finished.
Step 6: Configure System Firewall
Next, you will configure your firewall to allow remote connections from your public IP on port 3389. An RDP connection serves on a TCP/IP port 3389. To access the remote server over RDP, you must allow a port 3389 in your firewall.
In Windows Command Prompt, determine the public IP address by executing the following command:
curl ifconfig.me
curl places a request on ifconfig.me that returns your public IP as an output:
Output
...
your_local_ip
Next, on the remote server, allow access to port 3389 with this syntax:
sudo ufw allow from [your_public_ip]/32 to any port 3389
Verify the UFW (Uncomplicated Firewall) configuration is correct and port 3389 is now set to accept connections from following command.
sudo ufw statusStep 7: Testing the RDP Connection
To test the connection using the Remote Desktop Connection client on Windows, first launch the Remote Desktop Connection app. Find it in the Start menu or search Remote Desktop Connection.
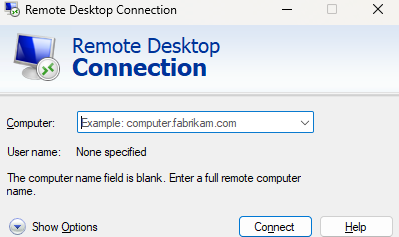
Enter your remote server’s public IP and username into the fillable text boxes for the Computer and User name. You may need to press the down arrow for Show Options to input the username:
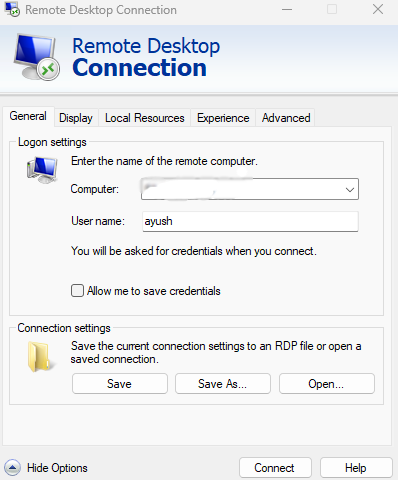
Press the Connect button. If you receive an alertRemote Desktop can't connect to the remote computer, check that you have turned on the Remote Desktop option in your system settings.
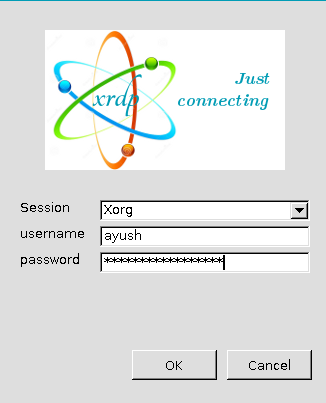
Press Yes if you receive the identity verification popup:

Then, enter your remote server’s username and the password you created for the user during the initial server setup. Press Ok.
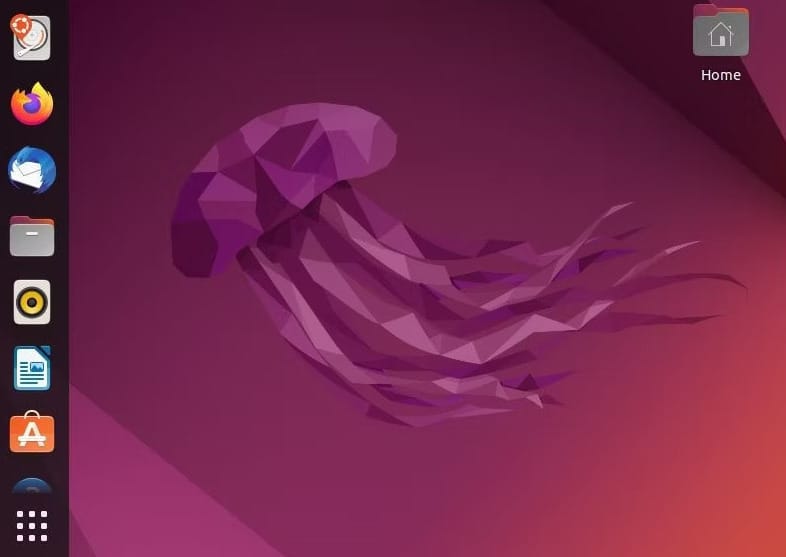
Once you have logged in, you should be able to access your Ubuntu Desktop environment.
Conclusion
Setting up a Remote Desktop Environment with RDP on Ubuntu allows you to access and manage your server from anywhere, providing flexibility and ease of use. By following the steps outlined in this guide—installing a desktop environment, configuring xrdp, adjusting firewall settings, and testing the connection—you can efficiently establish a remote desktop connection. Whether you're using NodeShift's Virtual Machine or another cloud provider, these instructions will help you set up a secure and functional remote desktop environment on your Ubuntu 22.04 server. Happy remote managing!
For more information about NodeShift: